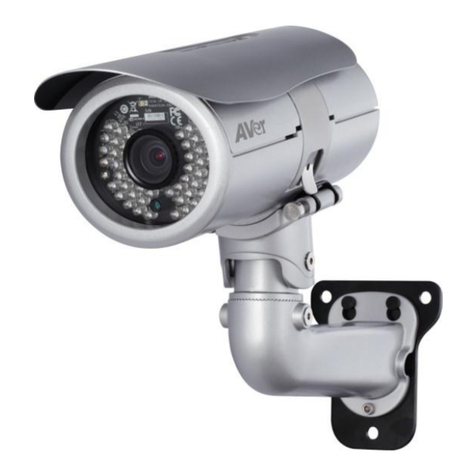
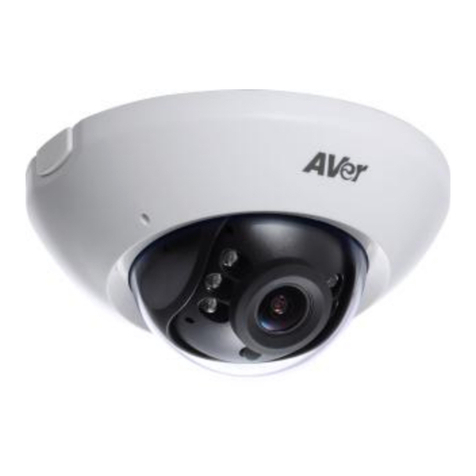
AVer FD2000 User manual

AVer FD2000
User Manual


Table of Contents
PREFACE............................................................................................................................................1
PRODUCT FEATURES.......................................................................................................................1
SPECIFICATIONS...............................................................................................................................2
PACKAGE CONTENTS.......................................................................................................................4
PRODUCT INSTALLATION.................................................................................................................5
M
ONITOR
S
ETTING
...........................................................................................................................5
H
ARDWARE
I
NSTALLATION AND
I/O
P
IN
A
SSIGNMENT
...........................................................................6
1. P
RODUCT
O
VERVIEW
.................................................................................................................6
N
ETWORK
LED
AND
B
UTTON
D
EFINITION
...........................................................................................8
2. I
NSTALLATION
............................................................................................................................8
3. D
ISASSEMBLING THE
C
AMERA
..................................................................................................11
P
OWER
O
VER
E
THERNET
(P
O
E)......................................................................................................14
IP
A
SSIGNMENT
..............................................................................................................................15
F
INDING
IP
C
AMERA BY USING
“NXU
L
ITE RECORDING SOFTWARE
”....................................................15
F
INDING
IP
C
AMERA BY USING
“IP
INSTALLER
”...................................................................................18
U
SING
DHCP
S
ERVER
/R
OUTER
N
ETWORK
......................................................................................20
U
SING
NON-DHCP
S
ERVER
/R
OUTER
N
ETWORK
.............................................................................21
I
NSTALL
A
CTIVE
X
C
ONTROL
............................................................................................................23
USING THE IP CAMERA BROWSER INTERFACE ..........................................................................25
P
REVIEW
.......................................................................................................................................25
S
YSTEM
>
G
ENERAL
.......................................................................................................................27
S
YSTEM
>
G
ENERAL
>
M
AINTENANCE
..............................................................................................27
To Upgrade the IP Camera Firmware:.....................................................................................28
S
YSTEM
>
G
ENERAL
>
D
ATE
&
T
IME
................................................................................................29
S
YSTEM
>
G
ENERAL
>
E
VENT
L
OG
...................................................................................................30
S
YSTEM
>
U
SER
M
ANAGEMENT
.......................................................................................................31
S
YSTEM
>
U
SER
M
ANAGEMENT
>
A
DMIN
..........................................................................................31
S
YSTEM
>
U
SER
M
ANAGEMENT
>
G
UEST
U
SER
................................................................................32
S
YSTEM
>
N
ETWORK
S
ETTING
>
S
ETTING
........................................................................................33
S
YSTEM
>
N
ETWORK
S
ETTING
>
RTSP ...........................................................................................34
S
YSTEM
>
I
MAGE
............................................................................................................................35
S
YSTEM
>
I
MAGE
>P
REFERENCE
......................................................................................................35
S
YSTEM
>
I
MAGE
>
P
RIVACY
Z
ONE
..................................................................................................38
S
YSTEM
>
V
IDEO
S
TREAM
>
P
ROFILE
..............................................................................................39
S
YSTEM
>
A
UDIO
............................................................................................................................40
E
VENT
>
M
OTION
...........................................................................................................................41
S
TATUS
I
NFORMATION
.....................................................................................................................42
FACTORY DEFAULT.........................................................................................................................43
TROUBLESHOOTING ......................................................................................................................44
FCC NOTICE (CLASS B)..................................................................................................................45
COPYRIGHT.....................................................................................................................................45
NOTICE.............................................................................................................................................45
WARNING.........................................................................................................................................45
COPYRIGHT.....................................................................................................................................46
NOTICE.............................................................................................................................................46
WARNING.........................................................................................................................................46
LIMITED WARRANTY.......................................................................................................................46
GOVERNING LAW AND YOUR RIGHTS..........................................................................................47

1
Preface
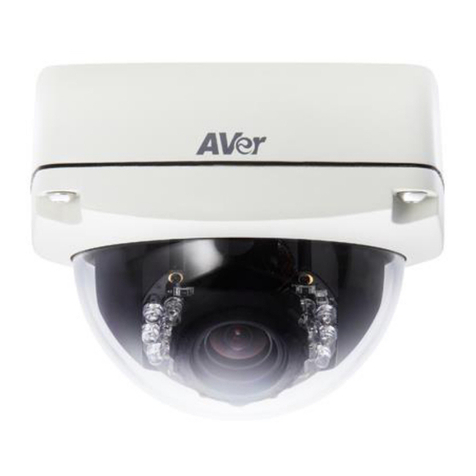
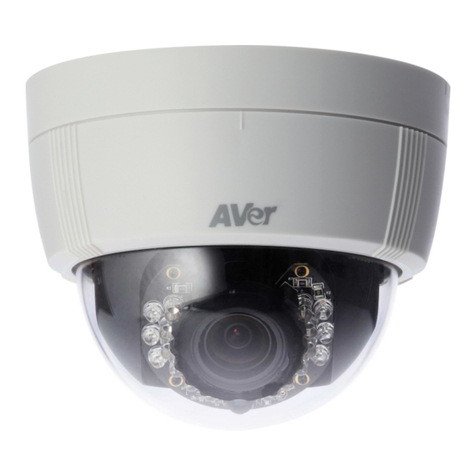
The FD2000 is an H.264 2-megapixel; full HD dome camera designed with ultra-discreet,
recessed-mount and super mini dimension (Φ:97mm) for indoor use. With innovative and unique fix
supports, FD2000 is specifically developed for recessed mounting in suspended ceilings (drop
ceilings), offering discreet video surveillance solutions that is ideal for retail stores, boutiques, schools,
banks, elevators and other office buildings. FD2000 can provide superior quality video during the day
without compromising on nighttime performance with its digital day and night function.
Product Features
2M-pixel, full HD Definition (1080p) 30fps support
Ultra compact size and easy installation, specifically for suspended ceilings
Digital Day and Night
Wide Dynamic Range
Noise reduction
Enhanced Backlight Compensation up to 6 selectable areas
Adjustable Shutter Speed
Power over Ethernet (PoE)
H.264/MJPEG compression formats
Android/iOS mobile phone/PDA support
Free bundled AVer NXU Lite recording software

2
Specifications
Hardware
RAM 256MB
Flash 256MB
Image Sensor 1/3” CMOS (2 megapixels)
Lens Type Fixed lens, f=3.4mm
Electric Shutter 1/25~ 1/8192 sec (PAL); 1/30~ 1/8192 sec (NTSC)
I/O N/A
Video Out N/A
Audio In 1 (built-in microphone, mono type)
G.711 (64K)
Audio Out N/A
Power over Ethernet Yes
Power Consumption PoE Class 0 (IEEE802.3af): 5.5W
This unit operates with PoE as power supply only.
Dimensions Ø : 97 x 104.5 H (mm)
Weight 380g
Network
Ethernet Ethernet (10/100 Base-T), RJ45 connector
Network Protocol IPv4, HTTP, TCP, RTSP/RTCP/RTP, ICMP, UDP, IGMP,
DNS, DHCP, ARP, NTP
System
Video Resolution 1080p(1920x1080), 720p(1280x720), VGA(640x480),
CIF(352x240), QVGA(320x240)
Video Adjust Brightness, Contrast, Saturation, Sharpness, Shutter
Speed, Day-Night Mode, WDR, Backlight Compensation.
Triple Streaming Yes
Image Snapshot Yes
Full Screen Monitoring Yes
Privacy Mask Yes,4 different areas
Compression Format H.264/ MJPEG
Video Bitrates Adjust Yes (CBR/VBR)

3
System
Motion Detection Yes, 4 different areas
Triggered Action N/A. All the triggered actions have to be done on VMS
software or standalone NVR device.
Pre/ Post Alarm N/A. All the triggered actions have to be done on VMS
software or standalone NVR device.
Security Password Protection
Firmware Upgrade HTTP mode (can be upgraded remotely)
Simultaneous Connection Suggestion up to 6 clients (H.264,1080p, 8Mbps)
Audio Yes, 1-way (mono)
Operation Temperature -10°C to 50°C
Operation Humidity 0% ~ 90%, non-condensing
Storage Temperature -20°C to 60°C
Storage Humidity 0% ~ 90%, non-condensing
Web browsing requirement
OS Windows
®
XP (32-bit), 7 (32/64-bit)
Microsoft
®
IE 9.0 or above (32-bit only)
Hardware Suggested CPU: Intel
®
Pentium 4 2.4GHz or equivalent
RAM: 1 GB or above
Display: NVIDIA GeForce 6 Series or ATI Mobility Radeon
9500 (DirectX 9 compatible)
Mobil support iOS 4.3 or above, Android 1.6 or above.
*SPECIFICATIONS ARE SUBJECT TO CHANGE WITHOUT NOTICE.

4
Package contents
Item Descriptions
1. FD2000
2. CD (User’s Manual and Quick Guide included)
3. Mounting template label
*This model doesn’t support power adapter and only supports PoE power.

5
Product Installation
Monitor Setting
1. Right-click on the desktop. Select “ Properties”
2. Change “Color quality” to “Highest (32-bit)”.

6
Hardware Installation and I/O Pin Assignment
1. Product Overview

7
Definition:
Index # Name
1 Bracket
2 Body
3 Top Case

8
Network LED and Button Definition
2. Installation
Step 1:
Use the mounting template label to mark-out and prepare the mounting area.
Drill a round hole with Ø84 ㎜in diameter in the ceiling.
Put network cable through the round hole on the ceiling, and then attach to the camera
body.
Put camera into the round hole on the ceiling. Please hold the camera body to avoid
falling.

9
Step 2:
Use a screwdriver to swivel three screws to bring out three locking arms.
Tighten the screws sufficiently to compress the arms to adjust to mounting surface.
[Notes] The clip design is suitable for the suspended ceiling less than 25.5mm in thickness
Step 3: Then adjust the tilt angle screw to shoot the suitable scenery
Locking arm

10
Step 4: Attach the camera housing with extra care on direction.
Step 5: Fasten the camera by screwing cover to the pedestal with screws and complete
installation.

11
3. Disassembling the Camera
Step 1: Loosen the screws on the cover.
Step 2: Remove the camera housing

12
Step 3:
Pull down the camera while the bracket is still attached to the ceiling.
Move the two fasteners to take out the camera body. (Two of three applicable fasteners in
total can be forced to move).
Take off the camera body while the bracket is still attached to the ceiling.

13
Step 4:
::
:Pull down network cable and finish disassembly.

14
Power Over Ethernet (PoE)
Set up the IP camera through Power over Ethernet (PoE). PoE is a technology that integrates power
into a standard LAN infrastructure. It enables power to be provided to the network device, such as an
IP camera, using the same cable as that used for network connection. It eliminates the need for power
outlets at the camera locations.
[Note] 802.3at, 30W PoE Switch is recommended.
[Note] PoE switch compatible list:
D-Link DES-1316/
ZyXEL ES-2024/D-Link-1005A/A5-20S4B/WS-C3560X-24P-L/VD2
Ethernet
PoE Switch
Ethernet Cable
PoE IP Camera
PoE IP Camera
Power

15
IP Assignment
There are two ways to find IP Camera:
−Finding IP Camera by using “NXU Lite recording software”
−Finding IP Camera by using “AVer IPCam Utility”
Finding IP Camera by using “NXU Lite recording software”
1. The NXU Lite software is in the attached software CD. Before launching it, please install the
software first. During the installing process, users will be required to input a User name and
Password for login NXU Lite system. Users can define the User name and Password as wishes.
Please refer to NXU Lite user manual for detailed installation instruction.
2. To run the application, double-click on your PC desktop or click Start > Programs > DVR >
NXU Lite. For security purpose, some of the features would require you to enter User name and
Password before it can be accessed. When the Authorization dialog box appears, key in your User
ID and Password. (If this is the first time, enter the one you have registered when installing the
software.
Click it to call out virtual
keyboard.

16
3. Click “Setup” button.
4. Click “Add IPCam” button.
5. Select “IP Camera” item.
Other manuals for FD2000
1
Table of contents
Other AVer Security Camera manuals