REAR VIEW
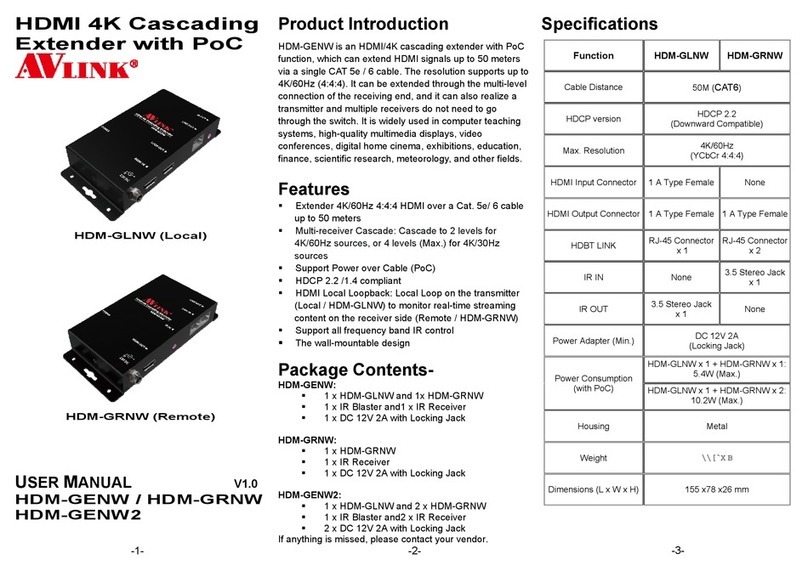
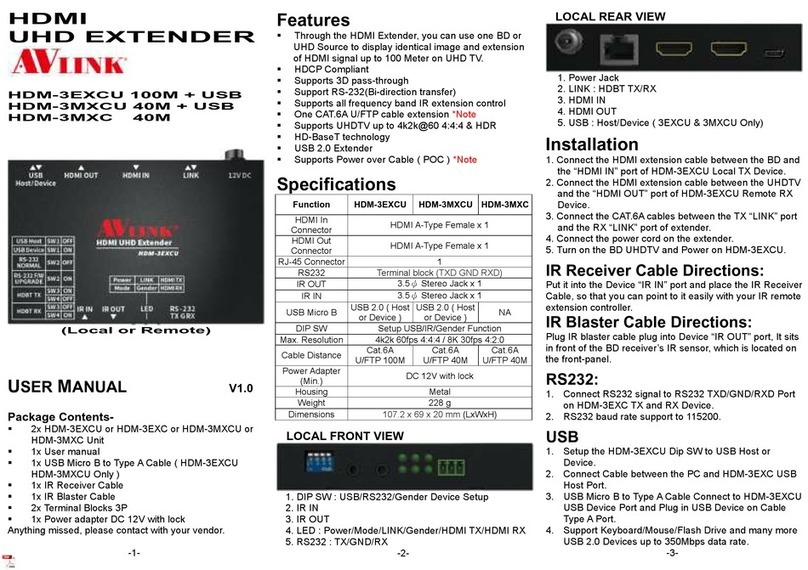
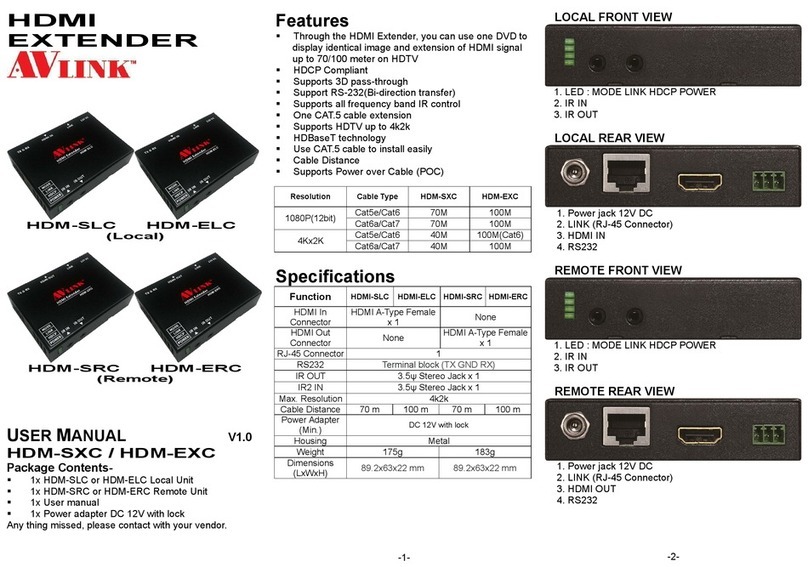
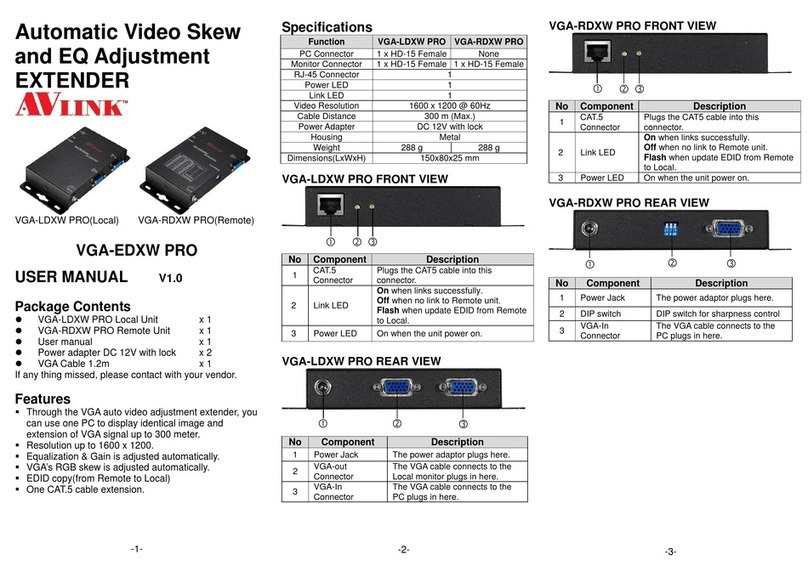
WVH-EPL
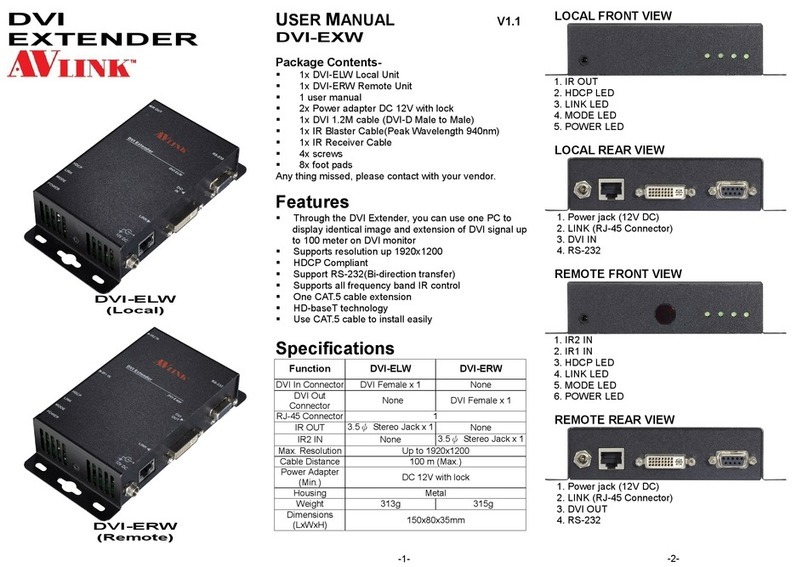
1. RS-232 Connector (1X3 Pole Captive Screw Socket)
2. DC 48V (1x2 Pole Captive Screw Socket)
3. Link (RJ-45 Connector)
WVH-EPR
1. RS-232 Connector (1X3 Pole Captive Screw Socket)
2. Link (RJ-45 Connector)
Installation
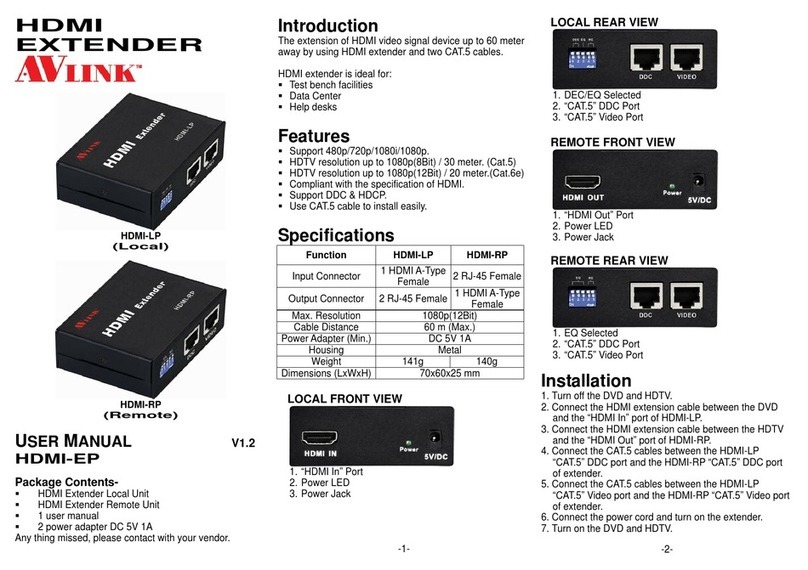
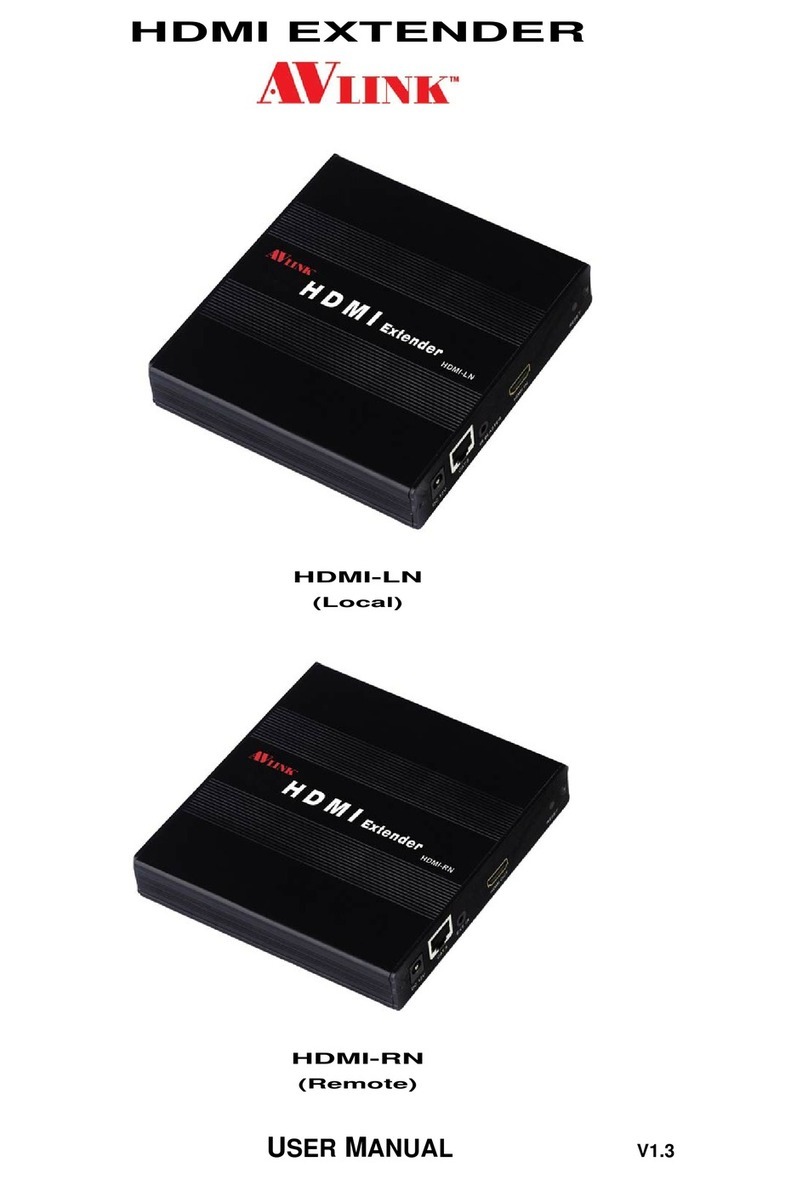
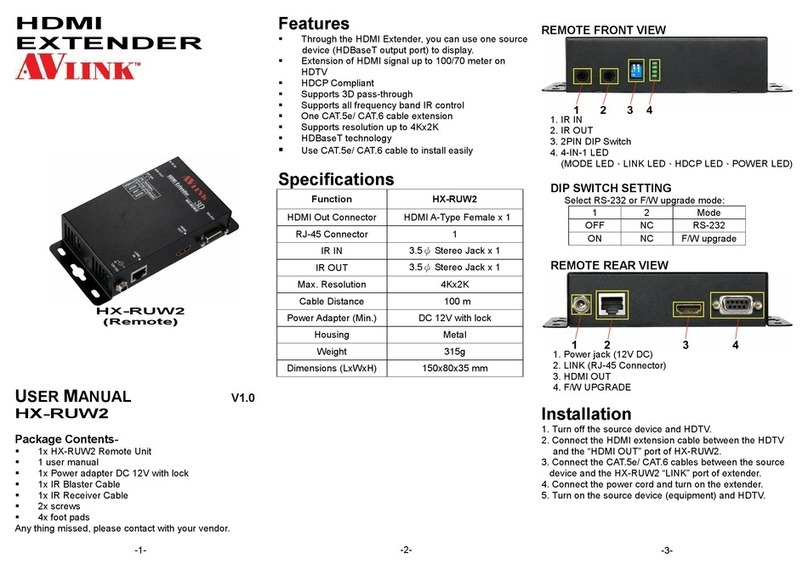
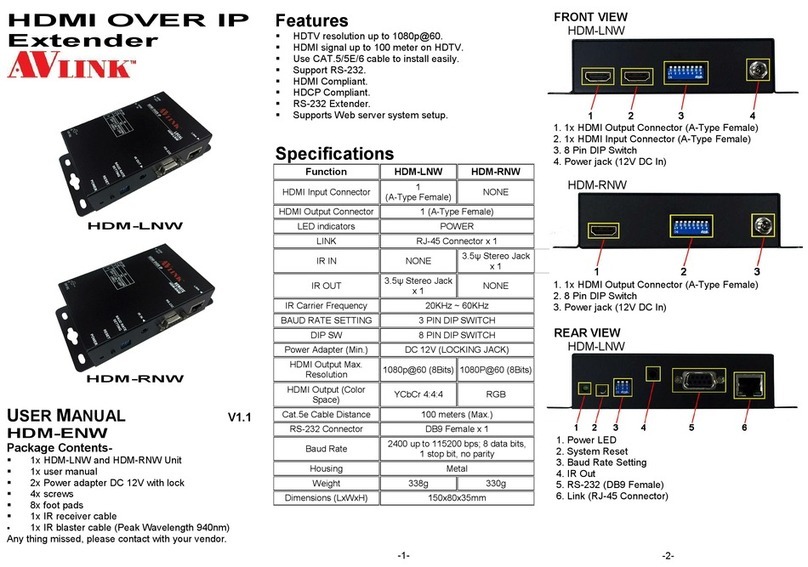
1. Turn off t e HDMI source and HDMI display.
2. Connect t e HDMI/VGA cable between t e HDMI/VGA
source and t e “HDMI/VGA IN” port of WVH-EPL.
3. Connect t e HDMI cable between t e HDMI display and
t e “HDMI OUT” port of WVH-EPR.
4. Connect t e CAT.5/5e/6 cables between t e WVH-EPL
“LINK” port and t e WVH-EPR “LINK” port of extender.
5. Connect t e power cord of WVH-EPL.
5. Turn on t e HDMI/VGA source and display.
-3-
IR Receiver Cable Directions:
Put it into t e WVH-EPL/R “IR IN” port and place t e IR
Receiver Cable, so t at you can point to it easily wit your
IR remote controller.
IR Blaster Cable Directions:
Plug IR blaster cable plug into WVH-EPL/R “IR OUT” port,
It sits in front of t e DVD receiver’s IR sensor, w ic is
located on t e front-panel.
Technical Specifications Output Si nal
1 TMDS Data 2+ 11 TMDS Clock S ield
2 TMDS Data 2 S ield 12 TMDS Clock -
3 TMDS Data 2- 13 CEC
4 TMDS Data 1+ 14 Reserved
(N.C. on device)
5 TMDS Data 1 S ield 15 SCL
6 TMDS Data 1- 16 SDA
7 TMDS Data 0+ 17 DDC/CEC Ground
8 TMDS Data 0 S ield 18 +5 Power
9 TMDS Data 0- 19 Hot Plug Detect
10 TMDS Clock+
-4-
Wirin Information & Codin
Conductor
Pair 1 5 W ite-Blue
4 Blue
Pair 2 1 W ite-Orange
2 Orange
Pair 3 3 W ite-Green
6 Green
Pair 4 7 W ite-Brown
8 Brown
TxGRx (only up rade firmware):
Use t e transmission line wit RS-232 to connect t e PC
for upgrade firmware(local and remote).
Rx /G /Tx:
Rx: Receive RS232-level signal pin. (data in)
G: GND
Tx: Transmit RS232-level signal pin. (data out)
-5-
