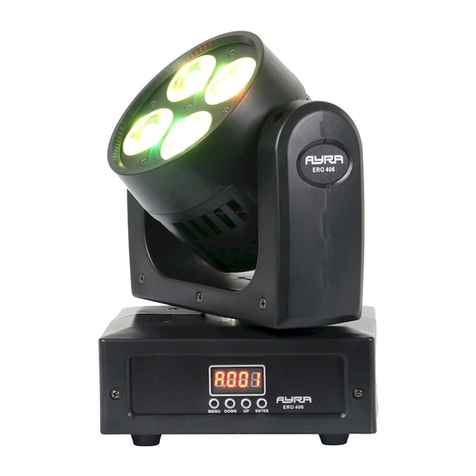
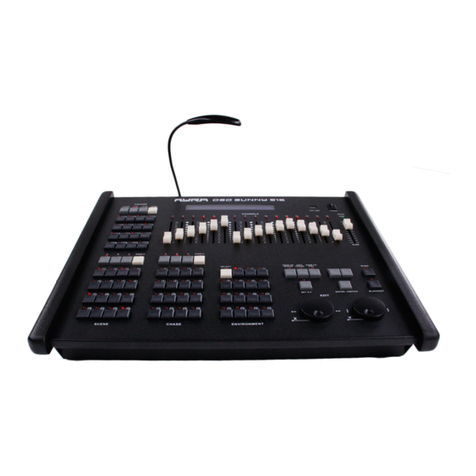
The different functions e plained:
ADDR:
With this function, you can determine the DMX start address of the device. Set it channel 001, and the
device will read DMX channel 1. Set it to channel 003, then the device will read DMX channel 3, etc.
CHAN: This device can make use of many DMX channel modes. There’s a simplified channel mode for use
as part of a rather complete DMX circuit and e tensive control over the functions is not required. It’s also
possible to use the most e tensive channel mode, allowing for more available channels, each with a different
assigned function.
LND: The Master-Slave mode is designed to sync multiple devices. A copy of the internal program is sent
to the daisy-chained devices so that each one projects the same effect. The master-slave function works by
means of standard 3-pin XLR cables. The only difference is that the first device in the chain does not receive
DMX input.
PLEASE NOTE: When Slave mode is activated, the device will wait for a signal from the Master device. It is
not possible to simply select an automatic or sound-controlled mode! To cancel this, select 'NAST' mode in
the SLND menu, so the device goes to Master mode. Then, all standalone functions can be activated.
COLO: Choose 1 out of 15 colour presets and add optional stroboscope effects.
JUMP: Automatic program with slow or fast colour alternating and the option to add a stroboscope effect.
FADE: Automatic program with slow or fast colour transitions and the option to add a stroboscope effect.
MANU: Manual colour mi ing function. Set the master level, add an optional stroboscope effect and adjust
each base colour value (red, green, blue, white) to mi a custom colour.
OUN: This option allows you to turn the device’s microphone function on or off.
EN : This mode allows you to adjust the internal microphone’s sensitivity. The further away the device is
from the speaker(s), the more sensitivity is required so the device responds properly to the music. The
microphone is capable of handling high sound pressures but the louder the signal and sensitivity, the more it
will have difficulty matching the beat of the music. E periment with sensitivity levels and device positioning
for optimal signal transfer.
DIMC: Adjust the LED engine’s dim curve to simulate a halogen lamp, for e ample. Make sure to e periment
with the different dimming curves as each has its own effect on dimming the LED in respect to increasing or
decreasing DMX values.
BLND: Set the device’s behaviour in case of DMX signal loss. Choose ‘NO’ if you want the device to switch
to a stand-alone preset in case of DMX signal loss. Choose ‘YES’ if you want the device to default to
Blackout mode in case of DMX signal loss until a DMX signal has been re-established.
LED: If the LED display is not in use, it can be de-activated by turning the LED mode OFF. The red symbols
will no longer light up when using the device in a dark environment. Press one of the menu buttons and the
display will light up again and show any relevant information. If the device registers that the menu is not
actively being used, it will automatically turn off within 30 seconds.
DI P: This function determines whether the display is shown normally or inverted. If the device is
suspended, the display may be harder to read. This function allows you to rotate it vertically for better
legibility.
TE T: Should the device need cleaning or maintenance, this function can be used to test one or more
devices simultaneously. The device plays a continuous program while the step motors and LEDs are used.
This way you can quickly detect any abnormalities or defects. The device will run the program until stopped
manually (for e ample when the sound-controlled mode is activated.)
The information in this user manual is subject to change at any time without notice.
Version: 1.0 Date of creation and author's initials: 07-10-2019 RV Revision date and author's initials: -
