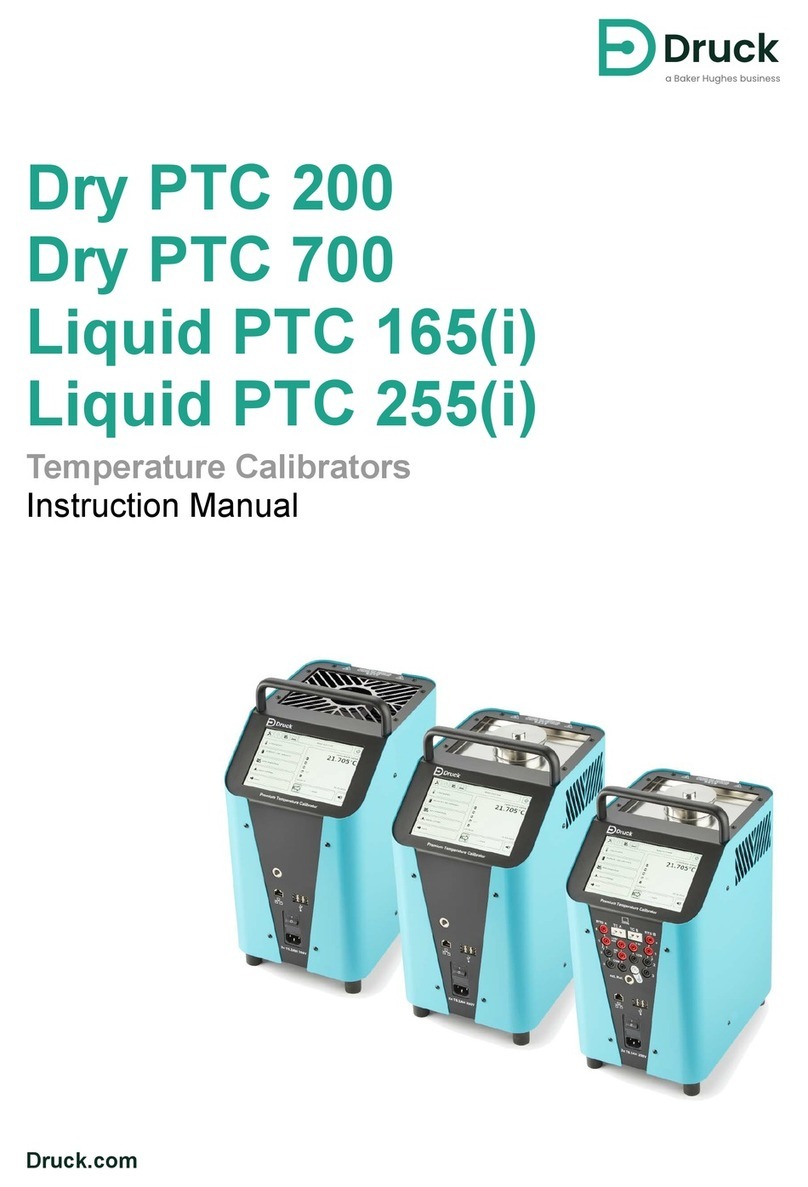
Baker Hughes Druck DPI 620 Genii Instruction Manual

Copyright 2013 Baker Hughes Company.
English–DPI 620G Safety Instructions | 1
1. Overview
The Druck DPI620 Genii is a battery-powered instrument for electrical measure and source
operations and HART® communications. The Druck DPI 620 Genii also supplies the power and
user interface functions for all optional items. The touch-screen displays up to six different
parameters.
2. Equipment in the Box
The following items are supplied with the Druck DPI 620 Genii:
• DC power supply/battery charger unit.
• Li-polymer battery.
• Set of six test leads.
• AC Probe.
• Quick Start Guide.
• Stylus.
3. Optional Items
The items that follow are optional items which can be used with the Druck DPI 620 Genii:
• Pressure Module Carrier, MC 620, this attaches directly to the Druck DPI 620 Genii to make
a fully integrated pressure instrument.
• Pressure Module, PM 620, this attaches to the pressure module carrier (MC 620) or a
pressure station (PV 62X) to enhance the pressure measurement functionality.
• Pressure Stations, PV 62X, if the Druck DPI 620 Genii is installed in a pressure station, it
becomes a fully integrated pressure calibrator.
3.1 Electrical Warnings
• To prevent electrical shocks or damage to the instrument, do not connect more than 30V
CAT I between the terminals, or between the terminals and the ground (earth).
• External circuits should have appropriate insulation to the mains.
• To prevent electrical shocks, use only the Druck specified AC probe (Part: IO620-AC) to
measure AC voltages that are more than 20 Vrms. Do not connect more than 300V CAT II
between the IO620-AC leads, or between the leads and the ground (earth). Attach it to the
specified connections only.
• This instrument uses a Lithium-Polymer (Li-Polymer) battery pack. To prevent an explosion
or fire, do not short circuit, do not disassemble, and keep it safe from damage.
• To prevent an explosion or fire, use only the Druck specified battery (Part: IO620-
BATTERY), power supply (Part: IO620-PSU) and battery charger (Part: IO620-CHARGER).
• To prevent battery leakage or heat generation, only use the battery charger and power
supply in the temperature range 0 to 40°C (32 to 104°F).
• The power supply input range is 100 – 240Vac, 50 to 60Hz, 250mA, installation category
CAT II.
• Position the power supply so not to obstruct the supply disconnecting device.
• To make sure the display shows the correct data, disconnect the test leads before power is
set to on or change to another measure or source function.
• To prevent a dangerous release of pressure, make sure that all the related pipes, hoses and
equipment have the correct pressure rating, are safe to use and are correctly attached.

Copyright 2013 Baker Hughes Company.
2 | DPI 620G Safety Instructions–English
4. Install the Battery
1. Remove the five Pozidriv screws (A) (Ref: Fig 1, Rear View).
2. Remove the battery cover.
3. Check the connections on the battery line up with the connections in the battery
compartment.
4. Place the battery in the battery compartment.
5. Replace the battery cover.
6. Secure the cover with the five Pozidriv screws.
Figure 1: Rear View
5. Charge the Battery
1. Connect the DC power supply/battery charger unit in to the +5VDC connection on the side of
the unit (Ref: Fig 2 Side View).
2. The battery can also be charged using the USB connections (Ref: Fig 2 Side View).
3. The unit can be On or Off when charging. Charging times maybe longer if charging when the
unit is On.
5.1 Battery Charging
6. Basic Modes
6.1 Power On
From OFF – press the power button (Ref: Fig 2, Side View) until the dashboard is displayed.
Charging Connection Charge Time
DC Power Supply 6.5 Hours
External Battery Charger 6.5 Hours
Mini USB Connection 13 Hours.

Copyright 2013 Baker Hughes Company.
English–DPI 620G Safety Instructions | 3
6.2 Power Off
Press and hold power button until the screen is blank.
6.3 Sleep Mode
Press and release power for sleep mode.
6.4 Power up from Sleep Mode
Ref: 6.1 Power On.
When powered-up from sleep mode the instrument always opens the last screen shown before
going into sleep mode.
6.5 Themes
Two themes are available Druck Dark and Druck Light, select the correct theme for the light level.
Select the Settings icon to access Themes.
Figure 2: Side View
7. Druck DPI 620 Genii, Modes (Ref: Fig 3, Dashboard)
The Druck DPI 620 Genii can be used as follows:
• Calibrator (with independent functions on each of six channels).
• HART® Communicator
• Foundation Field-bus Communicator
• Scope
• Meter
• Calibrator
7.1 The Dashboard Navigation
The dashboard is navigated by swiping a finger from top to bottom while touching the screen.
Functions screens are navigated by swiping a finger from right to left while touching the screen.
7.2 Set Date, Time and Language
Select the Settings icon to access Date, Time and Language menus.

Copyright 2013 Baker Hughes Company.
4 | DPI 620G Safety Instructions–English
7.3 Druck DPI 620 Genii Manual
Select the Manual icon on the Dashboard to access the manual. All the information required to
operate the Druck DPI 620 Genii is in the manual section of the Dashboard.
Figure 3: Dashboard - Touch Screen
Note: Field-bus is not installed on all units.
8. Example Dashboard Functions
8.1 Calibrator
Figure 4: Calibration Screens
Use this application to compare the output of a test device/system with the input.
Advanced calibrator features
• Data logging capabilities. Store test results.
• Documenting capabilities. Perform automatic procedures and store the results.

Copyright 2013 Baker Hughes Company.
English–DPI 620G Safety Instructions | 5
8.2 HART®
Figure 5: HART® Screen
Use the HART® application to do the following:
• Communicate with HART® protocol devices
• Read and change HART® device settings
• Trim and calibrate HART® device variables.
9. Over-voltage Categories
The following summary of installation and measurement over-voltage categories come from
IEC61010-1. The four over-voltage categories, are CAT I to CAT IV, which indicate the severity
of an over-voltage transient.
10. General Specification
Refer to Data Sheet.
11. Environmental Conditions
Refer to Data Sheet.
12. Customer Service
Over-voltage
Category Description
CAT I This is the least severe over-voltage transient. CAT I equipment
cannot be directly connected to the mains power. An example of
CAT I equipment is a process loop powered device.
CAT II This is for single phase electrical installation. Examples are
appliances and portable tools.

Copyright 2013 Baker Hughes Company.
6 | DPI 620G Safety Instructions–English

Copyright 2013 Baker Hughes Company.
Nederlands–DPI 620G Veiligheidsinstructies | 7
1. Overzicht
De Druck DPI620 Genii is een instrument op batterijen voor elektrische meet- en
genereerfuncties en HART®-communicatie. De Druck DPI 620 Genii levert ook de vermogens- en
gebruikersinterfacefuncties voor alle optionele items. Het touchscreen toont max. zes
verschillende parameters.
2. Inhoud
De volgende items worden met de Druck DPI 620 Genii meegeleverd:
• Dc-voeding/batterijlader.
• Li-polymeer batterij.
• Zes testkabels.
• Ac-sonde.
• Beknopte handleiding.
• Stylus.
3. Optionele items
De volgende items zijn accessoires voor de Druck DPI 620 Genii:
• Pressure Module Carrier, MC 620, die direct op de Druck DPI 620 Genii wordt aangesloten
voor een volledig geïntegreerd drukinstrument.
• Pressure Module, PM 620, die op de Pressure Module Carrier (MC 620) of op een
drukstation (PV 62X) wordt aangesloten om de drukmeetfunctie te verbeteren.
• Pressure Stations, PV 62X, als de Druck DPI 620 Genii in een drukstation is geïnstalleerd,
dan wordt het een volledig geïntegreerde drukkalibrator.
3.1 Elektrische waarschuwingen
• Als u elektrische schokken of schade aan het instrument wilt voorkomen, mag u niet meer
dan 30 V CAT I tussen de terminals of tussen de terminals en de aarde aansluiten.
• Elektrische circuits moeten op juiste wijze van de netstroom zijn geïsoleerd.
• Als u elektrische schokken wilt voorkomen, gebruikt u alleen de door Druck gespecificeerde
ac-sonde ( IO620-AC) voor de meting van ac-spanningen van meer dan 20 Vrms. Sluit niet
meer dan 300 V CAT II aan tussen de IO620-AC kabels of tussen de kabels en de aarde.
Bevestig het alleen aan de gespecificeerde aansluitingen.
• Dit instrument maakt gebruik van een lithium-polymeer batterij. Als u een ontploffing of brand
wilt voorkomen, moet u kortsluiting en beschadigingen vermijden en mag u de batterij niet
uit elkaar halen.
• Als u een ontploffing of brand wilt voorkomen, gebruikt u alleen de door Druck
gespecificeerde batterij ( IO620-BATTERY), voedingseenheid ( IO620-PSU) en batterijlader
( IO620-CHARGER).
• Als u batterijlekkages en warmteopwekking wilt voorkomen, gebruikt u alleen de batterijlader
en de voeding binnen het temperatuurbereik van 0 tot 40°C.
• Het invoerbereik voor de voeding is 100 - 240 Vac, 50 tot 60 Hz, 250 mA, installatiecategorie
CAT II.
• Zorg ervoor dat de voeding het ontkoppelingsmechanisme niet blokkeert.
• Voor de weergave van de juiste gegevens moeten de testkabels eerst ontkoppeld worden,
voordat de stroom wordt ingeschakeld of op een andere meet- of genereerfunctie wordt
overgeschakeld.

Copyright 2013 Baker Hughes Company.
8 | DPI 620G Veiligheidsinstructies–Nederlands
• Voorkom gevaarlijke drukontlading door ervoor te zorgen dat alle bijbehorende buizen,
slangen en apparatuur het juiste drukvermogen hebben en goed en veilig zijn aangesloten.
4. De batterij plaatsen
1. Verwijder de vijf Pozidriv schroeven(A) (zie Fig 1, achteraanzicht).
2. Verwijder het batterijdeksel.
3. Controleer of de aansluitingen van de batterij uitgelijnd zijn met die in het batterijvakje.
4. Plaats de batterij in het batterijvakje.
5. Doe het batterijdeksel terug op zijn plaats.
6. Draai de vijf Pozidriv schroeven van het deksel vast.
Afbeelding 1: achteraanzicht
5. De batterij opladen
1. Sluit de dc-voeding/batterijlader aan op de +5VDC aansluiting aan de zijkant (zie Fig 2,
zijaanzicht).
2. De batterij kan ook via de USB-aansluitingen worden opgeladen (zie Fig 2, zijaanzicht).
3. Het apparaat kan tijdens het laden in- en uitgeschakeld zijn. Het opladen duurt langer als het
apparaat tijdens het laden is ingeschakeld.

Copyright 2013 Baker Hughes Company.
Nederlands–DPI 620G Veiligheidsinstructies | 9
5.1 De batterij laden
6. Gewone standen
6.1 Power On (inschakelen).
Vanuit stilstand: druk op de stroomknop (zie Fig 2, zijaanzicht), totdat het dashboard wordt
weergegeven.
6.2 Power Off (uitschakelen).
Houd de stroomknop ingedrukt, totdat het scherm uitschakelt.
6.3 Sleep Mode (slaapstand).
Druk kort op de stroomknop om de slaapstand te activeren.
6.4 Inschakelen vanuit de slaapstand.
Zie 6.1 Inschakelen.
Als het instrument vanuit de slaapstand wordt ingeschakeld, wordt altijd het laatste scherm
weergegeven dat zichtbaar was toen het instrument op de slaapstand werd gezet.
6.5 Thema's
Er zijn twee mogelijke thema's: Druck Dark (donker) en Druck Light (licht). Kies het juiste thema
voor het lichtniveau. Kies het pictogram 'Settings' (instellingen) om 'Themes' (thema's) te openen.
Afbeelding 2: zijaanzicht
7. Druck DPI 620 Genii, standen (zie Fig 3, Dashboard)
De Druck DPI 620 Genii kan als volgt worden gebruikt:
• Kalibrator (met onafhankelijke functies op elk van de zes kanalen).
• HART® Communicator
• Foundation Field-bus Communicator
Aansluiting Oplaadtijd
Dc-voeding 6,5 uur
Externe batterijlader 6,5 uur
Mini USB-aansluiting 13 uur.
+5 Vdc

Copyright 2013 Baker Hughes Company.
10 | DPI 620G Veiligheidsinstructies–Nederlands
• Bereik
• Meter
• Kalibrator.
7.1 Dashboard-navigatie.
Navigatie van het dashboard gebeurt door een vinger van boven naar onderen over het scherm
te vegen.
Navigatie van de functieschermen gebeurt door een vinger van rechts naar links over het scherm
te vegen.
7.2 Datum, tijd en taal instellen
Kies het pictogram 'Settings' (instellingen) voor toegang tot Date (datum), Time (tijd) en
Language (taal).
7.3 Druck DPI 620 Genii Handleiding
Kies het pictogram 'Manual' (handleiding) op het dashboard om de handleiding te openen. Alle
informatie die nodig is voor de bediening van de Druck DPI 620 Genii staat in de handleiding op
het dashboard.
Afbeelding 3: Dashboard - Touchscreen
Opmerking: Field-bus is niet op alle instrumenten geïnstalleerd.
Functie-
menu
Instellingen
-menu
Scroll-
lampje
Lampje wijst op
actieve functie

Copyright 2013 Baker Hughes Company.
Nederlands–DPI 620G Veiligheidsinstructies | 11
8. Voorbeelden van dashboardfuncties
8.1 Kalibrator
Afbeelding 4: Kalibratieschermen
Gebruik deze applicatie om de output van een testapparaat/systeem met de input te vergelijken.
Geavanceerde kalibratiefuncties
• Dataloggingfuncties. Opslag van testresultaten.
• Documentatiefuncties. Automatische procedures uitvoeren en de resultaten opslaan.
8.2 HART®
Afbeelding 5: HART®-scherm
Gebruik de HART®-applicatie voor het volgende:
• Communicatie met HART®-protocolapparatuur
• Lezen en wijzigen van HART®-apparatuurinstellingen
• Afstelling en kalibratie van HART®-apparatuurvariabelen.

Copyright 2013 Baker Hughes Company.
12 | DPI 620G Veiligheidsinstructies–Nederlands
9. Overspanningscategorieën
Het volgende overzicht van de overspanningscategorieën voor installatie en meting zijn
afkomstig van IEC61010-1. De vier overspanningscategorieën zijn CAT I t/m CAT IV, die de ernst
van een overspanningsovergang aangeven.
10. Algemene specificatie
Lees het informatieblad.
11. Omgevingsvoorwaarden
Lees het informatieblad.
12. Klantenservice
Overspannings-
categorie Beschrijving
CAT I Dit is de minst ernstige overspanningsovergang. CAT I-
apparatuur kan niet direct op de netstroom worden
aangesloten. Een voorbeeld van CAT I-apparatuur is een
apparaat dat door een proceslus wordt aangedreven.
CAT II Dit is voor een 1-fase elektrische installatie. Voorbeelden zijn
huishoudelijke apparaten en draagbaar gereedschap.

bakerhughes.com
K0542 Revision A | Multilingual
Copyright 2013 Baker Hughes Company. This material contains one or more registered
trademarks of Baker Hughes Company and its subsidiaries in one or more countries. All third-
party product and company names are trademarks of their respective holders.
www.tradinco.com
Other manuals for Druck DPI 620 Genii
2
Table of contents
Languages:
Other Baker Hughes Test Equipment manuals
Baker Hughes
Baker Hughes Druck DPI 610E-PC User manual

Baker Hughes
Baker Hughes Druck PACE Series Use and care manual

Baker Hughes
Baker Hughes Druck PACE Use and care manual

Baker Hughes
Baker Hughes Druck DPI 620 Genii User manual

Baker Hughes
Baker Hughes Druck DPI 610 IS User manual

Baker Hughes
Baker Hughes Druck DPI 620 Genii User manual
Baker Hughes
Baker Hughes Druck DPI 610A User manual

Baker Hughes
Baker Hughes Druck Dry PTC 200 User manual

Baker Hughes
Baker Hughes Druck DPI 612 User manual

Baker Hughes
Baker Hughes Druck DPI 880 User manual