Baxtran SW User manual

1
VISITE NUESTRA PÁGINA WEB :
WWW.COMPRABASCULA.COM

1INTRODUCCIÓN
Componente de mesura de la carga equipado con una célula de carga alta▪
precisión.
Pantalla grande de líquido de cristal.▪
Temperatura de funcionamiento: 15-30ºC▪
Rápida aparición del peso en pantalla.▪
Auto apagado para conservar la potencia de la batería.▪
Auto calibración a través del teclado.▪
Función TARA.▪
Indicador de batería baja.▪
Indicador de sobrecarga.▪
Multifunción en las pesadas y en cuentapiezas.▪
2INSTALACIÓN DE BATERÍA
Especificación de batería: 3 pilas tipo C (LR14) no incluidas.
Procedimiento de instalación:
Retirar la tapa de la batería del comportamiento situado debajo la balanza.1. Instalar baterías con la correcta polaridad.2. Cerrar la tapa de la batería.3.
3OPERACIÓN
3.1 FUNCIONES DE TECLADO
Presione esta tecla para encender y apagar la balanza.
Cuando la balanza está encendida, el LCD muestra la figura que
aparece más abajo y auto cero después de 3 segundos.
Utilice esta tecla para escoger la unidad de peso tal como kg, lb,
oz o piezas.
Presione esta tecla para proceder a la función de tara y cero1. cuando la balanza esté encendida. (Puede utilizar la función
tara para eliminar el peso del contenedor, después puede
obtener el peso neto cuando se utiliza el contenedor)
Cuando la balanza esté apagada, presione la tecla durante 32. segundos para introducir el procedimiento de calibración.
Funciones de cuentapiezas:
Cuando la balanza esté encendida, presione1. para seleccio-
nar la unidad de piezas.
Presione2. para seleccionar: tamaños de ejemplo de 10, 20,
50, 100 y 200 piezas. * Cuando más grande sea el tamaño de
ejemplo, más precisa será la unidad de peso registrada.
Según el tamaño seleccionado, sitúe el número seleccionado3. de las piezas de muestra sobre la plataforma.
Presione4. , la pantalla LCD mostrará primero “CAL” y des-
pués la cantidad de las piezas de muestra situadas sobre la pla-
taforma. * Si el objeto a pesar es demasiado ligero, seleccione
una cantidad mayor para obtener un resultado más preciso.
Sitúe los objetos a contar sobre la plataforma, después de un5. momento la pantalla mostrará el resultado.
Después de apagar, la unidad de peso del tamaño de ejemplo6. será memorizado. Para mesurar el mismo objeto, sólo debe
poner en marcha la balanza y seleccionar “pcs” para empezar
la operación de cuentapiezas; para contar un objeto diferente,
por favor repita los pasos señalados anteriormente.
3.2 SOBRE CARGA
Si el peso del objeto está por encima de la capacidad máxima, la pantalla mos-
trará “___”, por favor, retire el objeto de la plataforma y consulte el manual de
usuario para utilizar la balanza de una manera adecuada.
3.3 BATERÍA BAJA
El símbolo de advertencia de batería baja “Lo” aparecerá en la pantalla cuan-
do la potencia de la batería sea insuficiente.Por favor, retírela, y reemplácela
con batería nueva para asegurar un mejor funcionamiento.
3.4 AUTO-APAGADO
La balanza se apagará automáticamente si no se utiliza durante un periodo
de tiempo.
4CALIBRACIÓN
Cuando la balanza esté apagada, presione y mantenga la tecla▪hasta
que la pantalla muestre el valor, espere hasta que se estabilice el valor.
Presione▪otra vez, en pantalla leerá “CERO”, más tarde la pantalla mos-
trará otro valor “xxxx”.
Según el valor que aparece en pantalla (Ej. 5000), sitúe el mismo valor de▪
peso de calibración (5000 g) sobre la plataforma.
Presione las teclas otra vez, la pantalla mostrará “CAL” y después “PASS”.
Retire el peso de calibración de la plataforma y apague la balanza.▪
5GARANTÍA
Esta balanza está garantizada contra todo defecto de fabricación y de mate-
riales, por un período de un año, a partir de la fecha de entrega.
Durante este período, GIROPÈS SL, se hará cargo de la reparación de la
balanza.
Esta garantía no incluye los daños causados por uso indebido, sobrecarga, o
no haber seguido las recomendaciones descritas en este manual.
La garantía no cubre los gastos de envío necesarios para la reparación de la
balanza.
Appuyez cette touche pour allumer et éteindre la balance.
Quand la balance sera allumée, l’ecran LCD s’allumera et debute-
ra son teste auto zéro après 3 seconds.
Utilisez cette touche pour choisir l’unité de poids comme kg, lb, oz
ou pièces.
Appuyer sur cette touche pour procéder à la fonction de tare1. et de zéro quand la balance sera allumée. (on peut utiliser la
fonction tare pour éliminer le poids du container, ensuite on
peut obtenir le poids net quand on utilisera le container)
Quand la balance sera éteinte, appuyez la touche pendant 32. seconds pour entrer en procédure de calibration.
Fonction compteuse:
Quand la balance sera allumée, appuyez1. pour choisir
l’unité compteuse.
Appuyer sur2. pour choisir la quantité de pieces: 10, 20, 50,
100 et 200 pièces. * Plus grande sera la quantité de piece, plus
précise sera l’unité de poids enregistrée.
Suivant le nombre de pieces selectionneés, placer le nombre3. de pièces d’échantillon sur la plate-forme.
Pressez4. , ll’écran LCD montrera d’abord “CAL” et ensuite la
quantité des pièces d’échantillon situées sur la plate-forme. *Si
l’objet à peser est trop léger, choisir une quantité plus grande
pour obtenir un résultat plus précis.
Placer les objets à compter sur la plate-forme, après un moment5. l’écran affichera le résultat.
6. Après avoir éteint, l’unité de poids de la quantité de6. pieces sera mémorisé. Pour mesurer le même objet, seulement
ON doit mettre en marche la balance et sélectionner “pcs”
pour commencer l’opération compteuse; pour compter un
objet différent, répétez les operations decrite précédemment.
3.2 SURCHARGE
Si le poids de l’objet est au-dessus de la porté maximale, l’écran montre-
ra “___”, il faut enlevez l’objet de la plate-forme et consulter le manuel
d’utilisation pour utiliser la balance de manière adéquate.
3.3 BATTERIE BASSE
le symbole d’avertissement de batterie basse “Lo” apparaîtra sur l’écran quand
la puissance de la batterie sera insuffisante. Enlever et la remplacez par une
batterie nouvelle pour assurer un meilleur fonctionnement.
1INTRODUCTION
Composant de mesure de la charge équipé d’un capteur avec de haute▪
précision.
Grand écran en cristaux liquide.▪
Température de fonctionnement : 15-30ºC.▪
Apparition rapide du poids sur l’écran.▪
Auto éteinte pour conserver la puissance de la batterie.▪
Auto calibration à travers le clavier.▪
Fonction TARE.▪
Temoin de batterie basse.▪
Temoin de surcharge.▪
Multi fonction sur les pesés et sur la fonction compteuse.▪
2INSTALLATION DE LA BATTERIE
Spécification de batterie: taille C (LR14) x 3 pièces, non incluses.
Procédure d’installation:
Ouverture du la capot du compartiment de la batterie situé au-dessous la1. balance.
Installer les batteries en respectant la bonne polarité.2. Fermer le capot de la batterie.3.
3OPERATION
3.1 FONCTIONS DU CLAVIER
ES
FR

3.4 FONCTION AUTO-ETEINT
La balance sera automatiquement éteinte si elle n’est pas utilisé pendant une
longue période de temps.
4CALIBRATION
Quand la balance sera éteinte, appuyez et maintenez les touches▪
jusqu’à ce que l’écran montre la valeur, attendez jusqu’à ce que la valeur se
stabilise.
Pressez▪autre fois, en écran on lira “ZÉRO”, plus tard la LCD montrera
une autre valeur “xxxx”.
Selon la valeur qui apparaît en écran (Ex. 5000), situer la même valeur de▪
poids de calibration (5000g) sur la plate-forme. Appuyer les touches
autre fois, l’écran montrera “CAL” et ensuite “PASS”.
Retirez le poids de calibration de la plate-forme et éteignez la balance.▪
5GARANTIE
Cette balance est garantie contre tout défaut de fabrication et de matériel
pendant 1 an à partir de la date de livraison.
Durant cette période, GIROPÈS SL. se chargera de la réparation de la balance.
Cette garantie n’inclut pas les dommages causés par une utilisation impropre,
surcharge ou par le non respect des recommandations décrites dans ce
manuel.
La garantie ne couvre pas les frais d’envois nécessaires à la réparation de la
balance.
Installation procedure:
Remove battery cover from the compartment under the scale.1. Install batteries with correct polarity.2. Close battery cover.3.
3OPERATION
3.1 KEYPAD FUNCTIONS
Press this key to turn the scale on and off.
When the scale is turned on, LCD shows as figure below and
auto zero after 3 seconds.
Use this key to switch the weight unit such as kg, lb, oz or pcs.
Press this key to proceed tare & zero function when power is1. on. (You can use tare function to eliminate container weight,
then you can net weight when a container is used)
When power is off, press this key for 3 seconds to go into2. calibration procedure.
Counting function:
When the power is on, press1. to select unit in “pcs”.
Press2. to select sample size of 10, 20, 50, 100 and 200
pieces. * The larger the sample size, the more accurate unit
weight registered.
Based on the size selected, place the selected number of sam-3. ple pieces on the platform.
Press4. , LCD will show “CAL” first then quantity of sample
pieces placed on the platform. * If the item to be counted is too
light, select a higher quantity to obtain more accurate average.
Place the items to be counted on the platform, after a moment5. the display will show the count.
After turning the power off, uit weight of sample size will be6. memorized. To measure the same item, turning the scale on
and select “pcs” to start counting operation; to count a different
item, please repeat steps above.
3.2 OVER LOAD
If the weight of objects is over maximum capacity, LCD will show “___”, please
remove the object from the platform and refer to the user manual to operate
scale properly.
3.3 LOW BATTERY
Low battery warnings symbol “Lo” will appear on LCD when the battery
power is insufficient. Please replace with new ones to ensure best performan-
ce.
3.4 AUTO-OFF FUNCTION
The scale will turn off automatically if not being used for a period of time.
4CALIBRATION
When the power is off, press and hold▪key till LCD shows a value, wait
until the value stabilizes.
Press▪key again, LCD reads “ZERO”, later LCD will show another value
“xxxx”.
According to the value shown on LCD (Ex. 5000), place the same value▪
calibration weight (5000g) on the platform.
Press key again, LCD will show “CAL” then “PASS”.
Remove the calibration weight from the platform and turn off the power.▪
5WARRANTY
This scale is warranted against defects of manufacturing and materials for a
period of 1 year, from the delivery date.
During this period, GIROPÈS SL will take charge of repairing the scale.
This warranty does not cover defects or damaged caused by misuse, over-
loading or improper installation contrary to the recommendations described
in this manual.
This warranty does not cover shipping costs for the reparation of the balance.
1INTRODUCTION
Loaded measurement component equipped with high accuracy load-cell.▪
Large liquid crystal display .▪
Operating temperature: 15-30ºC▪
Quick display of weight.▪
Auto power off to conserve battery power.▪
Auto calibration via keypad.▪
TARE function.▪
Low battery indication.▪
Overload indication.▪
Multi-function on weighing and parts counting.▪
2BATTERY INSTALLATION
Battery specification: C size (LR14) x 3 pieces not included.
Plataforma
Plateforme
Platform
Teclado
Clavier
Keypad
LCD
Manual de usuario | Manuel d’usager | User’s guide
Balanza de laboratorio
Balance de laboratoire
Laboratory scale
SW
ENG
Other Baxtran Scale manuals
Baxtran
Baxtran ONL User manual
Baxtran
Baxtran MS Series User manual
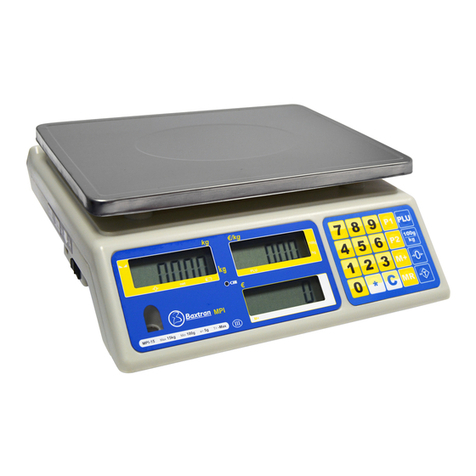
Baxtran
Baxtran MPI-6 User manual
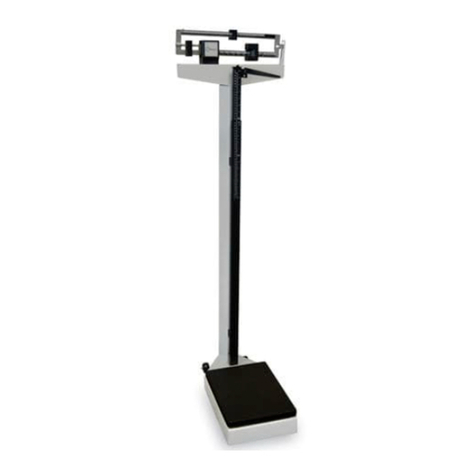
Baxtran
Baxtran RGT User manual
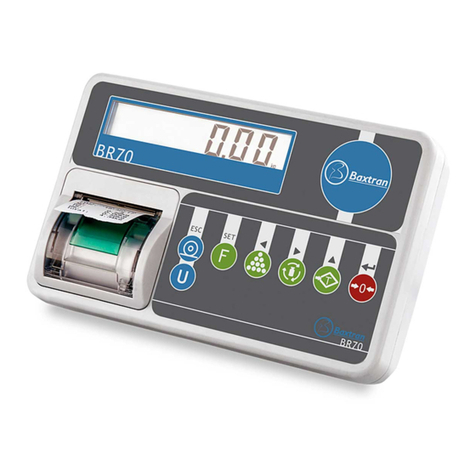
Baxtran
Baxtran BR70 User manual
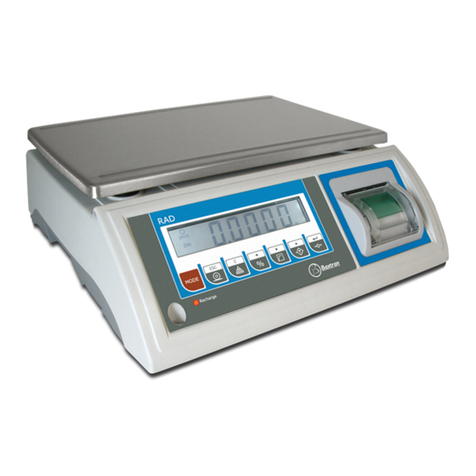
Baxtran
Baxtran RAD series User manual
Baxtran
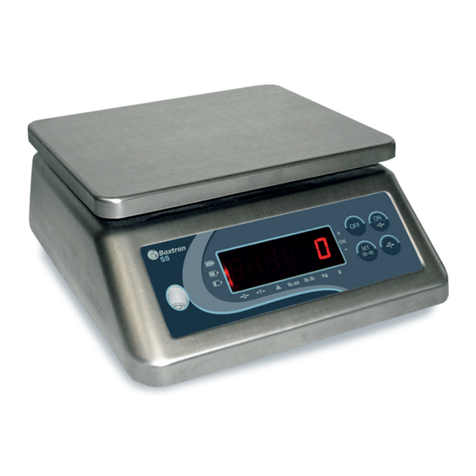
Baxtran SS series User manual
Baxtran
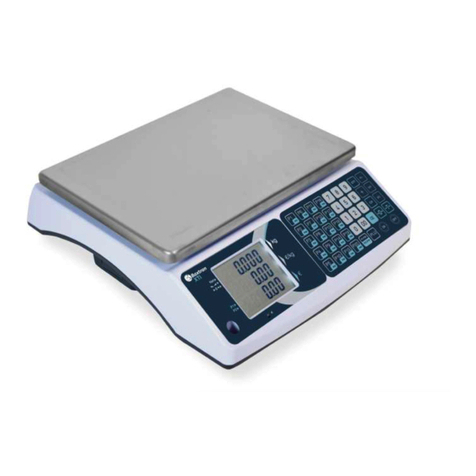
Baxtran XTI User manual
Baxtran
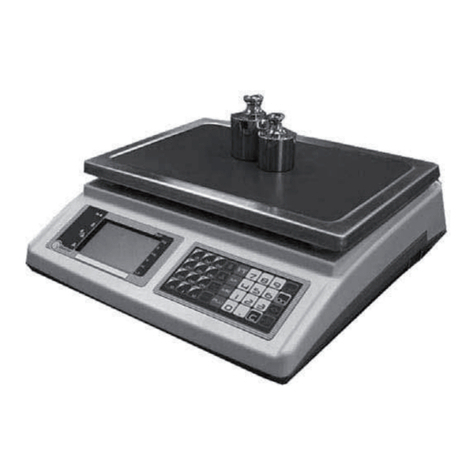
Baxtran IKP6 User manual

Baxtran
Baxtran STI User manual

Baxtran
Baxtran SAN User manual
Baxtran
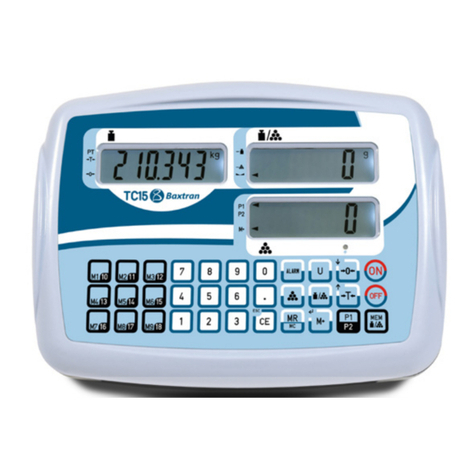
Baxtran TC15 User manual
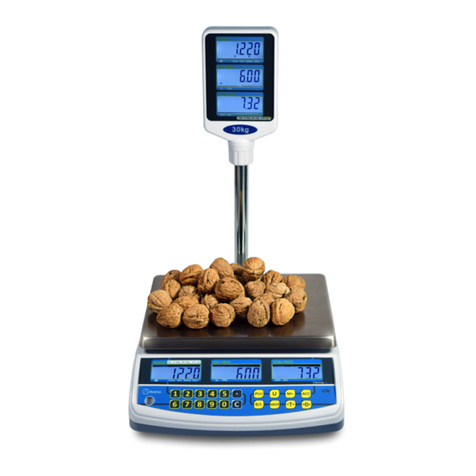
Baxtran
Baxtran TW User manual

Baxtran
Baxtran ABS Series User manual
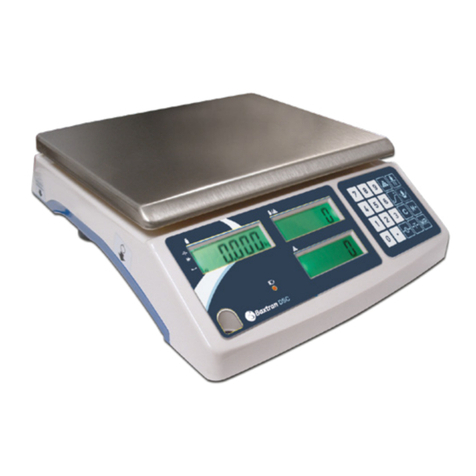
Baxtran
Baxtran DSC User manual
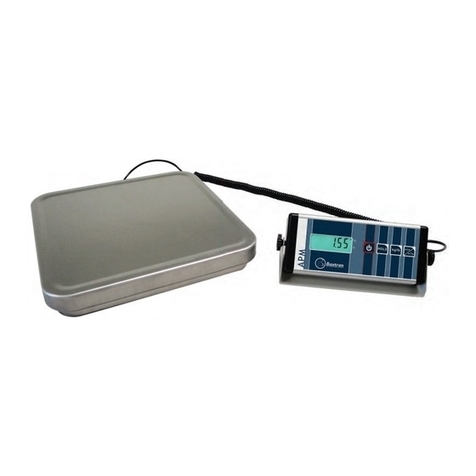
Baxtran
Baxtran APM User manual

Baxtran
Baxtran TW User manual
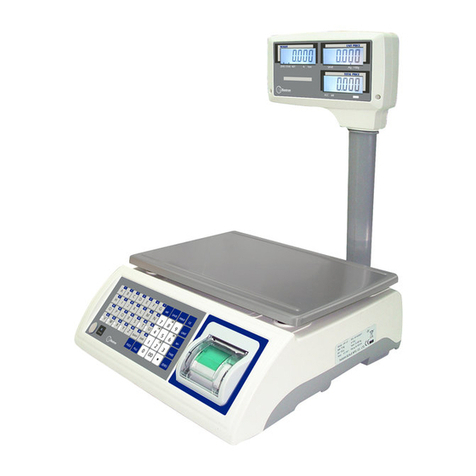
Baxtran
Baxtran RTI User manual
Baxtran
Baxtran ARD User manual
Baxtran
Baxtran DSN User manual
