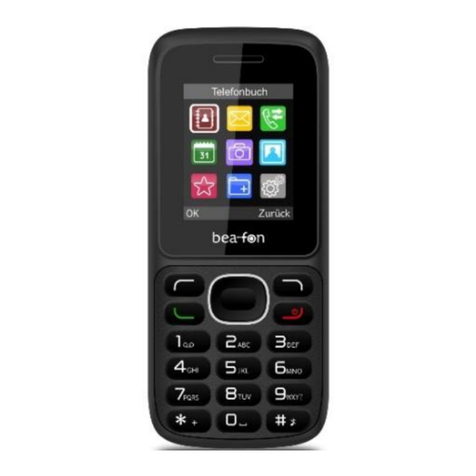
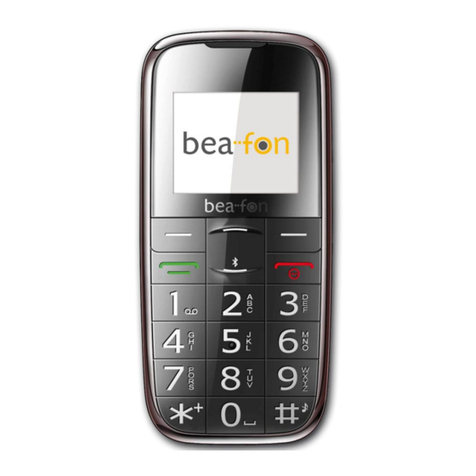
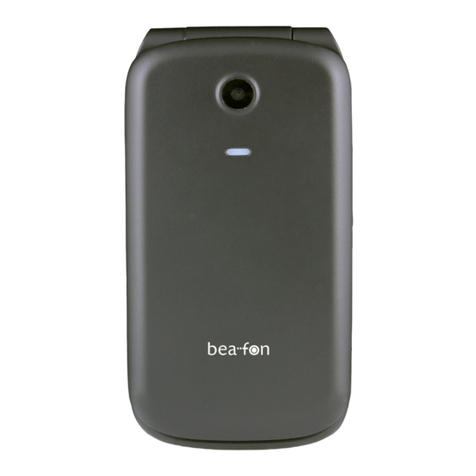
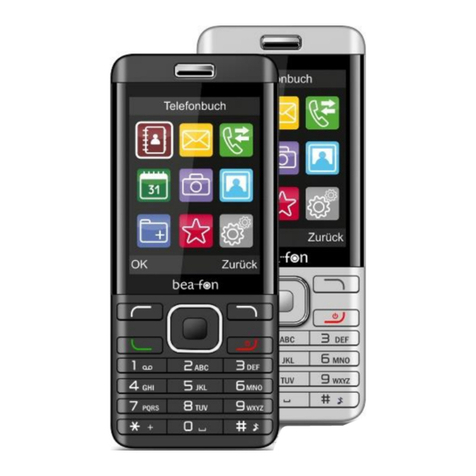
Bea-fon Active Line Series User manual

1
User Guide
2
3
4
5
6
7
8
9
10
11
12
13
14
15
16
17
18
19
20
Dear user,
21
thank you for purchasing Bea-fon AL560.
22
This user guide will provide you with general
23
information and operating instructions.
24
25

Certification information (SAR):
26
Bea-fon Mobile GmbH hereby declares that this phone
27
model meets the EU requirements for exposure to
28
electromagnetic fields.
29
The SAR (specific absorption rate) regulates a
30
standard value of 2.0W/kg as the average value per
31
10 grams of body tissue, and this mobile phone type
32
has a test value of 1.605 W/kg that complies with the
33
Radio Equipment Directive (RED) 2014/53/EU. The
34
SAR values may vary depending on national
35
regulations and the network band.
36
37
You can download a copy of the declaration of
38
conformity at any time from our homepage at:
39
http://beafon.com/service/certification/
40
41

What does IP68 certification mean?
42
The IP68 certification defines that the device is
43
dust-proof, on the one hand, and protected against
44
temporary submersion to a maximum depth of up to
45
1 meter, on the other hand. Obviously, this protection
46
refers to clear water, and there is no protection
47
against, e.g., salt water, soapy water, alcohol or
48
heated liquids. In addition, care must be exercised to
49
ensure that all covers of the device are always tightly
50
closed to prevent water from penetrating inside.
51
Description of keys:
52
53
54

1
Menu button, left
in standby mode, you can enter the main
menu with this button
2
Green dial key
Calling or receiving a call. On the default
screen: Calling up the recent calls list
3
* Key
Press this key on the default screen to enter
the following symbols: */+/P/W.
4
Navigation key (4-way)
In the default screen, you can get to the most
frequently used functions with the help of the
navigation keys. In the main menu, use these
for navigation.
5
Menu button, right
In the default screen, call up the telephone
book
6
Red button
Turn the phone on and off (press and hold)
and end a call. On the default screen, enable
the keypad lock.
7
OK key
In default screen, call up the main menu; by
long pressing the OK key, the flashlight is
turned on/off.
In menu mode, select the selected menu or
confirm an entry.
8
* Key
On the default screen; press and hold down
the key to enable/disable the conference
mode.
In write mode; change the input method.
55

Symbol description
56
57
Symbol
Description
Reception strength:
The vertical bars show the strength of
the reception of your network operator.
New Messages
This symbol is displayed when you
receive a new message.
SIM Card has an unread message. This
symbol flashes when the inbox is full.
You have to delete some messages in
order to be able to receive new
messages.
Earphones/Headset
This symbol is displayed when
headphones are plugged in.
Missed calls
This symbol is displayed when you did
not answer a call.
Call signal
Only ring
Silent mode and vibrate
Only vibrate
Vibrate and ring
Call forwarding
This symbol is displayed when all calls
are being forwarded.

Alarm
This symbol is displayed when you turn
on the alarm.
Roaming
This symbol is displayed when your SIM
card is in a foreign network.
Bluetooth
This symbol is displayed when the
Bluetooth is switched on.
Battery indicator
Battery status
58
Inserting the SIM cards
59
1. The telephone must be switched off and
60
disconnected from the charger.
61
2. Open the latch and remove the battery cover.
62
3. Use the supplied “tool”, a coin or a screwdriver
63
to open.
64
65
66

4. Use your finger nail to lift the battery cover on
67
the lower left and right hand sides (notch)
68
5. Should the battery be in the device, please
69
remove it.
70
71
There are 2 card slots:
72
1x SIM card slot on the left hand side.
73
The memory card slot is located below on the right
74
hand side.
75
Gently insert the SIM card in the SIM card slot. Make
76
sure that the gold-coloured contacts of the SIM card
77
are facing down and the bevelled corner is on the
78
bottom right.
79
80
Inserting the Micro SD card
81
Open the latch and gently insert the Micro SD card in
82
the SD Micro SD card slot and then close the latch
83
again.
84
Note: The phone supports Micro SD or Micro SDHC
85
memory cards of up to 16GB (not included).
86
87

Insert the battery
88
Insert the battery in the phone with the contacts first
89
and make sure that the contacts are on the front left
90
hand side.
91
92
Close the battery cover.
93
Replace the battery cover and close it.
94
95
Turn the latch clockwise to close the battery cover
96
firmly. The battery cover must be closed firmly to
97
prevent water from penetrating the phone
98
99
100
101

Charging the Battery
102
1. Connect the charger to the charging port at the
103
top of the phone. To do this, remove the cover at
104
the top of the phone.
105
2. Then plug the charger into a socket.
106
3. If the telephone is charged while switched on,
107
the battery indicator begins to go up.
108
4. The battery is fully charged when the battery
109
indicator no longer goes up.
110
5. Disconnect the charger from the network and
111
from the device when it is no longer needed!
112
Press firmly on the cover to close the charging socket
113
firmly. The charging socket must be closed firmly to
114
prevent water from penetrating the phone.
115
During the charging, the telephone and charger will
116
become warm. That is completely normal.
117
118
Note: The initial charging of the battery should take at
119
least 12 hours.
120
Switching the telephone on/off:
121
1. Press and hold the red key for 2-3 seconds in
122
order to switch on the telephone.
123
2. If the PIN code is activated, the phone will now
124
prompt you for your PIN code; please enter it
125
and confirm your entry with OK
126
3. Please select your language and confirm your
127
selection with OK
128
4. Press and hold the red key for 2-3 seconds in
129
order to switch off the telephone.
130
131

Device code
132
The use of this code can prevent unauthorized
133
persons from using this telephone. The factory default
134
code is: 0000
135
PIN code
136
The code from the network operator that is provided
137
with the SIM card prevents the use of the card by
138
unauthorized persons. You can activate/deactivate or
139
change the PIN code.
140
Lock screen
141
To avoid accidental keypress, press briefly the red key
142
to enable the keypad lock.
143
To disable the keypad lock, press the left menu key
144
and press and hold down the red key for approx.
145
2.0 seconds.
146
Press the green key to answer a call with the keypad
147
locked. When you end or reject the call, the keypad
148
automatically locks again.
149
Additional functions: Auto. For keypad lock, see
150
menu item: “Settings - Phone settings - Display -
151
Auto. Lock screen“.
152
Background image
153
Select your own wall paper.
154
In main menu, select “Settings - Phone settings -
155
Show Extras - Background image”.
156
157

Navigate the main menu
158
In the default screen, press the left “Menu” key or the
159
OK key to access the main menu.
160
In order to go back a menu level, press the right
161
menu key. Press the red key to return directly to the
162
default screen.
163
Dedicated keys
164
Using the navigation keys, you can get quick access to
165
frequently used phone functions.
166
1. In the main menu, select “Settings– Telephone
167
settings– Quick access key” and press OK
168
2. Select the desired key (navigation keys: up,
169
down, left, right)
170
3. Press “Edit”
171
4. Select a function from the list and confirm with
172
“OK”
173
Note: Not all functions are listed.
174
Make a call
175
1. In the default screen, enter the phone number
176
including the area code and press the green key.
177
Press Delete (right menu key) to delete the number on
178
the left of the cursor
179
2. Press the red key or right menu key to end the
180
call.
181
Making a call using the phonebook
182
If contacts are stored in the phonebook, you can make
183
a call using the phonebook.
184
1. In the default screen, press the right menu key
185
to get into the phonebook
186

2. Use the navigation key (down/up) to scroll to
187
the desired contact.
188
3. Press the green key to call the number.
189
4. Press the red key in order to cancel or end the
190
call.
191
Calling from the recent calls list
192
The call list displays incoming, outgoing and missed
193
calls.
194
1. In the default screen, press the green key to get
195
into the phonebook.
196
2. Use the navigation key to select a contact or
197
number.
198
3. Press the OK key to get more information.
199
4. Press the green key to activate a call.
200
Answering a call
201
If you want to pick up the call, press the green key or
202
left menu key.
203
If you want to reject the call, press the red key or
204
right menu key.
205
Speed dial
206
Assign a phone number to a number key (2 to 9).
207
1. In the main menu, select Phonebook and press
208
OK.
209
2. Press Options.
210
3. Select Settings and press OK
211
4. Select Speed dial and press OK.
212
5. Select Status ON and assign a number in the
213
list to a contact from the phonebook.
214
On the default screen, press and hold down the
215
desired number (2-9) for 2 seconds to select the
216
assigned number.
217

Headset/Bluetooth mode
218
If a headset is connected to the USB socket (or a
219
Bluetooth Headset), you can answer the call with the
220
button on the headset.
221
Note: Headset is not included!
222
Volume control
223
To adjust the call volume during the phone call, press
224
the navigation key down or up.
225
Torch
226
In the default screen, press and hold the OK button in
227
order to turn the flashlight on/off.
228
Hands-free
229
You can turn the hands-free function on/off during the
230
phone call by pressing the right menu key.
231
Change phone tones
232
1. In the main menu, select Settings – Profile.
233
2. Select the profile to use
234
3. Press “Options” and select Adjust.
235
To switch to another profile, select the desired profile
236
and press the OK key.
237
Note:
238
On the default screen, you can press the # key to
239
toggle between the normal and conference mode
240
241

Voicemail server
242
Voice mail is a network function. If a voice mail has
243
been received, the receipt of a new message will be
244
shown on the display of your telephone.
245
1. In the main menu, select Messages and press
246
OK”.
247
2. Select Settings and press OK
248
3. Select SIM and press OK
249
4. Select Voice mail” and press OK.
250
5. Select 1. <Empty> and press Options.
251
6. Select Select or Edit
252
7. Press Edit to enter Name and Number of your
253
voicemail number.
254
In the default screen, press and hold number 1 and
255
your telephone will call the corresponding number
256
saved in the voice mail server.
257
258
Main menu
259
Phonebook
260
New contact
261
On the default screen, press Phonebook. (right menu
262
key).
263
1. Select Enter new contact and press OK.
264
2. Press Select and select a memory: SIM card or
265
telephone.
266
SIM storage: Name and Number can be saved.
267
Telephone storage: Name, Number and ringtone
268
can be saved.
269
3. To save the contact, press Options and Save.
270
271

Messages
272
Write messages
273
1. Select the main menu, Messages and press OK
274
2. Select Write message
275
3. Enter the text
276
4. Press Options, select Send
277
5. Select one or more contacts and press Options
278
and select Send
279
Input method
280
Press the pound key (#) to toggle between lower and
281
upper case: abc, ABC, 123, and pay attention to the
282
symbol on the upper left hand side of the display.
283
Insert symbol
284
Press the star key (*), use the navigation key to select
285
the desired symbol and confirm with OK
286
Call list
287
In main menu, select Calls (Call list).
288
The Call list displays incoming, outgoing and missed
289
calls
290
Calendar
291
In the main menu, select Calendar
292
Press the navigation key to switch between the days.
293
You can save Event in the calendar.
294
Camera
295
In main menu, select Camera photos: press the
296
camera key (OK key).
297

Important: The phone supports Micro SD or Micro
298
SDHC memory cards of up to 16GB (not included).
299
Photos
300
In main menu, select Photos and press OK.
301
Stored photos can be found here (in .jpg format). You
302
can send and also receive the photos via Bluetooth.
303
Extras
304
Alarm
305
1. In main menu, select Extras and press OK.
306
2. Select Alarm and press OK
307
Note: You can set up to 5 alarms.
308
Calculator
309
1. In the main menu, select Extras and press OK
310
2. Select Calculator and press OK
311
With this function, you can use your mobile telephone
312
as a pocket calculator. The pocket calculator can
313
perform basic arithmetic functions.
314
Bluetooth
315
1. In the main menu, select Extras – Bluetooth.
316
With Bluetooth, you can connect your telephone with a
317
compatible Bluetooth device.
318
Search for Bluetooth audio device
319
To start a search for another Bluetooth device,
320
proceed as follows:
321
1. Select Search for audio devices and press OK.
322
2. Select the desired device from the list of found
323
devices and press Pair.
324
325

3. If a connection with another Bluetooth device is
326
established, you require a Password.
327
4. Confirm the password with OK.
328
FM radio
329
1. Plug a Micro USB headset in the phone
330
(not included)
331
2. In main menu, select Extras
332
3. Select FM radio and press OK to start the radio
333
function.
334
Note: Use the “#” and “*” keys to adjust the volume.
335
File manager
336
In main menu, select File manager. Use the File
337
manager to manage your files and folders in the
338
phone memory and memory card.
339
Settings
340
In the main menu, select Settings and press OK
341
You will find the following settings in this menu:
342
•Profiles (sound settings)
343
•Phone settings (Date, Time, Languages,
344
Display, etc.)
345
•Security settings (PIN/Phone code)
346
•Network settings (Network selection)
347
•Call settings (Call forwarding, Call barring, etc.)
348
•Reset (defaults)
349
Connect the telephone to the computer
350
To be able to copy the images you have taken with the
351
AL560 camera to your PC, please proceed as follows:
352
1. Connect the telephone to the computer using the
353
supplied micro USB cable.
354

2. After that, a menu appears on the telephone -
355
select “Mass storage” and confirm with “OK”
356
3. The computer will recognize the telephone as
357
removable media.
358
Using the Windows Explorer, now you can process the
359
data as usual or copy it onto the computer.
360
Menu structure
361
1. Phonebook
1. Add new contact
2. Messages
1. Write messages
2. Inbox
3. Outbox
4. Drafts
5. Sent messages
6. Settings
3. Call list
1. Missed calls
2. Dialled calls
3. Received calls
4. Delete call logs
4. Calendar
5. Camera
6. Photos
7. Extras
1. Alarm
2. Calculator
3. Bluetooth
4. FM radio
8. File manager
9. Settings
1. Profile
2. Phone settings
3. Security settings
4. Network settings
5. Call settings
6. Reset to defaults
362

Specifications:
363
Dual Band Network:
GSM 850/900/1800/1900
Battery:
Li-ion 3.7V - 1450mAh
Dimensions:
118x51.5x21
Standby time:
Up to 265 hours*
Talk time:
Up to 300 minutes*
* The operating life of the battery is dependent on the
364
SIM card, network, settings applies and usage as well
365
as the environment.
366
Troubleshooting
367
The phone cannot be turned on:
368
Check whether the battery is correctly inserted into the
369
telephone.
370
Check the battery status, try charging the battery for
371
24 hours; if the phone won’t start charging, replace the
372
battery (a 6-month warranty).
373
374
Check whether the PIN code was entered correctly. If
375
the PIN code is entered incorrectly 3 times, the SIM
376
card will be blocked and you will need the PUK code
377
(please contact your carrier for your PUK code).
378
379

SIM card error:
380
Dirt on the contact areas of the SIM card? Clean the
381
contact areas of the SIM card.
382
SIM card is not inserted properly, insert the SIM card
383
correctly.
384
SIM card does not function or is damaged? Get your
385
SIM card checked by your network operator.
386
Network connection cannot be made:
387
Bad reception? Move to an open space or if you are in
388
an enclosed space, near the window.
389
You are out of range of the mobile network. For
390
information about coverage, please contact your
391
network operator.
392
SIM card is invalid. Contact your service provider.
393
Bad voice quality:
394
Poor network connection quality on the part of the
395
network provider? Press the end key and select again.
396
You may be routed to a network connection or phone
397
line with better quality.
398
Try turning the volume up louder.
399
Outgoing calls cannot be made:
400
Check the phone number and try again.
401
Have you activated call barring? If so, please disable
402
all call barring.
403
Check whether the SIM card is registered on the
404
network.
405
Check whether enough credit is on your SIM card.
406
407
This manual suits for next models
1
Table of contents
Other Bea-fon Cell Phone manuals

Bea-fon
Bea-fon SL User manual

Bea-fon
Bea-fon SL590 User manual

Bea-fon
Bea-fon SL360 User manual

Bea-fon
Bea-fon S30 User manual
Bea-fon
Bea-fon SL560 User manual

Bea-fon
Bea-fon S40 User manual

Bea-fon
Bea-fon S20 User manual

Bea-fon
Bea-fon SL630 User manual

Bea-fon
Bea-fon SL640 User manual

Bea-fon
Bea-fon S400 User manual

Bea-fon
Bea-fon CLASSIC C245 User manual

Bea-fon
Bea-fon Classic series User manual

Bea-fon
Bea-fon SL651A User manual

Bea-fon
Bea-fon S10 User manual

Bea-fon
Bea-fon C150 User manual

Bea-fon
Bea-fon SL205 User manual
Bea-fon
Bea-fon SL140 User manual

Bea-fon
Bea-fon SILVER LINE SL860 User manual

Bea-fon
Bea-fon SL550 User manual

Bea-fon
Bea-fon S15 User manual