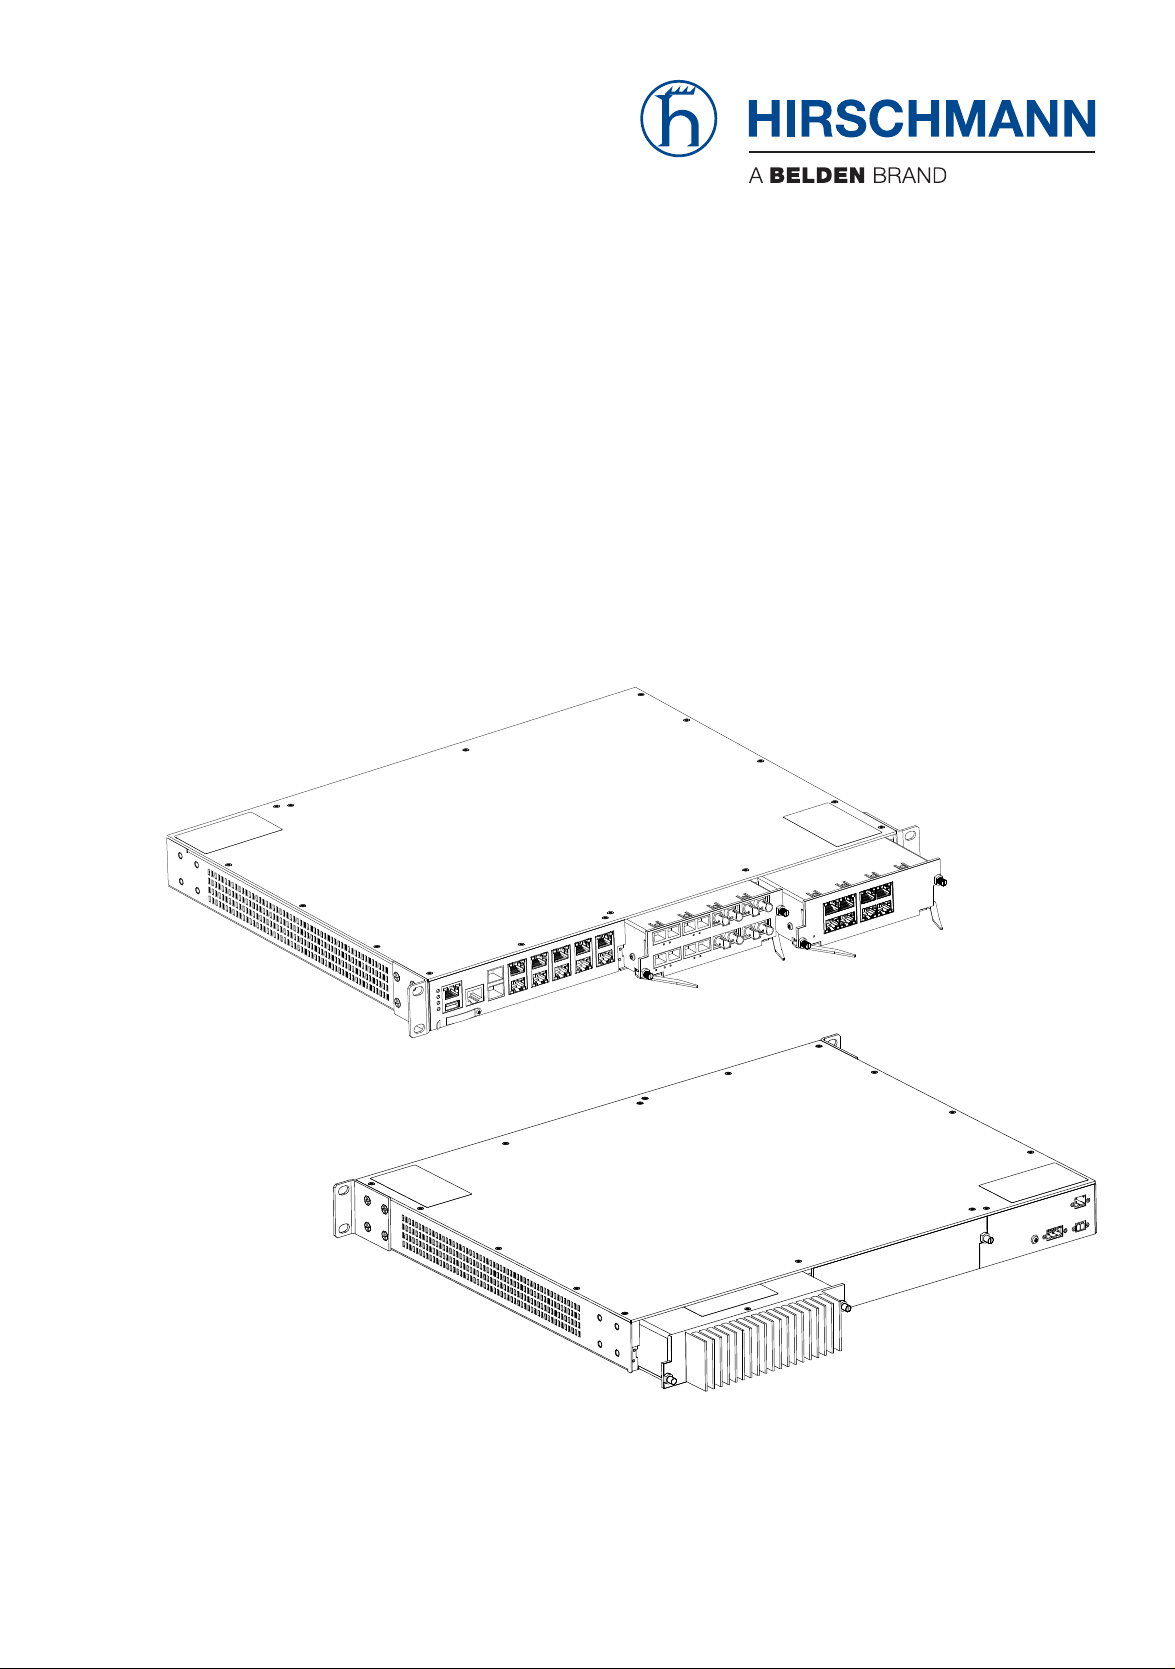
Belden Hirschmann GREYHOUND GRS1042 User manual
Other Belden Switch manuals

Belden
Belden Hirschmann MICE MS20 User manual

Belden
Belden Hirschmann RS20 Series User manual

Belden
Belden HIRSCHMANN MACH4002-48+4G User manual

Belden
Belden Hirschmann RS20 U Series User manual

Belden
Belden Hirschmann MACH4002 Series User manual

Belden
Belden grass valley SIRIUS 800 Series User guide

Belden
Belden Hirschmann MICE MS20 User manual

Belden
Belden Hirschmann SPIDER-SL-20-01T1S29999SZ9HHHH User manual

Belden
Belden lumberg automation 0960 IOL 3816-001 User manual

Belden
Belden grass valley MASTERPIECE 12G-SDI User manual

Belden
Belden Hirschmann DRAGON MACH Series User manual

Belden
Belden ThinkLogical TLX12 User manual

Belden
Belden Hirschmann HiOS-2S User manual

Belden
Belden Hirschmann MACH104-PoEP Series User manual

Belden
Belden Hirschmann OCTOPUS 8TX PoE-EEC User manual

Belden
Belden Hirschmann Rail Switch Power Lite User manual

Belden
Belden HIRSCHMANN GRS105 User manual

Belden
Belden Hirschmann RED25 Series User manual

Belden
Belden HIRSCHMANN RSP20 User manual

Belden
Belden HIRSCHMANN MACH 4000 Series User manual