BestScope International Limited
3, One pair of rubber eye guards is contained inside the packing. They are used
to prevent the extra light from entering the eyepieces, to improve visibility.
4, Focusing, diopter, inter-pupillary adjustments:
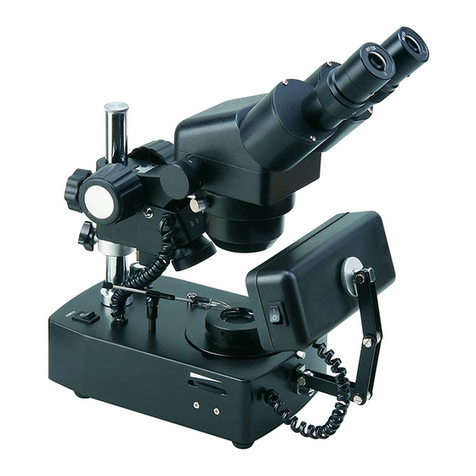
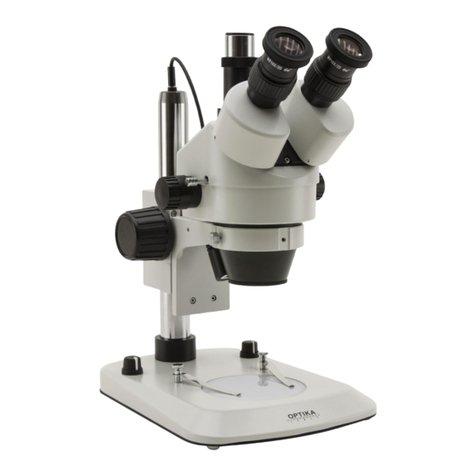
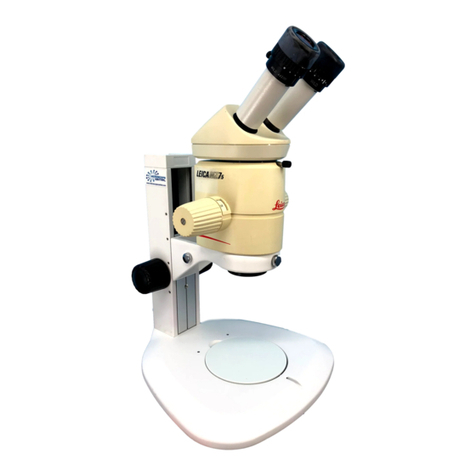
Place a specimen onto the stage. Loose the body locking thumb screw and hold
the microscope head and move the body up and down to fix it at the estimated
working distance. Rotate the zooming knob while looking through the right
eyepiece until you see the image. Using the focusing handles to get the
sharpest image of the specimen. Then look through the left eyepiece with your
left eyes and turn the diopter adjustment ring until you get an image as sharp
as the right one. Then grasp the right and left prism housing and move them
closer or farther apart in order to match your pupils’ distance. Adjustment is
proper when the field of view becomes comfortable and presents a full single
field.
V, Lamp and fuse replacement:
Disconnect electric power supply before replacement! Make sure the bulb to be
replaced is not hot.
1, replacement of incident lamp: Take off the incident lamp tube assembly and
you will be able to replace the bulb.
2, Replacement of fuse: Unscrew the fuse holder at the back part of the base
and change the fuse.
VI: Maintenance and general care of your microscope:
1, Microscope is a delicate precision instrument and it may be damaged by
dropping and hitting.
2, Do not keep microscope under sun. It should be kept in a dry and clean
environment and avoid heat and strong tremor.
3, To obtain clear image, do not touch lenses with your finger.
4, All lens surface should be kept clean. If the lens get dusty blow off the dust
with a rubber syringe. If necessary clean the lenses with a lint free cloth dipped
in aether.
5, Do not use any organic material to clean the microscope surface, especially
the plastic surface. It should be cleaned by neutral detergent.
6, Because the assembly of all parts has been done by skilled optical craftsmen
at the factory, you should never attempt disassembly.
7, Apply a little bit grease regularly to the mechanical parts.
8, When not in use always cover the microscope with the dust cover and place
