8
МОЙКА ВЫСОКОГО ДАВЛЕНИЯ
ЭЛЕКТРИЧЕСКАЯ
НАЗНАЧЕНИЕ
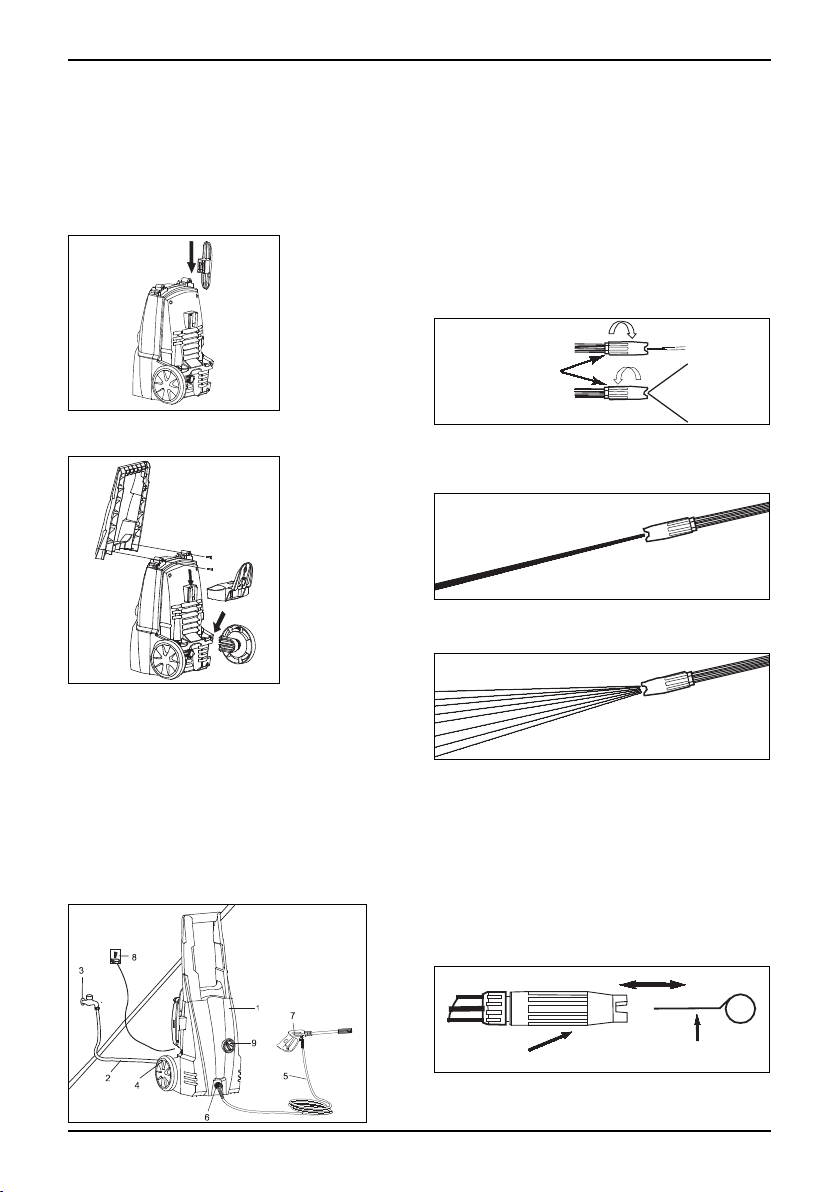
Данное устройство предназначено для быстрой и
эффективной мойки автомобилей, машин, лодок,
зданий ит.д. сиспользованием чистой воды ихими-
ческих моющих средств для удаления устойчивых
загрязнений. Пользуясь химическими моющими
средствами, применяйте только средства, подвер-
женные биологическому разложению.
Автомобильные двигатели промывайте только вме-
стах, оборудованных маслоуловителями.
ТЕХНИЧЕСКИЕ ХАРАКТЕРИСТИКИ
Напряжение, В230
Потребляемая мощность, Вт 1600
Давление струи, бар 90
Наибольшее давление подачи
воды, бар 120
Наибольшая температура во-
ды, °С50
Производительность, л/мин 7
Длина шланга, м4
Вес, кг 5,3
КОМПЛЕКТНОСТЬ
Напорный шланг
Пистолет-распылитель
Шнур питания
ПРАВИЛА ТЕХНИКИ БЕЗОПАСНОСТИ
Во избежание возгорания, поражения электрическим
током итравм электрооборудование следует эксплу-
атировать всоответствии стребованиямиданной
инструкции.
Электротехническая безопасность
●Перед включением следует убедиться, что напря-
жение всети питания соответствует напряжению
электродвигателя мойки.
●Пользуйтесьтольковлагозащищенным удлините-
лем. Не рекомендуется использовать чрезмерно
длинные удлинители. При использовании удлини-
теля на катушке он должен быть полностьюраз-
мотан. Площадьпоперечного сечения проводов
удлинителя должна быть не менее1,5 мм2.
●Мойку необходимоподключать через устройство
защитного отключения (макс. ток утечки– 30 мА).
●Вынимая вилку из розетки, не тяните за шнур питания.
● Во избежание короткого замыкания не направ-
ляйте струю воды на сам аппарат ииное элек-
трооборудование. Не пользуйтесь мойкой вне
помещений вдождливую погоду.
●Не прикасайтесь мокрыми руками квилке и(или)
розетке сети питания.
Немедленно выключите мойку в случае :
1. Неисправности или повреждения вилки или шну-
ра питания.
2. Поломки выключателя.
3. Появления дыма или запаха горелой изоляции.
4. Повреждения шланга высокого давления.
Перед началом работы :
●Убедитесь втом, что вода поступает вмойку
должным образом. Эксплуатация мойки без во-
ды может привести кее повреждению.
●Проверьте надёжность всех соединений иотсут-
ствие повреждённых или изношенных деталей.
Общие указания по безопасности
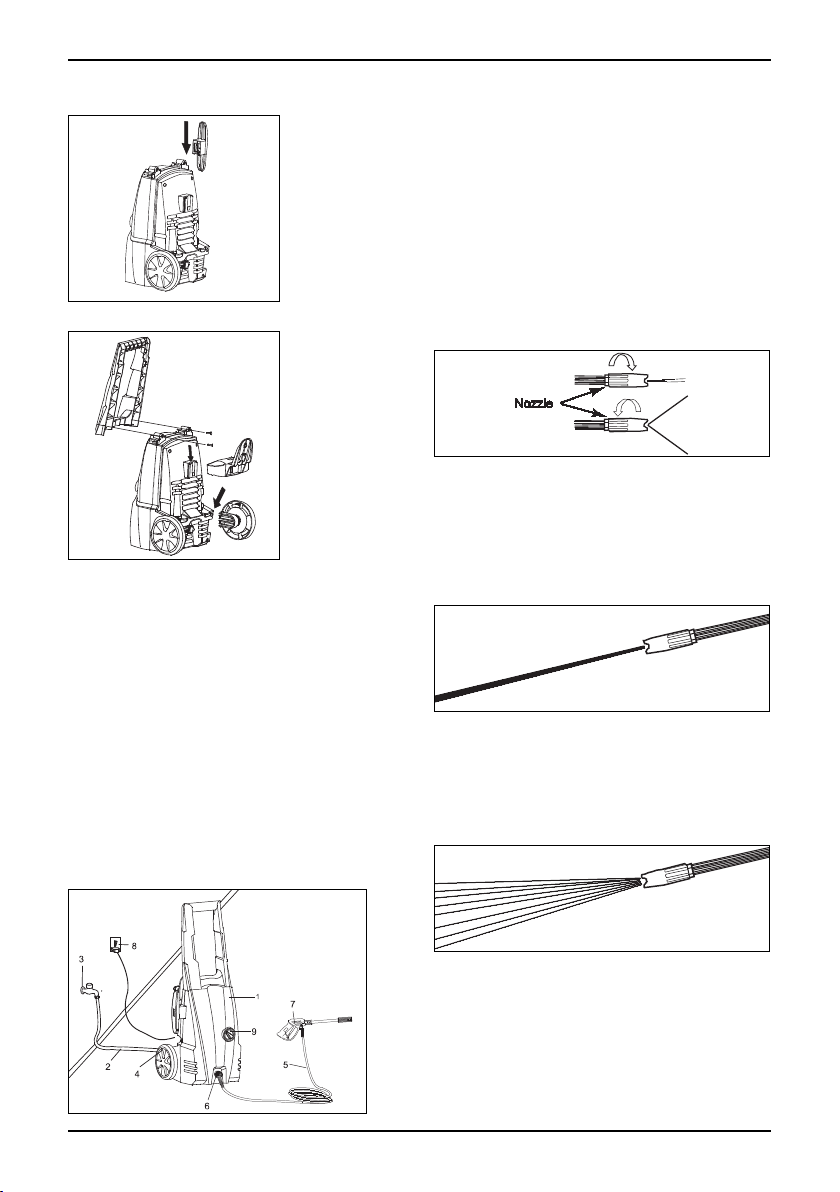
●Если вы находитесь слишком далеко от предмета,
который собираетесь вымыть, не перемещайте
аппарат путём перемещения его за шланг высо-
кого давления или за шнур питания; используйте
для этого специальную рукоятку.
●Для моделей, не оснащённых «автостопом», за-
прещено использование мойки втечение более
чем 1-2 минут при закрытом пистолете, так как это
может вывести аппарат из строя.
●Взимних условияххраните аппарат втеплом месте.
●При работе аппарата вентиляционные отверстия
должны быть открыты.
●Располагайте аппарат как можно ближе кисточни-
ку водоснабжения.
●Используйте только те принадлежности иза-
пасные части, которые рекомендованы произво-
дителем. Применение оригинальных принадлеж-
ностей изапасных частей обеспечит надежную и
безопасную работу.
● Устанавливайте мойку вустойчивом положении,
на ровной поверхности.
● Не допускайте непреднамеренногонажатия на ку-
рок пистолета-распылителя. Не переносите мойку
всборе спистолетом, держа палец на курке.
● Для предотвращения случайного включения по
окончании работы смойкой убедитесь, что курок
пистолета заблокирован (рис. 5).
●Во избежание взрыва или отравления запреща-
ется использовать при работе смойкой легковос-
пламеняющиеся или токсичные жидкости либо
иные средства, несовместимые справильной ра-
ботой мойки.
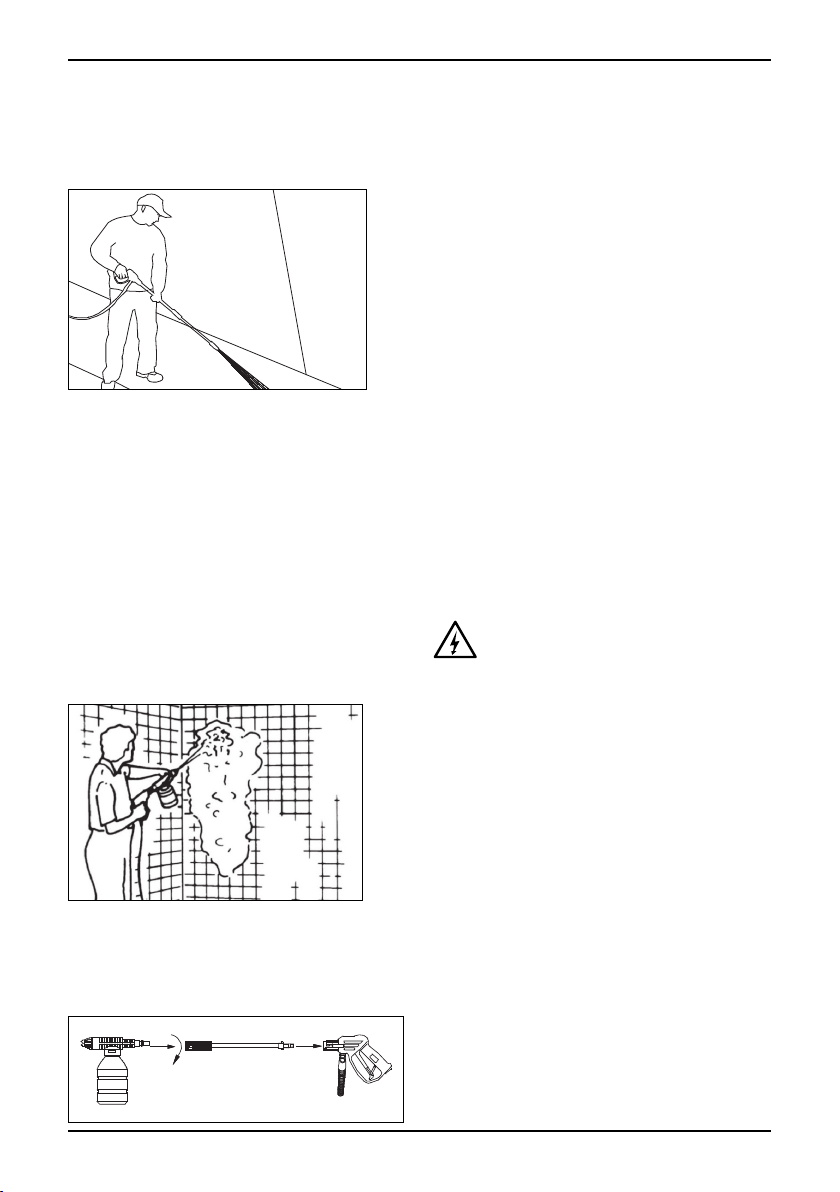
● Не направляйте струю воды на людей иживотных:
это травмоопасно. Посторонние люди иживотные
должны находиться на расстоянии не менее 10
метров от места работы.
● Не доверяйте использование аппарата детям или
необученным лицам.
● Не фиксируйте курок пистолета вположении
«Включено».
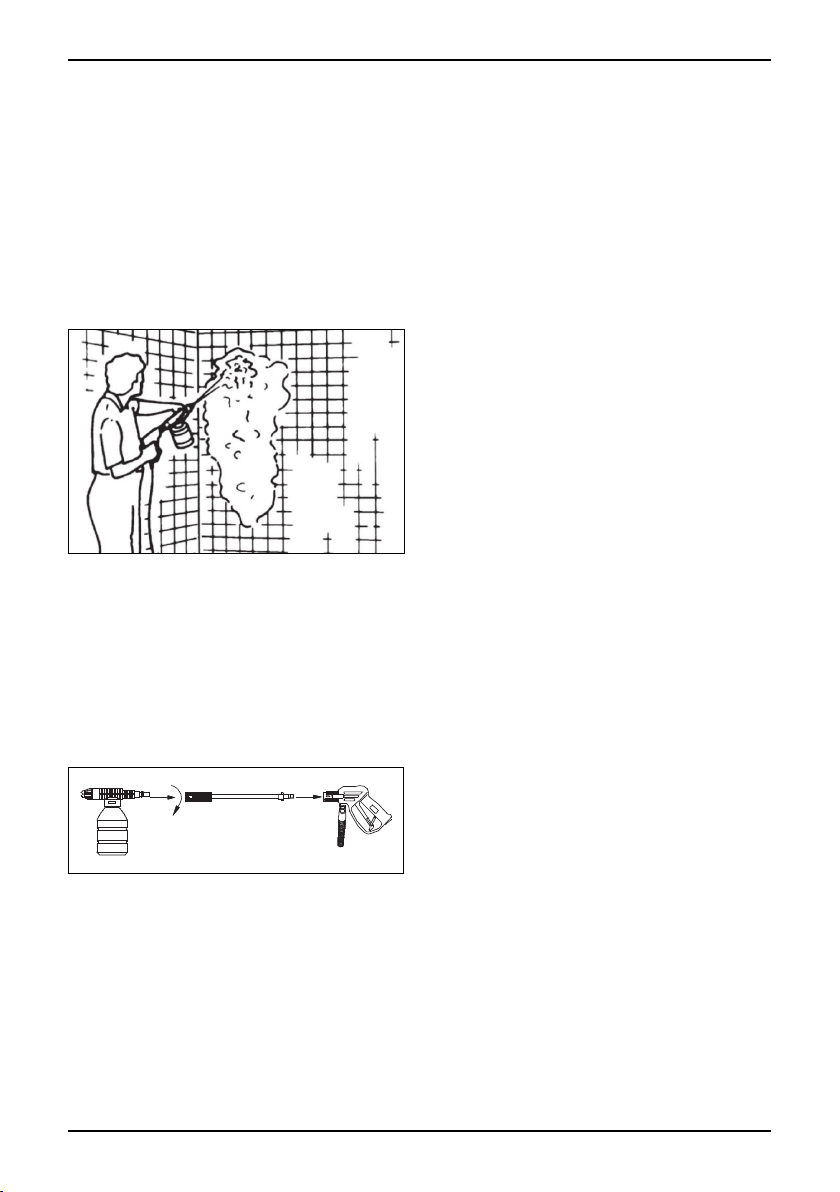
●Не допускается изменять оригинальный диаметр
распылительнойголовки форсунки.
●Не оставляйте мойку без присмотра.
●Струяводы под большим давлением, попадая на
предметы, может ссилой отбрасывать их, поэто-
му при работе необходимо надевать спецодежду
изащитные очки.
●Перед нажатием курка пистолета крепко сожмите
пистолет, чтобы его не выбило из рукипри отдаче.
●Во избежание загрязнения соблюдайте требования
местнойорганизацииводоснабжения. Всоответ-
Изготовитель: BORT GLOBAL LIMITED
Room 1501, 15/F., SPA Centre, 53-55 Lockhart Road, WANCHAI HONG KONG
Тел/Факс +85 258 194 891
Уполномоченное изготовителем лицо: ООО «Дизайн-строй»
125222, г. Москва, Пенягинская ул., д. 18
Телефон: +7 (499) 700-10-34