manuals.online logo
Brands
  1. Home
  2. •
  3. Brands
  4. •
  5. Bosch
  6. •
  7. Security Sensor
  8. •
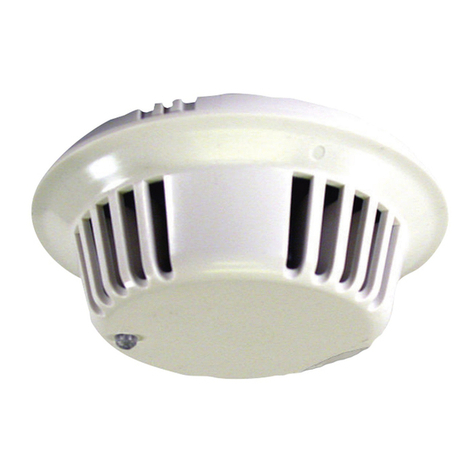
  9. Bosch DS936 User manual

Bosch DS936 User manual

Other Bosch Security Sensor manuals

Bosch CS LD 1.0 User manual

Bosch

Bosch CS LD 1.0 User manual

Bosch FAP-440 User manual

Bosch

Bosch FAP-440 User manual

Bosch DS432i-CHI User manual

Bosch

Bosch DS432i-CHI User manual

Bosch RADION PIR RFPR-12 User manual

Bosch

Bosch RADION PIR RFPR-12 User manual

Bosch DS794Z User manual

Bosch

Bosch DS794Z User manual

Bosch D-tect 150 Professional User manual

Bosch

Bosch D-tect 150 Professional User manual

Bosch PMD 7 User manual

Bosch

Bosch PMD 7 User manual

Bosch RADION Life Safety User manual

Bosch

Bosch RADION Life Safety User manual

Bosch CRS-SWM-TA869 User manual

Bosch

Bosch CRS-SWM-TA869 User manual

Bosch MS-LZS User manual

Bosch

Bosch MS-LZS User manual

Bosch GMS 120 User manual

Bosch

Bosch GMS 120 User manual

Bosch RF835 Series User manual

Bosch

Bosch RF835 Series User manual

Bosch GMS 120 Assembly instructions

Bosch

Bosch GMS 120 Assembly instructions

Bosch RF835E User manual

Bosch

Bosch RF835E User manual

Bosch DS939 User manual

Bosch

Bosch DS939 User manual

Bosch ISC-CDL1-W15G User manual

Bosch

Bosch ISC-CDL1-W15G User manual

Bosch DS720I User manual

Bosch

Bosch DS720I User manual

Bosch 200 C Use and care manual

Bosch

Bosch 200 C Use and care manual

Bosch DS840LSN User manual

Bosch

Bosch DS840LSN User manual

Bosch DS940 User manual

Bosch

Bosch DS940 User manual

Bosch MX934i User manual

Bosch

Bosch MX934i User manual

Bosch WEU PDO Multi User manual

Bosch

Bosch WEU PDO Multi User manual

Bosch D-tect 120 Quick guide

Bosch

Bosch D-tect 120 Quick guide

Bosch FCP-320 Series User manual

Bosch

Bosch FCP-320 Series User manual

Popular Security Sensor manuals by other brands

Honeywell Home PROSiXCOCN Installation and setup guide

Honeywell Home

Honeywell Home PROSiXCOCN Installation and setup guide

Duevi SIRPZ-RB-868 Operation

Duevi

Duevi SIRPZ-RB-868 Operation

RKI 65-2483RK Operator's manual

RKI

RKI 65-2483RK Operator's manual

Nortech PD160 Enhanced Series user manual

Nortech

Nortech PD160 Enhanced Series user manual

Omron K8AC-H2 manual

Omron

Omron K8AC-H2 manual

Agilent Technologies G8610 Series Quick reference card

Agilent Technologies

Agilent Technologies G8610 Series Quick reference card

Shinko SE2EA-1-0-0 instruction manual

Shinko

Shinko SE2EA-1-0-0 instruction manual

Det-Tronics X Series instructions

Det-Tronics

Det-Tronics X Series instructions

ACR Electronics COBHAM RCL-300A Product support manual

ACR Electronics

ACR Electronics COBHAM RCL-300A Product support manual

TOOLCRAFT 1712612 operating instructions

TOOLCRAFT

TOOLCRAFT 1712612 operating instructions

Elkron IM600 Installation, programming and functions manual

Elkron

Elkron IM600 Installation, programming and functions manual

THORLABS PDA10JT user guide

THORLABS

THORLABS PDA10JT user guide

Waeco UV-DETECT operating manual

Waeco

Waeco UV-DETECT operating manual

Intermatic IOS-DSIMF manual

Intermatic

Intermatic IOS-DSIMF manual

Siemens AZL66 Series manual

Siemens

Siemens AZL66 Series manual

BTI Profiline Multi Finder operating instructions

BTI

BTI Profiline Multi Finder operating instructions

Challenger SL01 instruction manual

Challenger

Challenger SL01 instruction manual

DMP Electronics 1122INT installation guide

DMP Electronics

DMP Electronics 1122INT installation guide

manuals.online logo
manuals.online logoBrands
  • About & Mission
  • Contact us
  • Privacy Policy
  • Terms and Conditions

Copyright 2025 Manuals.Online. All Rights Reserved.

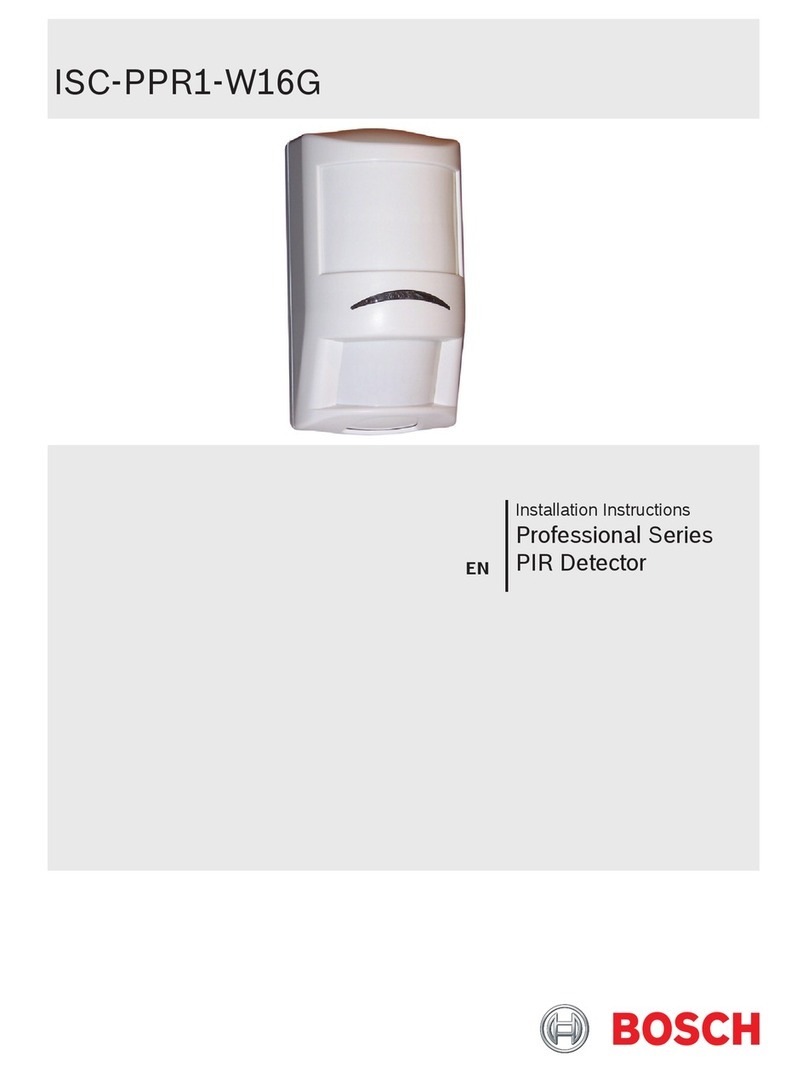
Installation Instructions
DS936 Ceiling Mount Passive Infrared
Intrusion Detection
1.0 General Information
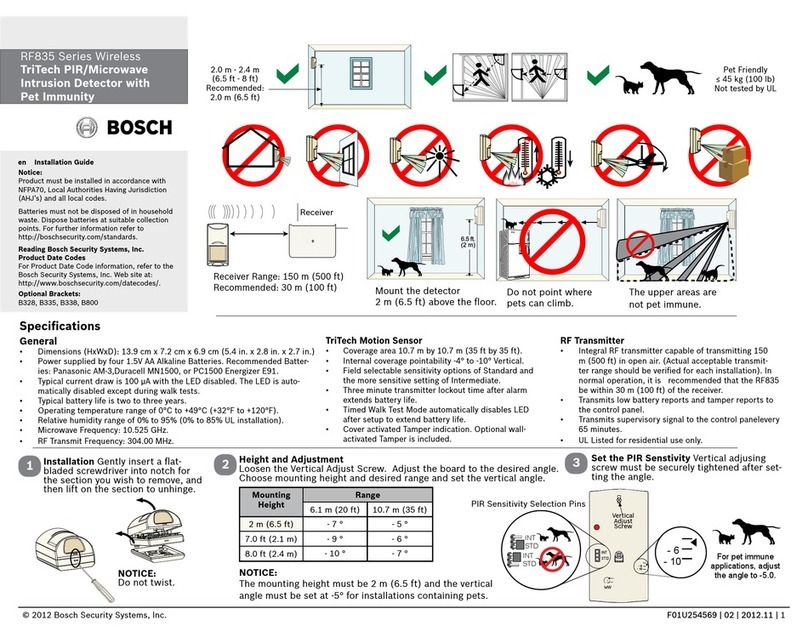
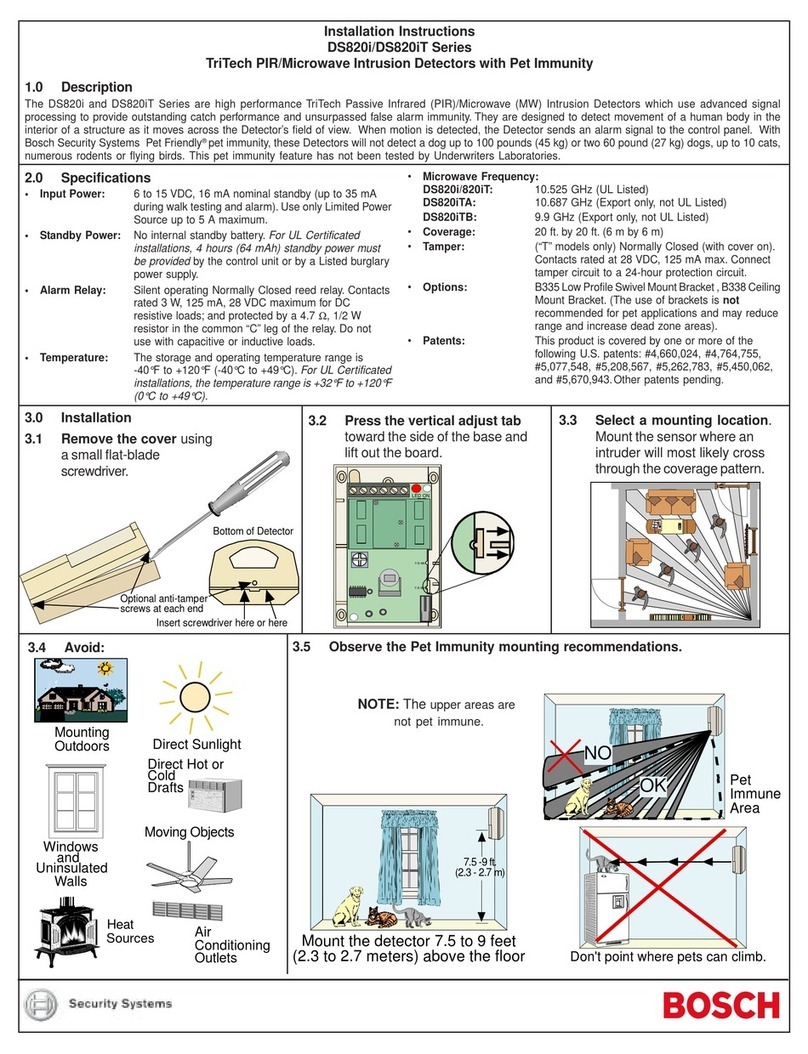
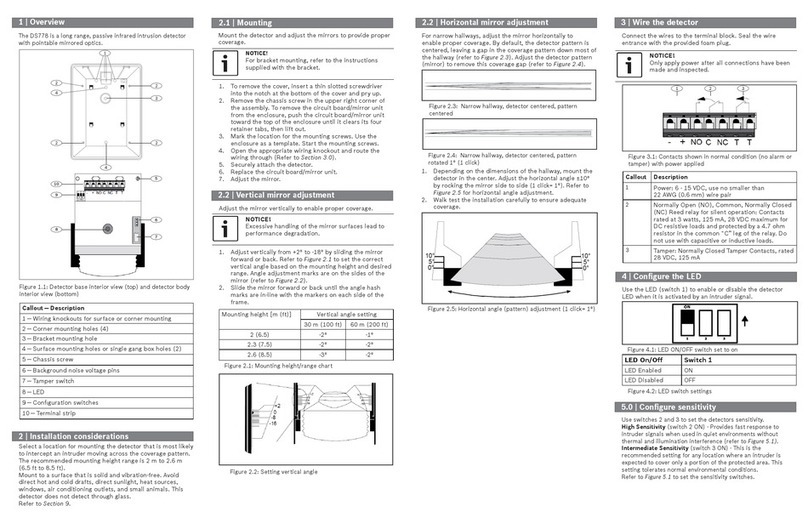
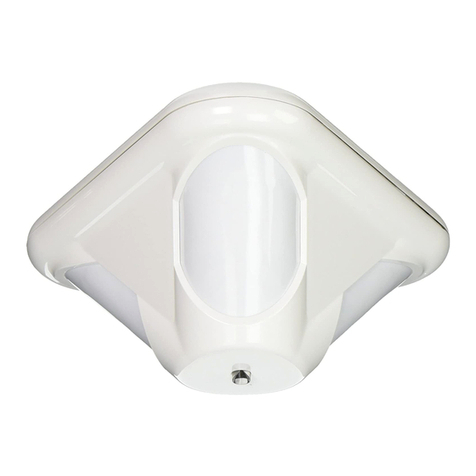
The DS936 is a Low Profile Ceiling Mount Passive Infrared Intrusion Detector,
which uses alternate polarity pulse count. It uses a pointable Fresnel lens to
provide up to 24 ft (7.2 m) of coverage and may be mounted on the surface,
or semi-flush directly to a ceiling or a standard octagonal electrical box.
INPUT POWER: 10 to 15 VDC non polarized; 15 mA @ 12 VDC.
STANDBY POWER: No internal standby battery. Unit is intended to be connected to
DC power sources capable of supplying standby power in the event primary power
fails. 15 mA-H required for each hour of standby time needed.
MOUNTING HEIGHT: 7 to 12 ft. (2.1 to 3.7 m) on ceiling.
COVERAGE: Provides 360° coverage pattern. (Coverage is approximately 2 times
the mounting height, see pattern drawing on page 2.)
SENSITIVITY: Adjustable for Standard, Intermediate, or High.
POINTABILITY: ±15° rotationally by moving lens.
ALARM RELAY: Normally Closed operation and protected by a 4.7 ohm resistor in
series with the relay contact. Reed relay with contacts rated at 28 VDC, 125 mA maxi-
mum for DC resistive loads.
TAMPER: Normally Closed tamper switch rated at 28 VDC, 125 mA.
LED OPERATION: Dip Switch On/Off Selectable.
TEMPERATURE: The storage and operating temperature range is -20°F to +120°F
(-29°C to +49°C).
For UL Listed Requirements, the temperature range is +32° to +120°F
(0° to +49°C).
OPTIONS: TC6000 Test Cord.
View with Cover Off
2.0 Mounting
THINGSTOAVOID/REMEMBER
AVOID
• Direct hot and/or cold drafts • Windows • Small Animals
• Air Conditioning Outlets • Heat Sources • Direct Sunlight
REMEMBER
• Won’t detect through glass
• Best catch performance is across the pattern
• When using two or more detectors, cross the patterns for best coverage
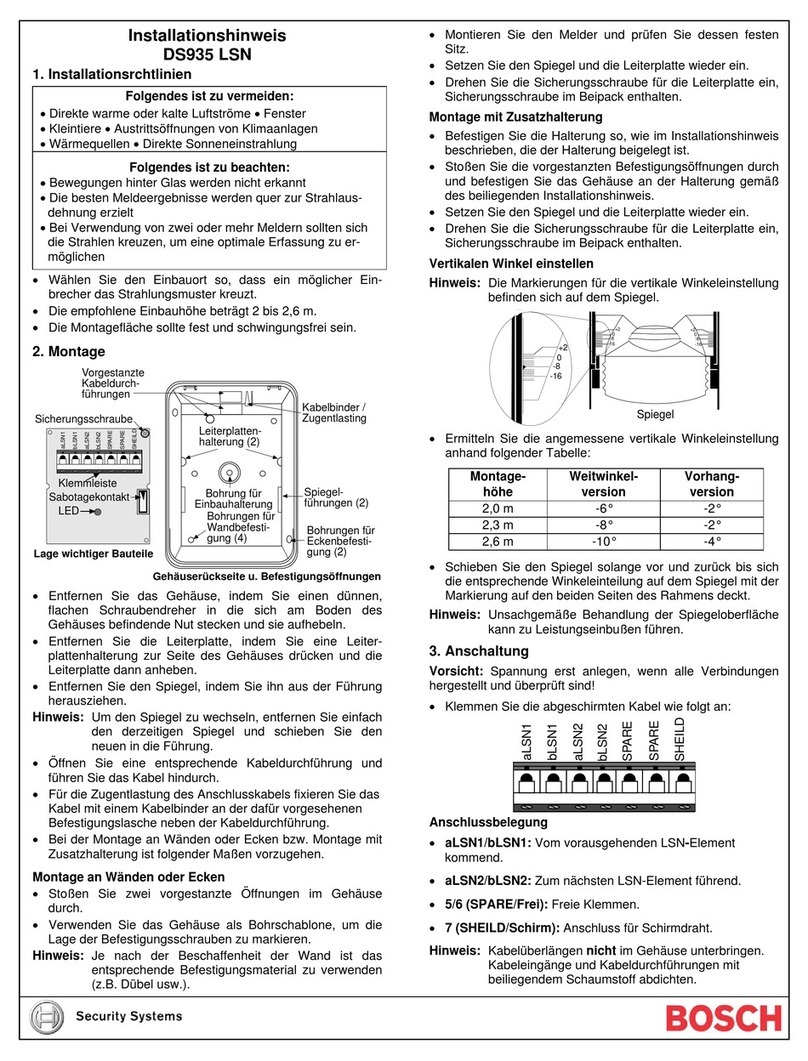
The DS936 is designed to be surface mounted directly on the ceiling or recess mounted
to any 3 1/2 inch (88.9 mm) standard octagonal box.
• Select a location that is most likely to intercept an intruder moving beneath and
across the coverage pattern. Recommended mounting height is 7 ft. to 12 ft. (2.1 m
to 3.7 m).
NOTE: Mounting surface should be solid and vibration free (e.g., Drop tiles should
be secured if drop ceiling is used as an air return system for HVAC sys-
tems).
• Remove the top cover by gently prying it from the base with the blade of a screw
driver.
• Route wiring through the wire entrance located near the terminal strip.
• Using the enclosure as a template, mark the location for the mounting screws, and
prestart the mounting screws.
• Firmly mount the detector to the mounting
surface.
Recess Mounting With Octagonal Box:
• To mount the DS936 to a 3 1/2 inch (89 mm) stan-
dard octagonal box, remove the circuit board holder
from the base by prying holder tabs out with your
thumbs and pushing the board holder assembly out
with your index fingers.
The base may be discarded or saved for possible
future use.
• Route wiring as necessary through the box and into
the wire entrance.
• Mount the circuit board holder assembly to the box.
Recess Mounting Without Electrical Box:
The DS936 may be recess mounted without the use of an octagonal
box by using the supplied flush mount ring.
• Remove the board holder assembly from the base by prying
holder tabs out with your thumbs and push the board holder
assembly out with your index fingers.
• Using the inside cutout of the flush ring as a template, prepare
an opening 2-3/4" by 2-5/8" (70 x 67 mm) wide in the mounting surface.
• Route wiring through opening and flush mount ring.
• Place the flush mount ring over the opening and bend the support tabs into the
opening and around the mounting surface so that the ring fits snug against the
surface.
• Route wiring through the wire entrance.
• Mount the detector to the ring using the supplied screws.
3.0 Wiring
• Connect wiring as shown:
CAUTION: APPLY POWER AFTER
ALL CONNECTIONS
HAVE BEENMADEAND
INSPECTED.
•Terminal 1 & 2 power limits are 10 to 15VDC measured at the terminals.Use no smaller
than #22 AWG (0.8 mm) wire pair between the unit and the power source.
• Connect a Normally Closed burglar alarm loop to terminals 3 & 4.
• Connect a Normally Closed Tamper circuit to terminals 5 and 6. Tamper contacts
rated at 28 VDC, 0.125 amps.
NOTE: Do not coil excess wiring inside unit.
CONFIGURATION
SWITCHES
TEST/
ALARM LED
TAMPER
SWITCH
BACKGROUND NOISE
VOLTAGE OUTPUT
DETECTOR
ELEMENT
NOISE VOLTAGE
WIRE SLOT
123
O
N
ON
OFF
123456
PWR RLY TT
+
-
-
PRY OUT
HOLDER TABS
123
O
N
ON
OFF
DS936
OCTAGONAL BOX
BOARD HOLDER ASSEMBLY
Tam pe rAlarm
Relay
1 0 to 15 V DC
NON Polarized
123456
WireEntrance
PWR RLY T T
© 2004 Bosch Security Systems
130 Perinton Parkway, Fairport, New York, USA 14450-9199
Customer Service: (800) 289-0096; Technical Support: (888) 886-6189
02/04
DS936 Installation Instructions
P/N: 23192H Page 2
4.0 Configuration Switch Settings
Sensitivity:
The DS936 permits selection of response sensitivity modes depending on the type of
coverage desired and the installation environment.
•Standard (STD): Least sensitive setting to environmental extremes, but requires the
largest amount of intruder motion to achieve an alarm.
•Intermediate (INT): Recommended setting for most installations. Use in locations
where an intruder is only expected to cover a small portion of the protected area.
Tolerates normal environments on this setting.
•High: Fast response to intruder signals. For use only in quiet environments where
thermal and illumination transients are not anticipated. If both switches 1 and 2 are
ON, the detector defaults to High Sensitivity.
NOTE: Although the sensitivity modes provide different degrees of tolerance to
environmentally caused alarms, the installer should assure peak
background noise voltage readings do not exceed ±0.2 VDC.
LED Operation:
If viewing of the walk test/alarm LED is not desired after the initial installation, the LED
may be disabled by placing configuration switch 3 in the OFF position.
5.0 Set UpAnd Walk Testing
• Apply power to the unit.
•Wait at least two minutes, after applying power, to start walk
tests.
NOTE: Walk testing should be done across the coverage
pattern.
• The edge of the coverage is determined by activation of the
alarm LED. This will change depending upon the sensitivity
switch settings.
• Walk test the unit from all directions to determine
the boundaries.
• The pattern may be adjusted ±15° by rotating the
lens. Insert the blade of a small screwdriver into the
slot on the lens and gently slide the lens in the
desired direction.
123
O
N
ON
OFF
Sensitivity
Switches 1 & 2
High = 1 ON 2 OFF
Int. = 1 OFF 2 OFF
Std. = 1 OFF 2 ON
L
ED
S
witch 3
L
ED Enabled = 3 ON
L
ED Disabled = 3 OFF
6.0 Final Test
NOTE: Meter readings are very important in determining
background disturbance levels and catch margin
sensitivity.
• Connect a 20,000 ohm/volt (or greater) DC VOM to the
Background Noise Voltage connector pins as shown.
Set meter scale for about 5 VDC. Route meter wiring
through the slot in the base. (Use of the TC6000 is
recommended, but is not essential for meter use.)
• Replace the cover assembly.
• The base reference level for reading background noise or target voltages is
approximately 2 VDC. Installations in quiet environments, therefore, will result in a
steady meter reading between 1.8 and 2.2 VDC.
Voltage changes greater than 0.75 VDC from the reference level are desirable for
good catch performance. If changes are less than plus or minus 0.75 VDC, the
device may fail to respond at this distance if the temperature difference between the
intruder and the background is very small.
• Turn on all heating and cooling sources that would normally be in operation during
times of protection. Stand away from the unit and outside the coverage pattern, then
monitor the background noise voltage for at least three minutes.
DS936 readings should not deviate from the reference level more than ±0.2 VDC.
For readings outside these limits, eliminate the cause, re-point the unit slightly, or
mask off the effected zones.
7.0 Other Information
Maintenance:
At least once a year the range and coverage should be checked in accordance with
Section 5.0 - Setup and Walk Testing.
To ensure continued daily operation, the end user should be instructed to walk through
the outer edge of the coverage pattern. This ensures an alarm output prior to arming the
system.
8.0 Coverage
BLACK
WHITE
RED
TC6000
0551010 1515 Feet
0
8
10
12
4.5 3 1.5 1.5 3 4.50
Meters
Side View
4.5 3 1.5 1.5 3 4.50
Meters
15
10
5
0
5
10
15 0551010 1515 Feet
0
1.5
3
4.5
1.5
3
4.5
Standard Pattern
Top View
2.4
3.0
3.6