BREIL CHRONO VD57 User manual

Instruction book pag. 1 • Mode d'emploi pag. 17
Gebrauchsanleitung pag. 33 • Manuale di funzionamento pag. 49
Manual de instrucciones pag. 65
CHRONO
VD57
1239_Ch_VD57_NEW_COP 26-09-2003 15:49 Pagina 3
1239_Ch_VD57_NEW_COP 26-09-2003 15:49 Pagina 1

When reading this instruction booklet, keep the watch diagram on the left
unfolded and in full view. The symbols (A, B, etc.) on the diagram are
those referred to in the section describing the operating instructions.
Pendant la lecture de ce mode d'emploi, gardez le schéma d'illustration
de la montre ci-contre ouvert et bien en vue. Les symboles (A, B, etc.)
utilisés dans les différents chapitres du mode d'emploi correspondent à
ceux indiqués sur ce schéma.
Zur Lektüre dieser Gebrauchsanleitung sollten Sie die nebenstehend
gezeigte Übersichtsdarstellung der Uhr ausklappen und im Blick
behalten. Die in den einzelnen Abschnitten der Gebrauchsanleitung
verwendeten Zeichen (A, B, usw.) entsprechen den Kennzeichnungen in
dieser Übersicht.
Durante la lettura di questo manuale di istruzioni, tenere lo schema
illustrativo dell’orologio a sinistra aperto e in vista. I simboli (A, B, ecc.)
usati nelle sezioni delle istruzioni sul funzionamento corrispondono a
quelli indicati in questo schema.
Mientras lee este manual de instrucciones, mantenga el esquema
ilustrativo del reloj aquí presentado al lado izquierdo, abierto y bien
visible. Los símbolos (A, B, etc.) utilizados en las secciones de
instrucciones sobre el funcionamiento, corresponden a los que se
utilizan en este esquema.
1239_Ch_VD57_NEW_COP 26-09-2003 15:49 Pagina 2

Thank you very much for purchasing a BREIL WATCH. To ensure its correct use, please
read these instructions carefully.
In order to be able to make full use of the guarantee service (subject to the guarantee
terms), please ensure that the Breil international guarantee card is supplied with the
watch at the time of purchase.
Nous vous remercions de la préférence que vous nous avez accordée en achetant une
montre BREIL. En vue d'une utilisation correcte de celle-ci, lire attentivement les
instructions contenues dans ce livret.
Lors de l'achat, contrôlez que la montre soit accompagnée de la garantie qui devra être
présentée pour obtenir les prestations qui y sont décrites.
Wir danken Ihnen für das Vertrauen, daß Sie uns mit dem Kauf einer BREIL Uhr
erwiesen haben. Damit Sie Ihre Uhr immer einwandfrei gebrauchen können, möchten wir
Sie bitten, die in dieser Gebrauchsanleitung enthaltenen Anweisungen gewissenhaft zu
lesen.
Beim Kauf sollten Sie kontrollieren, ob Ihnen zusammen mit der Uhr auch die
Garantiekarte ausgehändigt wurde, denn diese Karte müssen Sie vorlegen, um die darin
genannten Leistungen in Anspruch nehmen zu können.
Vi ringraziamo per la preferenza accordataci con l’acquisto di un orologio BREIL.
Per un corretto uso dello stesso, Vi preghiamo leggere attentamente le istruzioni
contenute in questo libretto.
Al momento dell’acquisto controllate che insieme all’orologio Vi venga fornita anche la
garanzia, da presentare per ottenere le prestazioni in essa descritte.
Le agradecemos su preferencia por un reloj BREIL. Para poder utilizar correctamente el
reloj, le rogamos leer atentamente las instrucciones contenidas en este folleto.
Al comprarlo, controle que junto al reloj le sea entregada la garantía que debe ser
presentada para obtener los servicios que en la misma se describen.
1239_Ch_VD57_NEW_COP 26-09-2003 15:49 Pagina 4

CONTENTS
MAIN COMPONENTS . . . . . . . . . . . . . . . . . . . . . . . . . . . . . . . . .2
FEATURES . . . . . . . . . . . . . . . . . . . . . . . . . . . . . . . . . . . . . . . . .3
TIME/CALENDAR SETTING . . . . . . . . . . . . . . . . . . . . . . . . . . . .4
CHRONOGRAPH . . . . . . . . . . . . . . . . . . . . . . . . . . . . . . . . . . . . . .6
ADJUSTING THE CHRONOGRAPH HAND POSITION . . . . . . . .8
NECESSARY OPERATION AFTER BATTERY CHANGE . . . . . .10
PRECAUTIONS AND USEFUL INFORMATION . . . . . . . . . . . . .12
A
B
C
D
E
F
GB
G
ChronoVD57_GB 26-09-2003 15:52 Pagina 1

2
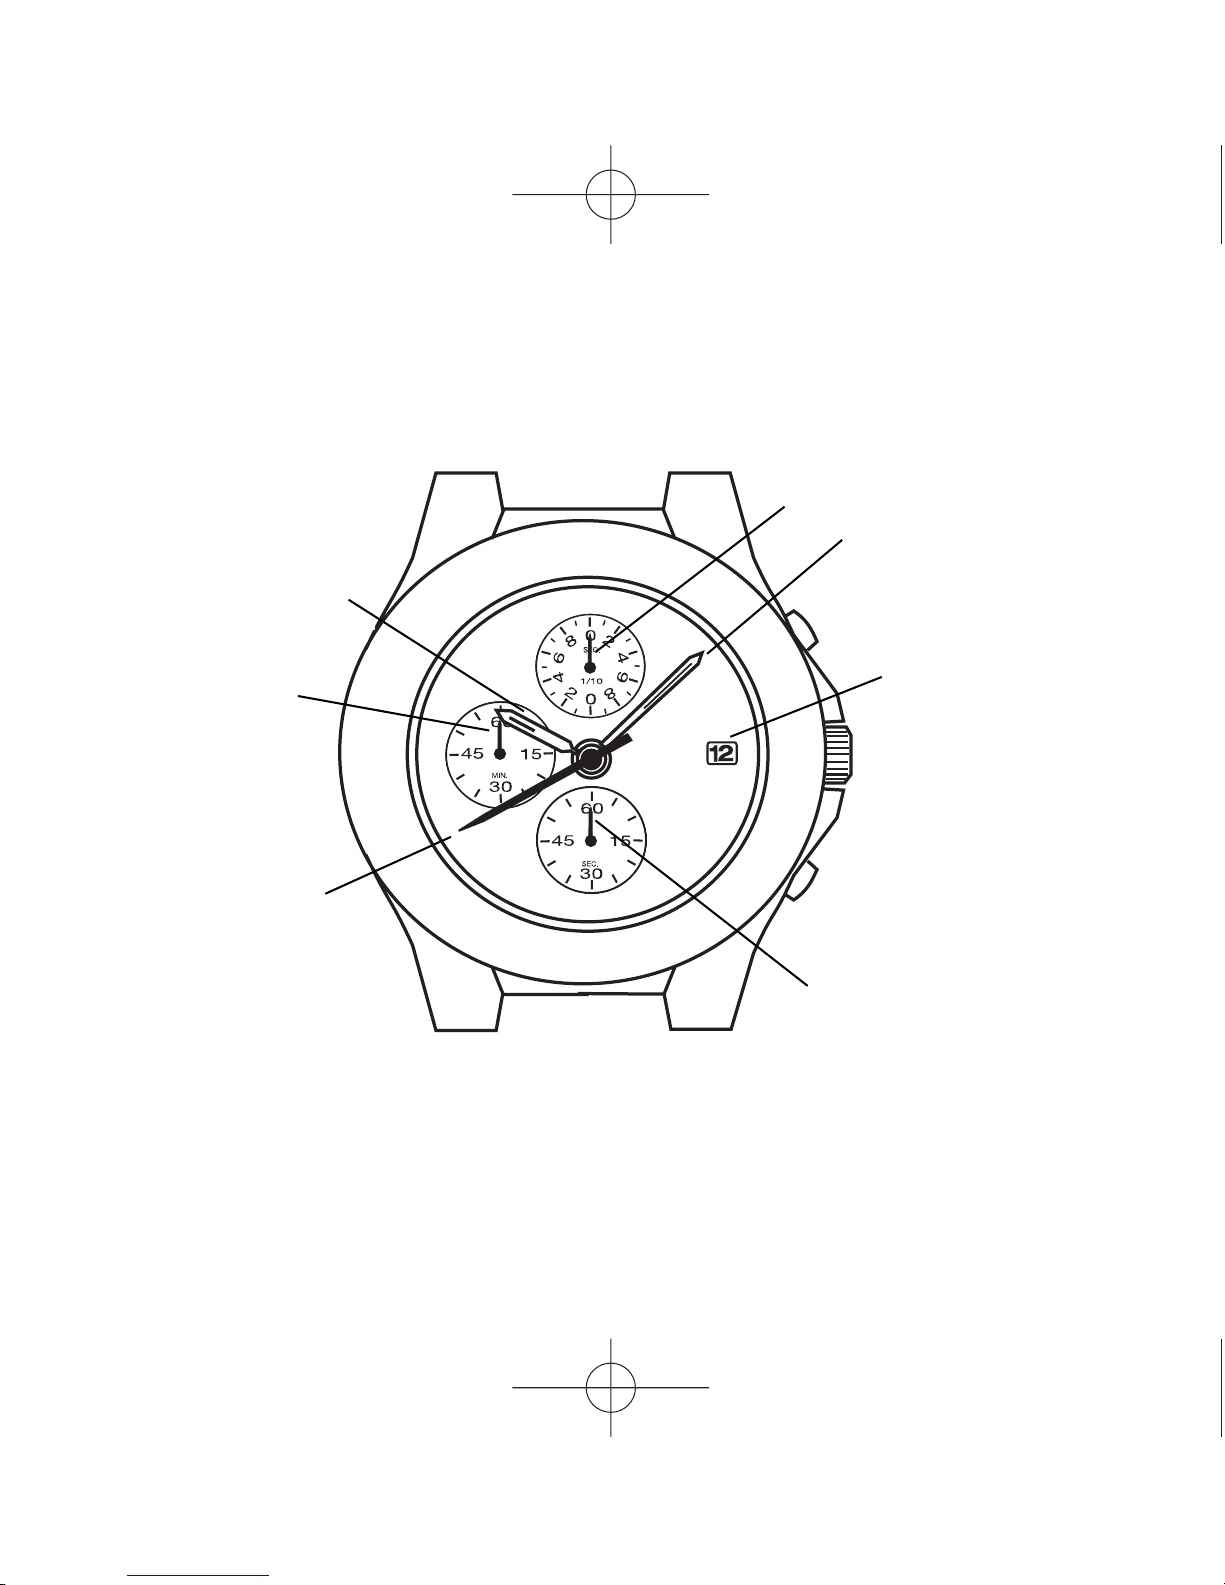
MAIN COMPONENTS
Chronograph 1/10 second hand Butoon
Minute hand Button
Date Crown
Chronograph second hand
Second hand
Chronograph minute hand
Hour hand
Crown operation
(a) Normal position : Free
(b) First click : Date setting
(c) Second click :
•Setting the hour and minute hands
•Activating the chronograph hand position adjusting function
A
ChronoVD57_GB 26-09-2003 15:52 Pagina 2

3
FEATURES
This is a multi-display analogue watch featuring a chronograph function.
The measured time is indicated by the small chronograph hands that move
independently of the center hands.
•TIME
Hour, minute and second hands
•CALENDAR
Date is displayed in numerals
•CHRONOGRAPH
It can measure up to 60 minutes in 1/10 seconds.
Split time measurement is also possible.
B
ChronoVD57_GB 26-09-2003 15:52 Pagina 3

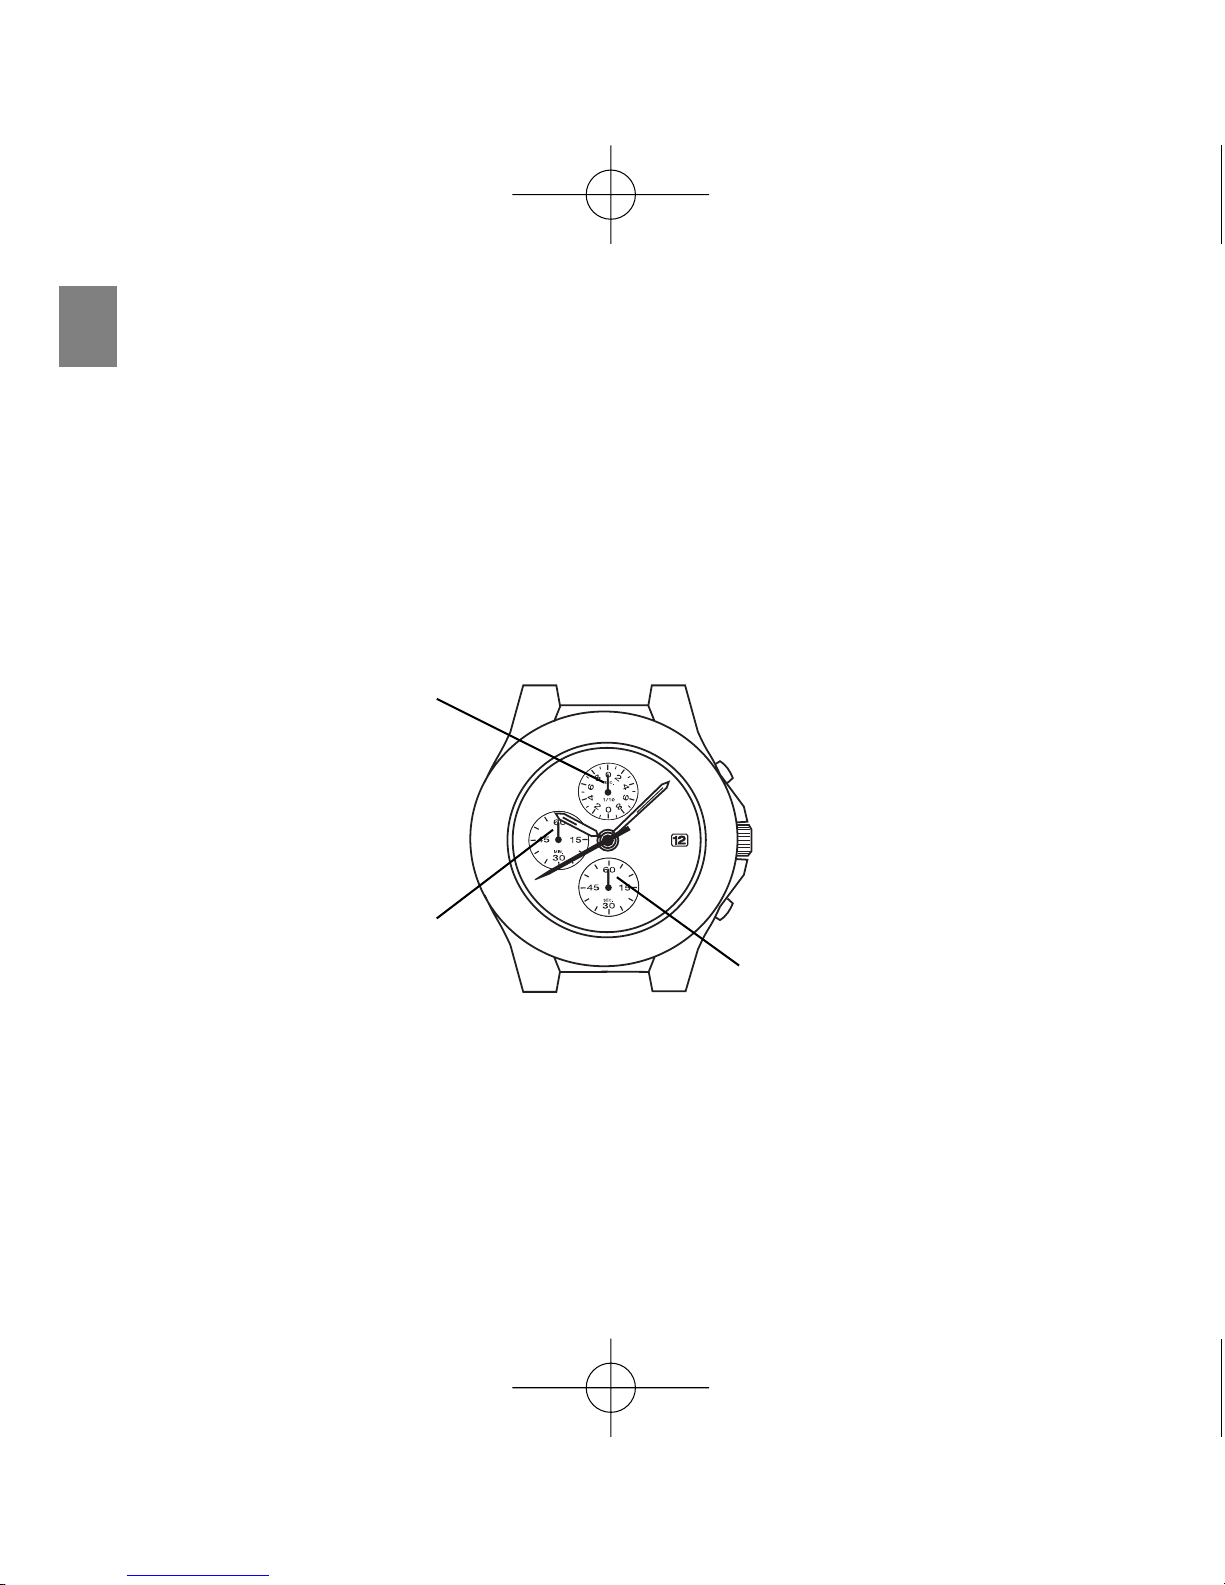
TIME /CALENDAR SETTING
Note: While the crown is at the extended position at the second click do not press any
button. Otherwise, the chronograph hands will move. To reset them in the “0”
position, refer to “ADJUSTING THE CHORONGRAPH HAND POSITION”.
4
C
Date
Second hand
Minute hand
Hour hand
(Second click)
(First click)
ChronoVD57_GB 26-09-2003 15:52 Pagina 4

1. Pull out the crown to the first click, and turn it clockwise until the previous day’s date
appears.
•Do not set the date between 9:00 p.m. and 1:00 a.m. Otherwise, the date may not
change properly.
2. Pull out the crown to the second click when the second hand is at the 12 o’clock
positon. The second hand will stop on the spot.
3. Turn the crown clockwise until the desired date appears, and set the hour and minute
hands to the desired time.
•When setting the hour hand, be sure to check that AM/PM is correctly set. The
watch is so designed that the date changes once in 24 hours. Turn the hands past
the 12 o’clock marker to determine whether the watch is set for the A.M. or P.M.
period. If the date changes, the time is set for the A.M. period. If it does not
change, the time is set for the P.M. period.
4. Push the crown back in to the normal position in accordance with a time signal.
Note: When setting the minute hand, first advance it 4 to 5 minutes ahead of the
desired time and then turn it back to the exact minute.
5
ChronoVD57_GB 26-09-2003 15:52 Pagina 5
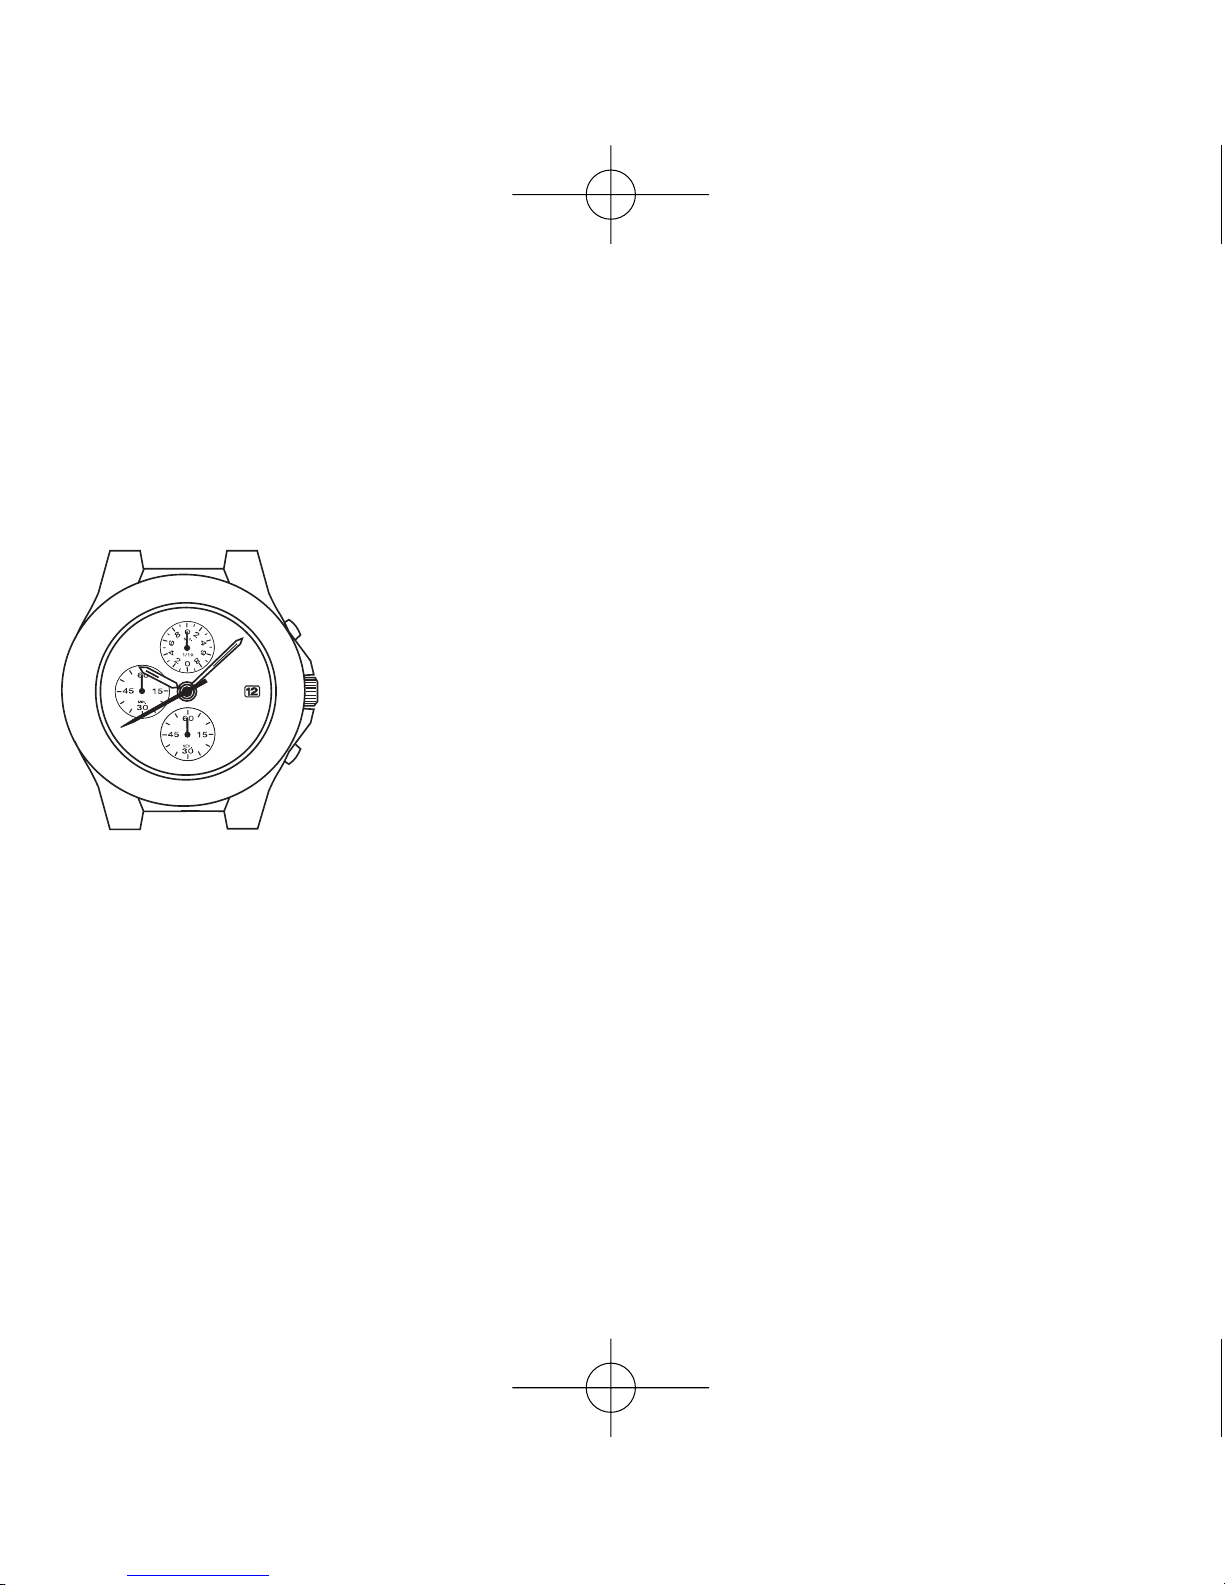
CHRONOGRAPH
The chronograph can measure up to 60 minutes in 1/10 seconds. The measured time is
indicated by the small chronograph hands that move independently of the center hands.
Note: While the chronograph is counting, do not pull out the crown to set the time.
Otherwise, the chronograph operation cannot be made.
How to read the hands
Ex.) Elapsed time measured is 15 minutes and 10.6 seconds
The chronograph 1/10 second scale and hand differ in design and shape depending
on the models.
•Some models have the chronograph 1/10 second scale graduated on the upper
half of the small dial and the hand which is so designed that both ends can indicate
the elapsed 1/10 second. In that case, read the marker on the scale where either
end of the hand points to.
6
Chronograph second hand
Chronograph
1/10-second hand
Chronograph
minute hand
(Normal position)
D
ChronoVD57_GB 26-09-2003 15:52 Pagina 6
7
•After the measurement exceeds 1 minute, the chronograph 1/10 second hand stays
at the “0” position.
When the measurement is stopped, it will move to indicate the elapsed 1/10
seconds.
Chronograph operation
1. Standard measurement
To start : Press “A”
To stop : Press “A”
To reset to “0” : Press “B”
2. Accumulated elapsed time measurement
To start : Press “A”
To stop : Press “A”
To restart : Press “A”
To stop : Press “A”
To reset to “0” : Press “B”
3. Split time measurement
To start : Press “A”
To measure split time : Press “B”
To release split time : Press “B”
To stop : Press “A”
To reset to “0” : Press “B”
ChronoVD57_GB 26-09-2003 15:52 Pagina 7

8
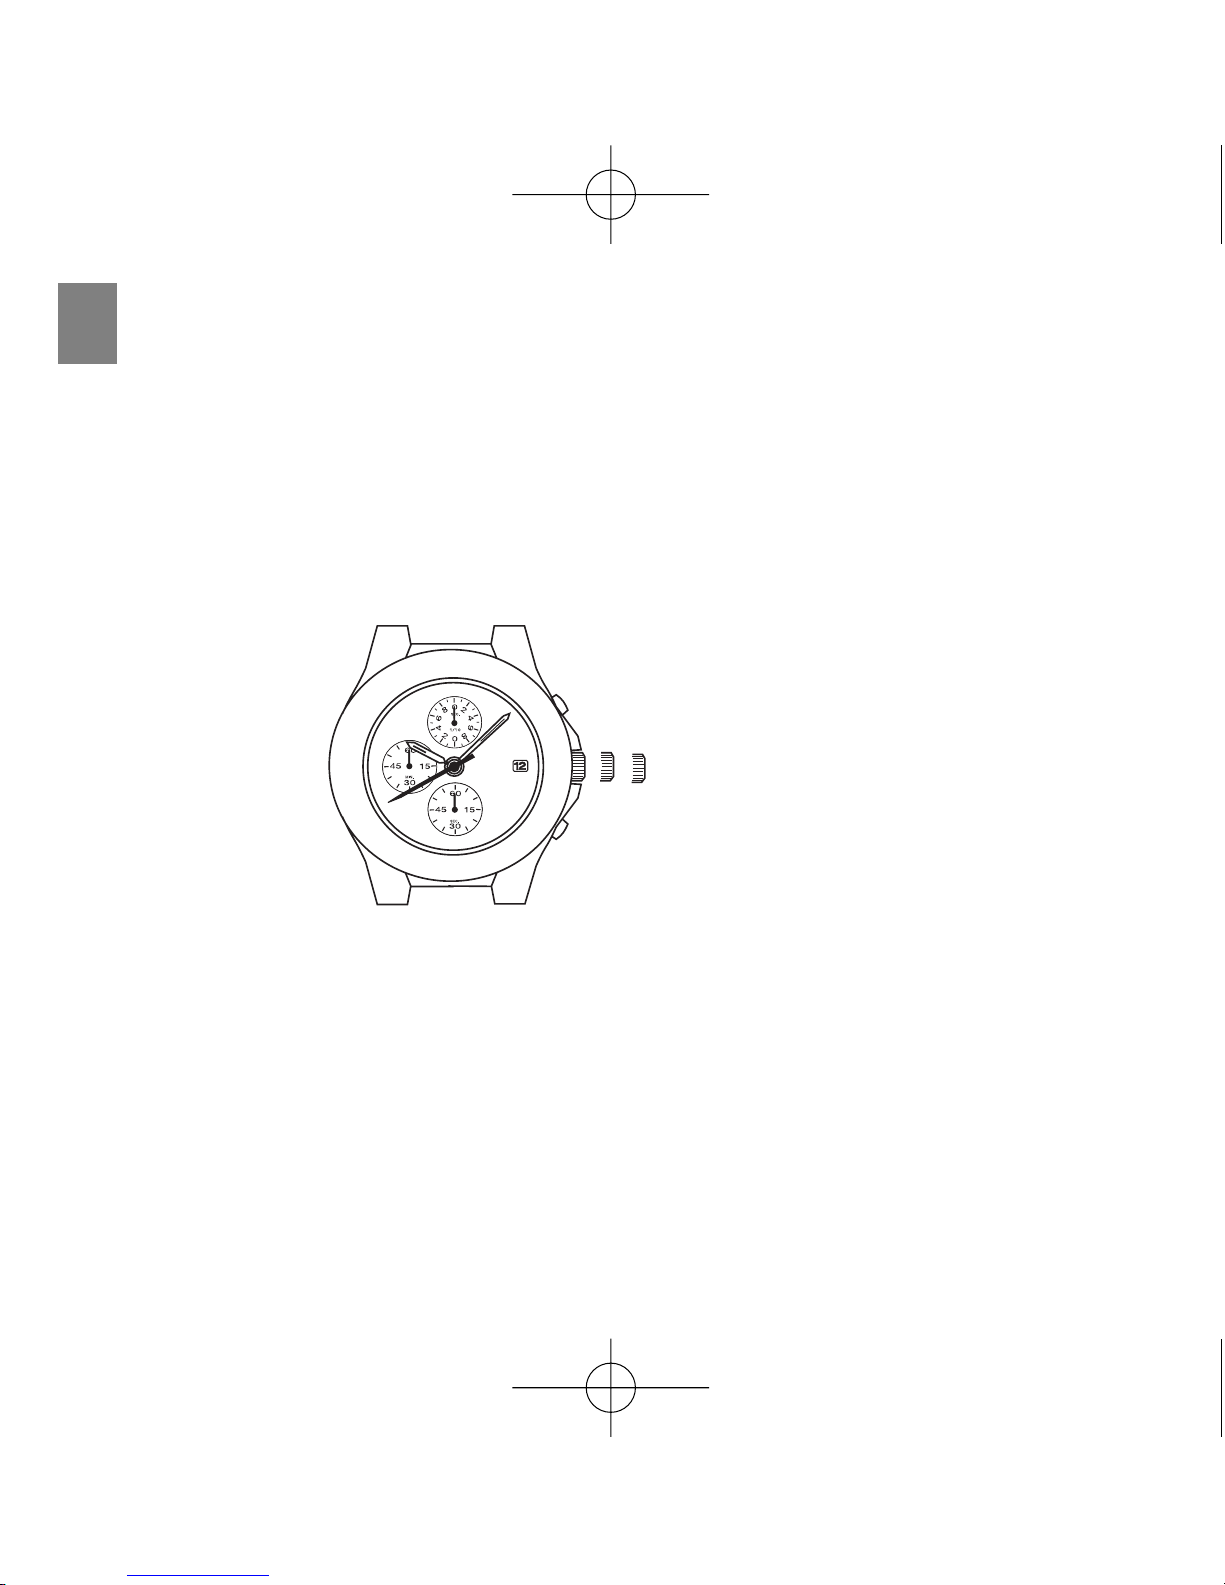
ADJUSTING THE CHRONOGRAPH
HAND POSITION
Before setting the time, be sure to check if the chronograph hands are in the “0”
position when the chronograph is reset.
Note: The “0” position of the chronograph 1/10 second hand differs depending on the
models.
•Some models have the “0” position of the chronograph 1/10 second hand at
3 and 9 o’clock sides of the small dial. In that case, check if the hand is level
with its both ends pointing to those “0” positions.
•If the chronograph is in us, press the buttons in the following order to reset it, and
then check if the hands return to the “0” position. (For details, refer to
“CHRONOGRAPH”.)
•If the chronograph is counting : A B
•If the chronograph is stopped : B
•If the split line is displayed : B AB
•If any of the chronograph hands do not return to the “0” position when the
chronograph is reset, follow the procedure below to reset the hands.
E
ChronoVD57_GB 26-09-2003 15:52 Pagina 8

9
1. Pull out the crown all the way
2. Press “A” repeatedly to reset the chronograph 1/10 second hand to the “0” position.
Press “B” repeatedly to reset the chronograph second and minute hands to the “0”
position.
•The chronograph minute hand moves correspondingly with the chronograph
second hand
•The hands move quickly if the respective buttons are kept pressed
3. Push the crown back in to the normal position.
(Second click)
ChronoVD57_GB 26-09-2003 15:52 Pagina 9
10
NECESSARY OPERATION AFTER BATTERY CHANGE
When the battery is replaced, the time information stored in the built-in IC and the time
indicated by the hands do not correspond with each other. Before using the watch,
therefore, be sure to reset the hands to the “0” position, following the procedure below.
•In case any of the hands should move improperly, follow the procedure below to
adjust the hand movement.
F
(Second click)
1. Pull out the crown all the way.
2. Keep “A” and “B” pressed at the same time for 2 seconds, and then release the
buttons. The chronograph second hand turns half a circle counterclockwise and the
returns where it was. The chronograph 1/10 second hand turns a full circle
clockwise and stops.
ChronoVD57_GB 26-09-2003 15:52 Pagina 10

11
3. Press “A” repeatedly to reset the chronograph 1/10 second hand to the “0” position.
Press “B” repeatedly to reset the chronograph second and minute hands to the “0”
position
•The “0” position of the chronograph 1/10 second differs depending on the
models. (Some models have the “0” position of the chronograph 1/10 second
hand at 3 and 9 o’clock sides at the small dial. In that case, check if the hand is
level with its both ends pointing to those “0” positions)
•The chronograph minute hand moves correspondingly with the chronograph
second hand.
•The hands move quickly if the respective buttons are kept pressed.
4. Turn the crown clockwise or counterclockwise to set the hour and minute hands to
the desired time. (For details, refer to “TIME/CALENDAR SETTING”)
5. Push the crown back in to the normal position.
ChronoVD57_GB 26-09-2003 15:52 Pagina 11

12
PRECAUTIONS AND USEFUL INFORMATION
G
- In order to prevent water coming into contact with the internal mechanism, never pull the crown
out when the watch is wet.
- If any watches designed for sportswear or use in water come into contact with salt water or
heavy sweating, they should be rinsed in fresh water and dried thoroughly.
Indication Use
“WATER RESISTANT” may sometimes be abbreviated to “WATER RESIST”
A
B
C
D
E
Dial
-
WATER RESISTANT
30M (3ATM)
WATER RESISTANT
50M (5ATM)
WATER RESISTANT
100M (10ATM)
WATER RESISTANT
200M (20ATM) or more
Case
-
WATER RESISTANT
WATER RESISTANT
WATER RESISTANT
WATER RESISTANT
Spray, sweat, light
rain, washing, etc.
NO
YES
YES
YES
YES
Swimming,
etc.
NO
NO
YES
YES
YES
Degree of
water
resistance
ChronoVD57_GB 26-09-2003 15:52 Pagina 12
13
- Contact with water may cause a deterioration in the quality of some leather straps.
- As internal parts of the watch can retain moisture, when the outside temperature is lower than
the inside, the watch glass may mist-up. This phenomenon is purely temporary and should not
create any problems. However, if it persists for any length of time, the watch should be checked
by the shop where it was purchased or by the nearest Authorised Service Centre.
in water
* Always keep the crown in its normal position. * Full tighten crown screw lock.
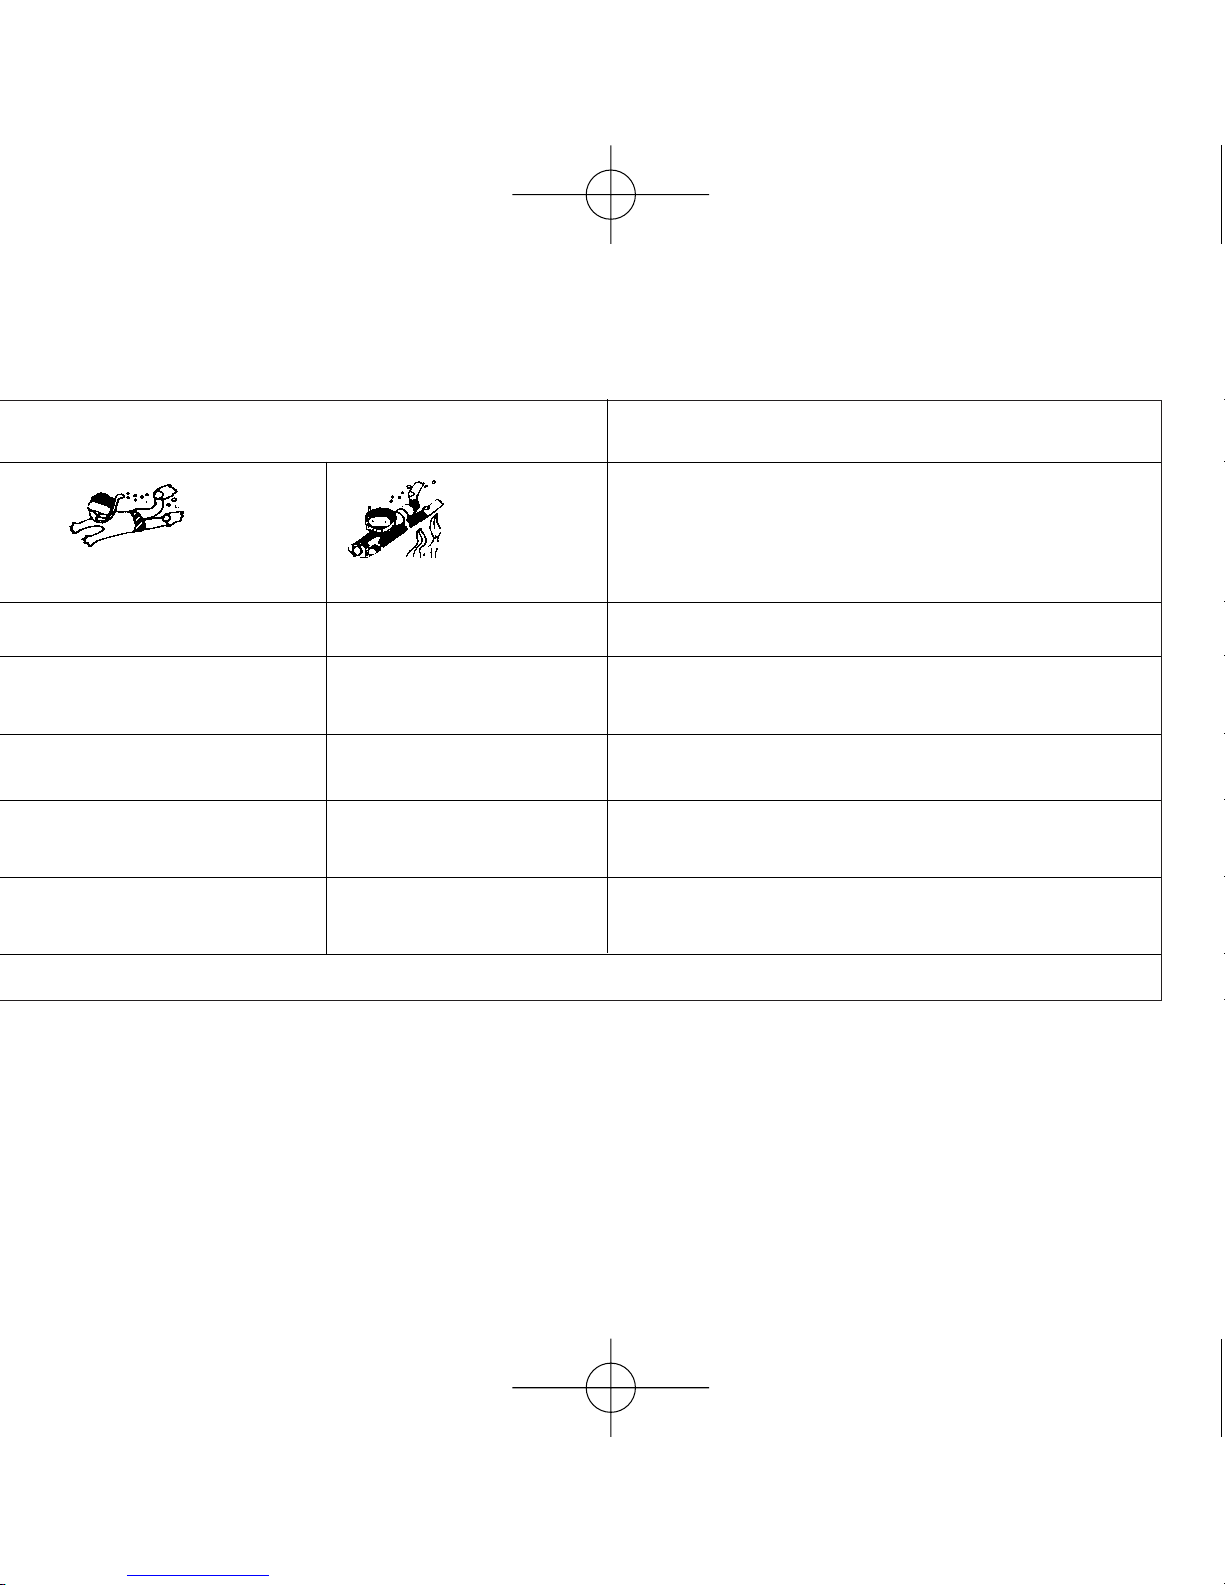
Skin-diving
NO
NO
NO
YES
YES
Scuba diving
NO
NO
NO
NO
YES
Water-resistance
characteristics
No water resistant. Must be kept away from water and moisture
Average water resistance. Can withstand spray, sweat, light
rain, washing, etc. during daily use
Can be worn while swimming but not diving
Suitable for skin-diving.
Suitable for scuba diving.
ChronoVD57_GB 26-09-2003 15:52 Pagina 13

14
Temperature
Do not leave the watch exposed to direct sunlight or temperature extremes for long
periods of time.
Long exposure, in fact, may adversely affect the operation of the watch and actually
shorten battery life, causing it to gain or lose time and affect its other functions.
Impact
This watch can withstand normal everyday impacts and shocks and those normally
imparted by non-contact sports. Serious damage, however, may result if the watch is
dropped or subjected to severe shock.
Magnetic fields
This watch is antimagnetic up to 60 gauss, and is therefore not affected by magnetic
fields produced by normal domestic appliances. If used near strong magnetic fields,
its operation may be temporarily affected.
Static electricity
The integrated circuits present inside the watch are sensitive to static electricity. If the
watch is exposed to intense electrical fields, the time display may temporarily lose
some of its accuracy.
Chemicals and gases
Avoid wearing the watch in the presence of strong gases or chemical substances. Parts
of the watch may discolour, dissolve or even break if brought into contact with benzol or
petroleum based products such as solvents, thinners, detergent, adhesives etc.
Pay special attention to avoiding contact with chemicals.
ChronoVD57_GB 26-09-2003 15:52 Pagina 14

The watch case and strap may discolour if they come into contact with mercury from
a broken thermometer or other equipment.
Keeping the watch clean
Use an absorbent soft cloth to clean off any dirt or damp from the watch glass.
Wearing the watch when the strap or back of the case is dirty can cause skin
irritation.
Cleaning the watch strap:
•Metal bands: use a toothbrush and soapy warm to wash the dirt off.
•Plastic or rubber straps: wash with water. Do not use solvents.
•Leather straps: gently rub the face of the strap using a soft dry cloth. Clean the
opposite side with a cloth and alcohol.
Periodic inspection
In order to guarantee long trouble-free operation, it is advisable to have the watch
checked by an Authorised Assistance Centre once every two years.
Keep batteries out of the reach of children
If a battery is accidentally swallowed, consult a doctor immediately.
15
ChronoVD57_GB 26-09-2003 15:52 Pagina 15

16
ChronoVD57_GB 26-09-2003 15:52 Pagina 16
Table of contents
Languages:
Other BREIL Watch manuals

BREIL
BREIL CHRONO FS10 User manual

BREIL
BREIL 6U50 User manual

BREIL
BREIL FS41 User manual

BREIL
BREIL X.LARGE PRO User manual

BREIL
BREIL ABARTH 595 SCORPIONEORO User manual

BREIL
BREIL 1L12 - DUAL TIME GMT User manual

BREIL
BREIL CHRONO YM92 User manual

BREIL
BREIL OT10 User manual

BREIL
BREIL ABARTH 595 SCORPIONEORO User manual

BREIL
BREIL CHRONO ALARM YM52 User manual

BREIL
BREIL 3S10 User manual

BREIL
BREIL 1L10 User manual

BREIL
BREIL CHRONO OS11 User manual

BREIL
BREIL AW00 User manual

BREIL
BREIL YM91 User manual

BREIL
BREIL YM62 User manual

BREIL
BREIL ABARTH 595 SCORPIONEORO User manual

BREIL
BREIL Watch User manual

BREIL
BREIL Chrono OS20 User manual

BREIL
BREIL AS10 User manual


