Bruker CTX User manual

Your Complete Source for
Testing Equipment
www.BergEng.com
Berg Engineering & Sales Company, Inc.
1-847-577-3980

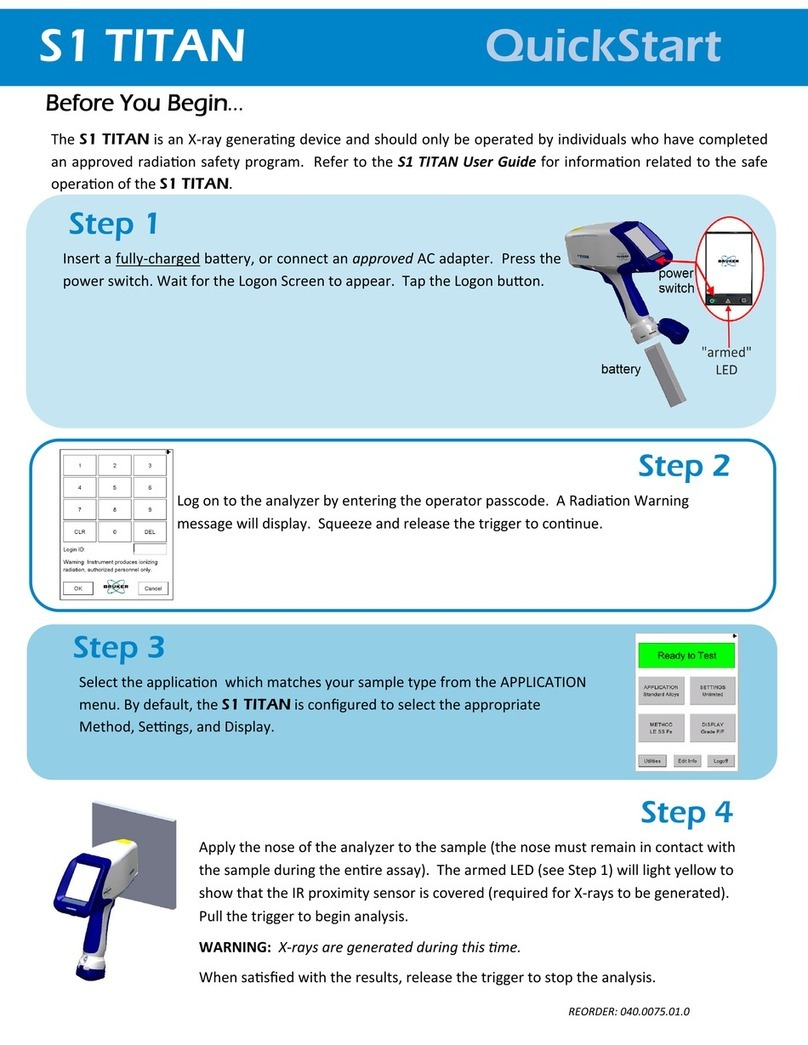
S1 TITAN, T
RACER
5, and CTX User Manual
Federal Communications Commission
This equipment has been tested and found to comply with the limits for a Class B digital device,
pursuant to Part 15 of the FCC Rules. These limits are designed to provide reasonable protection against
harmful interference in a residential installation. This equipment generates, uses, and can radiate radio
frequency energy and, if not installed and used in accordance with the instructions, may cause harmful
interference to radio communications. However, there is no guarantee that interference will not occur
in a particular installation. If this equipment does cause harmful interference to radio or television
reception, which can be determined by turning the equipment off and on, the user is encouraged to try
to correct the interference by one of the following measures:
- Reorient or relocate the receiving antenna.
- Increase the separation between the equipment and receiver.
- Connect the equipment into an outlet on a circuit different from that to which the receiver is
connected.
- Consult the dealer or an experienced radio/TV technician for help.
Changes or modifications not expressly approved by the party responsible for compliance could void the
user's authority to operate the equipment.
This device complies with part 15 of the FCC Rules. Operation is subject to the following two conditions:
(1) This device may not cause harmful interference, and (2) this device must accept any interference
received, including interference that may cause undesired operation.
In order to comply with FCC/ISED/MIC RF Exposure requirements, this device must be installed to
provide at least 20 cm separation from the human body at all times.
T
RACER
5 FCCID: 2AKJ9HMP001
Equipment Disposal
Before disposing of the instrument, accessories or batteries check your local laws and regulations and
follow them accordingly.
In accordance with European Directive 2002/96/EC on Waste Electrical and Electronic Equipment
(WEEE), this symbol indicates that the product shall not be disposed of as unsorted municipal waste, but
should be collected separately. Refer to your local Bruker distributor for return and/or collection
systems available in your country.
Your Complete Source for
Testing Equipment
www.BergEng.com
Berg Engineering & Sales Company, Inc.
1-847-577-3980

S1 TITAN, T
RACER
5, and CTX User Manual
Table of Contents
1. Instrument Description and Care............................................................................................................................... 5
1.1.
Instrument Components .......................................................................................................................................... 6
1.2.
TRACER 5 Collimators and Filters ........................................................................................................................... 10
1.3.
General Care and Maintenance ............................................................................................................................. 14
1.4.
Changing Windows ................................................................................................................................................. 14
1.5.
Power Sources ........................................................................................................................................................ 17
1.6.
Contacting Bruker................................................................................................................................................... 20
2. Radiation Safety ...................................................................................................................................................... 21
2.1.
Radiation Profile – S1 TITAN ................................................................................................................................... 21
2.2.
Radiation Profile – TRACER 5.................................................................................................................................. 24
2.3.
Radiation Profile – CTX ........................................................................................................................................... 30
2.4.
Precautions ............................................................................................................................................................. 31
2.5.
Safety Features ....................................................................................................................................................... 33
3. Starting Up .............................................................................................................................................................. 34
4. APPLICATION Button ............................................................................................................................................... 39
5. METHOD Button ...................................................................................................................................................... 40
6. SETTINGS Button ..................................................................................................................................................... 41
7. SETTINGS Button – Spectrometer Mode .................................................................................................................. 43
8. DISPLAY Button ....................................................................................................................................................... 45
8.1.
Display Settings ...................................................................................................................................................... 46
8.2.
Element Display Order ........................................................................................................................................... 47
8.3.
Grade ID Settings and More ................................................................................................................................... 48
9. Utilities Button ........................................................................................................................................................ 49
9.1.
Back up Data........................................................................................................................................................... 49
9.2.
Remote Control ...................................................................................................................................................... 51
10. Edit Info Button ................................................................................................................................................... 52
11. Results ................................................................................................................................................................ 54
11.1.
Spectrum ................................................................................................................................................................ 56
11.2.
Averaging................................................................................................................................................................ 58
12. Quality Check ...................................................................................................................................................... 61
13. Appendix A: Additional TRACER 5 Radiation Profile Test Results ........................................................................ 62
14. Appendix B: S1 TITAN Specifications ................................................................................................................... 65
15. Appendix C: TRACER 5 Specifications .................................................................................................................. 66
16. Appendix D: CTX Specifications ........................................................................................................................... 67
Your Complete Source for
Testing Equipment
www.BergEng.com
Berg Engineering & Sales Company, Inc.
1-847-577-3980

S1 TITAN, T
RACER
5, and CTX User Manual
030.0112.04.0
4 of 67
This page is intentionally left blank.
Your Complete Source for
Testing Equipment
www.BergEng.com
Berg Engineering & Sales Company, Inc.
1-847-577-3980

S1 TITAN, T
RACER
5, and CTX User Manual
030.0112.04.0
5 of 67
1. Instrument Description and Care
Introduction
User documentation for the S1 TITAN, T
RACER
5, and (countertop XRF) analyzers is in the form of a
suite of Manuals, each with its own specific purpose. This document, the S1 TITAN, T
RACER
5, and
CTX User Manual, describes –
Instruments.
Safety precautions.
Safety features.
Basic use.
Typical kit
An instrument typically comes with the following –
Software and calibrations.
Check samples appropriate to the specific calibrations.
A charger, power cord, and two batteries.
A USB/CD loaded with Bruker Toolbox, all manuals, demonstration software for S1 DATA
TOOLS, and utilities.
Radiation safety video.
Extra windows.
Screwdriver or Hex driver and two spare nose plate screws.
USB flash drive.
Two collimators are standard with the T
RACER
5.
Various filters and collimators are optional for T
RACER
5.
Optional filter making tools for T
RACER
5.
Pelican case.
Optional backpack for CTX.
X-ray use
The S1 TITAN, T
RACER
5, and CTX are fully field portable analyzers based on energy dispersive X-
ray fluorescence (EDXRF) technology and use an X-ray tube as their excitation source. When
energized, the instruments generate low-energy X-rays.
Calibration
options
Instruments are factory calibrated, based on customer-ordered configuration. Calibrations are
available for various applications, such as:
Alloy analysis.
Mining analysis.
Restriction of Hazardous Substances (RoHS) chemical content.
Lead and other heavy metals in toys and consumer products.
Soil contamination analysis.
Your Complete Source for
Testing Equipment
www.BergEng.com
Berg Engineering & Sales Company, Inc.
1-847-577-3980

S1 TITAN, T
RACER
5, and CTX User Manual
030.0112.04.0
6 of 67
1.1. Instrument Components
S1 TITAN
Examination
Window
Proximity
Sensor
Trigger
Battery Lock
X-ray
warning
light
Ports hatch
Touch screen
Power switch
Armed indicator light
Auxiliary trigger
X-ray warning light
T
RACER
5
X-ray warning light
Proximity sensor
Examination window
Collimator hatch
Hose fitting
Trigger
Battery door lock
Rail
Power switch
Touch screen
Auxiliary trigger
Ports hatch
Battery
Remote
AC power
USB OTG 2.0
USB
Your Complete Source for
Testing Equipment
www.BergEng.com
Berg Engineering & Sales Company, Inc.
1-847-577-3980

S1 TITAN, T
RACER
5, and CTX User Manual
030.0112.04.0
7 of 67
CTX
Open lid
Closed lid
Examination window
Armed indicator
Touch screen
Trigger
X-ray warning lights
USB flash drive port
USB port, type B
Power switch
AC power jack
Battery door
Battery
Open lid
Examination
window
Sample tray
Laser etched
sample tray
Sample cup
Your Complete Source for
Testing Equipment
www.BergEng.com
Berg Engineering & Sales Company, Inc.
1-847-577-3980

S1 TITAN, T
RACER
5, and CTX User Manual
030.0112.04.0
8 of 67
Descriptions
The following table, in alphabetical order, describes each component:
Component
Description
Armed indicator
Indicates that the instrument is ready to take a measurement.
Auxiliary trigger
Allows dual hand operation as required in certain countries.
Battery
Provides power to the instrument.
Battery door lock
Keeps the battery secure.
Collimator hatch
(T
RACER
5 only)
Accesses the collimator/filter assembly.
Examination window
Source location of X-rays.
Hose fitting
(T
RACER
5 only)
Provides an attachment location for a vacuum or Helium flush hose.
Ports
Provide connections for USB, remote, USB flash drive, and power.
Power switch
Powers the instrument on and off.
Proximity sensor
Prevents the instrument from activating without a sample in place.
Rail (T
RACER
5 only)
Allows accessories to be easily attached.
Touch screen
Controls the instrument through a pressure sensitive user interface.
Using a stylus is helpful.
Trigger
Initiates a measurement.
X-ray warning light
Warns when the X-ray generator is activated.
T
RACER
5
windows
Both the S1 TITAN and the T
RACER
5 come with a clear examination window but the T
RACER
5 has
additional window configurations for different applications.
Application
Configuration
Reason
Normal use
Clear window
The window prevents dust and dirt from entering.
Vacuum
Gridded window
The grid reinforces the window against air pressure
during the vacuum. However, during normal use, the grid
interferes with measurements of light elements.
He flush
No window
Allows the Helium flow to escape.
Clear window for normal use Gridded window for vacuum No window for He flush
CTX windows
The CTX uses two window types, each for a different location –
Type
Location
Purpose
Prolene™
Fixed inner plate
Protects the detector.
Etnom
Removable, laser-
etched sample tray
Used with liquid hydrocarbon applications, e.g. % S in Oil.
Note: Contains silicon at a measurable level.
Your Complete Source for
Testing Equipment
www.BergEng.com
Berg Engineering & Sales Company, Inc.
1-847-577-3980

S1 TITAN, T
RACER
5, and CTX User Manual
030.0112.04.0
9 of 67
Accessories
The following table, in alphabetical order, describes accessories available for purchase. For
details, see the Accessories Manual, Bruker document 030.0116.
Accessory
Part #
Description
Background Plate
485251-000
Eliminates interference from materials behind or around
a small sample and absorbs X-rays.
Barcode Reader,
Socket CHS 7Ci
200.0050
Scans a barcode and displays the alphanumeric
characters on the instrument screen.
Benchtop Stand, S1
TITAN
200.0058
Provides interlocks and stability for measuring small and
medium samples.
Benchtop Stand,
T
RACER
5
200.0114
Provides interlocks and stability for measuring small and
medium samples.
Camera
n/a
Photographs samples. This feature is standard with the
T
RACER
5.
Desktop Stand, S1
TITAN
200.0057
Provides stability for measuring small samples.
Desktop Stand,
T
RACER
5
200.0093
Provides stability for measuring small samples.
Extension Pole
200.0071
Allows the instrument to measure from several feet
away from a user and at ground level while user stands.
GPS, Dual
XGPS150A
160.0074
Stores the longitude, latitude, and altitude with each
measurement.
Helium Flush,
T
RACER
5 only
160.0201
Increases low energy measurement accuracy by
replacing air from between a sample and the detector
with helium.
Printer, Honeywell
Intermec PB31
200.0051
Prints screen shots from an instrument.
Soil Foot
160.0138
Allows the instrument to stand alone at a right angle for
a horizontal sample and can connect to an extension
pole.
Tripod Bracket, rail
mounted, T
RACER
5
only
150.0268
Attaches the new T
RACER
5 to a legacy tripod.
Tripod Kit, linear
and 3D arms
200.0072
Allows the instrument to be firmly mounted and
positioned.
Tripod Kit, linear
arm
200.0113
Allows the instrument to be firmly mounted and
positioned.
Vacuum Pump,
T
RACER
5 only
200.0090
Increases low energy measurement accuracy by
removing air from between a sample and the detector.
Weld Adapter, S1
TITAN
150.0140
Provides a groove for aligning a weld bead or weld rod.
Weld Adapter,
T
RACER
5
150.0259
Provides a groove for aligning a weld bead or weld rod.
Your Complete Source for
Testing Equipment
www.BergEng.com
Berg Engineering & Sales Company, Inc.
1-847-577-3980

S1 TITAN, T
RACER
5, and CTX User Manual
030.0112.04.0
10 of 67
1.2. T
RACER
5 Collimators and Filters
Description
The T
RACER
5 has additional, interchangeable features –
Filters.
Collimators, stamped with either an 8 or 3.
They are applied as an assembly: a filter is inserted into the filter holder, which is attached to the
collimator with a screw.
Black filter holder Assembly Collimators
Filter types
Optional: Five different filters and holders are available for the T
RACER
5. The holders are marked
in different colors to indicate filter type as per the chart below.
Filter
Name on Screen
Holder Color
Ti 25µm
Blue
Blue
Cu 200µm:Ti 25µm:Al 300µm
Black
Black
Al 76µm
Orange
Orange
C 60µm:F 190µm
Teflon
White
No filter
None
Beige
Collimators
The collimator determines the size of the spot on the sample to be tested. For most applications,
8mm spot size is best. The 3mm spot size collimator reduces the focal point size and, therefore,
the analyzed area. For safety reasons, a collimator must be installed at all times.
If a collimator is…
Then
Installed
The size is displayed in the status bar and recorded in the data file.
Not installed
The instrument is prevented from entering the armed state and will not
produce X-rays.
Your Complete Source for
Testing Equipment
www.BergEng.com
Berg Engineering & Sales Company, Inc.
1-847-577-3980

S1 TITAN, T
RACER
5, and CTX User Manual
030.0112.04.0
11 of 67
Installing a
collimator
To install an alternate collimator –
Step
Action
1
Ensure that the instrument is powered off.
2
Using the provided 0.050 inch hex
screwdriver, open the collimator hatch located
on the side of the instrument nose. Do not
allow debris to get inside the hatch area.
3
Using a thumbnail on the lip of the currently
installed collimator, slide it out. It may be
tight.
4
Line up the new collimator with the groove
inside the hatch and slide it in until it clicks.
Again, do not allow debris inside.
5
Securely close the hatch and screw it shut.
Your Complete Source for
Testing Equipment
www.BergEng.com
Berg Engineering & Sales Company, Inc.
1-847-577-3980

S1 TITAN, T
RACER
5, and CTX User Manual
030.0112.04.0
12 of 67
Changing
filters
To change manual filters attached to a collimator –
Step
Action
1
Note the configuration of the current filter
holder on the collimator.
2
Using the provided 0.050 inch hex
screwdriver, unscrew the filter holder from
the collimator.
3
Align the new filter holder with the collimator.
Note the metal band fits into the collimator.
4
Attach the screw.
Your Complete Source for
Testing Equipment
www.BergEng.com
Berg Engineering & Sales Company, Inc.
1-847-577-3980

S1 TITAN, T
RACER
5, and CTX User Manual
030.0112.04.0
13 of 67
Making a
filter
To make a custom filter –
Step
Action
1
Collect necessary tools:
Hole punch
Vacuum stick
0.050 inch hex screwdriver
Collimator assembly
2
Use the hole punch to cut the filter material.
3
Retrieve the filter piece from the hole punch.
4
Use the vacuum stick to pick up the filter piece
without touching it.
To operate the vacuum stick –
1. Press and hold the button.
2. Touch the tip to the filter piece.
3. Release the button.
5
Place the filter piece in the collimator. Release the
filter piece by pressing the vacuum stick button.
For a multilayer filter, the filter piece with the highest
atomic number must be placed in the collimator last
so it is closest to the X-ray source.
6
Screw the filter holder onto the collimator.
Your Complete Source for
Testing Equipment
www.BergEng.com
Berg Engineering & Sales Company, Inc.
1-847-577-3980

S1 TITAN, T
RACER
5, and CTX User Manual
030.0112.04.0
14 of 67
1.3. General Care and Maintenance
Low
maintenance
The instrument, when used properly, should require very little maintenance beyond –
Battery recharging. See Power Sources, page 15.
Window replacement. See below.
Quality checking. See Quality Check, page 61.
Touch screen
The touch screen uses sensitive electronics and should be cleaned regularly using a soft, lint-free
or microfiber cloth. Do not –
Use cleaners as they may damage the screen.
Use compressed air.
Leave the analyzer where the touch screen is exposed to direct sunlight.
Cleaning
exterior
If the exterior of the analyzer becomes dirty, wipe it gently with a damp, lint-free cloth. Avoid
harsh solvents and compressed air.
1.4. Changing Windows
Description
The window in front of the detector is delicate, only 4 µm thick Prolene™, and periodically
requires replacement.
Never touch or use compressed air on the detector. The detector window is 8µm Be, fragile, and
expensive.
Detector
Your Complete Source for
Testing Equipment
www.BergEng.com
Berg Engineering & Sales Company, Inc.
1-847-577-3980

S1 TITAN, T
RACER
5, and CTX User Manual
030.0112.04.0
15 of 67
Changing
windows,
handheld
instruments
To change a window on the S1 TITAN or T
RACER
5 –
Step
Action
1
If necessary, unscrew and remove the nose plate using the
supplied screwdriver.
T
RACER
5
2
Peel off the old window. Avoid any contact with the sensitive
detector.
S1 TITAN
3
Remove old adhesive with isopropyl alcohol.
T
RACER
5
4
Peel the white backing from the new window.
T
RACER
5
5
For the S1 TITAN, center alignment arrows over the middle of
the aperture.
S1 TITAN
6
Carefully apply the new window to the nose.
T
RACER
5
7
Peel off the clear front protective cover. Otherwise, light
element measurements will be inaccurate.
T
RACER
5
8
Replace the nose plate. Firmly secure the screws but do not
over-tighten.
Changing
To change a window on the CTX –
Your Complete Source for
Testing Equipment
www.BergEng.com
Berg Engineering & Sales Company, Inc.
1-847-577-3980

S1 TITAN, T
RACER
5, and CTX User Manual
030.0112.04.0
16 of 67
windows, CTX
Step
Action
1
Peel off the old window and remove adhesive with isopropyl
alcohol. Avoid any contact with the sensitive detector.
2
Peel the white backing from the new 3.0
m Prolene Thin Film
42mm diameter window, part number 160.0181.01.
Caution: The Etnom film window looks identical but do not
use it here. See CTX Windows at the bottom of page 8.
3
Carefully apply the new window within the circular indent.
4
To secure the window, press the edge all the way around.
Your Complete Source for
Testing Equipment
www.BergEng.com
Berg Engineering & Sales Company, Inc.
1-847-577-3980

S1 TITAN, T
RACER
5, and CTX User Manual
030.0112.04.0
17 of 67
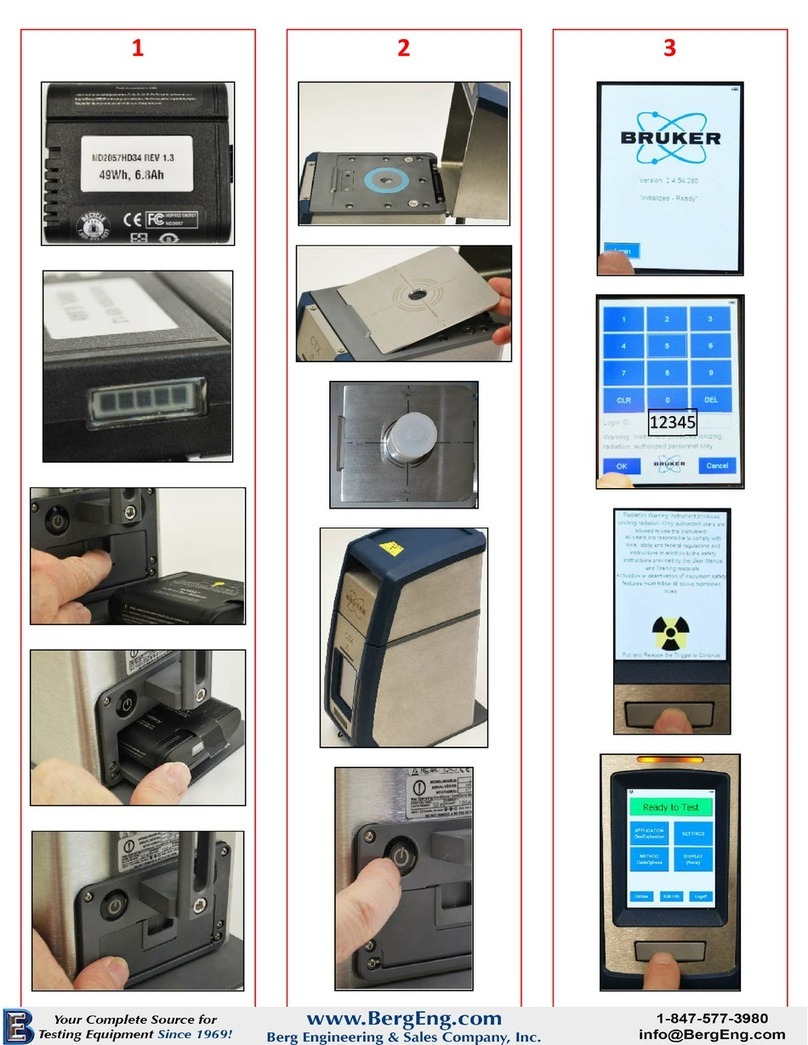
1.5. Power Sources
What is
provided
The analyzer is supplied with –
Two Lithium ion (Li-ion) batteries, part number 160.0009 for S1 TITAN and T
RACER
5 and
160.0145.01 for CTX.
Battery charger with a cord, part number 160.0010. (Do not use a different charger with
these batteries.) For more information, consult the manufacturer’s battery charger
manual.
S1 TITAN
battery
removal
To remove a battery from the S1 TITAN, while pressing the base, lift up the locking clip and pull
down the door. Pull out the battery.
T
RACER
5
battery
removal
To remove a battery from the T
RACER
5, press the battery door button, open the door, and pull
out the battery.
Button
Battery
installation for
handheld
To install a battery into an instrument, slide in the battery and close the door until the locking
clip clicks. Note that the battery can be inserted completely in only one orientation.
Your Complete Source for
Testing Equipment
www.BergEng.com
Berg Engineering & Sales Company, Inc.
1-847-577-3980

S1 TITAN, T
RACER
5, and CTX User Manual
030.0112.04.0
18 of 67
Remaining
charge for
handheld
To check the charge remaining on a battery for a handheld instrument –
On the “Bruker” side of the battery, push the white button on the left. Green lights indicate the
approximate remaining charge in percent.
CTX battery
The battery door is on the back of the CTX.
Battery door
Battery
Remaining
charge for CTX
The remaining charge on a CTX battery is displayed on the side. The following is a fully charged
battery.
Charging
To charge a battery –
Step
Action
1
To prolong battery life, ensure that the ambient temperature during charging is
between +5 °C and +45 °C (40 °F to 115 °F).
2
Plug power adapter into back of charger.
3
Plug power cord into power adapter.
4
Plug power cord into a wall outlet.
5
Insert battery into charger with the Bruker name on the left side. To charge a CTX
battery, first remove the insert from the charger.
Your Complete Source for
Testing Equipment
www.BergEng.com
Berg Engineering & Sales Company, Inc.
1-847-577-3980

S1 TITAN, T
RACER
5, and CTX User Manual
030.0112.04.0
19 of 67
To charge CTX battery,
first remove the insert.
Battery charger with S1 TITAN and T
RACER
5 battery CTX battery in charger
During charging, the green light blinks. A solid green light indicates the battery is fully charged.
For more information, consult the manufacturer’s battery charger manual.
Duration
A charge lasts, depending how the instrument is used, about four to eight hours.
Warnings
Do not –
Disassemble, crush, or puncture a battery.
Place a battery in fire or water.
Charge a battery except with the supplied charger.
Short battery terminals by allowing them to touch metal.
Dispose of batteries in the trash.
Disposal
To dispose of a battery –
Contact your local waste management company regarding disposal and recycling programs.
If there is no local disposal program, return used Bruker batteries to Bruker. A nominal
shipping charge applies.
If a battery fails to operate normally within the warranty period, return it to Bruker for
evaluation and repair.
Your Complete Source for
Testing Equipment
www.BergEng.com
Berg Engineering & Sales Company, Inc.
1-847-577-3980

S1 TITAN, T
RACER
5, and CTX User Manual
030.0112.04.0
20 of 67
Using AC
adapter
Optionally, the instrument may be powered by an AC adapter purchased from Bruker. (This is
different from the battery AC adapter.) To power the analyzer with an AC adapter –
Step
Action
1
With the supplied cord, connect the AC adapter to a 90-240V AC wall outlet.
2
Connect the AC adapter to the analyzer’s power port.
Maintaining
power
The analyzer may be connected to the AC adapter prior to removing the battery so power to the
unit is maintained.
Bruker brand
only
Using another brand of adapter could damage the analyzer and voids the warranty.
1.6. Contacting Bruker
Email: support.hmp@bruker.com
Phone: +1 (509) 783-9850
Web: www.bruker.com/hhxrf
Address: 415 N. Quay Street
Kennewick, WA 99336 USA
Your Complete Source for
Testing Equipment
www.BergEng.com
Berg Engineering & Sales Company, Inc.
1-847-577-3980
Other manuals for CTX
1
This manual suits for next models
3
Table of contents
Other Bruker Measuring Instrument manuals

Bruker
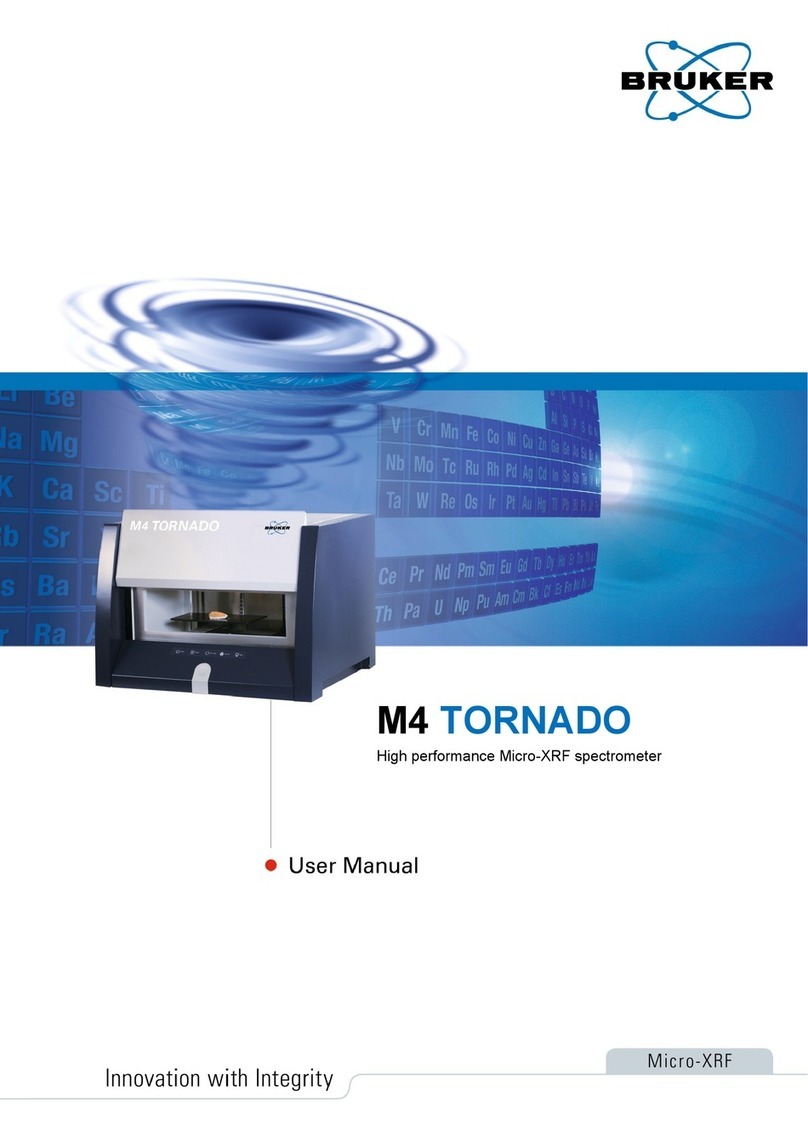
Bruker M4 TORNADO User manual

Bruker
Bruker DektakXT User manual

Bruker
Bruker minispec mq20 User manual

Bruker
Bruker S1 TRACER User manual

Bruker
Bruker minispec LF Series User manual

Bruker
Bruker DektakXT User manual

Bruker
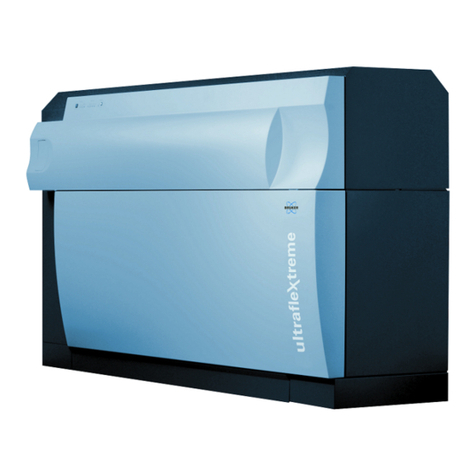
Bruker ultraflex Series User manual

Bruker
Bruker DektakXT Manual

Bruker
Bruker BMS User manual

Bruker
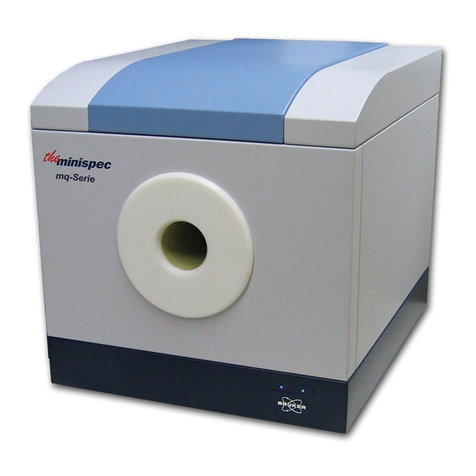
Bruker S1 TITAN User manual