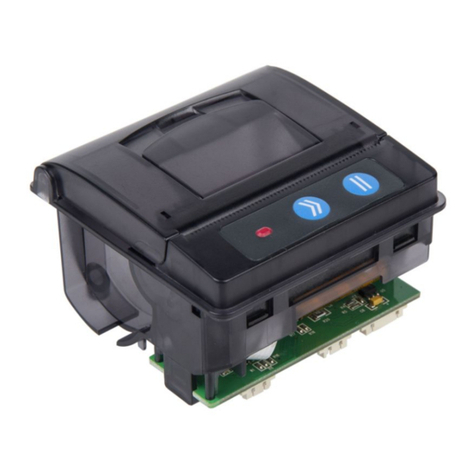
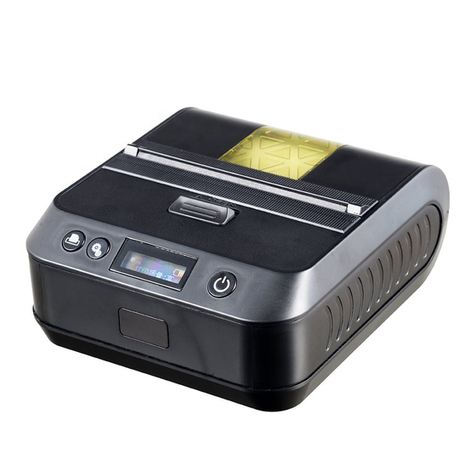
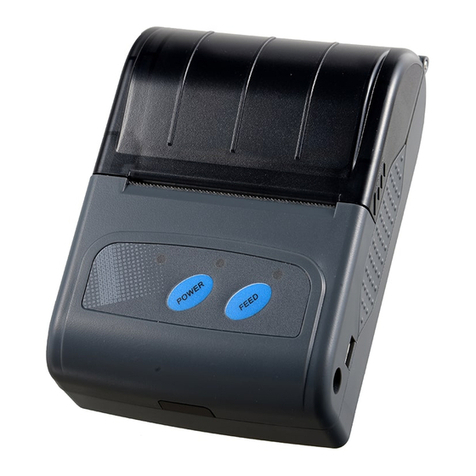
Cashino EP-260C-24V User manual

EP-260C-24V Micro panel printer
User Manual
Draft: Lin Xiaopeng 2017.04.06
Audit: Hu Riyu 2017.04.08
Standardize: Liu Zhonghua 2017.04.09
Authorize: Wang Huanyong 2017.04.10
Tel: 0592-5517253 Fax: 0592-5231815
Company: Xiamen Cashino Technology Co., Ltd.
Address: 4/F,No.318,Tongji South Road, Jimei District,Xiamen,China.361021
The manual is subject to change without further notice. Please contact Xiamen Cashino
Technology Co., Ltd. directly for the latest

Revision Record
No.
Date
Content of Modify
Number
of the
Page
Preparation /
modification
Review
1
20170406
First draft
Lin Xiaopeng
Hu Riyu
2
20180409
Product specification
5
Zhu Chunyan
Hu Riyu
3
20180418
Add “Reset the cutter”
11
Zhu Chunyan
Hu Riyu
4
20180523
Modify Installation
port size
5
Zhu Chunyan
Hu Riyu

Contents
1.Overview..................................................................................................................................................................5
1.1 Production feature.......................................................................................................................................... 5
1.2 Specification.......................................................................................................................................................5
1.3 Appearance and dimension......................................................................................................................... 6
1.3.1 Appearance........................................................................................................................................... 6
1.3.2 Dimension..............................................................................................................................................7
2.Connector pin specification............................................................................................................................. 7
3.Basic Operation.....................................................................................................................................................8
3.1 Print self-test page......................................................................................................................................... 8
3.2 Control Panel.................................................................................................................................................... 8
3.3 Printer Installation......................................................................................................................................... 10
3.4 Paper Loading.................................................................................................................................................12
3.5 Reset the cutter............................................................................................................................................. 12
4.Command Introduction....................................................................................................................................12
4.1 Command List.................................................................................................................................................12
4.2 Commands details......................................................................................................................................... 14
①Printing and paper feed commands................................................................................................ 14
Printing and paper feed........................................................................................................................... 14
Enter................................................................................................................................................................. 14
Print and paper feed dots....................................................................................................................... 15
Print and paper feed n line.................................................................................................................... 15
②Printing set commands......................................................................................................................... 15
Set line space as n dots.......................................................................................................................... 15
Set line space to default.......................................................................................................................... 16
Set print position........................................................................................................................................ 17
Set the left margin..................................................................................................................................... 17
Set character printing method............................................................................................................... 18
Set character size........................................................................................................................................ 19
Set、remove white printing..................................................................................................................... 20
Set、remove underline...............................................................................................................................21
Set、remove 90°revolving printing........................................................................................................22
Set printing alignment...............................................................................................................................22
Set Chinese mode....................................................................................................................................... 23
Exit Chinese character mode...................................................................................................................23

Select、cancel user customized characters........................................................................................ 24
Define user customized characters....................................................................................................... 24
Cancel user customized characters....................................................................................................... 27
Selecting international character set.................................................................................................... 27
Select character code.................................................................................................................................28
③Graphic printing command.................................................................................................................. 31
Fill Graphics vertical module data........................................................................................................ 31
Print Graphics horizontal module data............................................................................................... 33
Define downloaded bitmap..................................................................................................................... 34
Print downloaded bitmap.........................................................................................................................36
Define NV bitmap....................................................................................................................................... 37
Print NV bitmap...........................................................................................................................................41
④Tab Commands........................................................................................................................................ 42
Horizontal tab............................................................................................................................................... 42
Horizontal tab position setting.............................................................................................................. 42
⑤One-dimension bar code command.................................................................................................44
1D bar code readable character(HRI) print position setting...................................................... 44
1D bar code readable character(HRI)font type selection............................................................. 44
1D bar code height setting.....................................................................................................................45
1D bar code width setting...................................................................................................................... 45
1D bar code printing................................................................................................................................. 46
⑥Status querying Commands.................................................................................................................53
Real-time transmission status................................................................................................................. 53
⑦Printing QR code..................................................................................................................................... 57
Mode type of QR code............................................................................................................................ 57
Setting error correction level of QR code.........................................................................................57
Store QR code data to QR code data buffer.................................................................................. 58
Printing QR code......................................................................................................................................... 58
Setting QR code graph information.....................................................................................................59
⑧Printing double QR code..................................................................................................................... 61
⑨Other commands..................................................................................................................................... 62
Printer reset................................................................................................................................................... 62
Print self-test page..................................................................................................................................... 62
paper cut........................................................................................................................................................ 63
Full cut.............................................................................................................................................................64
Partial cut....................................................................................................................................................... 64
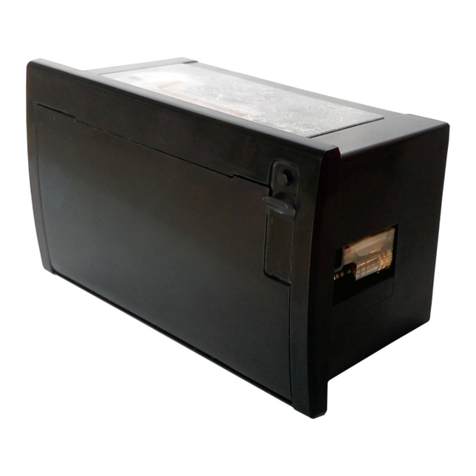
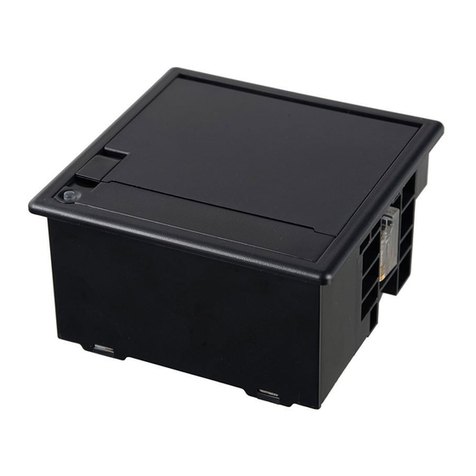
1.Overview
This is a panel thermal printer with cutter which is light,durable,and keeping long time
to print.It is widely used in medical equipment,measure equipment,safety equipment ,
Analytical instruments,instruments and so on.
1.1 Production feature
※ Smart appearance
※ easy loading paper
※ Low noise thermal printing
※ Different interfaces as choose
※ Front panel make paper replacement easily
※ Support Graphic print
※ Support 60mmm diameters paper
※ Easily embedded to any kinds of instruments and meters
1.2 Specification
Printing
Print method
Thermal line printing
Print speed
90mm/s
Resolution
203dpi(8dots/mm)
Effective printing width
48mm
Character
Character set
ASCII 码,GB2312-80(Chinese),BIG-5
Font
ANK:9×17,12×24;Chinese:24×24
Printable characters per line
Font A:32; Font B:42
Paper
spec.
Paper type
Thermal paper
Paper width
57.5±0.5mm
Paper diameter
max:60mm; min:13mm
Paper Thickness
60-85μm
Reliability
MCBF
>500km
Auto cutter
>1 million cuts
Interface
Serial(RS-232,TTL)/USB,Cash box(option)
Cutter method
Full cut+partial cut
Power (adapter)
DC5-9V,≥2A
DC 9-24V,≥2A

Physical
Outline Dimension (WxLxH)
115.5*102*66mm
Installation port size(WxL)
96.3*110mm
Insert Depth
56mm
Color
White/Black
Environm
ental
conditions
Operating temperature
0°C~50°C
Operating humidity
20%~85%RH
Storage temperature
-20°C~60°C
Storage humidity
5%~90%RH
1.3 Appearance and dimension
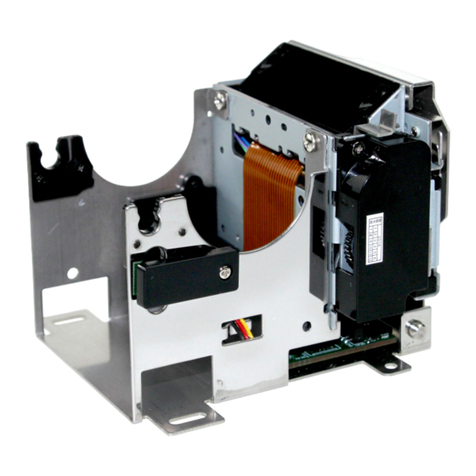
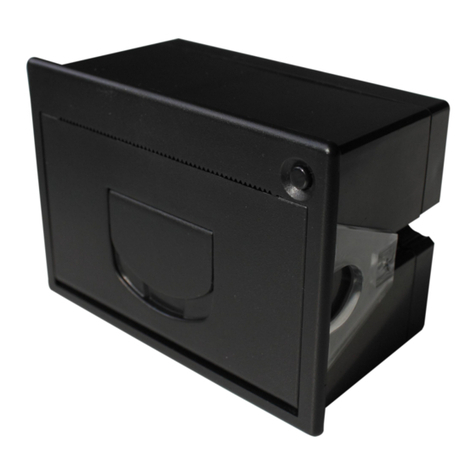
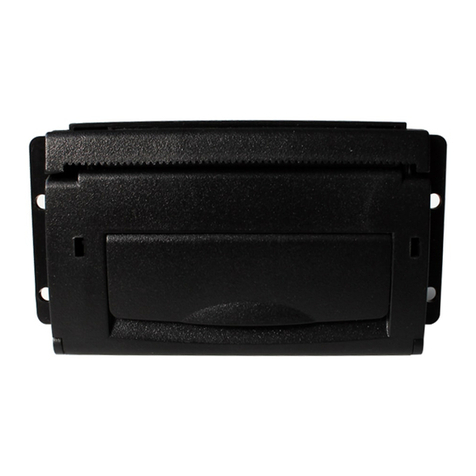
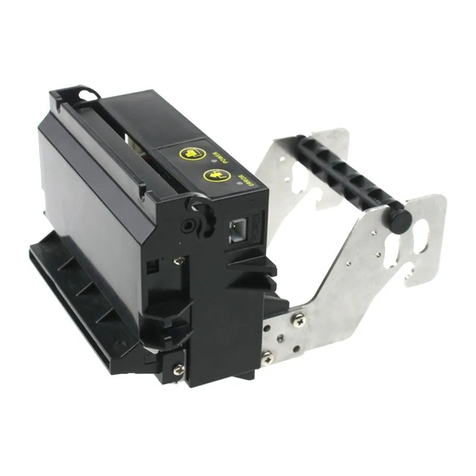
1.3.1 Appearance

1.3.2 Dimension
2.Connector pin specification
Serial(RS232/TTL)XH4/2.54mm

Terminal No.
Signal Name
Description
1
DTR
Request to send (Data terminal ready)
2
TXD
Transmission data
3
RXD
Receive data
4
GND
Ground
Power XH02/2.54mm
Terminal No.
Signal Name
Description
1
VH
Power supply
2
GND
Ground
MiniUSB
Terminal No.
Signal Name
Description
1
VUSB
Power supply
2
D-
Data line negative
3
D+
Data line positive
4
GND
Ground
3.Basic Operation
3.1 Print self-test page
Turn the power off while holding the feed button depressed.Then turn the power on ,
self-test receipt will be printed out.It including baud rate language and other some inf
ormation.
3.2 Control Panel

1.【Feed button】
Press this button to feed the paper. If you keep pressing this button, the paper will be
continue to feeding
2.【Statue LED indicator】
When printer is out of paper, cutter error, print head overheating and so on ,
the status lights always bright.
3.【Power LED indicator】
When the LED bright the printer is powered on. When the LED light off the printer is
powered off.
Power indicator
Statue indicator
Printer status
Bright
Light off
Normal
Bright
Flash 2 times
Printer head is not connected
or the temperature is too low
Bright
Flash 3 times
Out of paper
Bright
Flash 4 times
Cutter error
Bright
Flash 5 times
Printer head overheating
Bright
Flash 6 times
paper roller is not loaded properly
Feed button
Power LED indicator
Status LED indicator

3.3 Printer Installation
Step 1.Embed the printer into corresponding mounting hole
Step 2: Turn the printer cover and turn the screws on both sides clockwise until
the screws are locked so that the product is fixed OK
Size: 96.3*110

Noted:On the process of screw clockwise rotation, the lock will move outward at the
same time upward, until the panel is pressed to lock tight。
Step 3:Close printer cover and it’s ok

3.4 Paper Loading
1. Open the printer cover;
2. The paper roll is on the reverse side;
3. Close the printer cover,the paper is slightly exposed.
3.5 Reset the cutter
Method 1: Reset the cutter by turning it off and then on, and quickly eliminate the ca
rd cutter
Method 2: Reset the cutter by repeatedly pulling the key of opening cover , forcibly re
moving the cutter
4.Command Introduction
4.1 Command List
LF
Line feed
Print, paper feed Com
mand
CR
Enter
ESC J
Print and paper feed n dots
ESC d
Print and paper feed n lines
ESC 3
Set line space as n dots
ESC 2
Set default line space

Printing-set Command
ESC $
Set printing position
GS L nL nH
Set the amount of left margin
ESC !
Set character printing method
GS ! n
Set character printing method
GS B n
Set、remove white printing
ESC - n
Set、remove underline
ESC V n
Set、remove 90°revolving printing
ESC a
Setting position alignment mode
FS &
Set Chinese character mode
FS .
Cancel Chinese character mode
ESC % n
Select、Cancel user customized cha
racter
ESC &
Define user customized character
ESC ? n
Cancel user customized character
ESC R n
Select International character
ESC t n
Select the character code page
ESC *
Bitmap vertical modulus data fillin
gs
Bitmap Command
GS v 0
Bitmap horizontal modulus data p
rint
GS *
Define Downstream bitma
GS / m
Print Downstream bitmap
FS q
Define NV bitmap
FS p n m
Print NV bitmap
HT
Horizontal tab
Tab Command
ESC D
Set horizontal tabulation position
GS H
Set 1-D barcode readable characte
r(HRI)
print position
1-D barcode Command
GS h
Set 1-D barcoe hight
GS w
Set 1-D barcode width
GS k
Print 1-D barcode
GS( k
Print QRCODE
QR CODE Command
US Q m n
Print double QR CODE

GS r n
Transmission status
Status Inquire Comman
d
DLE EOT n
Real-time transmission status
ESC @
Printer reset
Other Commands
DC2 T
Printing self-test page
4.2 Commands details
①Printing and paper feed commands
Printing and paper feed
Name
print and paper feed
Code
ASCII :LF
DEC :10
HEX :0A
Function
Print the buffer contest,and set the paper feed as per line s
pace,then adjust
print position to initial position at the next line.
Range
None
Default
None
Notes
None
Example
None
Enter
Name
Enter
Code
ASCII :CR
DEC :13
HEX :0D
Function
Adjust print position to initial position of the same line.
Range
None
Default
None
Notes
After executing, R command, the new printing data will c
over old data in the printing buffer.
Example
None

Print and paper feed dots
Name
Print and paper feed n dots
Code
ASCII :ESC J n
DEC :27 74 n
HEX :1B 4A n
Function
Print the buffer content and paper feed
Range
0 ≤ n ≤ 255
Default
None
Notes
Paper feed n dots when printing buffer is empty.
After executing this command,printing position is moved t
o initial
Example
1b 40 30 31 32 1b 4a 10
Print and paper feed n line
Name
Print and paper feed n lines
Code
ASCII :ESC d n
DEC :27 100 n
HEX :1B 64 n
Function
Print the contents in printing buffer and paper feed n lines.
Range
0 ≤ n ≤ 255
Default
None
Notes
Print this command set as initial position of the same lin
e
Example
1b 40 30 31 32 1b 64 01
②Printing set commands
Set line space as n dots
Name
Set line space as n dots
Code
ASCII :ESC 3 n
DEC :27 51 n
HEX :1B 33 n
Function
Set line space as n dots
Range
0 ≤ n ≤ 255

Default
n = 33
Notes
Line space as below:
If the line space setted is less than the highest character i
n that line,then this line space is equal to the height of the
highest character.
If ESC2,ESC@,reset the printer, the printer blackout,and the
line space turns to default.
Example
1b 40
1b 33 30
30 31 32 0d 0a
30 31 32 0d 0a
1b 32
30 31 32 0d 0a
30 31 32 0d 0a
Set line space to default
Name
Set line space to default
Code
ASCII :ESC 2
DEC :27 50
HEX :1B 32
Function
Set line space to default 30 dots
Range
None
Default
None
Notes
Line space in details pls check ESC 3 command.
If the line space setted is less than the height character i
n the line,the line space of this line is equal to the height of
the highest character
It can use ESC 3 to define line space.
Example
None

Set print position
Name
Set print position
Code
ASCII :ESC $ nL nH
DEC :27 36 nL nH
HEX :1B 24 nL nH
Function
Set left side blank area as(nL + nH × 256)dots
Range
0 ≤ nL ≤ 255
0 ≤ nH ≤ 255
Default
None
Notes
Set left side blank area as [(nL+nH*256)]*0.125mm]
This command is only effective with the initial position of
the line.
This command is unavailable if it sets beyond the printing
area.
Example
None
Set the left margin
Name
Set the left margin
Code
ASCII :GS L nL nH
DEC :29 76 nL nH
HEX :1D 4C nL nH
Function
Set the left margin as(nL + nH × 256)dots
Range
0 ≤ nL ≤ 255,0 ≤ nH ≤ 255
Default
None
Support M
odel
All
Notes
This command is only effective with the initial position of th
e line.
The illustration is as follows:

Use the maximum value of the printable unit,if the setting is
beyond the printable area.
Example
1b 40 1d 4c 08 00
30 31 32 0d 0a
30 31 32 0d 0a
Set character printing method
Name
Set character printing method
Code
ASCII :ESC ! n
DEC :27 33 n
HEX :1B 21 n
Function
Set character printing methods (font,highlight,inversion,bold,d
ouble hight,double width and underline),parameter n bit defi
nition as below:
Bit Function Value
0 1
0 Font Normal Small character
1 Undefined
2 Undefined
3 Bold Cancel Setting
4 Double hight Cancel Setting
5 Double width Cancel Setting
6 Undefined
7 Underline Cancel Setting
Range
None
Default
n = 0
Notes
The command is effective with Chinese and foreign language
s.
The command is disabled when ESC@, printer reset or powe
r off
Example
1B 40 1B 21 01 30 31 32 0D 0A
1B 40 1B 21 02 30 31 32 0D 0A
1B 40 1B 21 04 30 31 32 0D 0A
1B 40 1B 21 08 30 31 32 0D 0A

1B 40 1B 21 10 30 31 32 0D 0A
1B 40 1B 21 20 30 31 32 0D 0A
1B 40 1B 21 40 30 31 32 0D 0A
1B 40 1B 21 80 30 31 32 0D 0A
Set character size
Name
Set character size
Code
ASCII :GS ! n
DEC :29 33 n
HEX :1d 21 n
Function
Set character size as 1-8 times width,1-8 times height. Defini
tion is as
below:
Use 0-3 set character height 4 - 7 bits set character width
show as below:
Chart 1 Chart 2
Character width setting Character height set
ting
HEX
DEC
width
HEX
DEC
height
00
0
1(Normal)
00
0
1(Normal)
10
16
2(double widt
h)
01
1
2(double heig
ht)
20
32
3
02
2
3
30
48
4
03
3
4
40
64
5
04
4
5
50
80
6
05
5
6
60
96
7
06
6
7
70
112
8
07
7
8
Range
None
Default
n = 0
Notes
This command is effective with Chinese and other foreign la
nguages,

except for HRI character.
The command setting is disable when ESC@, printer reset or
power off.
Example
1b 40 1d 21 11
30 31 32 0d 0a
30 31 32 0d 0a
Set、remove white printing
Name
Set、 remove white printing
Code
ASCII :GS B n
DEC :29 66 n
HEX :1d 42 n
Function
Set and remove white printing
When the LSB of n is 0,white printing mode is off.
When the LSB of n is 1,white printing mode is on.
Range
None
Default
n = 0
Notes
It is only effective for LSB of n.
This command is all effective with built-in characters and use
r-defined characters.
It is effective with blank,which is setted by ESC CP,when whit
e printing mode is on.
This command is not effective with bitmap, user-define
d bitmap, barcode, HRI character and vaulting space of HT,E
SC $.
This command is not effective with line space.
The white printing mode is prior to underline mode. When it
is white printing mode, even underline mode is open, which
can also be forbidden.(But it not be canceled).
This command is disabled when ESC@, printer reset or powe
r off.
Example
1b 40 1d 42 01
30 31 32 0d 0a
30 31 32 0d 0a
Table of contents
Other Cashino Printer manuals

Cashino
Cashino PTP-II User manual

Cashino
Cashino CSN-A3 User manual

Cashino
Cashino CSN-A1K User manual

Cashino
Cashino POS80V User manual

Cashino
Cashino CSN-58III User manual

Cashino
Cashino PDM-02 User manual

Cashino
Cashino PTP-III User manual

Cashino
Cashino CSN-A2L User manual

Cashino
Cashino KMP-II User manual

Cashino
Cashino CSN-A2 Series User manual

Cashino
Cashino KP-628E User manual

Cashino
Cashino CSN-A5 User manual

Cashino
Cashino CSN-A1X User manual

Cashino
Cashino CSN-A4L User manual

Cashino
Cashino EP-261B User manual

Cashino
Cashino PDM-02 User manual

Cashino
Cashino CSN-80V User manual

Cashino
Cashino PTP-III User manual

Cashino
Cashino KP-220 User manual