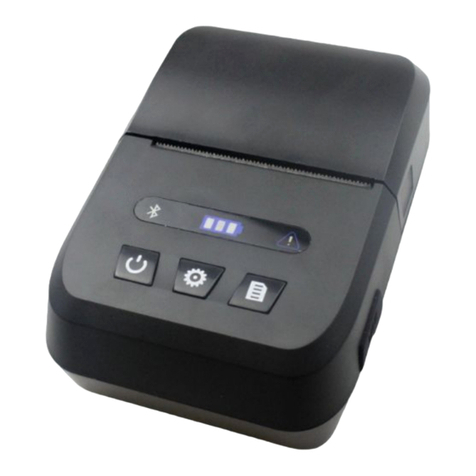
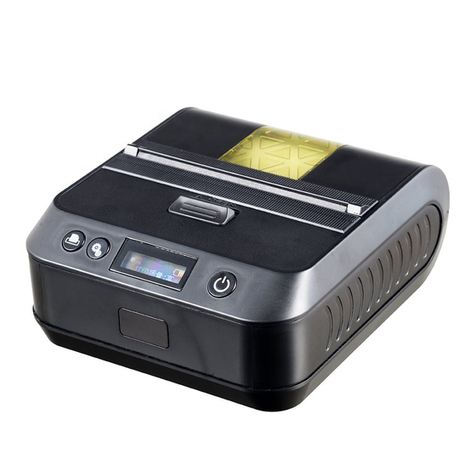
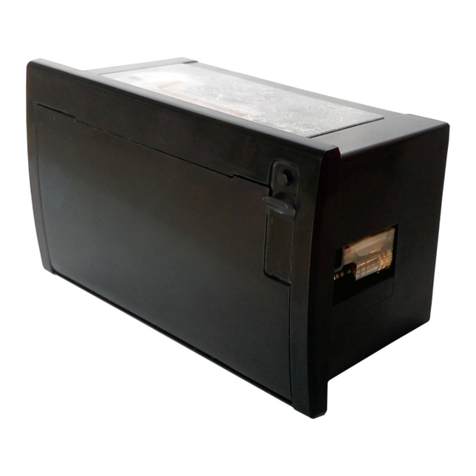
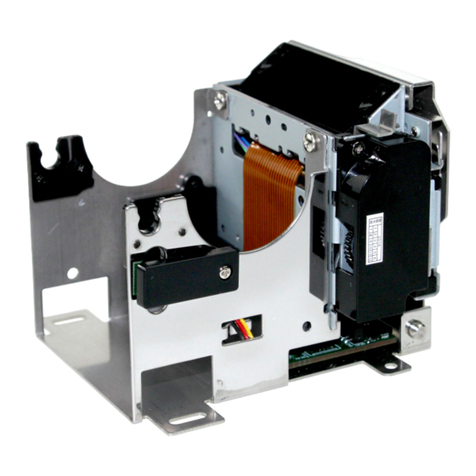
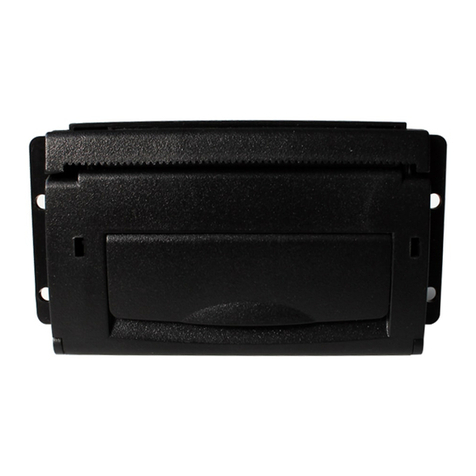
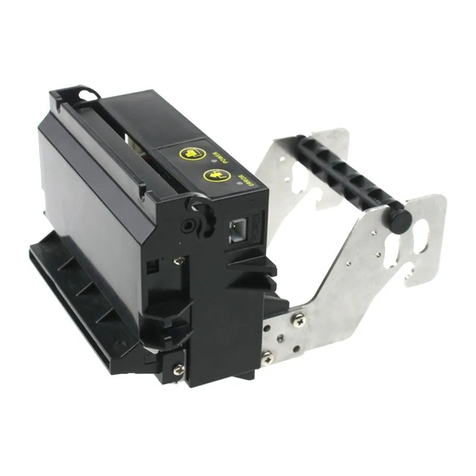
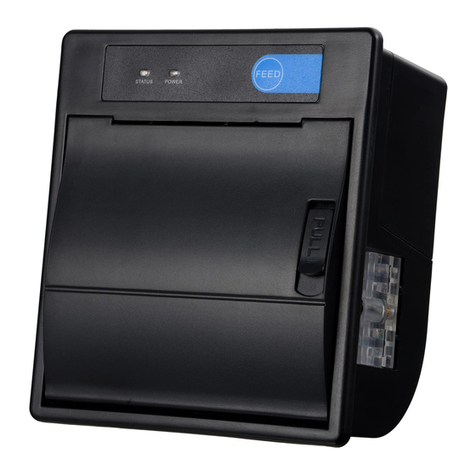
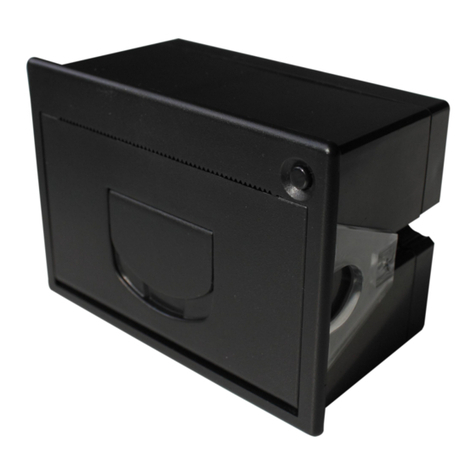
Cashino PTP-II User manual

1
V.16.06.14
Portable Thermal Printer
PTP-II SERIES
User Manual

2
Content
Precautions.................................................................................................................................................................4
1.Introduction............................................................................................................................................................. 5
1.1 Function Features............................................................................................................................................. 8
2. Accessory............................................................................................................................................................... 8
2.1 Standard accessories....................................................................................................................................... 8
2.2 Options accessories..........................................................................................................................................9
3.Printer exterior........................................................................................................................................................9
3.1 Front................................................................................................................................................................... 9
3.2 Back....................................................................................................................................................................9
4.Function characters.............................................................................................................................................10
5.Prepare before using........................................................................................................................................... 11
5.1 Battery installation considerations................................................................................................................. 11
5.2 Li-ion battery installation.................................................................................................................................11
5.3 Paper loading.................................................................................................................................................. 12
6. Basic function using.......................................................................................................................................... 12
6.1 Turn on............................................................................................................................................................. 12
6.2 Turn off............................................................................................................................................................. 12
6.3 Inspect itself.....................................................................................................................................................12
6.4 Paper feeding.................................................................................................................................................. 12
6.5 Charging...........................................................................................................................................................12
6.6 LED Indicator and buzzer definition.............................................................................................................. 13
6.7 Auto dormancy/automatic awaken, automatic turnoff..................................................................................13

3
6.8 Preprinted black mark specification.............................................................................................................. 13
7.Communication.................................................................................................................................................... 14
7.1 serial communication (RS232).......................................................................................................................14
7.2 USB communication....................................................................................................................................... 15
7.3 Bluetooth Communication.............................................................................................................................. 16
7.4 WIFI Communication...................................................................................................................................... 16
7.5 RAW-IR Communication................................................................................................................................ 17
8. Maintenance and maintenance.........................................................................................................................17
8.1 Daily maintenance.......................................................................................................................................... 17
8.2 usage and preservation of print paper.......................................................................................................... 17
9.Fault diagnosis..................................................................................................................................................... 17

4
Precautions
◆Safety Precautions
In using the present appliance, please keep the following safety regulations in order to prevent any hazard or material
damage.

5
◆Operation Precautions
Be sure not to print continuously over 1meter, otherwise may cause damage to the printer head.

6
Water or other liquid should not spill into the printer, also the printer should not be appeared in the rain,
or else may cause printer damage.
Please do not open the paper case cover when printing; otherwise the printer may work improperly.
If print with serial interface, should not unplug the interface cable in the course of printing, or else some
printing data may be lost.
When print in Ir or IrDA mode, bus sure the Ir window of the host equipment face rightly the Ir window of
the printer, the distance should be within the range of 50cm, and the angle should be within the range of
30°.
When print with Bluetooth interface, the communication distance should be within10 meters, otherwise
the printer doesn’t print or prints rubbish codes.
Too high(50℃) or too low(-10℃)temperature and too high(80%) or too low (20%) relative humidity both
effect the quality.
The print paper in poor quality or stored for too long time also may reduce the print quality even damage
the printer.
In the black mark detecting mode, the printer requires that the preprinted black mark is accordant with
the black mark specifications (details please refer to 4.2); otherwise the black mark can not be detected
correctly.
Be sure to use up the power of the battery before charge it, as it can ensure the using life of the battery.
◆Storage Precautions
The printer should be placed in such an environment that the temperature is between -20℃and 70℃,
and the relative humidity is between 5% and 95%.
If the printer will be stored for a long time, please be sure to take out the battery, otherwise may damage
the battery and printer.
Normal thermal paper can’t be kept too long time. If you need to keep the receipt for a long period,
please choose long term effective thermal paper.
The paper should be keep away from high temperature environment and point-blank sunshine.
◆Battery Safety Precautions.
Be sure to carefully read the user manual before using the produce.
Ignore the following instructions may cause battery overheating, fire, explosion, damage and/or

7
performance, and reduced product life.
1) Risk of explosion if battery is replaced by an incorrect type.
2) Dispose of used batteries according to the instructions.
3) Do not allow water, sea water from entering or leaking into the battery inside. If the batteries internal
safety device burn, when changing it, it may produce any abnormal current and/or voltage, and cause
any abnormal chemical reaction, then may cause the battery overheating, fire and/or explosion.
4) Do not use or place the battery nearby the stove or other high temperature places. Excessive heats
maybe damage the resin shell and/or the insulation materials, and then the battery may be caused
overheating, burning and/or explosion.
5) When charging, use a specified charger. Other conditions (high temperature, high pressure/high
current, using the modified battery charger, etc) excludes here may result in over-charging the battery
and abnormal current and/or voltage, cause abnormal chemical reaction, and may cause the battery
overheat, light and/or explosion.
6) Battery clearly marks with positive and negative. When connect the battery with the charger and/or
printer, be sure to verify the correct battery orientation. Reverse insertion will cause the reverse charging
and may cause abnormal chemical reaction, and then may cause the battery overheat, ignite, and/or
explosion.
7) Do not make the battery contact with the power outlet and/or car cigarette lighter socket. This may
cause high pressure and excessive current, and lead to the battery overheat, burning and/or explosion.
8) Do not heat the battery or put the battery into fire. This may melt insulation material and/or damage
safety devices or safety equipment, then ignite electrolytic solution, and cause the battery overheat,
burning and/or explosion.
9) Do not use the battery with contrary (+) and (-) Location. In the charging process, this will cause the
reverse charging and may cause abnormal chemical reaction. During use, may appear unpredictable
current exception, and cause the battery overheat, ignite, and/or explosion.
10) Do not make the battery (+) and (-) contact with any metal. Also, do not carry along or store batteries
with metal objects, such as necklaces, hair clips and so on. Battery internal short circuit may cause
excessive current, and lead to the battery overheats, ignite, and/or explosion and the adjacent metal
objects (necklaces, hairpins, etc.) may be overheating.
11) Do not throw or heavy attack the battery. If internal safety device of the batteries burn, the battery
charging may cause any abnormal current and/or voltage, and abnormal chemical reaction, and lead to
the battery overheat, ignite, and/or explosion.
8
1.Introduction
This product is a high efficient portable printers, the weight of the fuselage is small, high durability, long duration printing,
widely used in mobile POS, retail, parking tickets, logistics, shipping, warehouse, utility bill, etc.
1.1 Features
※Equipped with lithium battery, can work continuously for 8 hours
※Portable devices suitable for outdoor use .
※Anti-throw capacity can reach 1.2 m (cement floor)
※Support all 1D barcode and 2D( QR code ) printing
※7.4V/2000mAh large capacity battery with low power design and automatic sleep wake up function, work time longer
※RS232C,USB,Bluetooth,WIFI,Raw-IR, wired and wireless for choose
※Emulation ESC/POS commands
※Supply Windows driver
※Supply Android and IOS demo and SDK
2. Accessory
2.1 Standard accessories
PTP-II Battery AC Adapter
Paper Roll User Manual USB Cable

9
2.2 Options accessories
CD car charger Serial Interface Cable Protective Case
3.Printer exterior
3.1 Front
3.2 Back

10
1. Feed paper key
2. State indicator light
3. RS232 serial port socket
4. Infared ray(IR) interface
5. Printer upper cover
6. Power key
7. Power Charging indicator light
8. Power port
9. Mini USB port
10. Battery
11. Leather hang
Note: The status indicator and charging indicator light separately be set in above of the two keys. Using red and blue to
show different mean.
4.Function characters
Model
PTP-II
PTP-II/BT
PTP-II/IR
PTP-II/WF
Printing method
Line thermal printer
Printing speed
50~80mm/s
Dot pitch
8dots/mm, 384 dots/line
Printing width
48mm
Paper width
57.5±0.5mm
Paper roll outer
diameter
40mm (Max.)
Paper roll inner
diameter
13mm(Min.)
Paper thickness
60-80um
Overall
dimension(WxDxH):
79x112x45mm

11
Weight ( g)
280 (Including battery, paper roll )
Printing characters
ANK: 8x16,9X17, 9x24,12x24 GBK:24x24
Characters/line
ANK:48, 42, 32 GBK:24, 16
Life cycle time
50km(printing density under 12.5%)/100 million pulses
Barcode type
1D: UPC-A,UPC-E,EAN-13,EAN-8,CODE39,CODE93,
CODE128,CODEBAR,ITF25
2D: QR CODE, PDF417
interface
RS232,USB
RAW-IR,
RS232,USB
Bluetooth V2.0 / V4.0
RS232,USB
WIFI,
RS232, USB
Power
2000mAh 7.4V rechargeable Lithium battery
Recharge adapter
12V,0.8A Stand by recharging / AC adapter
Black mark test
Supported
Paper feeding
Easy paper loading
Paper cut
By hands
commands
ESC/POS compatible with order sets
operate setting
Temperature -10°C~50°C ; Humidity 20%~85%
Recharge Setting
Temperature 5°C~40°C; Humidity 20%~85%
Storage Setting
Temperature -20°C~70°C ; Humidity 5%~95%
Standard accessories
Li-ion battery, AC adapter, USB cable, paper roll , user manual
Optional accessories
Serial interface cable/CD/Car charger/leather coat
5.Prepare before using
5.1 Battery installation considerations
Manufactured products, battery not packed into the printer; Please put the battery into the battery.
Note: when using the battery for the first time, please charge full of electricity. After long-term storage battery to be
charged first, the battery will reach the best effect of use.
5.2 Li-ion battery installation
1) Refer to the picture, put the battery in the battery slot, and please pay attention to the correct positive and negative.

12
2) Close the battery case.
5.3 Paper loading
Operation methods:
1) Use two fingers to press the place showed in the above picture and open the top cover.
2) Put the paper roll into the paper case, pay attention to the direction of paper. If loaded reversely, it won’t print.
3) Pull paper out of paper case.
4) Make sure paper in the center then closed top cover.
6. Basic function using
6.1 Turn on
Under the close state, Press [POWER] button 2 seconds, the printer enters to the working state, the power indicator
light (Red).
NOTE: in cash the printer function indicator light(Blue) flash and with paper, it show the power will to be exhaust, if
continue to use, please change one new battery or charging power.
6.2 Turn off
Opening state, press [POWER] button in 2 seconds, the printer will be closed, all the indicator light will be off.
6.3 Inspect itself
The user can inspect the printer by themselves after getting the printer. To check the current state and setting.
Inspect method: turn-off. Hold [FEED] button, and then press [POWER] button the printer will print out the
inspect page, the inspect page including the current state, setting, example of printer.
6.4 Paper feeding
Under the usual working state, press [FEED] button, start to feed paper, and will stop till 250mm.
6.5 Charging
When the power of batter to be exhausted, the function indicator shows (Blue) and flash, at the same time, the printer will
give an alarm, at the comment, the user should charge the power.
The charging method: connect to the power 100-240VAC,50/60HZ,during the charging , the charging indicator light show
Use two fingers to press this place
and open the top cover
Top cover
Rubber Roller
Thermal paper roller

13
blue and flash till finished, at the same time , the charging indicator light have been lighting
During charging, the user can usually use the printer.
6.6 LED Indicator and buzzer definition
PTP-II has one buzzer and two LED indicators to indicate the printer status. The LED indicators indicate current status
and buzzer indicates the changes of status.
LED indicator(Blue)
LED indicator(red)
Printer status
Buzzer
Flash quickly
Lamp off
Charging
Flash slowly
Lamp off
power lack
Alarm one time in Every
minutes
Bright continuously
Lamp off
Finish charging
Double beep in one time
Lamp off
Bright continuously
Working
Flash slowly
Flash slowly
Paper end
Continuous chirping
Lamp off
Flash slowly
dormancy
6.7 Auto dormancy/automatic awaken, automatic turnoff
In order to save energy, prolong the using time, PTP-II printer adopts the advanced automatic dormancy, automatic
awaken technology.
After turning on the Printer, if without any data sent to the printer by the host within one minute, and without pressing any
buttons, the printer will be entering to the dormancy mode and the state indicator light (RED) will be in a state of slow
flash .
After dormancy, the power consumption greatly reduced, and it will not affect the using. When receiving any printing data,
the printer will be awaken automatically, without any other manual intervention.
After 2 hours, the printer does not receive any data, the printer will automatically turn off, and you should start it by
manual.
6.8 Preprinted black mark specification
If user wants to locate receipt by detecting preprinted black mark, shall accord to the following specification for the black
mark. Otherwise it may cause printer can’t recognize the black mark.
Printing position: black mark shall preprint at the left side of receipt.
Width rang:≥7mm
Height:4mm≤height≤6mm
Reflection rate to IR:<10% (reflection rate to the black mark on paper >65% )
Hps:Hps indicates the distance from down edge of detecting mark from beginning line.
0mm≤Hps≤1mm

14
7.Communication
PTP - II printer has two kinds of communication methods
(1) Wired : USB/RS232C
(2) wireless bluetooth/wi-fi/ir
7.1 serial communication (RS232)
The printer have one DB-9 serial port cable as option
(one port connect to the printer, the other connect to MINI DIN plug)
Socket pin defined as shown in the figure below:

15
No.
Definition
Declare
1
TXD
Transmit data (printer output)
2
RTS
Printer request data
3
GND
Ground
4
Reserve
N/A
5
RXD
Printer data reception
6
Reserve
N/A
7.2 USB communication
PTP-II printer has a mini USB interface,to achieve it through the mini USB USB2.0 interface.
Note:Printer using USB communication, need to install PL2303 driver first. Printer contact computer USB,than open”my
printer”--”device manager”--”combo”,will see this icon,illustrate that successfully install driver,and use normally.

16
eg:For instance: If you pull up USB cable, the icon disappear, and it appear reconnection. That shows COM3 is the port
connect printer with computer.
7.3 Bluetooth Communication
Matching method is as follows:
1.Power on,
2.The main equipment for external bluetooth devices,
3.If you have more external bluetooth devices, selected inhibits PTP - III printer,
4.Enter the default password is “0000”or obtained bluetooth password by printer self-test page
5.Complete the matching.
7.4 WIFI Communication
Printer can be connected to other sites, such as PDA and PC, support wireless LAN application mode of communication.
Printer can check bluetooth environment(authentication,encryption,connection mode) and wireless local area
network(LAN) environment (IP,SSID,authentication,encryption)by self-test page.
The printer IP address, can't with other terminal IP address conflict.
Combo:Setting by yourself.

17
Subnet Mask:In accordance with the router.
Gateway:In accordance with the router.
Note: IP and gateway must with routers are on the same network
7.5 RAW-IR Communication
PTP-II portable thermal printer can use IR to communicate with the host for transmitting the data.
Printer can't work at the same time in a state, the original infrared VIR or IrCOMM condition, if the printer is not working in
the condition of what you need, must be to use the printer to reset.
When PTP-II/IR communicates with the host devices make the IR interfaces ( from both PTP-II and the host device ) right
towards to each other ( angle shall not be more than 30° ), without any obstacles between them, the distance shall be less
than 0.5M.
8. Maintenance and maintenance
8.1 Daily maintenance
1.Please use cloth to clean inside and outside of the printer.
2.Please clean printer mechanism regularly.Especially the clean method when print quality turns bad.Please use
absorbent cotton with absolute alcohol to clean printer mechanism.
3.Please take the battery out when the printer is bilging,and airing printer.
4.Please take the battery out and keep it separated with printer if won’t use it for a long time.
8.2 usage and preservation of print paper
1.Please avoid to preserve printer paper in high temperature and direct sunlight places.And please do not tear off
the package when preserve.
2.Please preserve printed paper about 20 degrees Celsius places after printing,to lengthen life-span of printed paper.
3.Please choose good quality thermal paper if you want to keep it for long time.
9.Fault diagnosis
Fault phenomenon
Fault cause
Solutions
It beeps two times continuously .
Paper out
Please install paper roll correctly.
It beeps two times discontinuously,
Low battery
Please charge
It doesn’t print when feeding.
Install paper roll in opposite
Please re-install.

18
direction.
It prints hazily.
Printer mechanism is dirty.
Please clean printer mechanism.
Words in bad quality of printer
paper.
Please set print density and print quality or
use better quality paper.
It beeps three times continuously.
Printer cover is open when
printing.
Close printer cover,
Words are blurry in a short time.
Print paper quality is not good.
Please use good quality paper.
Preservation temperature is too
high.
Please preserve in about 20 degrees
temperature.
Power off automatic
Out of power
Please charge.
Note:It can make words blurry in short time if use bad quality paper.
This manual suits for next models
3
Table of contents
Other Cashino Printer manuals

Cashino
Cashino PTP-III User manual

Cashino
Cashino CSN-A1X User manual

Cashino
Cashino CSN-A1K User manual

Cashino
Cashino EP-261B User manual

Cashino
Cashino PDM-02 User manual

Cashino
Cashino CSN-A3 User manual

Cashino
Cashino POS80V User manual

Cashino
Cashino KMP-II User manual

Cashino
Cashino CSN-A2 Series User manual

Cashino
Cashino CSN-A4L User manual

Cashino
Cashino CSN-A5 User manual

Cashino
Cashino CSN-A2L User manual

Cashino
Cashino CSN-58III User manual

Cashino
Cashino CSN-80V User manual

Cashino
Cashino PDM-02 User manual

Cashino
Cashino EP-260C-24V User manual

Cashino
Cashino KP-628E User manual

Cashino
Cashino KP-220 User manual

Cashino
Cashino PTP-III User manual