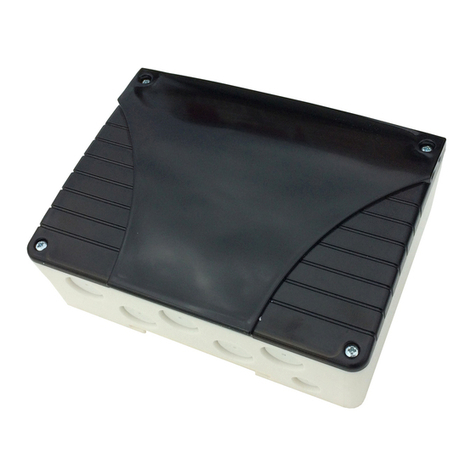
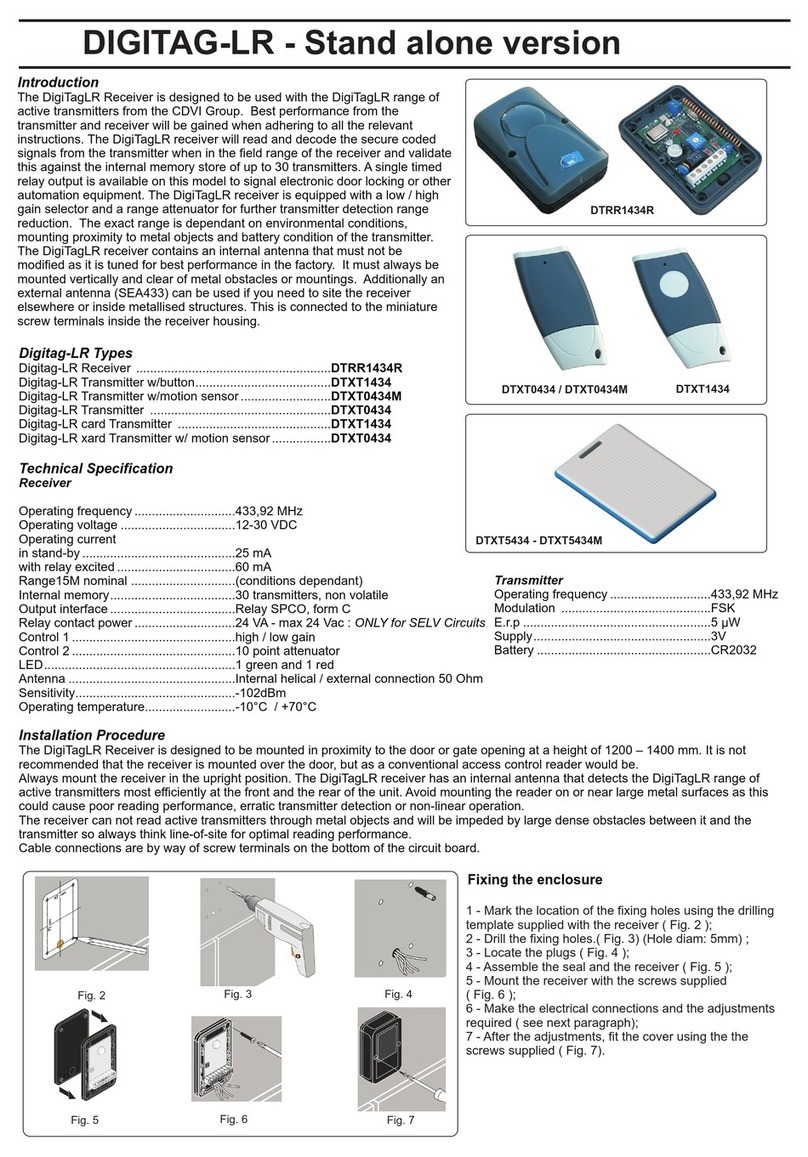
CDVI Digitag LR DTRR1434R User manual

Introduction
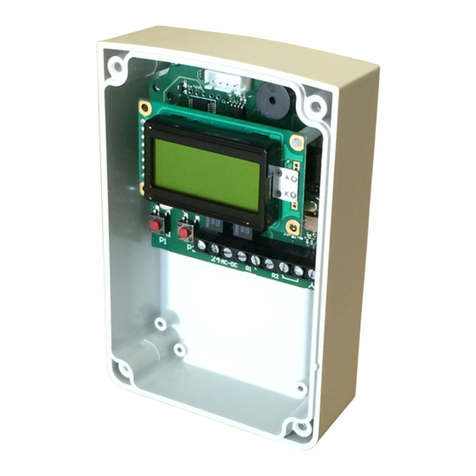
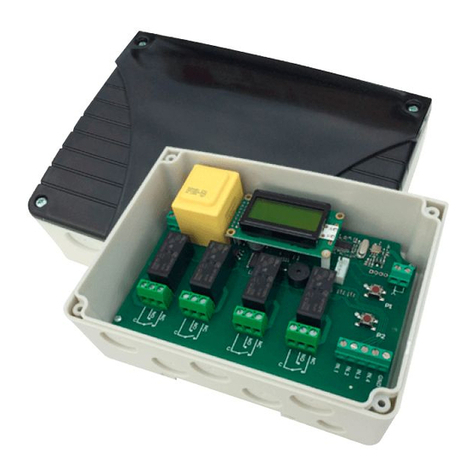
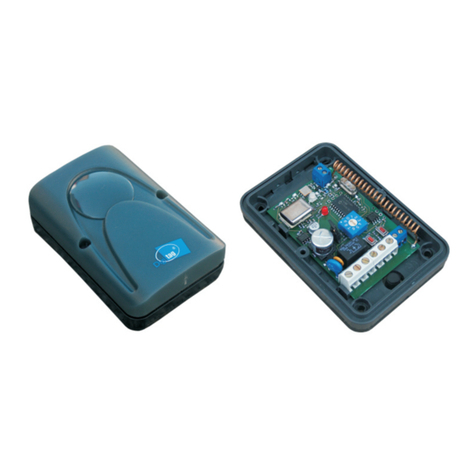
The DigiTagLR Receiver is designed to be used with the DigiTagLR range of
active transmitters from the CDVI Group. Best performance from the
transmitter and receiver will be gained when adhering to all the relevant
instructions. The DigiTagLR receiver will read and decode the secure coded
signals from the transmitter when in the field range of the receiver and validate
this against the internal memory store of up to 30 transmitters. A single timed
relay output is available on this model to signal electronic door locking or other
automation equipment. The DigiTagLR receiver is equipped with a low / high
gain selector and a range attenuator for further transmitter detection range
reduction. The exact range is dependant on environmental conditions,
mounting proximity to metal objects and battery condition of the transmitter.
The DigiTagLR receiver contains an internal antenna that must not be
modified as it is tuned for best performance in the factory. It must always be
mounted vertically and clear of metal obstacles or mountings. Additionally an
external antenna (SEA433) can be used if you need to site the receiver
elsewhere or inside metallised structures. This is connected to the miniature
screw terminals inside the receiver housing. Hereby, CDVI Wireless Spa,
declares that the radio equipment type DTRR1434R is in compliance with
directive 2014/53/EU. The full text of the EU declaration of conformity is
available at the following internet address: www.erone.com.
Digitag-LR Types
Digitag-LR Receiver ........................................................DTRR1434R
Digitag-LR card Transmitter ............................................DTXT5434
Digitag-LR xard Transmitter w/ motion sensor .................DTXT5434M
Technical Specification
Receiver
Operating frequency .............................433,92 MHz
Operating voltage .................................12-30 VDC
Operating current
in stand-by ............................................25 mA
with relay excited ..................................60 mA
Range15M nominal ..............................(conditions dependant)
Internal memory....................................30 transmitters, non volatile
Output interface ....................................Relay SPCO, form C
Relay contact power .............................24 VA - max 24 Vac : ONLY SELV Circuits
Control 1 ...............................................high / low gain
Control 2 ...............................................10 point attenuator
LED.......................................................1 green and 1 red
Antenna ................................................Internal helical / external connection 50 Ohm
Sensitivity..............................................-102dBm
Operating temperature..........................-10°C / +70°C
Installation Procedure
The DigiTagLR Receiver is designed to be mounted in proximity to the door or gate opening at a height of 1200 – 1400 mm. It is not
recommended that the receiver is mounted over the door, but as a conventional access control reader would be.
Always mount the receiver in the upright position. The DigiTagLR receiver has an internal antenna that detects the DigiTagLR range of
active transmitters most efficiently at the front and the rear of the unit. Avoid mounting the reader on or near large metal surfaces as this
could cause poor reading performance, erratic transmitter detection or non-linear operation.
The receiver can not read active transmitters through metal objects and will be impeded by large dense obstacles between it and the
transmitter so always think line-of-site for optimal reading performance.
Cable connections are by way of screw terminals on the bottom of the circuit board.
for
DIGITAG-LR - Stand alone version
Fixing the enclosure
1 - Mark the location of the fixing holes using the drilling
template supplied with the receiver ( Fig. 2 );
2 - Drill the fixing holes.( Fig. 3) (Hole diam: 5mm) ;
3 - Locate the plugs ( Fig. 4 );
4 - Assemble the seal and the receiver ( Fig. 5 );
5 - Mount the receiver with the screws supplied
( Fig. 6 );
6 - Make the electrical connections and the adjustments
required ( see next paragraph);
7 - After the adjustments, fit the cover using the the
screws supplied ( Fig. 7).
Fig. 2 Fig. 3 Fig. 4
Fig. 5 Fig. 6 Fig. 7
DTRR1434R
DTXT5434 - DTXT5434M
Transmitter
Operating frequency .............................433,92 MHz
Modulation ...........................................FSK
E.r.p ......................................................5 µW
Supply...................................................3V
Battery ..................................................CR2032
LED Indicators
The DigiTagLR receiver has 2 LED indicators. The red led is always on and
indicates that power is applied to the device and it is ready to read and decode
transmitter signals. The other is a tri-colour type which displays a colour
dependant on its circumstances. In normal operation these colours are:
OFF = No transmitters detected in the field
RED = Transmitter detected in the field but not validated in the internal memory
GREEN = Transmitter detected in the field and stored in the internal memory. Also
relay changed state. This also can mean that the exit button input (EX) has been
closed for egress purposes.
Manufactured by CDVI Wireless Spa
Via Piave, 23 - 31020
San Pietro di Feletto (TV) - Italy
Tel. +39-0438-450860
Fax. +39-0438-455628
A CDVI Group product
IN- IN+ C NO NC EX
RED
Led
GREEN
Led
JP1
Rotary
Switch
JP1 = Closed
Max sensitivity
JP1 = Open
Min sensitivity
Terminal Type description
IN - Input 0 V
IN + Input 12 - 30 Vdc
C Output Relay common connection
NO Output Relay Normally open connection
N/C Input Relay Normally closed connection
EX Input / Output Exit button input ( Normally open , with IN-)
The guarantee period of this product is 24 months, beginning from the
manufacturing date. During this period, if the product does not work correctly,
due to a defective component, it will be repaired or substituted at the discretion
of the producer. The guarantee does not cover the plastic container integrity.
After-sale service is supplied at the manufacturer factory.
Guarantee
IS-RR1DTUK Rev. 5 del 13.06.2017
Range Adjustment
The maximum range of the receiver is dependant on environmental conditions, transmitter orientation and transmitter battery life but should
be approximately 15M in high gain mode and the attenuator control set to position '0' and about 7M in normal gain mode with the link
removed (recommended). A small 2 pin jumper is present and if disconnected selects normal gain mode. Additional the attenuator control
can be rotated to give further range reductions. The lowest range setting would therefore be with the attenuator set to '9' and the normal
gain mode selected on the 2 pin jumper.
Programming
The receiver can store up to 30 transmitters in its internal non-volatile memory. The following programming procedures are available from
the two small press buttons inside the unit labelled S1 and S2.
F1. Add a new transmitter / user to the internal memory:
1. Bring one new transmitter only in to the field of detection and the red light flashes frequently indicating a correct transmitter type but not
yet stored in the internal memory.
2. Press and hold the S1 switch until red led shows then quickly release S1.
3. After a moment the new transmitter will be automatically validated by the receiver and the green led will flash 8 times to confirm. The new
validated transmitter will now turn the relay and the green led on.
4. Remove the transmitter from the field of detection.
F2. Change the relay switch time:
1. With no transmitters in the field of detection press and hold the S1 button until the green led shows then quickly release S1.
2. Each green LED flash represents 1 second of relay time up to a maximum of 30 seconds. Press & hold S2 after the desired amount of
green led pulses has been shown and 8 green led flashes will be seen. Release S2.
F3. Set or unset the valid transmitter filter:
This function allows a tag to be read once whilst in the field, resets after 30 seconds.
1. With no transmitters in the field of detection press and hold S1 until the amber led shows then quickly release S1 and quickly press S2.
The green led flashing indicates the valid transmitter filter is on and the red flashing led indicates off. Repeat this procedure to toggle the
filter on and off.
F4. Delete all valid transmitters and factory reset:
1.Press and hold S2 for 6 amber led pulses. After the 6th amber flash the green led will flash 8 times to confirm full reset with no valid
transmitters in the internal memory.
Connection legend
S1
S2
NOTE :
Operation is subject to the following two conditions: (1) this device may not cause interference, and (2) this device must
accept any interference, including interference that may cause undesired operation of the device.
Table of contents
Other CDVI Receiver manuals

CDVI
CDVI ERONE SEL2641R433-XPL4V User manual

CDVI
CDVI ERONE SEL2641R433-XPL1V User manual

CDVI
CDVI SEL2641R433-IP User manual

CDVI
CDVI SEL2641R433-XPL2P User manual

CDVI
CDVI DIGITAG-LR User manual

CDVI
CDVI ERONE SELWR433 User manual

CDVI
CDVI SEL128R433-WPL User guide

CDVI
CDVI SEL2641R433-XPL2V User manual

CDVI
CDVI SEL2641R433-XPL4P User manual

CDVI
CDVI SEL2641R433-XPL User manual