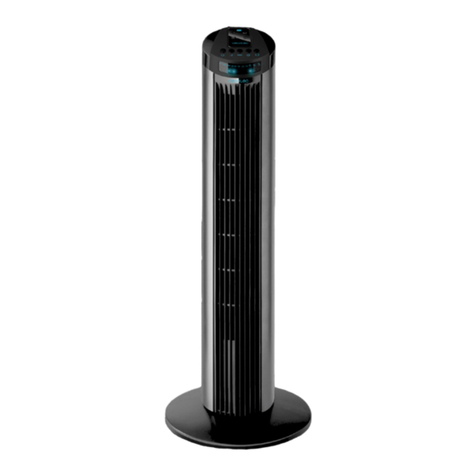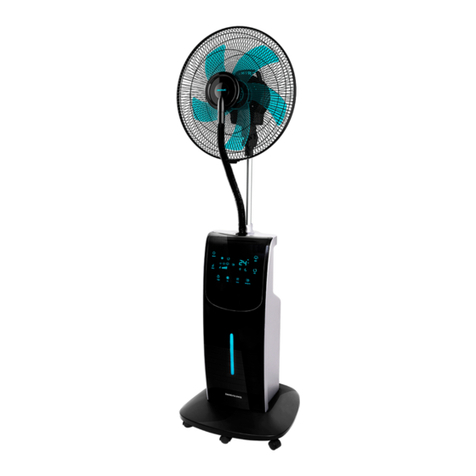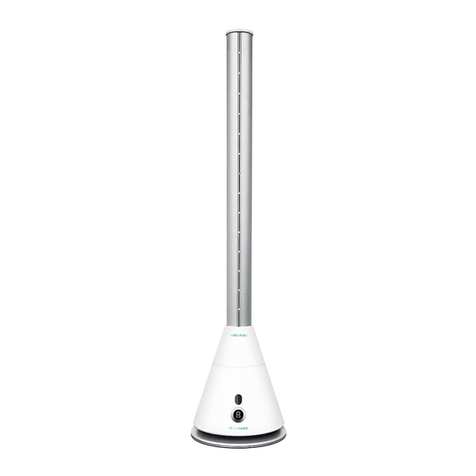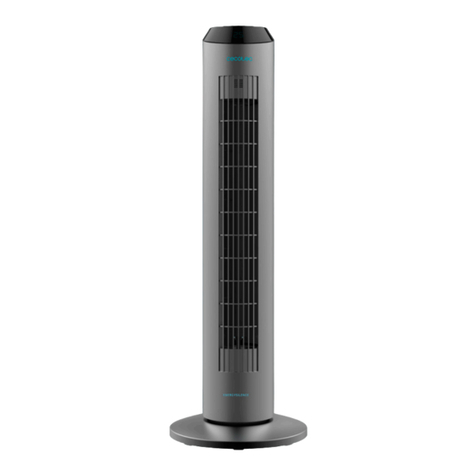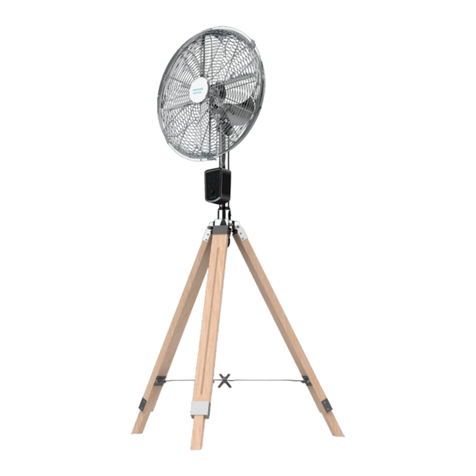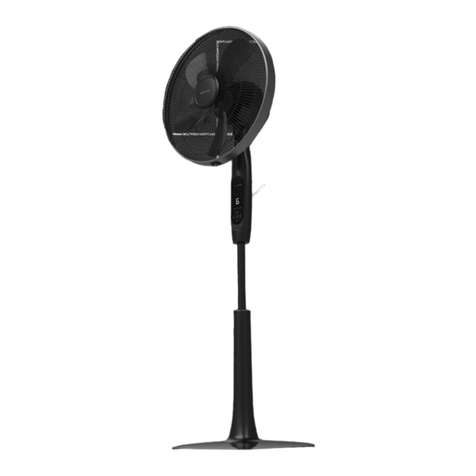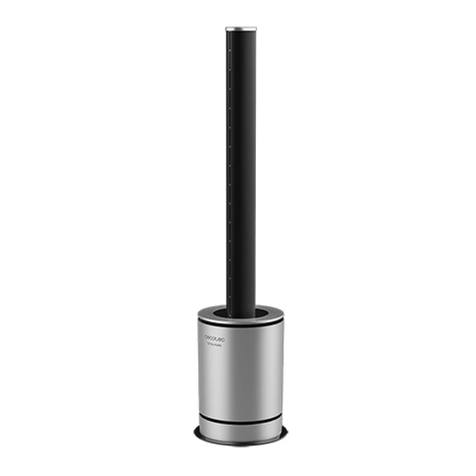
1. PARTS AND COMPONENTS
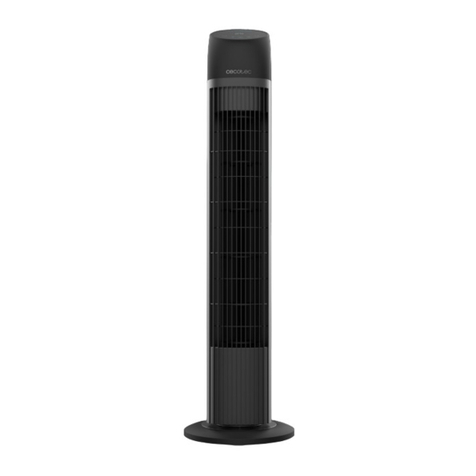
Fig. 1
1. Blade
2. Grid
3. Grid ring
4. On/O switch and timer
5. Speed buttons
6. Hight adjustment screw
7. Base
2. BEFORE USE
Assembly:
The fan’s main body and rest of pieces do not come assembled. Follow the instructions on this
manual to assemble de product before operating it.
Warning: Do not operate the fan without it being completely assembled. Only operate the fan
in an upright position. Any other position could create a dangerous situation.
Follow these instructions to assemble de product:
Unpack the fan and remove all the packaging materials.
Use the xing screw and the pressure plate to mount the main body’s assembly pieces to the
base.
Adjust the height-adjustment bar to the desired level and then lock it with the xing nut.
Loosen the fastening nut and introduce the height-adjustment bar through the head’s lower
part hole and then screw the fastening nut.
Use the xing nut to attach the back grid to the fan’s head and to x the blades in place.
To attach the front and back grids, use the grid ring carefullyto hold them together and tighten
the ring with the screw supplied with the product.
Before using the fan make sure that it is on a at and stable surface. Damage may occur if it is
placed on an uneven surface.
3. OPERATION
Set all the switches to the OFF position, then insert the plug directly into a standard AC socket
outlet. Make sure the plug ts tightly into outlet.
Rotate the timer knob counterclockwise and select ON, press the button speed to start the fan
and select the fan speed level: 1 (Low), 2 (medium), 3 (high).
To stop the fan, just press button “0”.
Set the time by rotating the timer knob clockwise to select a desired operating time, it can be
programmed 0-60 minutes.
For a greater air ow, press the head-movement button to activate the oscillation function. To
deactivate it, pull from the same button. The air ow’s angle can be adjusted by turning up or
down the fan.
To lift or lower the height of the fan, loosen the lower locknut, and lift or lower the lift pole to
your desired height, then fasten the lower lock nut tightly.
Note: Turn the fan o before adjusting its height.
To completely shut the fan o, turn all the controls to o, and remove plug from the socket-
outlet.
4. CLEANING AND MAINTENANCE
Always remove the plug from the socket outlet and allow the fan to stop operating before
cleaning it.
Clean the external surfaces of the fan with a soft damp (not dripping wet) cloth.
Warning:
Do not immerse the fan in water.
Do not use any cleaning chemicals such as detergents and abrasives.
Do not allow the interior (special for the PCB) to get wet as this could create a hazard.
When the unit is not in use, make sure that it is unplugged from the wall socket. To store the
fan, you may pack it in the original carton and store it in a cool and dry place until later use.
In case of malfunction or doubt, do not try to repair the fan yourself, it may result in a re
hazard or electric shock.
5. TECHNICAL SPECIFICATIONS
Product reference: 05911/05912
Product: EnergySilence 1010/1020 Extremeow
Power: 60 W
Voltage and frequency: 220-240V~50-60Hz
Made in China | Designed in Spain
6. DISPOSAL OF OLD ELECTRICAL APPLIANCES
The European directive 2012/19/EU on Waste Electrical and Electronic
Equipment (WEEE), species that old household electrical appliances must
not be disposed ofwith the normalunsorted municipal waste. Old appliances
must be collected separately, in order to optimize the recovery and recycling

