manuals.online logo
Brands
  1. Home
  2. •
  3. Brands
  4. •
  5. Chiayo
  6. •
  7. Microphone System
  8. •
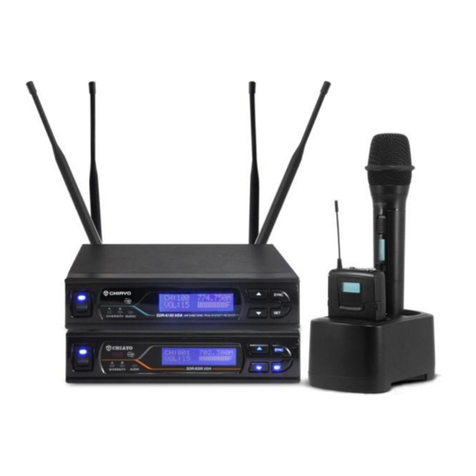
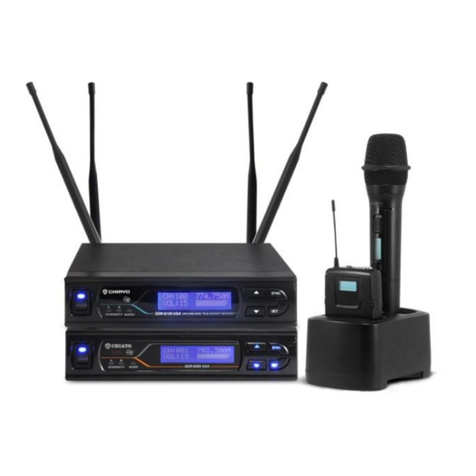
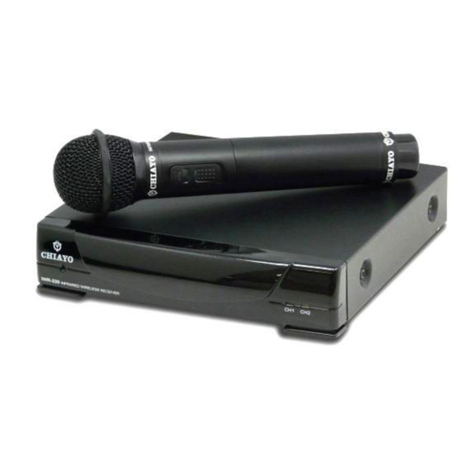
  9. Chiayo SDR-6200 IrDA User manual

Chiayo SDR-6200 IrDA User manual

Other manuals for SDR-6200 IrDA

2

This manual suits for next models

1

Other Chiayo Microphone System manuals
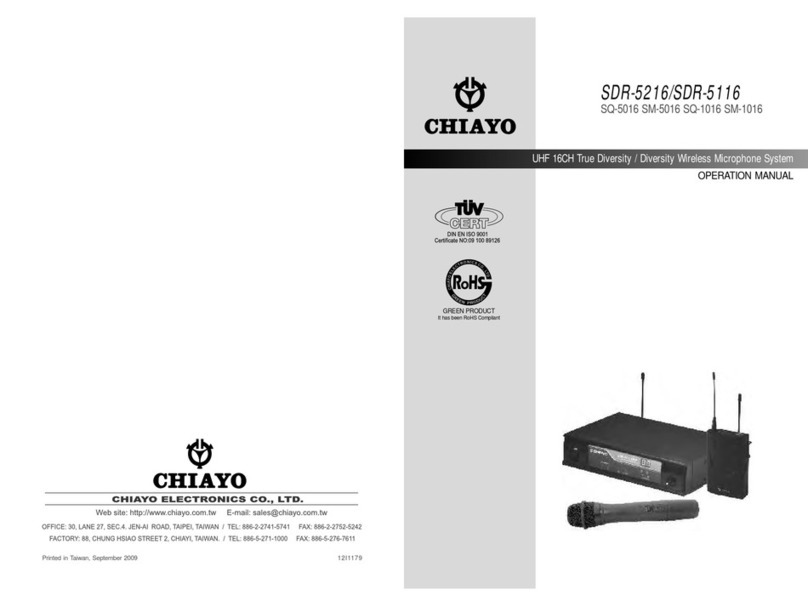
Chiayo DH2400 User manual

Chiayo

Chiayo DH2400 User manual

Chiayo IRX2 User manual

Chiayo

Chiayo IRX2 User manual

Chiayo IWR-320 User manual

Chiayo

Chiayo IWR-320 User manual

Chiayo Q-818 User manual

Chiayo

Chiayo Q-818 User manual

Chiayo SDR-8200 User manual

Chiayo

Chiayo SDR-8200 User manual

Chiayo SQ-6100 IrDAR User manual

Chiayo

Chiayo SQ-6100 IrDAR User manual

Chiayo R-1001 User manual

Chiayo

Chiayo R-1001 User manual

Chiayo UDR-500 User manual

Chiayo

Chiayo UDR-500 User manual

Chiayo IrDA-9000 User manual

Chiayo

Chiayo IrDA-9000 User manual

Chiayo SDR-5100 IrDA User manual

Chiayo

Chiayo SDR-5100 IrDA User manual

Chiayo IWR-200 User manual

Chiayo

Chiayo IWR-200 User manual

Chiayo R-1010 User manual

Chiayo

Chiayo R-1010 User manual

Chiayo Live-100 series User manual

Chiayo

Chiayo Live-100 series User manual

Chiayo RR-2000 User manual

Chiayo

Chiayo RR-2000 User manual
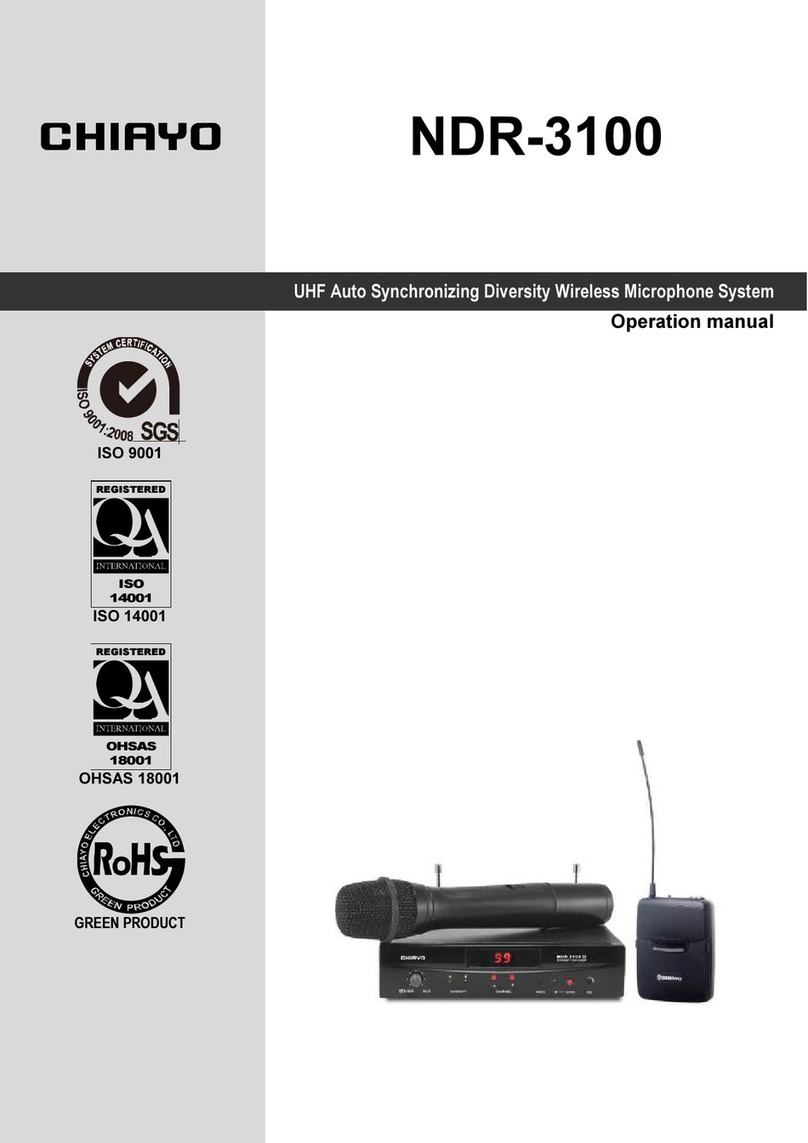
Chiayo AIR-812 User manual

Chiayo

Chiayo AIR-812 User manual

Chiayo QR-4000 U User manual

Chiayo

Chiayo QR-4000 U User manual

Chiayo NDR-3100 User manual

Chiayo

Chiayo NDR-3100 User manual
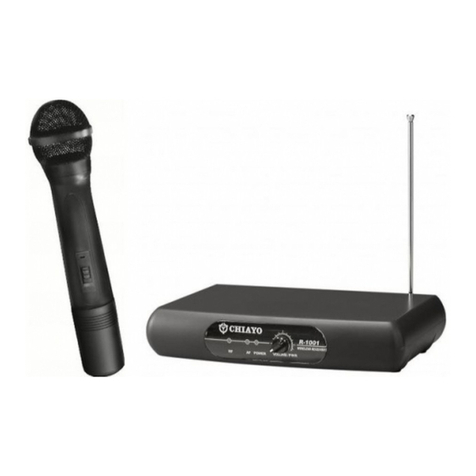
Chiayo SDR-5216 User manual

Chiayo

Chiayo SDR-5216 User manual

Chiayo RRS-2000 User manual

Chiayo

Chiayo RRS-2000 User manual

Chiayo QR-4000N User manual

Chiayo

Chiayo QR-4000N User manual

Chiayo COACH PRO User manual

Chiayo

Chiayo COACH PRO User manual
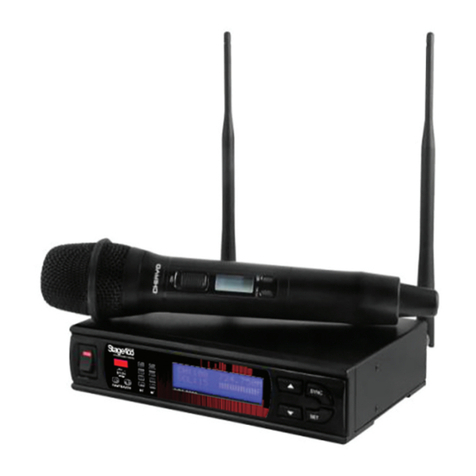
Chiayo Smart 300 User manual

Chiayo

Chiayo Smart 300 User manual

Chiayo QR-2000N User manual

Chiayo

Chiayo QR-2000N User manual

Chiayo Artist User manual

Chiayo

Chiayo Artist User manual

Popular Microphone System manuals by other brands

INIM SAGITTARIUS VW2W instructions

INIM

INIM SAGITTARIUS VW2W instructions

AKG IVM 4500 User instructions

AKG

AKG IVM 4500 User instructions

Earthworks Audio PM40 manual

Earthworks Audio

Earthworks Audio PM40 manual

Nady Systems ENCORE 2 owner's manual

Nady Systems

Nady Systems ENCORE 2 owner's manual

Oklahoma Sound WM-200H instruction manual

Oklahoma Sound

Oklahoma Sound WM-200H instruction manual

Paso R824 quick start guide

Paso

Paso R824 quick start guide

Naxa NAM-982 instruction manual

Naxa

Naxa NAM-982 instruction manual

Xvive U3 user manual

Xvive

Xvive U3 user manual

Tekon DUOS installation guide

Tekon

Tekon DUOS installation guide

Heyuan Intelligence IOT-G2S-01 user manual

Heyuan Intelligence

Heyuan Intelligence IOT-G2S-01 user manual

Devine WMD-IE user manual

Devine

Devine WMD-IE user manual

LG LF-D7150 owner's manual

LG

LG LF-D7150 owner's manual

LD U305 HBH 2 user manual

LD

LD U305 HBH 2 user manual

Chainway URA8 user manual

Chainway

Chainway URA8 user manual

ORATOR D860TD instruction manual

ORATOR

ORATOR D860TD instruction manual

Sennheiser Evolution Wireless Digital EW-DX EM 2 quick guide

Sennheiser

Sennheiser Evolution Wireless Digital EW-DX EM 2 quick guide

Shure UA844 user guide

Shure

Shure UA844 user guide

Alpha Technologies RBMS Installation & operation manual

Alpha Technologies

Alpha Technologies RBMS Installation & operation manual

manuals.online logo
manuals.online logoBrands
  • About & Mission
  • Contact us
  • Privacy Policy
  • Terms and Conditions

Copyright 2025 Manuals.Online. All Rights Reserved.

SDR-6200 IrDA
SDR-6100 IrDA
UHF 2-way Sync True Diversity / Diversity Wireless Microphone
ISO 9001
ISO 14001
OHSAS 18001
GREEN PRODUCT
Operation manual
ISO
14001
REGISTERED
INTERNATIONAL
OH SAS
18001
REGISTERED
INTERNATIONAL
-1-
Thank you for choosing this wireless microphone system!
Our products are designed to last and for user friendly operation. Each system consists of:
1. a receiver
2. a handheld or belt-pack transmitter
3. a pair of antennas
4. a switching adaptor
5. an operation manual
For more details, please take a few moments to read this operating manual to have a thorough
understanding of the function and operation of both transmitter and receiver.
Parts and functions of SDR-6200 IrDA/SDR-6100 IrDA receiver
Front panel
1. Power switch
2. IR sensor area
3. Diversity indicator
4. Audio signal indicator
5. LCD display
6. UP button
7. DOWN button
8. IrDA synchronization button
9. SET button
Rear panel
►SDR-6200 IrDA
►SDR-6100 IrDA
10.Antenna B socket (TNC)
11.Balanced audio output
12.Unbalanced audio output
13.Antenna A socket (TNC)
14.DC in
POWER
DIVE RSITY
A B
AU DIO SDR-6100 IrDA UHF2-WAYSYNC.DIVERSITYRECEIVER
12
3 4 56
7
8
9
10 11 12 13
14
LINE OUT
UNBALANCEDBALANCED
DC IN
DC IN
12V
12V
ANT.AANT.B
1.GND
2.
3.
MIC OUT
10
11
12 13 14
ISO 9001|ISO 14001|OHSAS 18001
-2-
Changing CHANNEL / FREQUENCY
1. Press and release SET button until the
CHANNEL-FREQUENCY page appears.
2. Press ▲(UP) or ▼(DOWN) button to select
a new channel. As the channel changes, the
frequency changes accordingly, too.
►
►
3. After a channel is chosen, wait 5 seconds to store the setting.
CHANNEL SYNCHRONIZING of the receiver and transmitter
Align infrared areas of the receiver and transmitter within 30cm.
A. Changing the receiver’s channel
B. Changing the transmitter’s channel
1.Press the synchronizing button of the
transmitter.
1.Press the SYNC button of the receiver.
▼
▼
2.The transmitter's LED will grow to denote
synchronizing signal transmitted.
2. IRDA DATA SEND will appear on the
receiver’s display
▼
▼
3. COPIED BY IRDA will appear on the
receiver's LCD, which means the receiver
has been successfully synchronized.
3.Then IRDA TX FINISH will appear to
denote data transferred.
POWER
A B
SDR-6200 IrDA UHF2-WAYSYNC.TRUEDIVERSITYRECEIVER
DIV E R S ITY A U DIO
:
:
POWER
A B
SDR-6200 IrDA UHF2-WAYSYNC.TRUEDIVERSITYRECEIVER
DIV E R S ITY A U DIO
:
:
POWER
A B
SDR-6200 IrDA UHF2-WAYSYNC.TRUEDIVERSITYRECEIVER
DIV E R S ITY A U DIO
< 30cm
-3-
CHANNEL scanning
For an interference- free operation, a cleaner channel might be necessary if the current one
receives too much interference. Before scanning, the transmitter must be switched off.
1.Press and release SET button until the
AUTO SCAN page appears.
2.Press ▲(UP) or ▼(DOWN) button to find and
locate a clear, interference- free channel.
►
►
3.After a channel is chosen, wait 5 seconds to store the setting.
Adjusting VOLUME level
1.The setting can be made right on the
homepage.
2.Press ▲(UP) or ▼(DOWN) button to choose
a new level.
►
3.After the setting is made, wait 5 seconds to store the setting.
Adjusting SQUELCH level
When interference is encountered try reducing the sensitivity of the receiver, thus less
susceptible to interference.
1.Press and release SET button until the
SQUELCH SETUP page appears.
2.Then press ▲(UP) or ▼(DOWN) button to
choose a new level between 1 and 10.
►
►
3.After a level is chosen, wait 5 seconds to store the setting.
Since increasing the squelch level will also reduce the reception distance, it’s recommended to
choose the lowest level that can eliminate the interference.
If this still does not solve the problem it means this frequency is not suitable. Adjust the squelch
back to its preset level and use the scan function to locate a clear, interference-free channel.
POWER
A B
SDR-6200 IrDA UHF2-WAYSYNC.TRUEDIVERSITYRECEIVER
DIV E R S ITY A U DIO
POWER
A B
SDR-6200 IrDA UHF2-WAYSYNC.TRUEDIVERSITYRECEIVER
DIV E R S ITY A U DIO
::
POWER
A B
SDR-6200 IrDA UHF2-WAYSYNC.TRUEDIVERSITYRECEIVER
DIV E R S ITY A U DIO
::
POWER
A B
SDR-6200 IrDA UHF2-WAYSYNC.TRUEDIVERSITYRECEIVER
DIV E R S ITY A U DIO
:
POWER
A B
SDR-6200 IrDA UHF2-WAYSYNC.TRUEDIVERSITYRECEIVER
DIV E R S ITY A U DIO
:
ISO 9001|ISO 14001|OHSAS 18001
-4-
Receiver installation
1. For best operation, the receiver should be at least 1m above the ground and 1m away from a
wall or metal surface to minimize reflections.
2. The transmitter should also be at least 1m away from a wall or metal surface to minimize
reflections. The transmitter should also be at least 1m away from the receiver.
3. Keep antennas away from noise source such as motors, automobiles, neon light as well as
large metal objects.
Audio output connection
There are two audio outputs on the back of the receiver, Mic-level balanced and Line-level
unbalanced. Use shielded audio cable for the connection between the receiver and the
amplifier/mixer. If the amplifier/mixer has a 1/4"(6.3mm) phone jack, connect a cable from the
1/4"(6.3mm) unbalanced audio output from the receiver to the amplifier/mixer. If the
amplifier/mixer has an XLR input, connect a cable from the balanced XLR audio output from
the receiver to the amplifier/mixer input.
6.3mm phone jack connection
XLR connection
-5-
Rack mounting
The receiver can be cabinet-mounted by either one or two units. If only one receiver is to be
mounted, an optional kit is available and it's installed as shown in Fig 1. If two receivers are to
be mounted, they can be assembled by another kit and installed as shown in Fig 2.
Fig 1. Rack mount one receiver
Fig 2. Rack mount two receivers
CHIAYO ELECTRONICS CO.,LTD.
Http://www.chiayo.com.tw|Email: [email protected]
Office: 30, Lane 27, Section 4, Jen-Ai Road, Taipei 10685, Taiwan|Tel: 886-2-27415741|Fax: 886-2-27525242
Factory: 88, Chung-Hsiao Street 2, Chiayi 60080, Taiwan|Tel: 886-5-2711000|Fax: 886-5-5767611
12I1373