Physical specifications
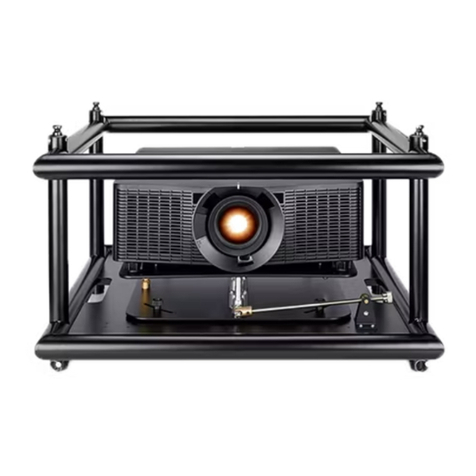
Learn the weight and physical dimensions of the QwikRig Rigging Frame V2.
• Weight: 26 kg (57.3 lbs)
• Dimensions: 685 x 665 x 470 mm (27 x 26 x 18.5 inches)
Installing the projector
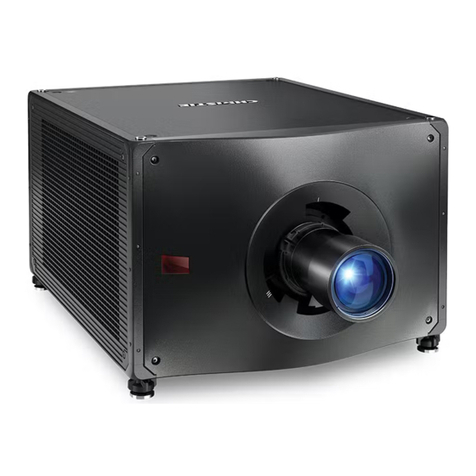
Secure the projector to the base plate of the frame using the hardware provided.
Danger! If not avoided, the following results in death or serious injury.
• Use all mounting points, including the safety point, when installing the product overhead.
Warning! If not avoided, the following could result in death or serious injury.
• A minimum of two people or appropriately rated lift equipment is required to safely lift, install,
or move the product.
1. Perform lens calibration for all lenses excluding the 0.37-0.4:1 zero offset UST lens (P/N:
140-153100-XX).
2. Turn off the light source and cool the projector for at least 15 minutes.
3. Turn off the projector and disconnect it from AC power.
4. Verify the base plate is in a level position.
If necessary, loosen the locking screws on each adjustment knob and adjust.
5. Adjust the projector's feet so there is no extension.
The projector must sit flat on the base plate.
6. Prepare the base plate:
• GS Series (DWU850-GS, DWU880(A)-GS, DWU1075-GS, DWU1082-GS, DWU8902-GS,
DWU1100(A)-GS, DWU1400(A)-GS) with the lenses other than the 0.37-0.4:1 zero offset
UST lens (P/N: 140-153100-XX)—Place the 30 mm spacer onto the base plate.
• GS Series (DWU850-GS, DWU880(A)-GS, DWU1075-GS, DWU1082-GS, DWU8902-GS,
DWU1100(A)-GS, DWU1400(A)-GS) with the 0.37-0.4:1 zero offset UST lens (P/N:
140-153100-XX)—Install the lens adapter plate (P/N: 140-156103-XX) and select the feet
installation configuration of ceiling mount/system frame according to the Installing the GS
UST 0.37-0.4:1 Lens Instruction Sheet P/N: 020-103828-XX).
• GS Series (DWU630-GS, DWU6322-GS, DWU7062-GS)—Place the 15 mm spacer onto the
base plate.
• Inspire Series (DWU760(A)-iS, DWU860-iS, DWU960-iS, DWU960ST-iS, 4K860(A)-iS)—
Place the 15 mm spacer onto the base plate.
7. Carefully, insert the projector through the front or the rear of the rigging frame.
The projector should align with the mounting holes in the base plate.
To make locating the mounting points of the projector easier, install a screw through one of the
base plate's mounting holes.
8. Secure the projector to the correct mounting points, using four screws.
Assembling the QwikRig Rigging Frame V2
Assembling the QwikRig Rigging Frame V2 Instruction Sheet 3
020-103852-01 Rev. 1 (07-2023)
Copyright © 2023 Christie Digital Systems USA, Inc. All rights reserved.
If printed, please recycle this document after use.
