iii
Warranty
All of Chroma’s instruments are warranted against defects in material and
workmanship for a period of one year from date of shipment. Chroma agrees to
repair or replace any assembly or component found to be defective, under normal
use during this period. Chroma’s obligation under this warranty is limited solely to
repairing any such instrument, which in Chroma’s sole opinion proves to be
defective within the scope of the warranty when returned to the factory or to an
authorized service center. Purchaser is responsible for the shipping and cost of
the service item to Chroma factory or service center. Shipment should not be
made without prior authorization by Chroma.
This warranty does not apply to any products repaired or altered by persons not
authorized by Chroma, or not in accordance with instructions furnished by Chroma.
If the instrument is defective as a result of misuse, improper repair, or abnormal
conditions or operations, repairs will be billed at cost.
Chroma assumes no responsibility for its product being used in a hazardous or
dangerous manner either alone or in conjunction with other equipment. High
voltage used in some instruments may be dangerous if misused. Special
disclaimers apply to these instruments. Chroma assumes no liability for
secondary charges or consequential damages and in any event, Chroma’s liability
for breach of warranty under any contract or otherwise, shall not exceed the
purchase price of the specific instrument shipped and against which a claim is
made.
Any recommendations made by Chroma regarding the use of its products are
based upon tests believed to be reliable; Chroma makes no warranty of the results
to be obtained. This warranty is in lieu of all other warranties, expressed or
implied, and no representative or person is authorized to represent or assume for
Chroma any liability in connection with the sale of our products other than set forth
herein.
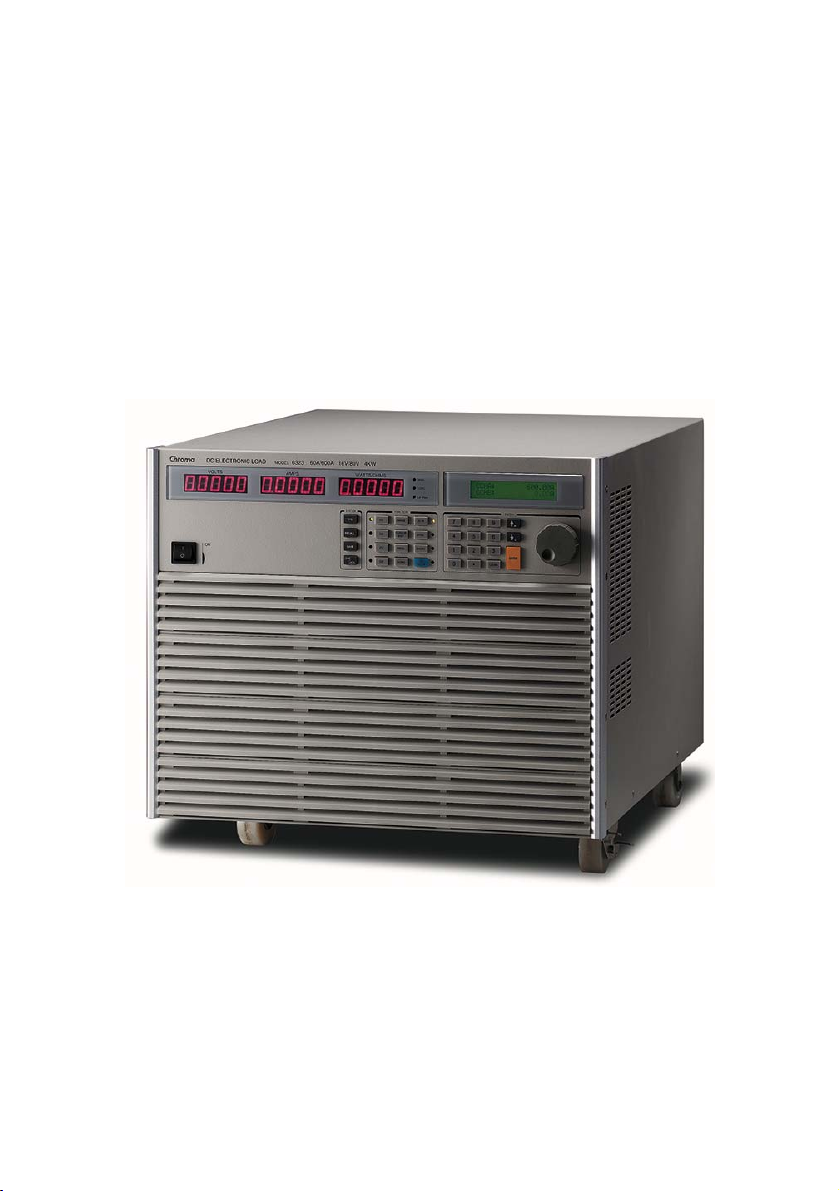
CHROMA ATE INC.
66 Hwaya 1st Rd., Kueishan Hwaya Technology Park,
Taoyuan County 33383, Taiwan
Tel: 886-3-327-9999
Fax: 886-3-327-2886
www: http://www.chromaate.com/