manuals.online logo
Brands
  1. Home
  2. •
  3. Brands
  4. •
  5. Cisco
  6. •
  7. Telephone
  8. •
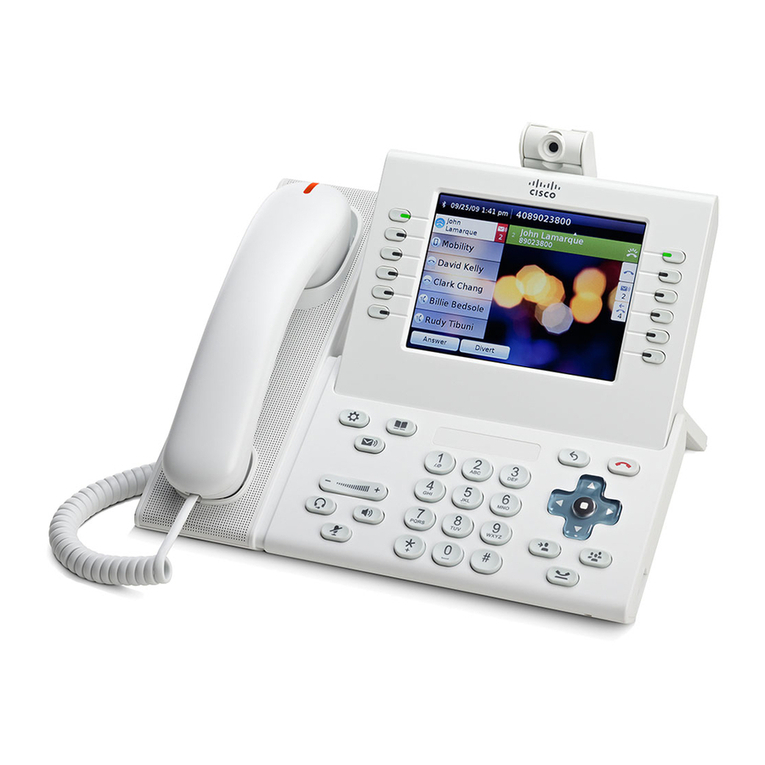
  9. Cisco 6900 Series User manual

Cisco 6900 Series User manual

Other manuals for 6900 Series

2

Other Cisco Telephone manuals

Cisco 3951 Instruction Manual

Cisco

Cisco 3951 Instruction Manual

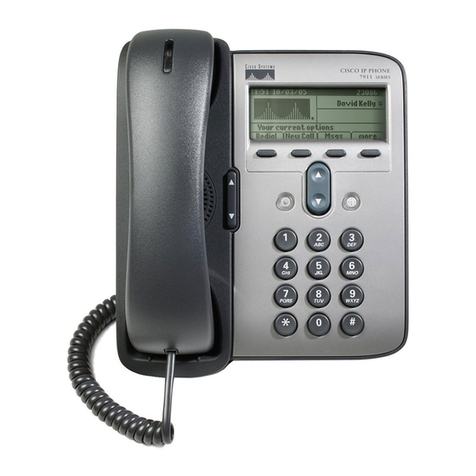
Cisco 7945 Series User manual

Cisco

Cisco 7945 Series User manual

Cisco 8861 User manual

Cisco

Cisco 8861 User manual

Cisco SPA525 Instruction Manual

Cisco

Cisco SPA525 Instruction Manual

Cisco Wave Business User manual

Cisco

Cisco Wave Business User manual

Cisco UNIFIED 9971 User manual

Cisco

Cisco UNIFIED 9971 User manual

Cisco MPP 6851 Manual

Cisco

Cisco MPP 6851 Manual

Cisco Cisco 7960 User manual

Cisco

Cisco Cisco 7960 User manual

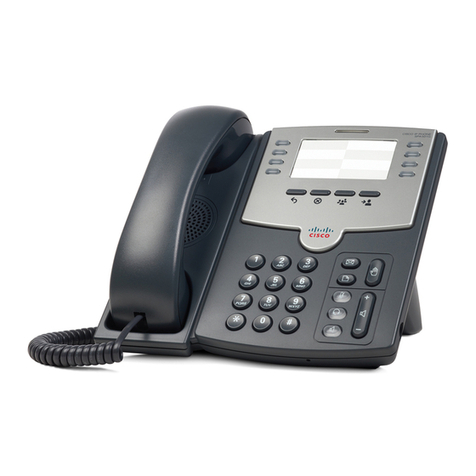
Cisco Small Business Pro SPA 504G User manual

Cisco

Cisco Small Business Pro SPA 504G User manual

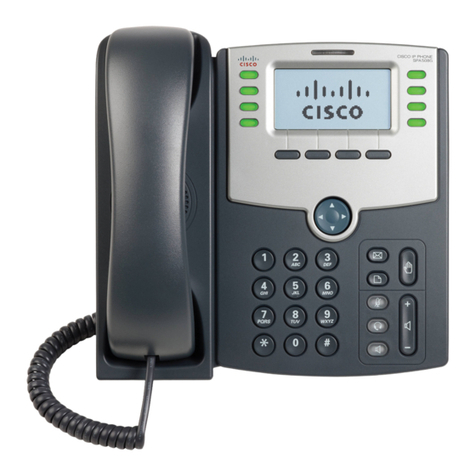
Cisco Small Business SPA525G2 User manual

Cisco

Cisco Small Business SPA525G2 User manual

Cisco 6851 Instruction manual

Cisco

Cisco 6851 Instruction manual

Cisco UNIFIED 9971 User manual

Cisco

Cisco UNIFIED 9971 User manual

Cisco 7841 Instruction manual

Cisco

Cisco 7841 Instruction manual

Cisco SPA 303 User manual

Cisco

Cisco SPA 303 User manual

Cisco UNIFIED 9971 User manual

Cisco

Cisco UNIFIED 9971 User manual

Cisco Cisco 7960 User manual

Cisco

Cisco Cisco 7960 User manual

Cisco 7911 User manual

Cisco

Cisco 7911 User manual

Cisco UNIFIED COMMUNICATIONS UC320W User manual

Cisco

Cisco UNIFIED COMMUNICATIONS UC320W User manual

Cisco VoIP 7945 User manual

Cisco

Cisco VoIP 7945 User manual

Cisco IP DECT 6800 Series User manual

Cisco

Cisco IP DECT 6800 Series User manual

Cisco Small Business Pro SPA 509G Reference guide

Cisco

Cisco Small Business Pro SPA 509G Reference guide

Cisco 7841 User manual

Cisco

Cisco 7841 User manual

Cisco 7841 User manual

Cisco

Cisco 7841 User manual

Cisco BroadSoft BroadWorks Spectralink 84 Series User manual

Cisco

Cisco BroadSoft BroadWorks Spectralink 84 Series User manual

Popular Telephone manuals by other brands

Philips BaseLine Pro manual

Philips

Philips BaseLine Pro manual

V-tech i6772 user guide

V-tech

V-tech i6772 user guide

BT FREELANCE XD 5100 quick start guide

BT

BT FREELANCE XD 5100 quick start guide

Uniden 1360 user guide

Uniden

Uniden 1360 user guide

Fanvil D800 user manual

Fanvil

Fanvil D800 user manual

Avaya IP500 user guide

Avaya

Avaya IP500 user guide

NEC Univerge SV9100 installation manual

NEC

NEC Univerge SV9100 installation manual

Amanda MiniSOHO Installation and programming manual

Amanda

Amanda MiniSOHO Installation and programming manual

Hitachi SelecSet 900 Series user guide

Hitachi

Hitachi SelecSet 900 Series user guide

mPTech HAMMER BS21 quick start guide

mPTech

mPTech HAMMER BS21 quick start guide

NEC 2000IVX user guide

NEC

NEC 2000IVX user guide

ooma Phone Genie quick start guide

ooma

ooma Phone Genie quick start guide

Siemens Gigaset S450 user guide

Siemens

Siemens Gigaset S450 user guide

Clarity RC100 operating instructions

Clarity

Clarity RC100 operating instructions

GE 2-9480 user guide

GE

GE 2-9480 user guide

Geemarc PHOTOPHONE 155 user guide

Geemarc

Geemarc PHOTOPHONE 155 user guide

Interquartz Gemini IQ333 operating instructions

Interquartz

Interquartz Gemini IQ333 operating instructions

SSS Siedle HT 840-0 operating instructions

SSS Siedle

SSS Siedle HT 840-0 operating instructions

manuals.online logo
manuals.online logoBrands
  • About & Mission
  • Contact us
  • Privacy Policy
  • Terms and Conditions

Copyright 2025 Manuals.Online. All Rights Reserved.

Page 1 of 4
Reference Guide for the Cisco 6900 Series Phones
Header Line: Displays Date,
Time & Directory Number
Programmable Buttons:
(Quantity varies by model)
Buttons can be configured
as Phone Line(s), Speed-
dial, Busy Lamp Field (BLF),
or Features.
Button lights when active or
flashes when on-hold or
ringing in green, amber or
red to indicate status.
Voicemail Button: Autodials
voicemail system.
Applications Menu:
Opens/closes menu.
Use it to access call history, user
preferences, phone settings, and
phone model information.
Volume Control:
Tap bar to Increase/Decrease
volume.
Independently Controls the Volume
of what you hear, not what you say
while using:
Handset and Headset (adjust while off-hook)
Speaker volume (adjust while off-hook)
Ringer volume (adjust while on-hook)
Speakerphone:
On/Off.
When Light is
on, speaker on.
Mute: On/Off.
When light is on,
microphone is muted. Headset Button:
On / Off.
Button lights when
headset is on.
Navigation Bar with Select
Button:
Use to scroll through menus and
highlight items.
When phone is on hook:
UP Arrow - Displays phone
numbers from your Placed
Call List.
DOWN Arrow –Displays
Speed Dial List.
The Select button (middle) allows
you to select a highlighted item.
Display area: During a call, displays details for an
active line. If not on a call, displays text label and
other information such as placed calls, speed dials,
and phone menu listings.
Handset Light Strip: Flashes to
indicate an incoming call or Solid to
indicate new voicemail message(s).
Conference Button
Maximum of 8 Parties
Overview of a Cisco Phone - Model Depicted is a 6941:
Transfer Button
Soft Keys: Display shows
available features or actions that
correspond to Soft Key Buttons.
Hold Button
Contacts: Opens/closes the
Directories menu. Use it to
access Personal and Corporate
Directories.
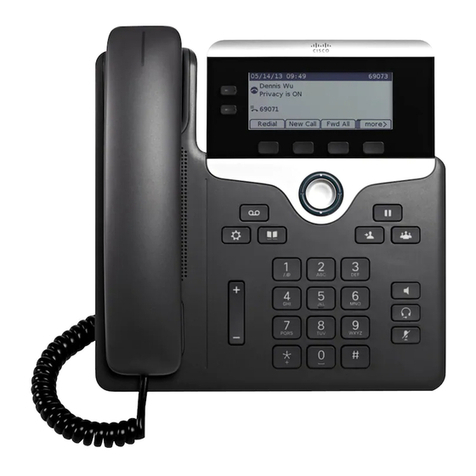
Cisco Model 6921
(2 Line Phone)
Cisco Model 6941
(4 Line Phone)
Cisco Model 6961
(12 Line Phone)
Page 2 of 4
Reference Guide for the Cisco 6900 Series Phones
Including Cisco Models: 6921, 6941, and 6961
How To
Directions
Notes
INTERNAL CALL
(On-Net)
Lift handset, Dial Phone Number (See Notes)*
* Pending Location: 7 or 10
Digits may be required –See
your System Administrator.
EXTERNAL CALL
(Off-Net)
Lift handset, Dial Phone Number.
Local calls: Dial Phone Number (See Notes)*
Long distance: 1 + Area Code + 7-digits
NO Access Code Required.
* Pending Location: 7 or 10
Digits may be required –See
your System Administrator.
Place a Call
Use One of the Following Methods:
A. Lift the Handset, and dial a number.
B. Press the “Speaker” button, and dial number.
C. While on an active call, a 2nd call may be made,
press the “Hold” Button to hold 1st call. Press the
“New Call” Soft Key, hear dial-tone, dial number.
D. Pre-dialing: With handset in cradle, use the dial-
pad to dial digits, press the “Call” Soft Key to dial.
To Correct a Dialing Error:
Press the backspace “<X ”
Soft Key to erase previous
digit(s), and then enter the
correct digit(s).
Soft Keys
The display is dynamic and changes according to the
phone state. Available features appear across the
bottom of your display (Soft Key Labels). To use these
features, press the corresponding Soft Key Button
located directly below the desired feature.
To view additional features
press the “More” Soft Key.
Navigation Bar
(with Select
Button)
Navigation Bar scrolls through menus by pressing up or
down arrows.
When handset is on-hook: Press UP Arrow to display
phone numbers from your Placed Call Log, or press the
DOWN Arrow to view Speed Dial List.
Use center “Select”button
to choose the highlighted
display item.
Hold
and
Resume
To Hold: While connected, press the “Hold” Button.
Note display icon indicating the call is on Hold (paused).
To Resume: Press the “Resume” Soft Key, or the
Blinking Line Button to return to the call.
More than one call on
Hold: Use the Navigation
Bar to Highlight the call
then press Resume.
Call Waiting
While on a call, a call waiting tone (single beep) is
heard, the display will briefly provide call information
of 2nd incoming caller and the line button will flash.
To Answer 2nd Call or Toggle between calls:
Press the Blinking Line button.
(1st call is automatically put on hold)
To End a call: While
connected (highlighted in
display), press the “End”
Soft Key or hang-up.
Page 3 of 4
How To
Directions
Notes
Transfer
1. While connected to call, press “Transfer” button.
Call is automatically placed on-hold, a new line is
automatically activated and dial-tone will be heard
2. Dial the Number you want to transfer the call to.
3. While phone rings on other end you can do either:
a. A Supervised Transfer (preferred):
Wait on the line to Announce the call, then
press “Transfer”(Soft key or fixed button) to
connect the two callers.
b. Unsupervised Transfer:
Press “Transfer”button again.
Use the “Swap” Soft Key
to toggle between 2 calls
prior to completing the
Transfer.
To Cancel a Transfer:
Press the blinking line
button to reconnect to
caller.
OR
To Cancel the Transfer
and return to original call:
Press “Cancel”, then
“Resume”Soft keys.
Conference Call
1. While connected to a call, press the “Conference”
button. The call is automatically placed on-hold, a new line is
activated and dial-tone is heard
2. Dial Number of 2nd party –Wait for 2nd call to
connect, Announce Conference.
3. Press “Conference”Fixed button or Soft Key to add
the party to the conference call.
Use the “Swap”Soft Key
to toggle between 2 calls
prior to adding to the
conference.
Repeat steps to conference
up to 8 parties (including
you).
Call Forward
To Activate Call Forward:
1. Press “Fwd ALL” Soft key,
2. Enter desired Number.
To Cancel: Press “Fwd All” Soft Key.
To Call Forward All calls to Voicemail (Optional):
1. Press “Fwd ALL” Soft key
2. Press the “Messages” Button
Display status: “TO XXXXXXX”
To Cancel Call Forward to Voicemail:
Press “Fwd OFF” Soft key
After Call Forward is
turned off, the display will
briefly display a status
message:
“Call Forwarding is off”
(Optional) If you have voicemail
messages, the red light strip on
the handset will be lit and there
will be a message icon in the line
display.
Divert
(Optional Feature)
Divert sends an active or ringing call to voicemail.
To Use: Press the “Divert” Soft Key
When Diverting a 2nd Call: Press “Divert”, then
highlight desired call, then press “Divert”again.
NOTE: Pressing “Divert”
while connected to a call,
will send active call to
voicemail.
PickUp
(Optional Feature)
When an extension within your pre-programmed pick-
up group is ringing, a short notification ring (optional)
and a display message appears.
To answer a call in your Pick-Up Group:
Lift handset; press the “PickUp” Button.
You are connected to the incoming call.
It may be necessary to
press the “more” Soft key
to view the “PickUp” Soft
key.
See your System Administrator
for PickUp Group Information.
Page 4 of 4
How To
Directions
Notes
Speed Dial
(Abbreviated Dial)
To Dial a Speed Dial Code:
With the Handset in the cradle:
1. Using the dial pad, enter Speed Dial Code(1-99)
2. Press the “SpeedDial”Soft Key
Press the Navigation Bar Arrow DOWN to view the
Speed Dial Code List.
With the handset lifted:
1. Press the “SpeedDial”Soft Key,
2. Using the dial pad, enter Speed dial Code (1-99)
3. Press “SpeedDial”Soft key again.
Pending phone
configuration, Speed Dials
may be programmed on a
line button (press button
to dial number) or used by
dialing a code.
Speed Dials must be pre-
programmed –See your System
Administrator.
Applications
Menu
1. Call History
2. Preferences
1. Ringtone
2. Contrast
1. Call History
A. To View Call History of All Calls or Missed Calls:
1. Press the “Applications” button
2. Highlight “Call History”, press “Select”button
(If Applicable) Select “All Lines” or navigate to the line you
want to view, and then “Select”.
3. Press “All Calls” or “Missed Calls” Soft Key to
choose list to be viewed.
4. Use Navigation Bar to scroll through list.
5. Soft keys provide choices:
“Call”–to dial the number (if available)
“Details”-to view call info
“Clear”- entire call history
“Edit Dial”- make changes to number
“Delete”- specific call from the history log.
6. Press the “return arrow” Soft Key to back-up a
menu level
7. Press “Exit” Soft Key to exit the menu
B. To View PLACED Calls Log: Handset on-hook, press
Navigation Bar Arrow UP to view Placed Calls
2. Preferences:
1. Select Ringtone to change ring type, scroll list,
“Play”, “Set”, then” Apply”the change .
2. Select Contrast; use the Navigation Bar arrows
to adjust the display lighter/darker.
“All Call”history is a
combination of Received &
Placed calls.
The Call Icon shows the
type of call and the list is
ordered by time -recent to
oldest.
Calls for the same caller ID
& phone number are
grouped together only
when they occur in
chronological order and do
not have calls associated.
“Details” of a call record
include, when available:
Called number
Calling number
Time & Date of call
Contacts
1. Personal
Directory
2. Corporate
Directory
To Access the Contacts Menu:
1. Press the “Contacts” Button
2. Use Navigation bar to scroll, highlight Personal
Directory or Corporate Directory.
3. Press “Select”button to choose
Use Navigation Bar to Scroll thru search choices (first or last
Name, Nickname or Number where applicable).
See your System
Administrator for your User
ID & Pin for access to the
Personal Directory.
Questions: www.its.ny.gov/telecommunications or (518) 486 –4000 Option 1