manuals.online logo
Brands
  1. Home
  2. •
  3. Brands
  4. •
  5. Cisco
  6. •
  7. Telephone
  8. •
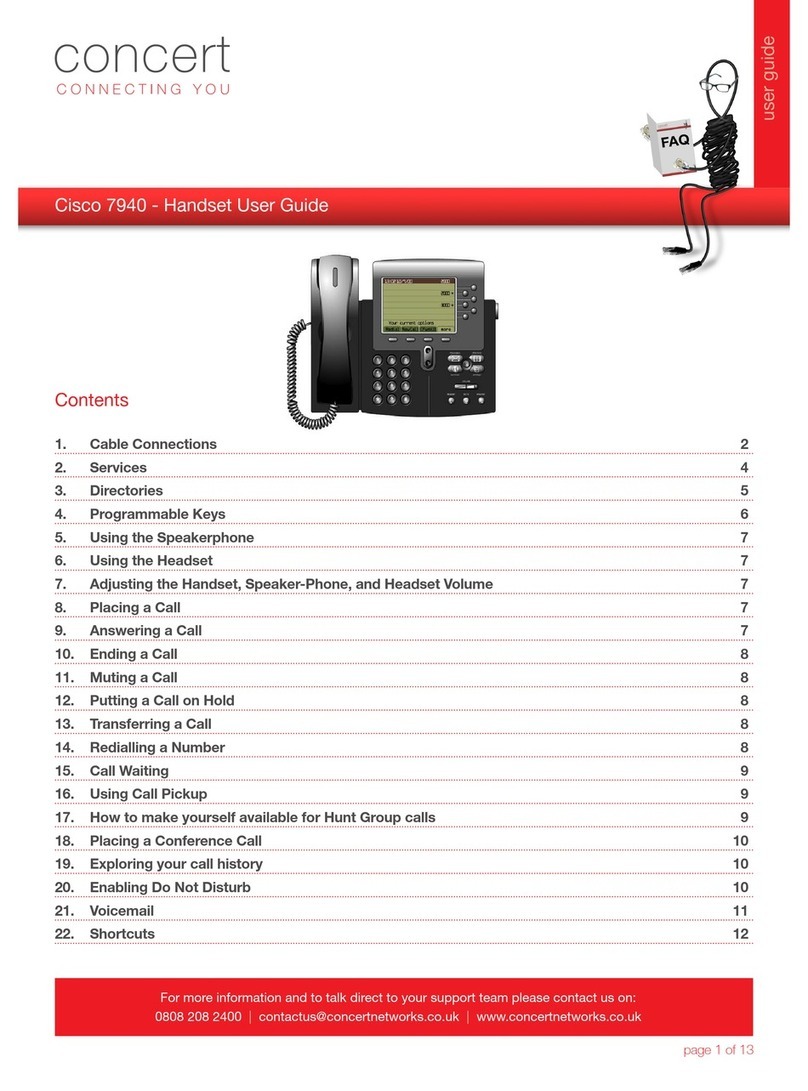
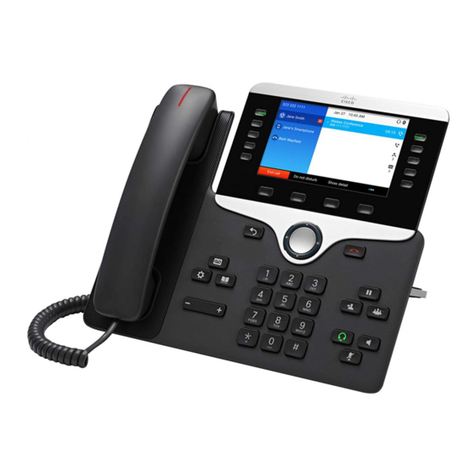
  9. Cisco VOICEMAXX CE 8851 User guide

Cisco VOICEMAXX CE 8851 User guide

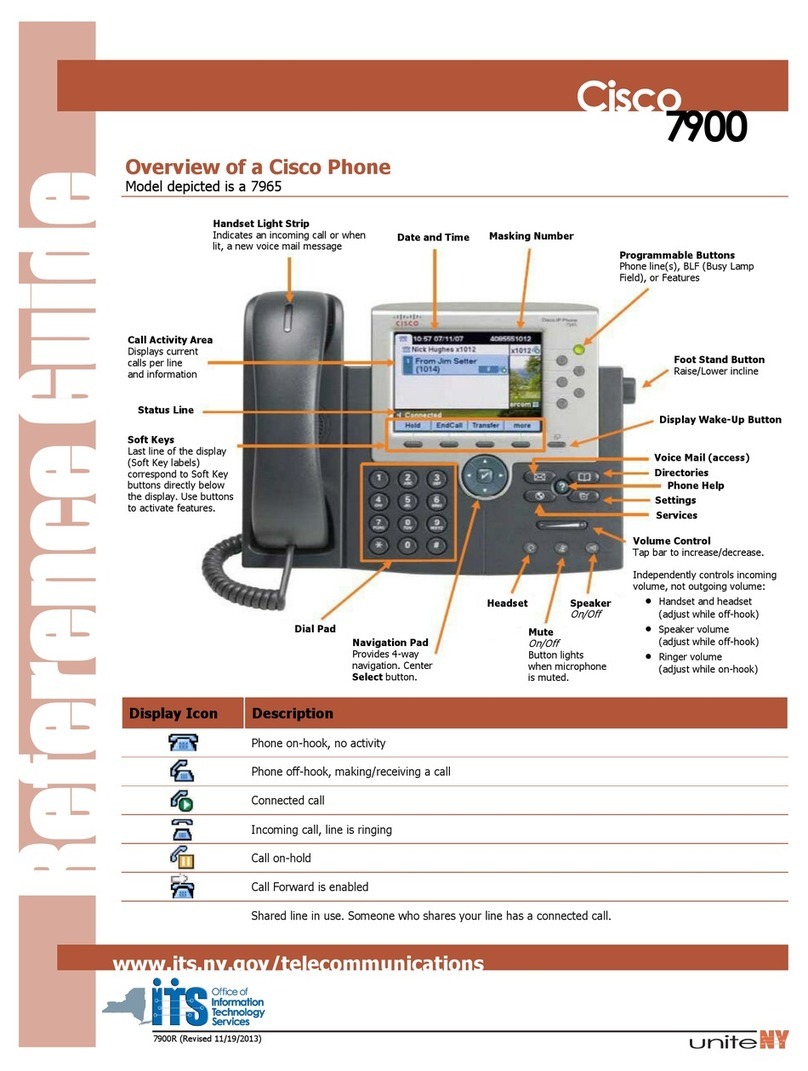
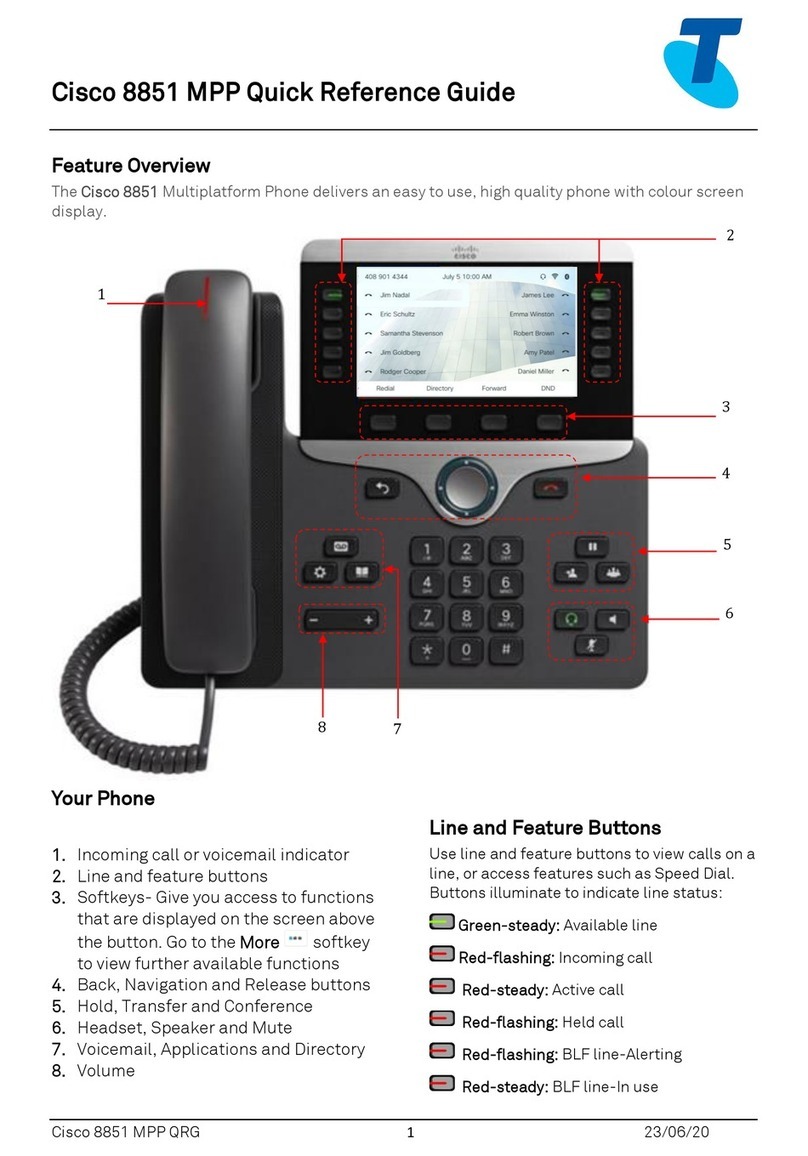
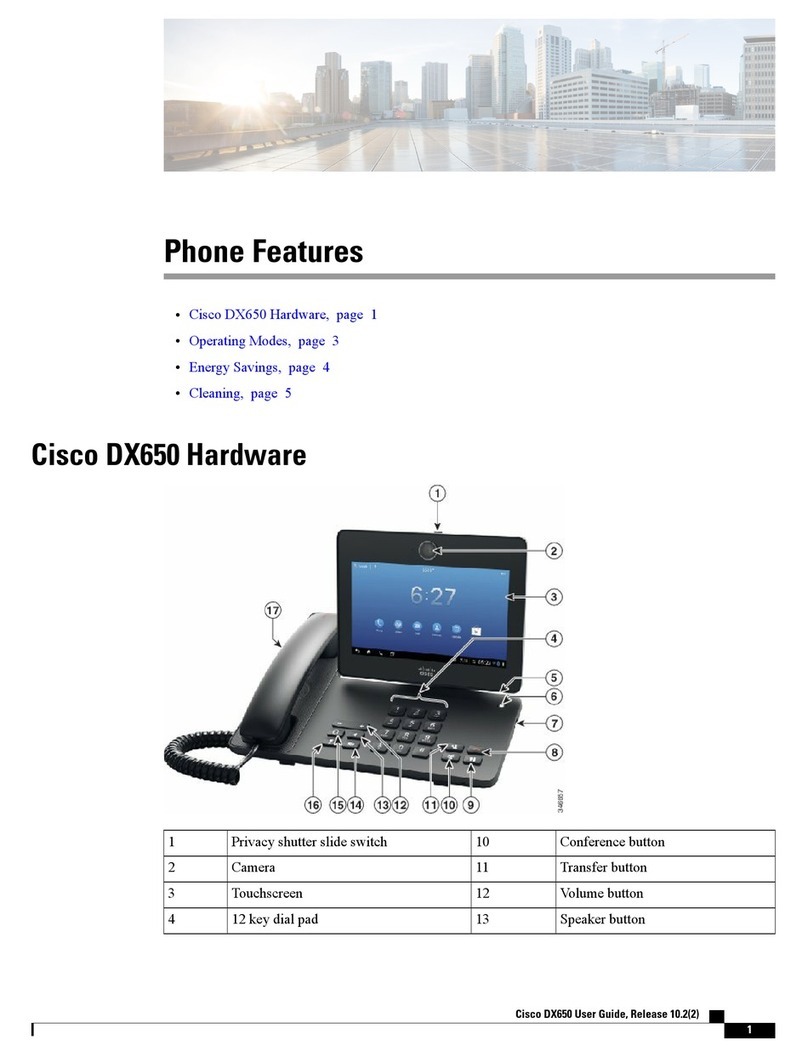
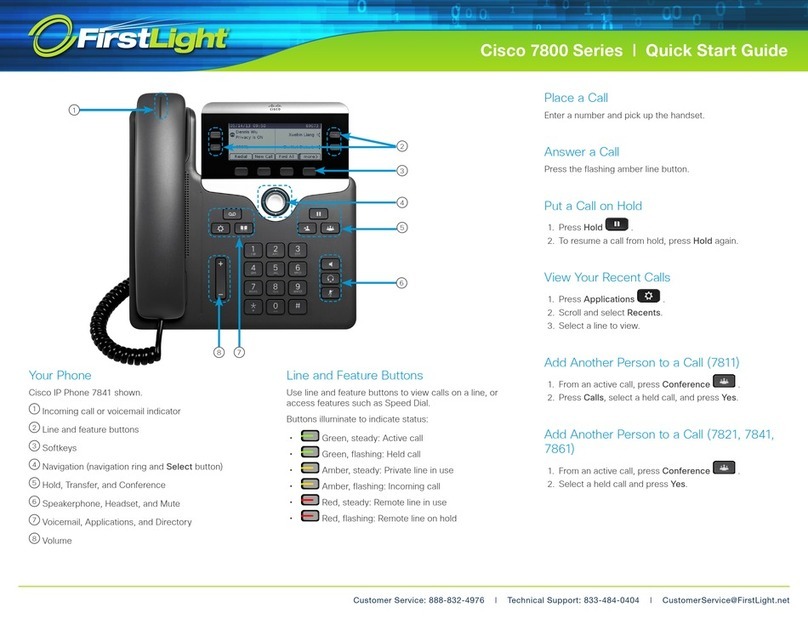
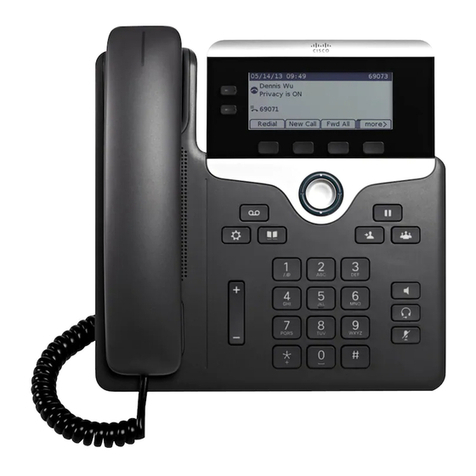
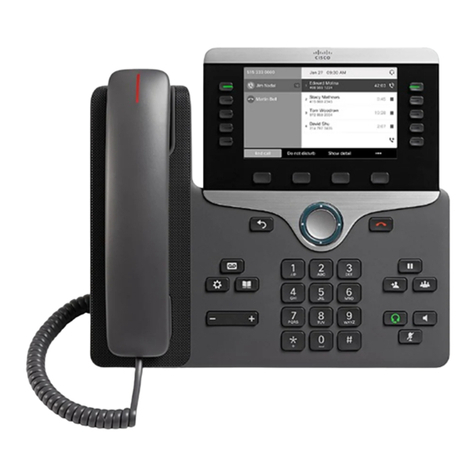
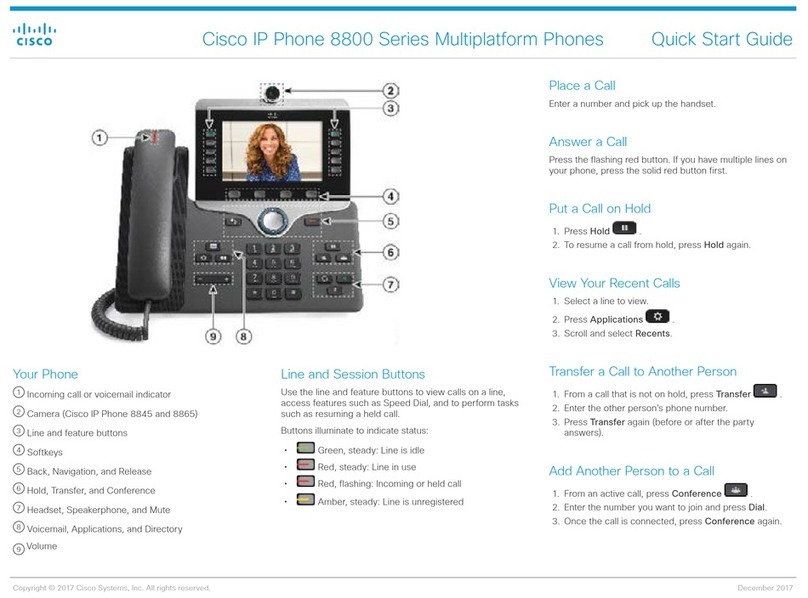
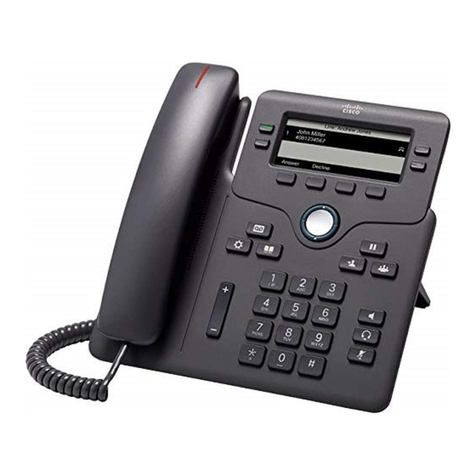
HANDSET WITH
INDICATOR LIGHT Tradional handset. The light strip indicates incoming calls and remains
lit to indicate a new voice mail message (depending on your message
FEATURE BUTTONS Corresponds to phone lines, speed dials, and calling features.
LCD SCREEN Displays features such as the me, date, your phone number, caller ID,
line/call status, and so key opons. 8851 and 8861 models are full
SESSION BUTTONS Correspond with an acve call or a call funcon. Color LEDs reect the
RELEASE BUTTON Ends connected call or session.
USB PORT(S) 8851 has 1 USB port to charge smartphone. 8861 has 2 USB ports to
charge smartphone and/or tablet.
HOLD BUTTON Places a call on hold.
TRANSFER BUTTON Iniates a call transfer.
CONFERENCE BUTTON Creates a conference call.
SPEAKER BUTTON Toggles the speaker on or o. Buon is green when enabled.
MUTE BUTTON Toggles mute on or o. Buon is red when enabled.
HEADSET BUTTON Toggles the headset on or o. Buon is green when enabled.
DIAL PAD Funcons like the dial pad on a tradional telephone.
VOLUME BUTTON Increases or decreases volume for the handset, headset, or speaker-
phone. Also controls the ringer volume (if on-hook), and the LCD
APPLICATION BUTTON Opens or closes the applicaon menu.
CONTACTS BUTTON Opens or closes the contacts menu.
VOICEMAIL BUTTON Provides access to the voicemail message system.
NAVIGATION PAD Four-way navigaon with select buon in the center.
BACK BUTTON Returns to previous screen or menu.
SOFT KEYS Access addional opons (displayed above key) for the selected call or
VOICEMAXX CE
8851 & 8861
Basic Phone Guide
VOICEMAIL OPERATION TREE
DURING
MESSAGE REVIEW
AFTER
MESSAGE REVIEW
Restart Restart
Save Save
Delete Delete
Reply Reply
Forward Forward
Mark as New Mark as New
Rewind 3sec
Pause/Resume
Forward 3sec
Skip
SAVED DELETED
Restart Review Deleted
Save Erase All
Delete
Reply
Forward
Rewind 3sec
Pause/Resume
Forward 3sec
Skip
GREETINGS MESSAGE SETTINGS PREFERENCES
Recorded
Greengs
Setup Message
Nocaon
Change PIN
Turn on/o Alt
Greeng
Access VoiceMail
Distribuon List
Change Name
Edit Other
Greengs
Edit Standard
Edit Alternate
Hear All
INBOX OLD MESSAGES SETUP OPTIONS
1
Need Help? UC Support: ext. _________ or
3 4
1 2 1 2 3
2
3
4
5
6
7
8
9
10
11
12
13
14
15
16
17
18
19
20
1
1
2
3
4
5
6
7
9
#
1
2
3
4
5
6 7
1
5
4
3
2
9 #
1
2
1
2
3
1
3
4
1
4 2
1
4
8
#
8
#
Need Help? UC Support: ext. _________ or 888.728.0950
VOICEMAXX CE | 8851 & 8861
BASIC CALLING (DID)
INITIATE A NEW CALL
1. Pick up handset, press speaker or
headset buon, or press New Call
sokey.
2. Dial number.
(9 is required for all outside calls)
RECEIVE A CALL
1. Pick up handset, press speaker or
headset buon, or press Answer
sokey, or select a line appearance.
RECEIVE A SECOND CALL
1. Press Answer sokey or select the ashing
amber line appearance. (Places current call
on hold)
SWITCH BETWEEN TWO CALLS
1. Use the Navigaon Pad to scroll between
calls.
2. Press the Resume sokey.
OR
1. Press the pulsing green Session buon
displaying the held call.
INITIATE A SECOND CALL
1. Press the Session buon below your acve
call that displays a phone icon.
TRANSFERRING
TRANSFER TO ANOTHER NUMBER
1. Press Transfer buon.
2. Dial number.
(9 is required for all outside calls)
3. Inform recipient that you are transferring a
call (oponal).
4. Press Transfer buon.
TRANSFER TWO CALLS TO EACH OTHER
1. Press Transfer buon.
2. Select Acve Calls.
3. Navigate to the desired acve call.
4. Press Transfer buon.
TRANSFER A CALL TO VOICEMAIL
1. Press Transfer buon.
2. Press *.
3. Dial the extension.
4. Press Transfer buon.
CANCEL A TRANSFER
1. Press Cancel.
2. Press Resume or the ashing green line
buon.
CONFERENCE CALLING
ADD A 3RD PARTY TO AN EXISTING CALL
1. Press Conference buon.
2. Dial number.
(9 is required for all outside calls)
3. Allow other party to answer.
4. Press Conference buon.
CONFERENCE TWO OR MORE CALLS TO CREATE
CONFERENCE CALL
1. Press Conference buon.
2. Select Acve Calls.
3. Navigate to the desired acve call
4. Press Conference buon.
NOTE: You may have up to 5 pares (yourself and
4 others) on this type of conference.
FORWARDING
FORWARD ALL CALLS TO ANOTHER NUMBER
1. Press Forward All sokey.
2. Dial number.
(9 is required for all outside calls)
CANCEL CALL FORWARDING
1. Press Forward O sokey.
PARKING
PARK A CALL
1. Press PARK sokey.
2. Record park number.
3. Press EndCall/hang up.
RETRIEVE A PARKED CALL
1. Li handset, press Speaker or NewCall
sokey.
2. Dial the park number.
NOTE: Calls not retrieved within 60 seconds
(scalable up to 5 minutes), ring back to the
parking phone.
DO NOT DISTURB
SETTING DO NOT DISTURB
1. Press the More sokey.
2. Press Do not disturb.
(A message will display on the LCD)
DEACTIVATE DO NOT DISTURB
1. Press Do not disturb.
(A message will display on the LCD indicang
that Do Not Disturb is o)
VIEW CALL HISTORY
1. Press the session buon with the clock icon
or the Applicaons buon.
2. Select Recents.
3. The phone screen displays the call history
with an icon associated for each type of call.
VOICEMAIL
RETRIEVE FROM YOUR PHONE
1. Press Messages buon.
2. Enter PIN and press #.
RETRIEVE BY CALLING YOUR EXTENSION
1. Dial your direct number (DID).
2. Press * when your voicemail greeng starts.
3. Enter ID (extension) and press #.
4. Enter PIN (password) and press #.
PLEASE NOTE: If you physically move your
phone to a dierent locaon, please nofy
UC Support so the emergency services
record for your phone will be updated.
This is important to ensure accurate 911 call
vericaon.
PAIRING BLUETOOTH HEADSETS
(8861 Only)
1. Ensure your headset is discoverable.
2. Press Applicaons buon and select
Bluetooth.
3. Opon 1, Bluetooth, press On sokey.
4. Select Add bluetooth device.
5. Select the headset to connect/pair.
PAIRING BLUETOOTH MOBILE DEVICES
(8861 Only)
1. Enable bluetooth on your mobile device.
2. Press Applicaons buon and select
Bluetooth.
3. Opon 1, Bluetooth, press On sokey.
4. Under Opon 2, Hands-free 2-way audio,
press On sokey to enable proximity
(oponal)
5. Select Add bluetooth device.
6. Under bluetooth devices on your mobile
phone, select 9945.
7. Match the code on the desk phone LCD with
the code that appears on your mobile
device.
8. Press the Yes sokey on the desk phone.
9. Press Pair on your mobile device.
10. Select Yes or No based on your preference
to import your mobile device contacts onto
the desk phone.
This manual suits for next models

1

Other Cisco Telephone manuals

Cisco DX650 User manual

Cisco

Cisco DX650 User manual

Cisco DATAVOX 7941 User manual

Cisco

Cisco DATAVOX 7941 User manual

Cisco Cisco 7940 User manual

Cisco

Cisco Cisco 7940 User manual

Cisco 3905 User manual

Cisco

Cisco 3905 User manual

Cisco Small Business SPA525G2 User manual

Cisco

Cisco Small Business SPA525G2 User manual

Cisco Wave Business User manual

Cisco

Cisco Wave Business User manual

Cisco Webex CP-ROOM User manual

Cisco

Cisco Webex CP-ROOM User manual

Cisco 3951 Instruction Manual

Cisco

Cisco 3951 Instruction Manual

Cisco MPP 6851 Manual

Cisco

Cisco MPP 6851 Manual

Cisco 8861 User manual

Cisco

Cisco 8861 User manual

Cisco Webex 840 User manual

Cisco

Cisco Webex 840 User manual

Cisco 9900 Series User manual

Cisco

Cisco 9900 Series User manual

Cisco 3951 User manual

Cisco

Cisco 3951 User manual

Cisco 8875 Operator's manual

Cisco

Cisco 8875 Operator's manual

Cisco 7841 User manual

Cisco

Cisco 7841 User manual

Cisco 7821 User manual

Cisco

Cisco 7821 User manual

Cisco Cisco 7960 User manual

Cisco

Cisco Cisco 7960 User manual

Cisco Cisco 7960 User manual

Cisco

Cisco Cisco 7960 User manual

Cisco SPA 303 Series Instruction manual

Cisco

Cisco SPA 303 Series Instruction manual

Cisco 7821 User manual

Cisco

Cisco 7821 User manual

Cisco Cisco 7940 User manual

Cisco

Cisco Cisco 7940 User manual

Cisco E20 User manual

Cisco

Cisco E20 User manual

Cisco SPA502 User manual

Cisco

Cisco SPA502 User manual

Cisco Small Business Pro SPA 509G Instruction manual

Cisco

Cisco Small Business Pro SPA 509G Instruction manual

Popular Telephone manuals by other brands

Samsung OfficeServ 7200 System description

Samsung

Samsung OfficeServ 7200 System description

Avaya J179 instructions

Avaya

Avaya J179 instructions

AUDIOLINE TEL105 operating instructions

AUDIOLINE

AUDIOLINE TEL105 operating instructions

LG-Ericsson 1030i Key Features Guide

LG-Ericsson

LG-Ericsson 1030i Key Features Guide

Globalstar Qualcomm GSP-1600 user guide

Globalstar

Globalstar Qualcomm GSP-1600 user guide

MS Yealink T54W Quick reference guide

MS

MS Yealink T54W Quick reference guide

Cissell CISSIMAN38 manual

Cissell

Cissell CISSIMAN38 manual

Uniden D3288-2 user guide

Uniden

Uniden D3288-2 user guide

Siemens HIPATH 2000 operating instructions

Siemens

Siemens HIPATH 2000 operating instructions

Globalstar GSP-1700 Quick reference guide

Globalstar

Globalstar GSP-1700 Quick reference guide

urmet domus 956 manual

urmet domus

urmet domus 956 manual

Cortelco Tel-Flash 2500 Owner's instruction manual

Cortelco

Cortelco Tel-Flash 2500 Owner's instruction manual

GE 21900FE1 user guide

GE

GE 21900FE1 user guide

Auerswald COMfortel D-400 quick guide

Auerswald

Auerswald COMfortel D-400 quick guide

Cingular PPC-6600 Specification sheet

Cingular

Cingular PPC-6600 Specification sheet

Radio Shack ET-195 user manual

Radio Shack

Radio Shack ET-195 user manual

ATL Berkshire M-CAT user guide

ATL

ATL Berkshire M-CAT user guide

PCD PG03 quick start guide

PCD

PCD PG03 quick start guide

manuals.online logo
manuals.online logoBrands
  • About & Mission
  • Contact us
  • Privacy Policy
  • Terms and Conditions

Copyright 2025 Manuals.Online. All Rights Reserved.