manuals.online logo
Brands
  1. Home
  2. •
  3. Brands
  4. •
  5. Cleveland
  6. •
  7. Electric Steamer
  8. •
  9. Cleveland 24CSM Series Manual

Cleveland 24CSM Series Manual

Other manuals for 24CSM Series

1

Other Cleveland Electric Steamer manuals

Cleveland SteamChef 22CET3.1 User manual

Cleveland

Cleveland SteamChef 22CET3.1 User manual

Cleveland ConvectionPro XVI 36-CGM-16-300 User manual

Cleveland

Cleveland ConvectionPro XVI 36-CGM-16-300 User manual

Cleveland SteamCub 1SCEMCS User manual

Cleveland

Cleveland SteamCub 1SCEMCS User manual

Cleveland 22CGT66 User manual

Cleveland

Cleveland 22CGT66 User manual

Cleveland PGM-200-2 User manual

Cleveland

Cleveland PGM-200-2 User manual

Cleveland Convotherm OEB-20.20 User manual

Cleveland

Cleveland Convotherm OEB-20.20 User manual

Cleveland SteamChef 22CGT6 User manual

Cleveland

Cleveland SteamChef 22CGT6 User manual

Cleveland 21CET16 User manual

Cleveland

Cleveland 21CET16 User manual

Cleveland Enodis 24-CDM User manual

Cleveland

Cleveland Enodis 24-CDM User manual

Cleveland SteamCub 1SCE User manual

Cleveland

Cleveland SteamCub 1SCE User manual

Cleveland OES-6.10 User manual

Cleveland

Cleveland OES-6.10 User manual

Cleveland PDL-3J User manual

Cleveland

Cleveland PDL-3J User manual

Cleveland CET-8 User manual

Cleveland

Cleveland CET-8 User manual

Cleveland SteamPro User manual

Cleveland

Cleveland SteamPro User manual

Cleveland 36-CDM-16 User manual

Cleveland

Cleveland 36-CDM-16 User manual

Cleveland 21CET16 User manual

Cleveland

Cleveland 21CET16 User manual

Cleveland 24-CGA-10.2 User manual

Cleveland

Cleveland 24-CGA-10.2 User manual

Cleveland OES-12.20 User manual

Cleveland

Cleveland OES-12.20 User manual

Cleveland PSM-2 User manual

Cleveland

Cleveland PSM-2 User manual

Cleveland PEM-24-2 User manual

Cleveland

Cleveland PEM-24-2 User manual

Cleveland SteamChef 3 User manual

Cleveland

Cleveland SteamChef 3 User manual
Cleveland SteamChef 22CET6.1 User manual

Cleveland

Cleveland SteamChef 22CET6.1 User manual

Cleveland SteamChef 3 User manual

Cleveland

Cleveland SteamChef 3 User manual

Cleveland SteamCub 1SCE User manual

Cleveland

Cleveland SteamCub 1SCE User manual

Popular Electric Steamer manuals by other brands
Andrew James Food Steamer user guide

Andrew James

Andrew James Food Steamer user guide

Eloma Joker B Installation and Technical Connections

Eloma

Eloma Joker B Installation and Technical Connections

Clatronic DG 3547 instruction manual

Clatronic

Clatronic DG 3547 instruction manual

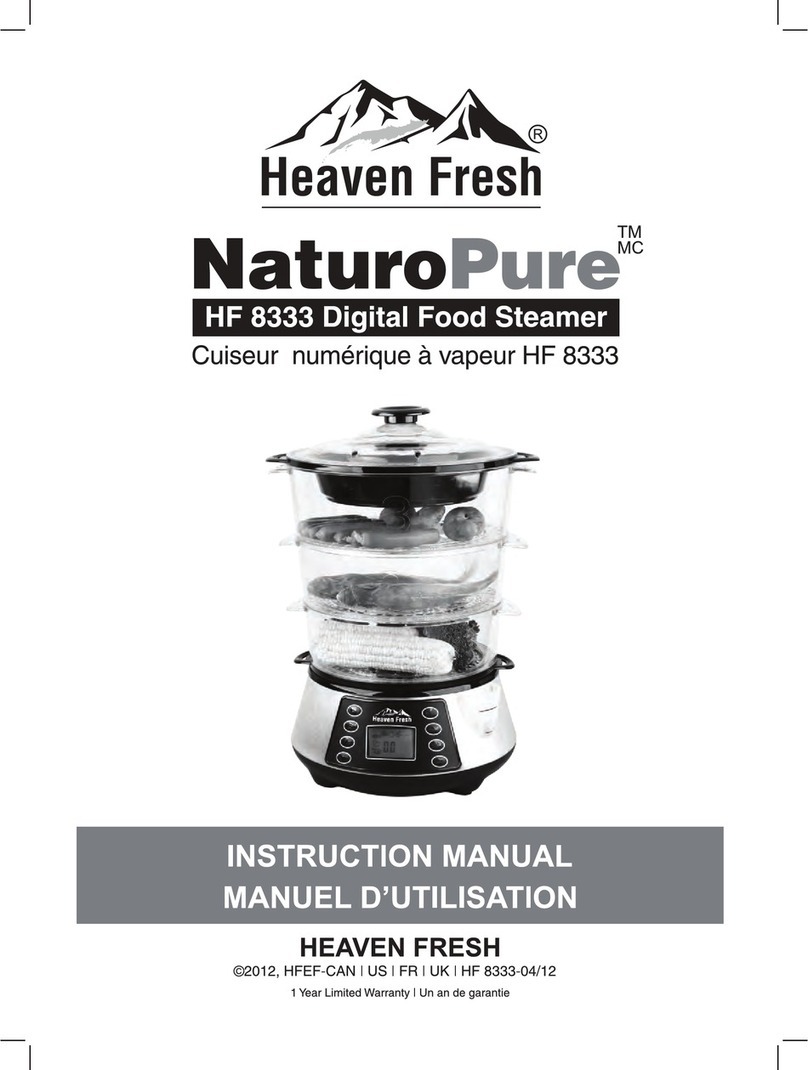
Heaven Fresh NaturoPure HF 8333 instruction manual

Heaven Fresh

Heaven Fresh NaturoPure HF 8333 instruction manual

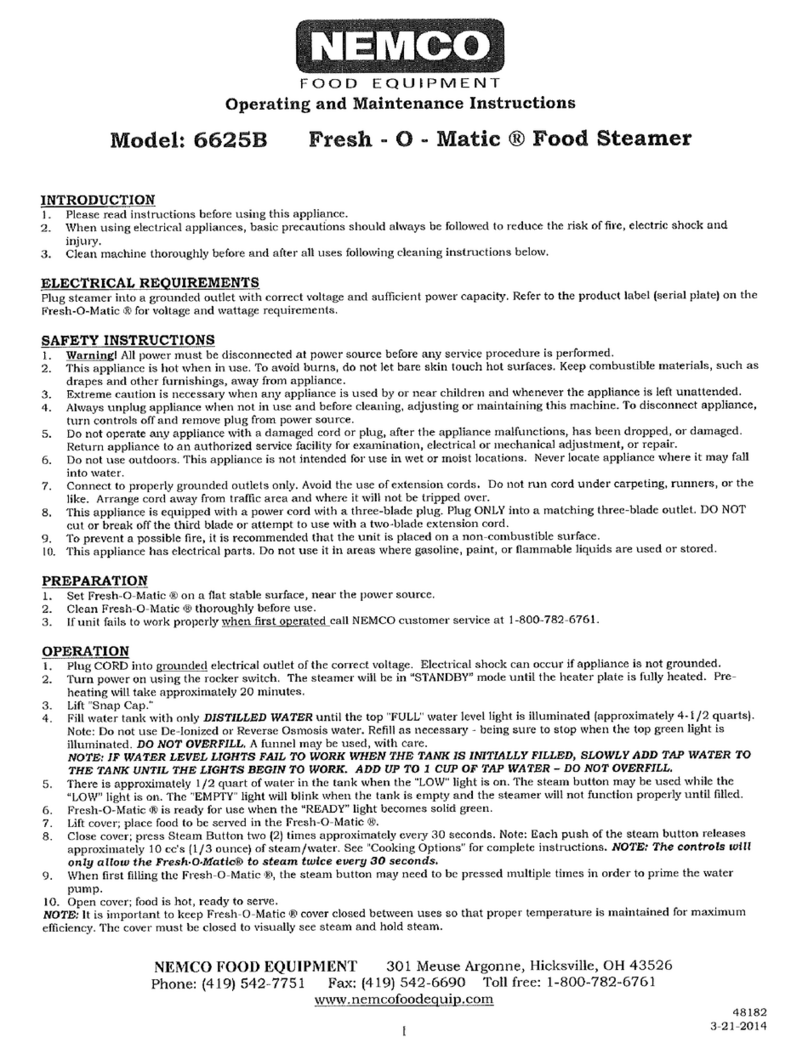
Memco 6625B Operating and maintenance instructions

Memco

Memco 6625B Operating and maintenance instructions

Hastings DIRECT GAS FIRED ELECTRIC STEAM Installation and service instructions

Hastings

Hastings DIRECT GAS FIRED ELECTRIC STEAM Installation and service instructions

Galantine SILVER Style SC-5003B instruction manual

Galantine

Galantine SILVER Style SC-5003B instruction manual

Oster 5711 instruction manual

Oster

Oster 5711 instruction manual

Braun 3216 manual

Braun

Braun 3216 manual

Back to Basics NUTRI STEAMER L5725A 01/09 instruction manual

Back to Basics

Back to Basics NUTRI STEAMER L5725A 01/09 instruction manual

Kooper 2165306 User instructions

Kooper

Kooper 2165306 User instructions

Morphy Richards FS48751MEE manual

Morphy Richards

Morphy Richards FS48751MEE manual

Scarlett SC-1142 instruction manual

Scarlett

Scarlett SC-1142 instruction manual

AccuTemp Vision Operator's manual

AccuTemp

AccuTemp Vision Operator's manual

Jata CV200 Instructions of use

Jata

Jata CV200 Instructions of use

Cuisinart Cook & Steam instructions

Cuisinart

Cuisinart Cook & Steam instructions

Moffat Blue Seal AC Series Brochure & specs

Moffat

Moffat Blue Seal AC Series Brochure & specs

Groen Vortex VRC-6E supplementary guide

Groen

Groen Vortex VRC-6E supplementary guide

manuals.online logo
manuals.online logoBrands
  • About & Mission
  • Contact us
  • Privacy Policy
  • Terms and Conditions

Copyright 2025 Manuals.Online. All Rights Reserved.

Statement of Responsibilities
This document is for use by experienced and trained Qualified Cleveland Range, LLC Authorized Service
Representatives who are familiar with both the safety procedures, and equipment they service.
Cleveland Range, LLC assumes no liability for any death, injury, equipment damage, or property damage
resulting from use of, improper use of, or failure to use the information contained in this document.
Cleveland Range, LLC has made every effort to provide accurate information in this document, but
cannot guarantee that this document does not contain unintentional errors and omissions.
The information in this document may be subject to technical and technological changes, revisions, or
updates.
Cleveland Range, LLC assumes no liability or responsibility regarding errata, changes, revisions, or
updates.
Qualified Cleveland Range, LLC Authorized Service Representatives are obligated to follow industry
standard safety procedures, including, but not limited to, OSHA regulations, and disconnect / lock out /
tag out procedures for all utilities including steam, and disconnect / lock out / tag out procedures for gas,
electric, and steam powered equipment and / or appliances
All utilities (gas, electric, water and steam) should be turned OFF to the equipment and locked out of
operation according to OSHA approved practices during any servicing of Cleveland Range equipment
Qualified Cleveland Range, LLC Authorized Service Representatives are obligated to maintain up-to-date
knowledge, skills, materials and equipment.
Cleveland Range, LLC 1333 East 179th St., Cleveland, Ohio, U.S.A. 44110
Ph: 1-216-481-4900 Fx: 1-216-481-3782 Visit our Web Site at www.clevelandrange.com
CLEVELAND RANGE
SEQUENCE OF OPERATIONS
Steam Coil Boiler Base
1. To turn the unit on, depress the red on/off rocker switch.
x115 VAC is sent to the upper cabinets and terminal block in control box.
x115 VAC is sent to normally open drain valve closing it.
x115 VAC is sent to L1 and L2 of the water level board.
2. With the water level board energized and no water in the boiler
x115 VAC is sent from the WF terminal to the fill solenoid.
xThe fill solenoid opens and the boiler fills through the drain valve.
xThe water fills to the low probe shorting it to ground
x115 VAC is sent from the HTR terminal through the normally closed contacts of the
highlimit pressure switch to contacts of the ice cube relay and the amber reset switch,
energizing the amber light.
3. When the momentary amber switch is depressed 115 VAC is sent to the coil of the ice cube
relay closing it.
xThe relay latches itself through a jumper to the coil.
xIf either the high-pressure switch or the low water cut off float switch opens, the
latch circuit opens.
xWhen the contacts close the amber light will energize and the process may begin
again.
xThe relay contacts close sending 115 VAC through the normally closed contacts of the
operating pressure switch to the coil of the supply steam solenoid. .
4. With 115 VAC to the coil of the supply steam solenoid.
xThe solenoid opens.
xSteam is sent to the coil in the boiler.
5. The water in the boiler is heated to steam.
xAs steam is generated and pressure builds the air is pushed out through the steamtrap.
xWhen steam goes through the steam trap and heats it to 192 degrees it closes.
6. Pressure builds in the boiler to the set point .
xThe operating pressure switch opens and the heat circuit is de-energized.
xWhen the pressure drops below the set point the heat circuit is energized and the heat
process begins again.
7. Water continues to fill until the high probe is grounded.
xWhen the high probe is grounded the WF terminal on the water level board is de-
energized.
xThe fill solenoid closes until the high probe is ungrounded for 05 seconds.
xIf the water level drops below the high probe for more than 20 seconds the WF
terminal is energized and the water fill circuit begins again.
8. When the unit is turned off, by depressing the red rocker switch,
x115 VAC is removed from the heat circuit.
x115 VAC is removed from the drain circuit and the normally open drain valve opens
allowing the unit to drain.
x115 VAC is sent to the 3-minute timer.
xThe three-minute timer will energize the fill solenoid for 3 minutes while the steamer
drains.
CLEVELAND RANGE
SEQUENCE OF OPERATIONS
Steam Coil Boiler Base
With Secondary Low Water Cut Off Switch
1. To turn the unit on, depress the red on/off rocker switch.
x115 VAC is sent to the upper cabinets and terminal block in control box.
x115 VAC is sent to normally open drain valve closing it.
x115 VAC is sent to L1 and L2 of the water level board.
x115 VAC is sent to the open contacts of the low water cut-off float switch.
2. With the water level board energized and no water in the boiler
x115 VAC is sent from the WF terminal to the fill solenoid.
xThe fill solenoid opens and the boiler fills through the drain valve.
xThe water fills to the low probe shorting it to ground
x115 VAC is sent from the HTR terminal through the normally closed contacts of the
operating pressure switch to coil of the contactor(s).
xThe rising water also raises the float on the low water cut-off switch closing it.
x115 VAC is sent through the normally closed contact of the high-pressure switch to the
amber reset switch, energizing the amber light.
3. When the momentary amber switch is depressed 115 VAC is sent to the ice cube relay
closing it.
xThe relay latches itself through a jumper to the coil.
xIf either the high-pressure switch or the low water cut off switch opens, the latch
circuit opens.
xWhen the contact close the amber light will energize and the process may begin
again.
xThe relay contacts close sending 115 VAC to the coil of the supply steam solenoid.
4. With 115 VAC to the coil of the supply steam solenoid
xThe steam solenoid opens.
xSupply steam is sent through the steam coil.
5. The water in the boiler is heated to steam.
xAs steam is generated and pressure builds the air is pushed out through the steamtrap.
xWhen steam goes through the steam trap and heats it to 192 degrees it closes.
6. Pressure builds in the boiler to the set point .
xThe operating pressure switch opens and the heat circuit is de-energized.
xWhen the pressure drops below the set point the heat circuit is energized and the heat
process begins again.
7. Water continues to fill until the high probe is grounded.
xWhen the high probe is grounded the WF terminal on the water level board is de-
energized.
xThe fill solenoid closes until the high probe is ungrounded for 05 seconds.
xIf the water level drops below the high probe for more than 20 seconds the WF
terminal is energized and the water fill circuit begins again.
8. When the unit is turned off, by depressing the red rocker switch,
x115 VAC is removed from the heat circuit.
x115 VAC is removed from the drain circuit and the normally open drain valve opens
allowing the unit to drain.
x115 VAC is sent to the 3-minute timer.
xThe three-minute timer will energize the fill solenoid for 3 minutes while the steamer
drains.
Replace the
on/off rocker
switch
Yes
Connect power
to steamer.
No
Is the red light on
in the power
switch?
Is there power to
the steamer?
Is there water in
the sight glass?
Yes
See
Steamer won't
fill.
No
PROBLEM:
Steam Coil Boiler
won't build
pressure No
Boiler won't build
pressure
Is the Amber light
on in the reset
switch?
Is there 120 VAC
between
terminals L2 and
HTR on the water
board?
Is there 120 VAC
between terminals
L2 andHTR on the
water board with a
jumper between
Low and C?
Is there 120 VAC
to terminal 6 on
the latching relay?
Repair
or Replace the
probecircuit.
Replace the
water board
Replace the
Reset switch
Yes
After depressing
the reset switch,
does the Amber
light go off?
Doesthis boiler
have the optional
Secondary Low
Water Cut Out?
With the High
Limit pressure
switch
temporarily
bypassed, does
the Amber light go
off when the reset
switch is
depressed?
Yes No
No
Yes
No
Replace
thehigh limit
pressure
switch With the SLWCO
switch
temporarily
bypassed, does
the Amber light go
off with the reset
switch depressed?
No
Yes
Yes
Replace the
SLWCO switch
With a jumper
from terminal 5 to
9 on the latching
relay, does the
Amber light go out
with the reset
switch depressed?
No
No
Replace the
latching relay.
Yes
Yes
Is there 120 VAC
to the coil of the
steam solenoid?
No
Yes
Replace the
latching relay No
Yes
Is there 120 VAC
to the coilof the
steam solenoid
with the operating
pressure switch
temporarily
bypassed?
No Replace the
latching relay
Replace
the operating
pressure
switch
Does the Steam
solenoid open?
Yes
Is there an steam
at the steam coil?
Yes
With
Elements heating
the water, the
Boiler is making
steam. Check for
leaks.
Is there a lot of
steam coming out
the drain?
Replace the
steam trap for
the boiler. No
Supply steam
to the steamer.
No
Replace the
steam solenoid
No
No
Yes
Yes
Is the steam trap
for Incoming
steam opening to
remove air and
waterfrom coil?
Yes
Yes
Yes
Replace the
steam trap for
the coil No
Boiler
won't fill.
Yes
No
No
Yes
No
Yes
Yes
No No
Yes
No
Yes
Yes
No
No
Yes
No
No
Yes
Yes
Yes
No
PROBLEM:
Steam Coil
Boiler won't fill
Yes
Is there power to
the steamer?
Is there water to
the steamer?
Supply power
to the steamer.
Supply cold
water to the
steamer.
Replace the
on/off rocker
switch .
Is there 120 VAC
between the L1
and L2 on the
water board?
Is there
120 VAC between
L2 and WF on the
water board?
Replace the
wiring to the fill
solenoid.
Is there
120 VAC across
the coilof the fill
solenoid?
Replace the fill
solenoid
Yes
Is
water leaving the
fill solenoid?
Replace wiring
to drain
solenoid.
Does
the steamer have
the optional
intermittent
blowdown timer?
Replace the
wiring to the
intermittent
blowdown
timer .
Is
there120 VAC
between terminals
2&3 on the timer?
Replace the
intermittent
blowdown
timer.
Is there
120 VAC across
the coil of the
drain valve?
Is water draining
from the
generator?
If water
is leaving the fill
solenoid and not
draining from the
generator where is it
going?check for
leaks..
Remove
the wire from the HI
terminal on the water
board.Is there 120
VAC between L2 and
WF?
Replace the
water board
Is there
debris on the HI
probe extension?
Replace the
wire to the Hi
probe.
Clean or
replace the
probes
extension.
Replace the
drain valve.
No