manuals.online logo
Brands
  1. Home
  2. •
  3. Brands
  4. •
  5. CommScope
  6. •
  7. Control Unit
  8. •
  9. CommScope Ruckus I100 User manual

CommScope Ruckus I100 User manual

Other CommScope Control Unit manuals
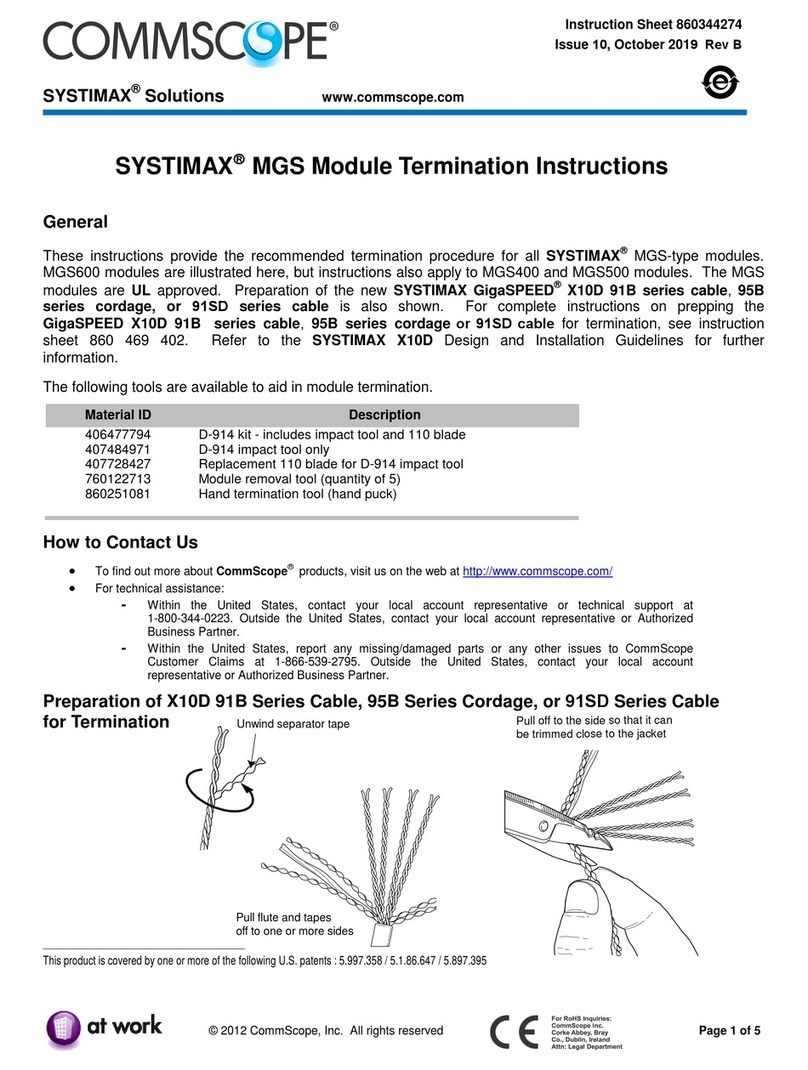
CommScope SYSTIMAX MGS Series User manual

CommScope

CommScope SYSTIMAX MGS Series User manual

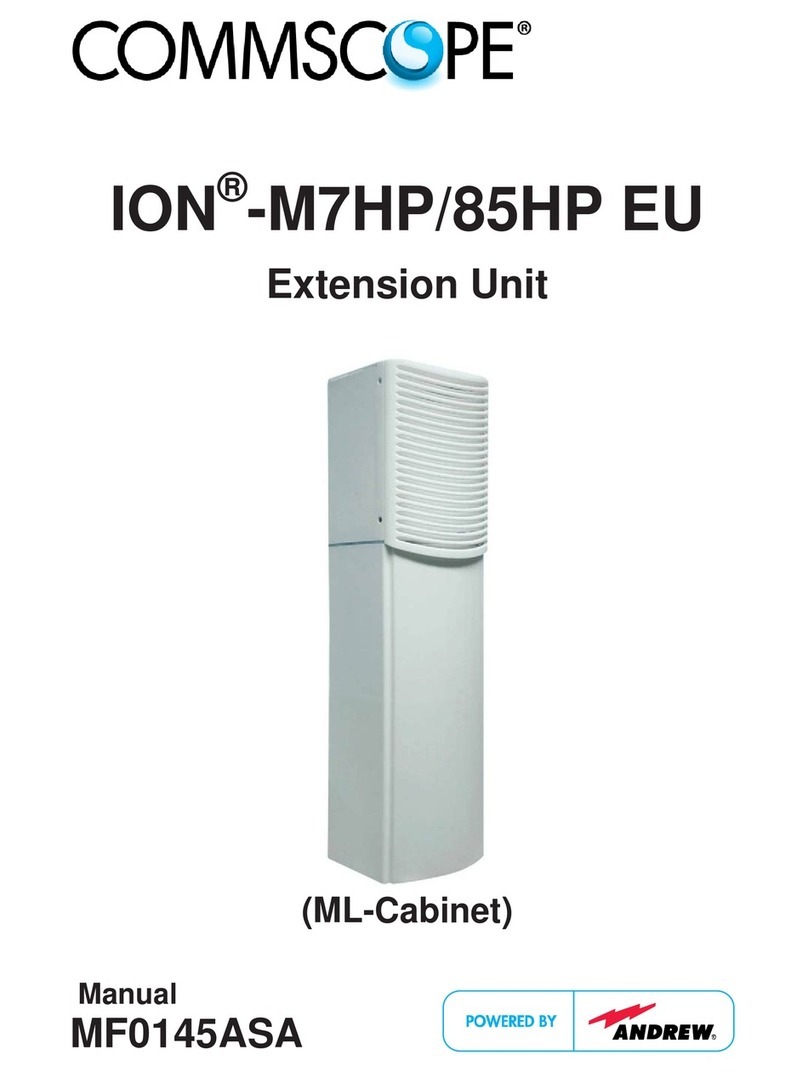
CommScope ION-M7HP EU User manual

CommScope

CommScope ION-M7HP EU User manual

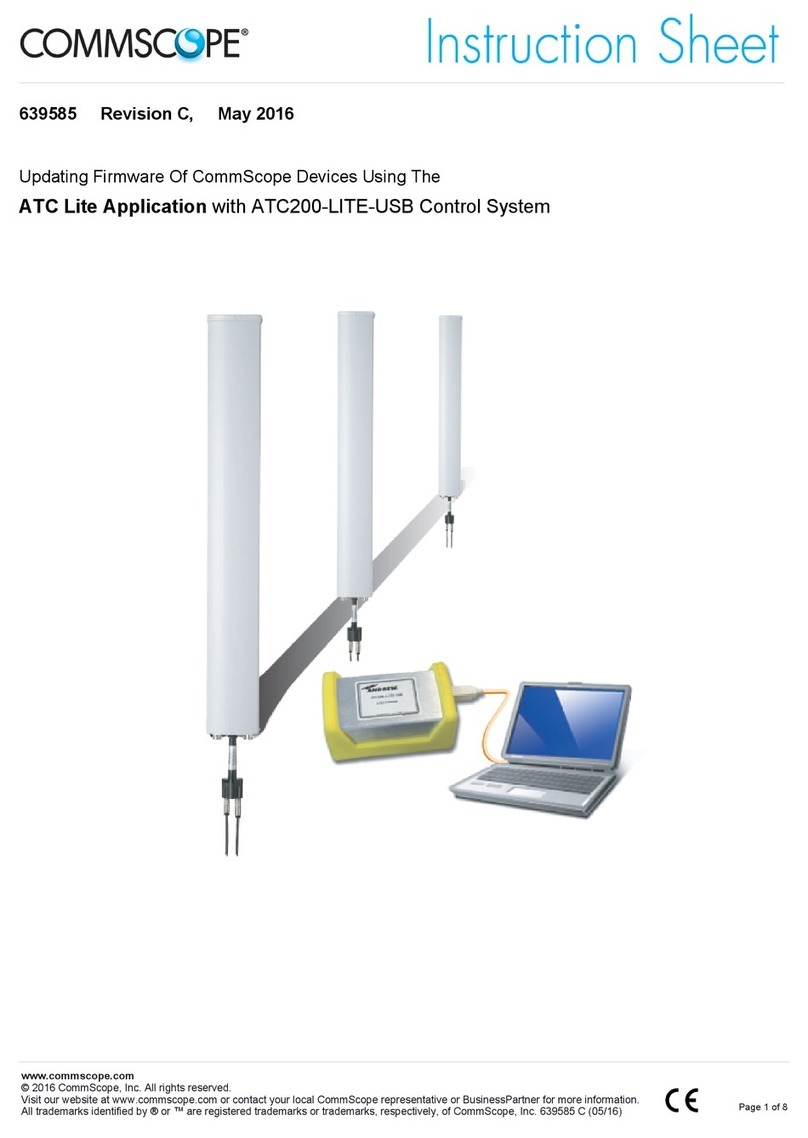
CommScope Teletilt ATC200-LITE-USB User manual
CommScope

CommScope Teletilt ATC200-LITE-USB User manual

CommScope SYSTIMAX 360 InstaPATCH 3603M UHD User manual

CommScope

CommScope SYSTIMAX 360 InstaPATCH 3603M UHD User manual

CommScope FlexWave Host Unit II Parts list manual

CommScope

CommScope FlexWave Host Unit II Parts list manual

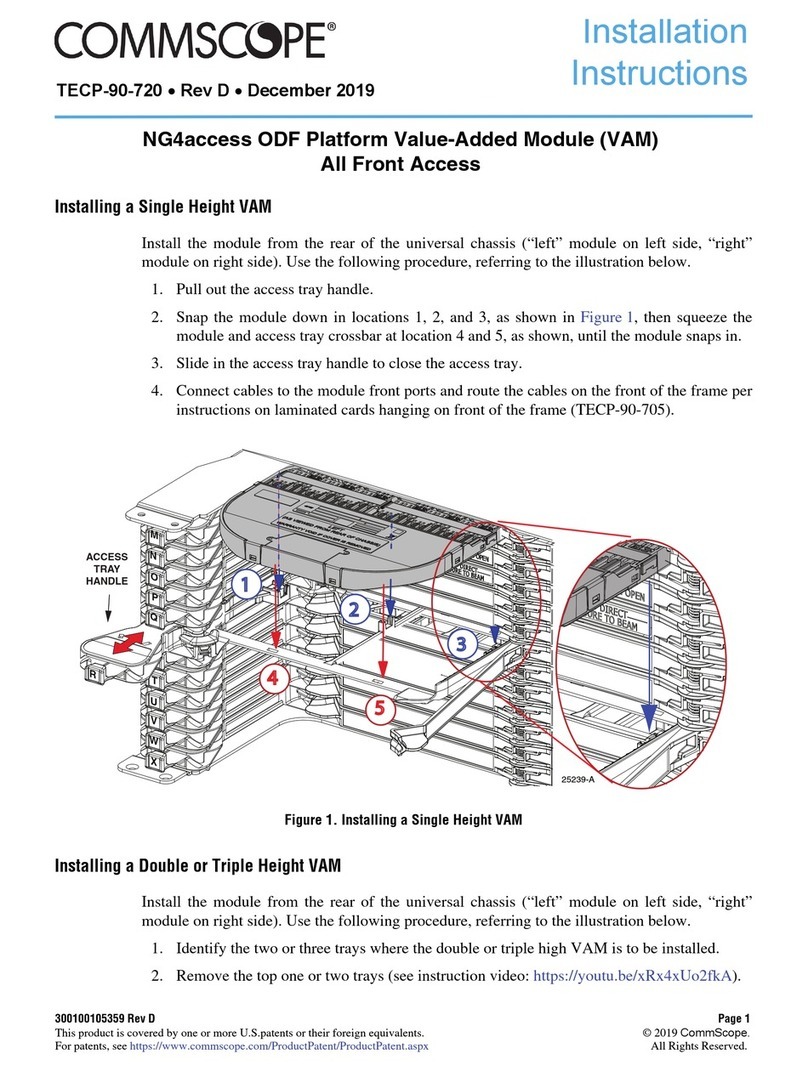
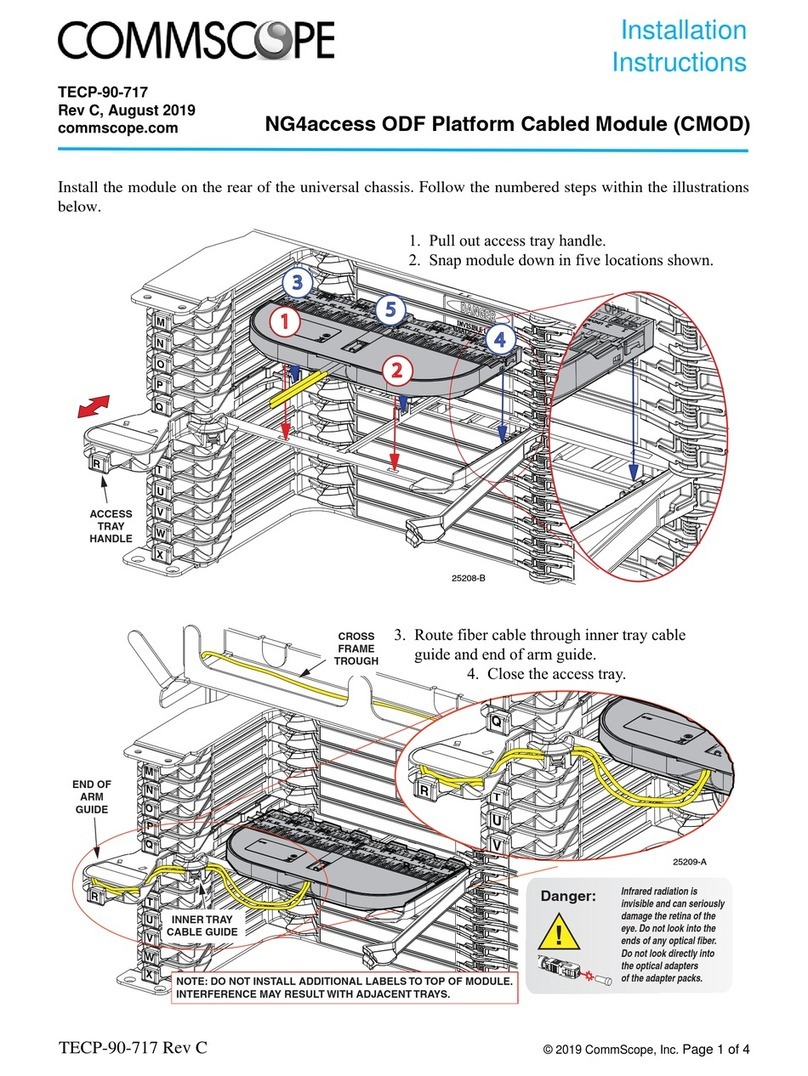
CommScope CMOD User manual

CommScope

CommScope CMOD User manual
CommScope NG4access ODF Platform Value-Added Module User manual

CommScope

CommScope NG4access ODF Platform Value-Added Module User manual

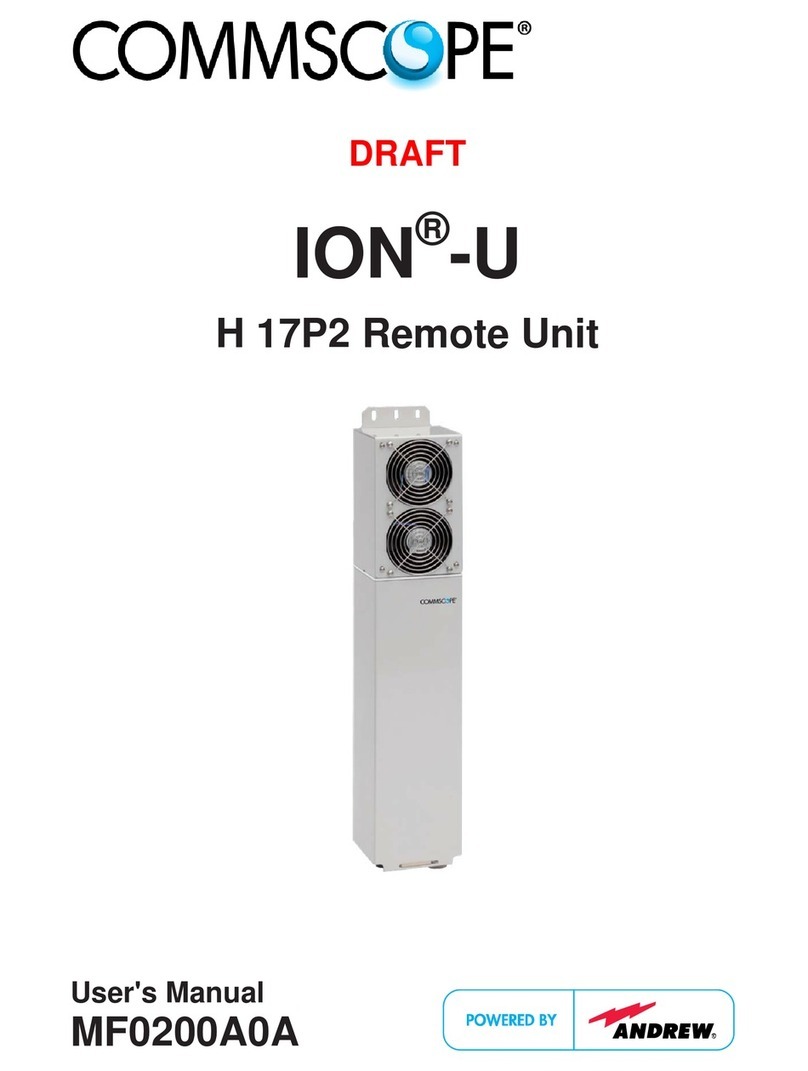
CommScope ION-U H 17P2 User manual

CommScope

CommScope ION-U H 17P2 User manual

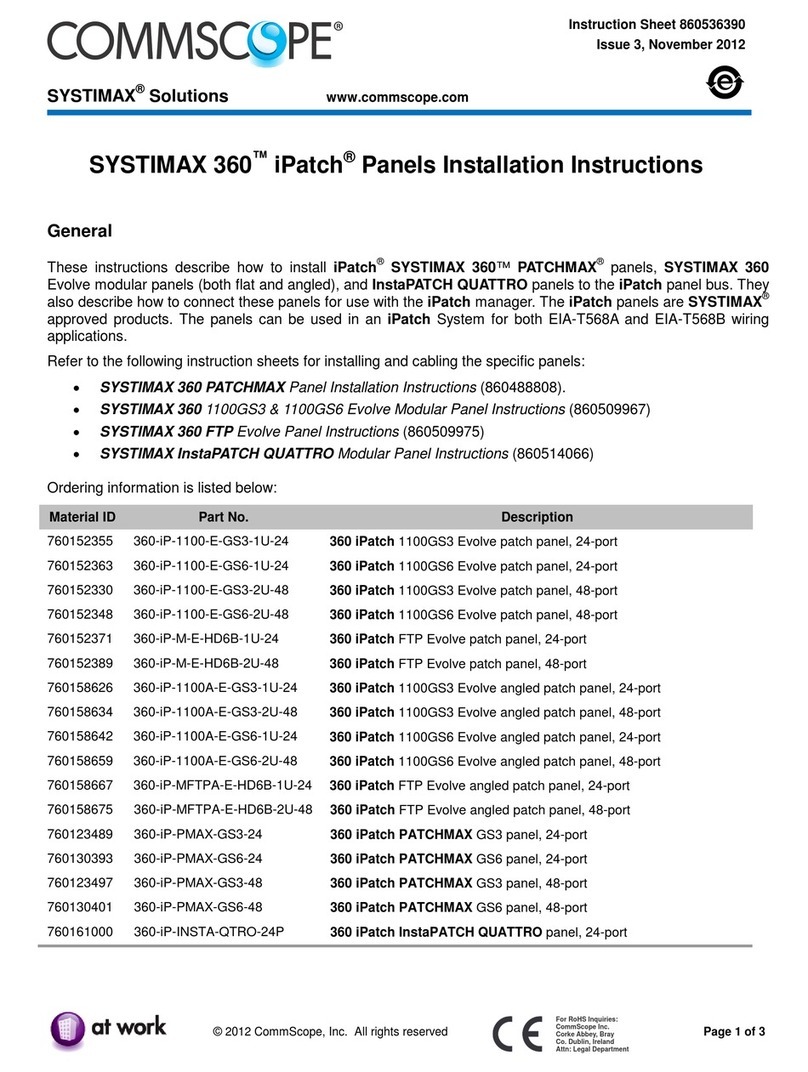
CommScope SYSTIMAX 360 iPatch 360-iP-1100-E-GS3-1U-24 User manual
CommScope

CommScope SYSTIMAX 360 iPatch 360-iP-1100-E-GS3-1U-24 User manual

CommScope ATSBT-4G Series User manual

CommScope

CommScope ATSBT-4G Series User manual

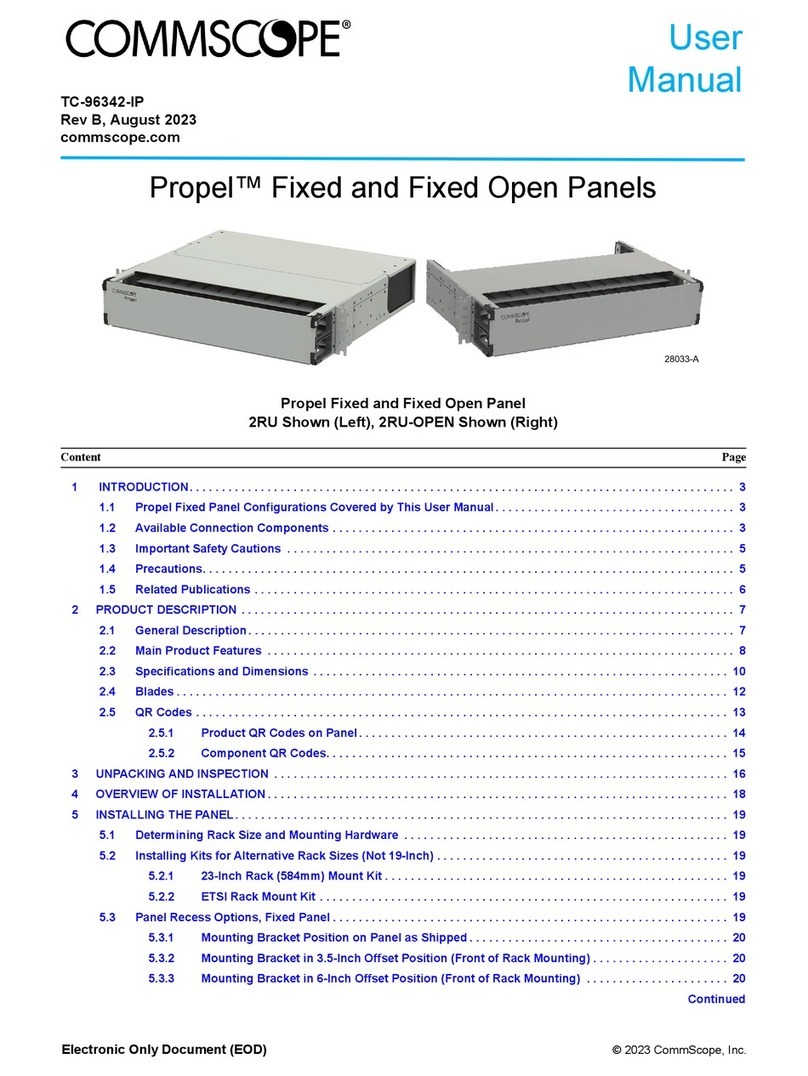
CommScope Propel PPL-1U-HD-FX User manual
CommScope

CommScope Propel PPL-1U-HD-FX User manual

CommScope FTTX Solutions Rapid Flexible Fiber Box User manual

CommScope

CommScope FTTX Solutions Rapid Flexible Fiber Box User manual

Popular Control Unit manuals by other brands

Seitz 14A80 user manual

Seitz

Seitz 14A80 user manual

Wilo RS485 Installation and operating instructions

Wilo

Wilo RS485 Installation and operating instructions

Becker CentralControl CC41 Commissioning Instruction

Becker

Becker CentralControl CC41 Commissioning Instruction

SICK CDB650 operating instructions

SICK

SICK CDB650 operating instructions

Panduit NetKey NKP5E88M Series installation instructions

Panduit

Panduit NetKey NKP5E88M Series installation instructions

MX Options Concentric Petite Fitting instructions

MX

MX Options Concentric Petite Fitting instructions

Clean Water Systems Fleck 2510 Installation & start?up guide

Clean Water Systems

Clean Water Systems Fleck 2510 Installation & start?up guide

Fairchild FSB44104A user guide

Fairchild

Fairchild FSB44104A user guide

LEGRAND Wattstopper LMIN-104 installation instructions

LEGRAND

LEGRAND Wattstopper LMIN-104 installation instructions

PMK ATT10BNCS instruction manual

PMK

PMK ATT10BNCS instruction manual

Tektronix TDS3FFT user manual

Tektronix

Tektronix TDS3FFT user manual

Woodward easYgen Technical manual

Woodward

Woodward easYgen Technical manual

Balluff BNI EIP-502-105-R015 user guide

Balluff

Balluff BNI EIP-502-105-R015 user guide

NXP Semiconductors TWR-LS1021A Getting started

NXP Semiconductors

NXP Semiconductors TWR-LS1021A Getting started

Advantech PCM-3117 Startup manual

Advantech

Advantech PCM-3117 Startup manual

Danfoss MCO 101 manual

Danfoss

Danfoss MCO 101 manual

Moons' Lin Engineering R701P user manual

Moons'

Moons' Lin Engineering R701P user manual

Aventics RV1 operating instructions

Aventics

Aventics RV1 operating instructions

manuals.online logo
manuals.online logoBrands
  • About & Mission
  • Contact us
  • Privacy Policy
  • Terms and Conditions

Copyright 2025 Manuals.Online. All Rights Reserved.

Ruckus I100 IoT Module
Quick Setup Guide
This Quick Setup Guide provides informaon about how to install
the Ruckus I100 IoT Module on a Ruckus Access Point and where
to go for more informaon about how to congure and use the
Ruckus I100 IoT Module (part # 902-I100-WW00).
This Guide in Other Languages
请从以下网站获得该指南的简体中文版 hps://
support.ruckuswireless.com.
Vous trouverez la version française de ce guide à l'adresse
suivante hps://support.ruckuswireless.com.
このガイドの日本語版は hps://support.ruckuswireless.com
でご覧ください。
이 가이드의 한국어 버전은 웹 사이트 (hps://
support.ruckuswireless.com) 에서 확인하시기 바랍니다.
Veja a versão em português (Brasil) deste guia em hps://
support.ruckuswireless.com.
Puede ver la versión en español (América Lana) de esta guía en
hps://support.ruckuswireless.com.
Before You Begin
Before installing the Ruckus I100 IoT Module on the Access Point
(AP), complete the prerequisites in this secon:
•Install and congure the Ruckus IoT Controller soware on a
server. The Ruckus IoT Controller Soware Installaon Guide
and the Ruckus IoT Controller Conguraon Guide are both
available at hp://support.ruckuswireless.com/documents.
•Ensure you are running SmartZone 3.6.1 or a later release.
Soware upgrades are available at hp://
support.ruckuswireless.com/soware.
•Note the following resources:
–Release Notes and other user documentaon are available at
hp://support.ruckuswireless.com/documents.
–Soware license and limited warranty informaon are
available at hp://support.ruckuswireless.com/warranty.
Package Contents
•Ruckus I100 IoT USB Module
•One bracket
•One cap and capve screws
•One clip with adhesive backing and screw
•USB cable
•Regulatory Flyer/DOC document
•This Ruckus IoT Quick Setup Guide
What You Will Need
•#1 Phillips screwdriver
•T10 Torx screwdriver
•3 mm Hex Key
•Torque screwdriver
Install the I100 IoT Module on an Indoor AP with
a Cable Bay
Plug the I100 IoT Module into the USB port of the AP. The module
should t without interference inside the cable bay, as shown in
the following gure.
FIGURE 1 AP with I100 IoT Module plugged into the USB port in the
cable bay
Install the Ruckus I100 IoT Module on the H510
Access Point
1. Plug the I100 IoT Module into the USB port of the H510.
2. Aach the bracket to the AP, as shown in the following gure.
FIGURE 2 AP with I100 IoT Module and bracket
1. H510
2. I100 IoT Module
3. Bracket
4. Screws for securing the
bracket
Copyright © 2020 CommScope, Inc. All rights reserved. Page 1 of 2
Published January 2020, Part Number 800-71699-001 Rev E
Install the I100 IoT Module on an Outdoor AP
1. Remove the exisng cap that covers the USB port on the AP.
2. Plug the I100 IoT Module into the USB port.
3. Place the cap over the I100 IoT module and aach it to the
AP with the capve screws, as shown in the following gure.
Torque the screws to 7-in-lbs.
FIGURE 3 Outdoor AP with I100 IoT Module and cap
1. Ruckus outdoor AP
2. I100 IoT module
3. Cap
4. Capve screws (with
springs) that aach the
cap to the AP
Install the I100 IoT Module Away from the AP
with a USB Cable
The clip is used to secure the I100 IoT Module when it is
connected to the AP with a USB cable. The clip is aached to a
at surface near the AP using the adhesive backing on the clip or
with the enclosed screw.
1. Aach the clip to a at surface near the AP using the
adhesive backing on the clip or the enclosed screw. Be sure
the clip is close enough to the AP that the USB cable reaches
from the I100 IoT Module to the AP's USB port.
2. Plug the USB cable into the AP and the I100 IoT Module.
3. Snap the I100 IoT Module into the clip.
FIGURE 4 I100 IoT Module in the clip and aached to the AP
using the USB cable
Next Steps: Onboard the I100 IoT Module in the
Ruckus IoT Controller
See the Ruckus IoT Controller Conguraon Guide for step-by-step
instrucons on how to onboard the IoT module. User
documentaon for the Ruckus IoT Controller can be found at
hp://support.ruckuswireless.com/.
© 2020 CommScope, Inc. All rights reserved.
ARRIS, the ARRIS logo, CommScope, Ruckus, Ruckus Wireless, the Ruckus logo,
and the Big Dog design are trademarks of CommScope, Inc. and/or its aliates.
Wi-Fi Alliance, Wi-Fi, the Wi-Fi logo, Wi-Fi Cered, the Wi-Fi CERTIFIED logo,
Wi-Fi Protected Access, the Wi-Fi Protected Setup logo, Wi-Fi Protected Setup,
Wi-Fi Mulmedia and WPA2 and WMM are trademarks or registered
trademarks of Wi-Fi Alliance. All other trademarks are the property of their
respecve owners.
Copyright © 2020 CommScope, Inc. All rights reserved. Page 2 of 2
Published January 2020, Part Number 800-71699-001 Rev E