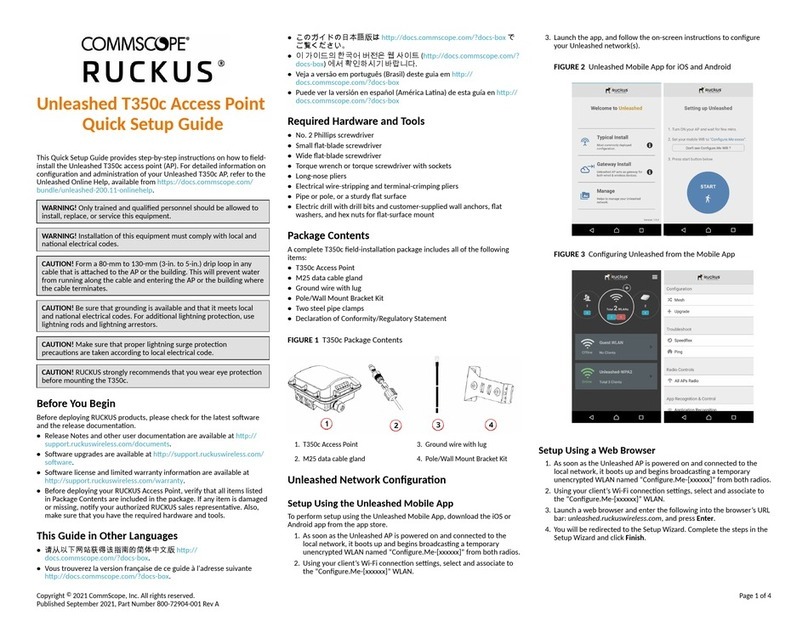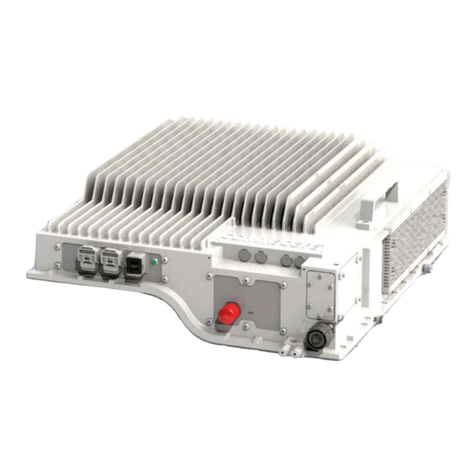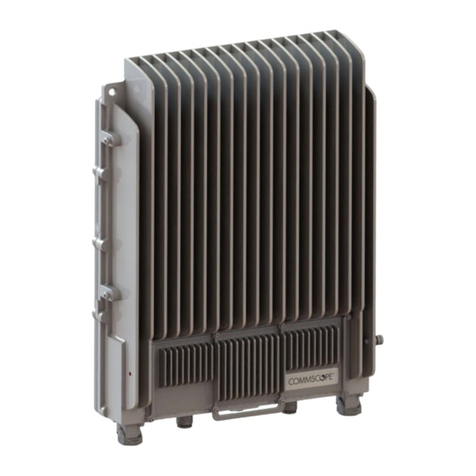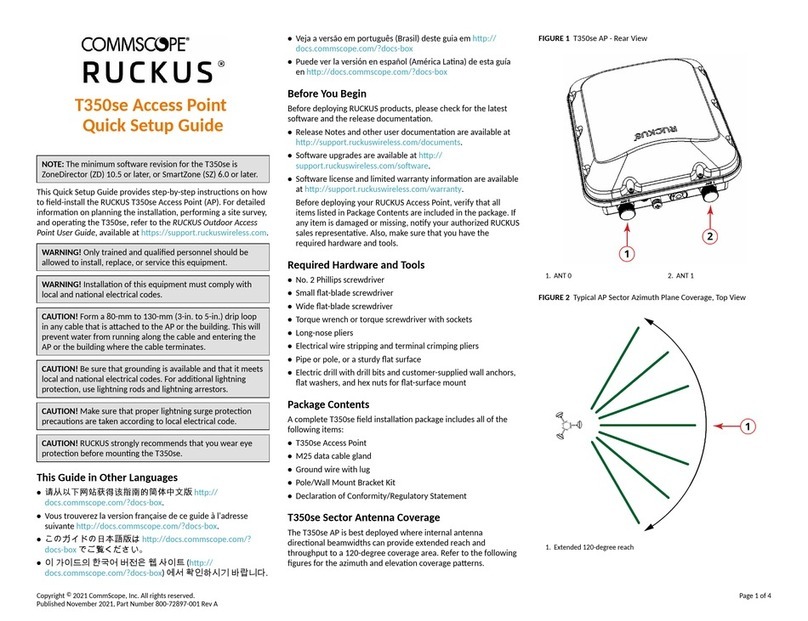
FIGURE 12 Aaching the AP Bracket to the AP
2. Use four 0.5-inch x 0.250-28 hex bolts with split lock and at washer
sets to mount the AP bracket to the AP. Tighten the bolts to 2.5-3.0
N.m or 22-27 in-lbs.
CAUTION! Make sure that the screws are no longer than 0.5 inch.
If a screw is longer than 0.5 inch, it can damage the AP chassis.
NOTE: This kit may include extra screws, nuts, and washers. You
may use the extras where required.
3. Connue with Seng the Elevaon and Tightening the Elevaon Bolt
on page 4.
Seng the Elevaon and Tightening the Elevaon Bolt
1. Set the elevaon required by the AP.
2. Tighten the M8 bolt to 13.6 N-m (120 in-lbs).
3. Connue with Powering the AP with DC Power on page 4.
Powering the AP with DC Power
The AP can draw power from the Ethernet input as a Class 4 device,
providing a maximum of 22W to the system. Alternately, power can be
supplied through a customer-provided 12V DC power supply (12V DC
preferred, 7-20V DC acceptable) that will connect to a two-pin terminal
block. The terminal block is accessible through a water-ght gland on one
end of the unit. The terminal block connecon has surge and polarity
protecon to protect against inserng the wrong polarity leads into the
terminal block.
NOTE: If both the PoE and DC ports are used, separate cable glands
must be used for each port. Addional cable gland (Part Number
902-0183-0000) can be be purchased.
NOTE: When both the 12V DC and the 48V PoE power are acve, the
AP will priorize the 12V DC power.
CAUTION! Ensure that the DC power source does not exceed 20V DC.
1. Install the DC power supply as described in the DC Power Supply
Installaon Guide.
2. Connect the DC cord to a DC power source.
3. Verify that the PWR LED is a steady green.
Earth Grounding the AP
CAUTION! Make sure that earth grounding is available and that it meets
local and naonal electrical codes. For addional lightning protecon,
use lightning rods and lightning arrestors.
NOTE: The color coding of ground wires varies by region. Before
compleng this step, check your local wiring standards for guidance.
Using the factory-supplied ground wire and ground screw and washer set,
connect a good earth ground to the AP chassis ground point.
CAUTION! The T350se AP includes one 9-mm stainless steel M6x1 earth
ground screw with split lock and at washers. Make sure that any
replacement screw is no longer than 9-mm. If a screw is longer than 9-
mm, it can damage the AP chassis.
FIGURE 13 Connecng a Good Earth Ground to the AP
1. Earth grounding
Installing a USB Dongle
To install a USB dongle (for example, an IoT radio device such as BLE,
802.15.4, Z-wave, or similar), remove the two 3-mm hex screws, remove
the cap, and insert the dongle into the USB port.
Once installed, replace the cap and the hex screws, and ghten the screws
to 0.79 N.m or 7 in-lbs.
NOTE: If required, a larger USB dongle cap can be purchased separately.
The maximum dimensions of the USB dongle that can be inserted (with
the large USB dongle cap, part # 902-0127-000) are 6 cm x 2 cm x 1.1
cm. The USB port supports 2.5W.
FIGURE 14 Installing a USB Dongle
Troubleshoong
CAUTION! If required, you can reset the AP to its factory default
sengs by pressing the reset buon located inside the PoE IN port. Use
the p of a pen or a 3-mm at-blade screwdriver to press the reset
buon. Press and hold the reset buon for 4 seconds or longer to
restore to factory defaults. DO NOT RESET THE AP TO FACTORY DEFAULT
SETTINGS UNLESS SO INSTRUCTED. (Doing this resets the AP IP address
to 192.168.0.1.)
NOTE: Aer a reset, you can access the internal AP web interface using
hps://192.168.0.1. Your device must use any other address from
192.168.0.2 through 192.168.0.254, with subnet mask 255.255.255.0.
The username is super, and the password is sp-admin.
For More Informaon
For informaon on how to congure and manage your Unleashed
deployment, refer to the RUCKUS Unleashed User Guide, available at
hps://docs.commscope.com/bundle/unleashed-200.12-onlinehelp.
© 2022 CommScope, Inc. All rights reserved.
ARRIS, the ARRIS logo, COMMSCOPE, RUCKUS, RUCKUS WIRELESS, the Ruckus
logo, and the Big Dog design are trademarks of CommScope, Inc. and/or its
aliates. Wi-Fi Alliance, Wi-Fi, the Wi-Fi logo, Wi-Fi Cered, the Wi-Fi
CERTIFIED logo, Wi-Fi Protected Access, the Wi-Fi Protected Setup logo, Wi-Fi
Protected Setup, Wi-Fi Mulmedia and WPA2 and WMM are trademarks or
registered trademarks of Wi-Fi Alliance. All other trademarks are the property of
their respecve owners.
Copyright © 2022 CommScope, Inc. All rights reserved. Page 4 of 4
Published January 2022, Part Number 800-73114-001 Rev A
