manuals.online logo
Brands
  1. Home
  2. •
  3. Brands
  4. •
  5. Confer Plastics
  6. •
  7. Ladder
  8. •
  9. Confer Plastics 6000 Setup guide

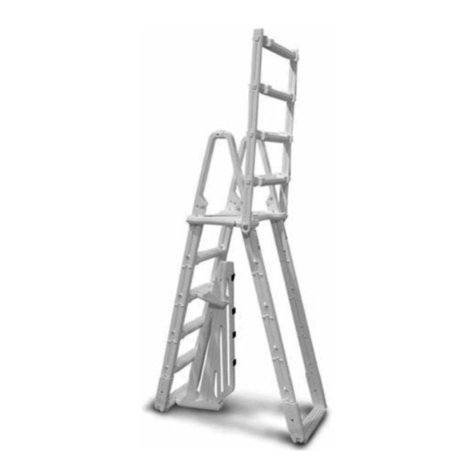
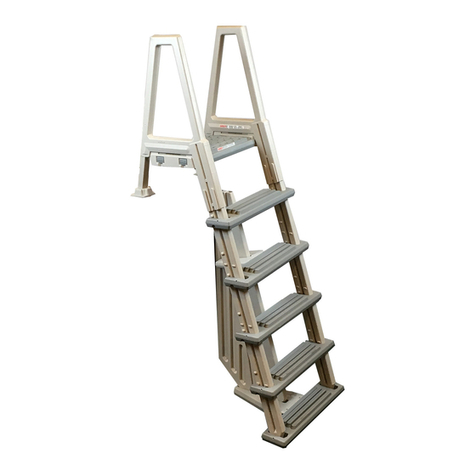
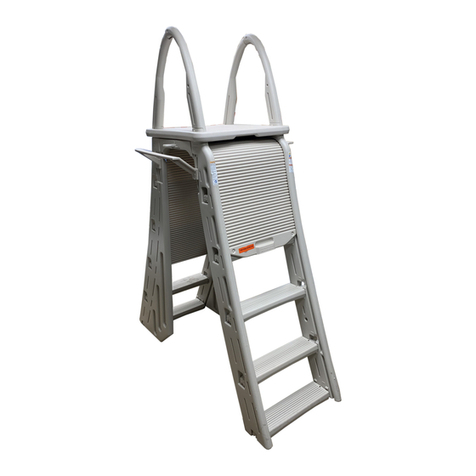
Confer Plastics 6000 Setup guide

Note: To winterize your ladder, remove it from the pool and drain water from stringers and treads.
Extension Kit for #6000 Ladder - Part #6000-EXT - Raises ladder to reach deck heights from 57” to
approximately 68”. Kit includes two extension boots, one additional ladder tread, hardware and instructions.
Order online at www.conferladders.com
LIMITED, PRO-RATED WARRANTY
Confer Plastics, Inc. warrants their swimming pool ladders to be free from defects in
workmanship for one year from date of purchase. After the first year the cost to
replace a part is as follows:
MODELS #626B / #726 ALL OTHER MODELS:
2nd Year - 40% 2nd Year - 20%
3rd Year - 80% 3rd Year - 40%
4th Year - 60%
5th Year - 80%
Plus shipping/handling charges
DO NOT RETURN DEFECTIVE PART TO DEALER
The defective part should be returned, postpaid, to:
Confer Plastics, Inc.
97 Witmer Road
North Tonawanda
N.Y. 14120 U.S.A.
Enclose proof-of-purchase (receipts, etc.) showing date purchased, your name,
address, and daytime phone number.You will be notified of cost to replace part.
This warranty gives you specific legal rights, and you may also have other rights
which may vary from state to state.
97 Witmer Road
North Tonawanda, New York 14120
Toll Free U.S. 800-635-3213
716-694-3100 / FAX 716-694-3102
www.conferladders.com
Printed in U.S.A.
MADE IN THE U.S.A. by:
SAFETY RULES
•Locate ladder on a solid base
•One person on the ladder at a time
•Ladder MUST be installed
per manufacturer’s instructions
•DANGER: No Diving
or jumping from ladder
•Face ladder when entering and
leaving pool
•To prevent entrapment or drown-
ing, do not swim through, behind or
around ladder
•Ladder to be used as a swimming
pool ladder only
ASSEMBLY AND INSTALLATION MANUAL
CONFER PLASTICS, INC.
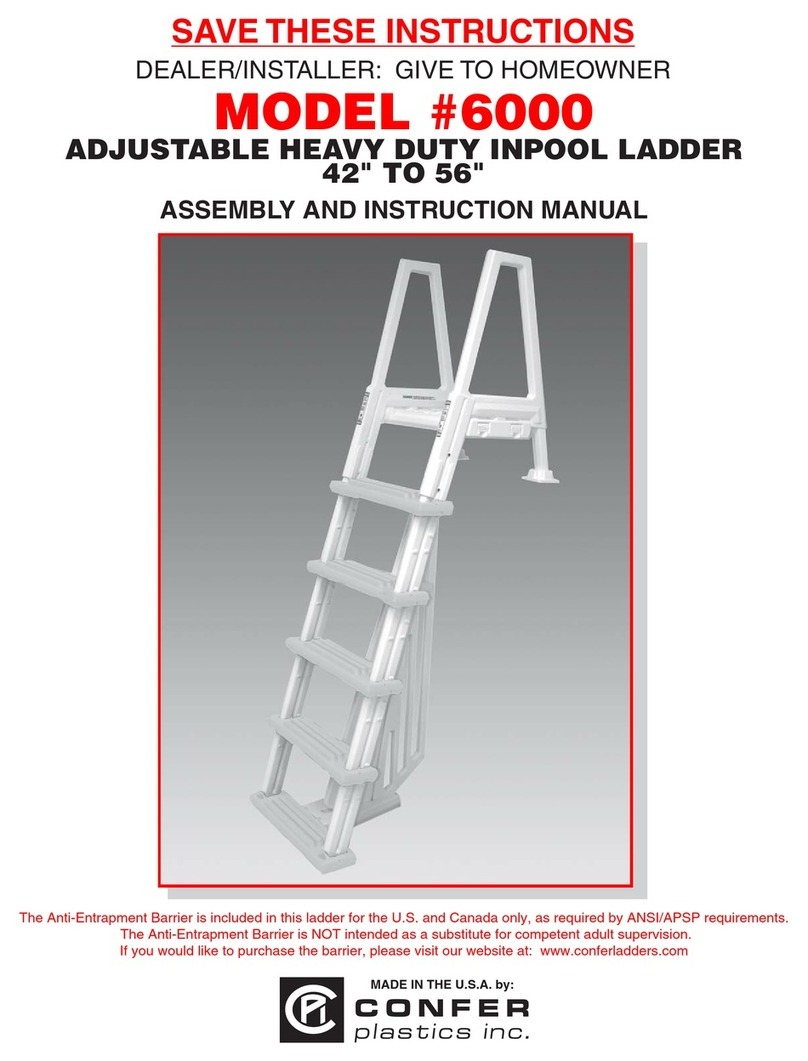
MODEL 6000
ADJUSTABLE HEAVY DUTY INPOOL LADDER
42" TO 56"
Step 11. Step 12.
Drill a 1/8" pilot hole through
the handrail ends at the
pre-marked locations into
the stringers and repeat
this step for the adjustable
tubes and mounting blocks.
Place the ladder in the
desired position on the
deck and slide the
ladder assembly down
until the bottom tread
meets the pool liner.
Slide the adjustable
tubes with the mount-
ing blocks as needed
to position the ladder
correctly on the deck.
Make sure the
bottom tread is
flush with the
pool liner.
Ladder
Assembly.
Slide
adjustable
tubes to
position
against deck.
Dotted lines
represent pool edge.
Using a
cordless drill
attach the
mounting
blocks
with eight
#10 1-1/4"
screws.
Secure the handrail using four
#10 1-1/4" screws at the
pre-marked locations
(two per handrail).
Secure the handrail to the
tubes using four #10 1-1/4"
screws at the pre-marked
locations (two per handrail).
*DANGER: Use a cordless drill for
assembly and installation. Use
extreme caution if using an electric
drill near water.
4
of current parts
list price
SAVE THESE INSTRUCTIONS
DEALER/INSTALLER: GIVE TO HOMEOWNER
As required by ANSI/NSPI - This ladder is equipped with an anti-entrapment barrier to prevent children from swimming behind
or through the rungs of the ladder. It is NOT intended as a substitute for proper adult supervision.
10a. Please refer to the separate instruction sheet for anti-entrapment barrier installation.
CP-6000 09/04
OPTIONAL ACCESSORY
SKIM-IT SKIMS OFF DEBRIS Cut cleaning time
75% with skimmer extension that guides debris directly
into your skimmer. Fits most in-ground and above-
ground pool skimmers. Corrosion-resistant plastic Skim-It
installs in seconds without tools.
Confer 6000_9_04 9/23/04 2:13 PM Page 1
PARTS LIST
2-Handrail
2-Stringer (Leg)
4-Upper tread
1-Bottom tread
1-Platform
2-Mounting block
2-Adjustable tube
CONFER PLASTICS, INC.
Model 6000 Adjustable Heavy-Duty Inpool Ladder
HARDWARE PACK
26-#10 x 1-1/4" S/S Screw
TOOLS REQUIRED FOR ASSEMBLY:
• Cordless Drill Motor
• 1/8" Drill Bit
•Phillips Screwdriver or screwdriver bits
• Pliers
Step 1.
Snap stringers
into bottom tread.
If necessary lift
the two stringers
off the ground,
with the bottom
tread attached,
and drop them
firmly so that the
stringers “snap”
into the tread
pockets. The
bottom tread
should pivot
freely.
Make sure the
single row of
tread lugs are
facing forward.
Tread Lugs
Step 2.
Two sets of Lug
locations are provided.
Attach 4 upper treads
to the stringers in the
position determined by
the pool height.
x4
Tread Lugs
Step 3. Step 4. Using a pair of pliers twist off
the wedges from the end of
the platform and SAVE for
use in step 5.
Wedges
Protrusion
Detach
Wedges
Use upper
lugs for
50" to 54" pools.
Use lower
lugs for
42" to 48" pools.

Secure the
upper treads
by driving
#10 x 1-1/4"
screws through
the recessed,
pre-drilled holes
in the ends of
each tread as
shown. Repeat
for all 4 upper
treads.
Step 5.
Assemble the platform to
the handrails by laying
one of the handrails on a
clean hard surface. Push
the protrusion of the plat-
form into the openings of
the handrail making sure
that the legs of both
handrails are facing in the
same direction. Tap the
4 wedges (from step 4)
into the sides of the
handrails to secure the
platform to the rails.
Step 6.
Coat the adjustable
tubes with a lubricant,
such as liquid dish
detergent, and slip the
mounting blocks all
the way down over the
protruding nubs.
x2
Mounting Block
Adjustable tube Slide mounting
blocks over nubs
Step 7. Step 8.
Stringers
Step 9. Step 10.
Submerge in
water and tilt to a
15° angle to allow
water to fill the
treads.
Attach the handrails to
the ladder assembly,
making certain that the
treads face correctly.
Match
Platform
protrusions
to Handrail
openings
After platform is in
position, tap in the
supplied wedges at
the bottom of each
opening to ensure a
secure fit
Push the
adjustable tubes
with mounting
blocks into
handrails.
Fill both stringers with water to
allow the ladder to be submerged
in the pool.
Push
down
2 3
Confer 6000_9_04 9/23/04 2:13 PM Page 3

Other Confer Plastics Ladder manuals

Confer Plastics ROLLGUARD 7200 Setup guide

Confer Plastics

Confer Plastics ROLLGUARD 7200 Setup guide

Confer Plastics 7000 User manual

Confer Plastics

Confer Plastics 7000 User manual

Confer Plastics CCX-IG Setup guide

Confer Plastics

Confer Plastics CCX-IG Setup guide

Confer Plastics 7000X User manual

Confer Plastics

Confer Plastics 7000X User manual

Confer Plastics 7100X User manual

Confer Plastics

Confer Plastics 7100X User manual

Confer Plastics 635-52X Setup guide

Confer Plastics

Confer Plastics 635-52X Setup guide

Confer Plastics 6000 User manual

Confer Plastics

Confer Plastics 6000 User manual

Confer Plastics PES-1X User manual

Confer Plastics

Confer Plastics PES-1X User manual

Confer Plastics STEP-ENC User manual

Confer Plastics

Confer Plastics STEP-ENC User manual

Confer Plastics 8000X User manual

Confer Plastics

Confer Plastics 8000X User manual

Confer Plastics 8100X User manual

Confer Plastics

Confer Plastics 8100X User manual

Confer Plastics 6000B User guide

Confer Plastics

Confer Plastics 6000B User guide

Confer Plastics ROLLGUARD 7200 Setup guide

Confer Plastics

Confer Plastics ROLLGUARD 7200 Setup guide

Confer Plastics PES-G Setup guide

Confer Plastics

Confer Plastics PES-G Setup guide

Confer Plastics CK7100-X User manual

Confer Plastics

Confer Plastics CK7100-X User manual

Confer Plastics 635-52 User guide

Confer Plastics

Confer Plastics 635-52 User guide

Confer Plastics 7100X Setup guide

Confer Plastics

Confer Plastics 7100X Setup guide

Confer Plastics 8100X User manual

Confer Plastics

Confer Plastics 8100X User manual

Confer Plastics 6000X Setup guide

Confer Plastics

Confer Plastics 6000X Setup guide

Confer Plastics 8000 Setup guide

Confer Plastics

Confer Plastics 8000 Setup guide

Confer Plastics EVOLUTION 7100 Setup guide

Confer Plastics

Confer Plastics EVOLUTION 7100 Setup guide

Popular Ladder manuals by other brands

Bestway 58330 owner's manual

Bestway

Bestway 58330 owner's manual

Loyal Red Giant quick start guide

Loyal

Loyal Red Giant quick start guide

Ribimex PRET094 User and maintenance manual

Ribimex

Ribimex PRET094 User and maintenance manual

TIE DOWN Roof Zone 48589 Assembly instructions

TIE DOWN

TIE DOWN Roof Zone 48589 Assembly instructions

Centaure 451718 manual

Centaure

Centaure 451718 manual

Next 347453 Assembly instructions

Next

Next 347453 Assembly instructions

Fontanot pixima MINI Assembly instructions

Fontanot

Fontanot pixima MINI Assembly instructions

GIERRE FA100EY Assembly instructions

GIERRE

GIERRE FA100EY Assembly instructions

macc EN 131 Instructions for use

macc

macc EN 131 Instructions for use

PMI KT36164 instruction manual

PMI

PMI KT36164 instruction manual

Lippert Components SolidStep 3.0 Installation and owner's manual

Lippert Components

Lippert Components SolidStep 3.0 Installation and owner's manual

Hailo 1707709 manual

Hailo

Hailo 1707709 manual

CSH QG.830 Series Instruction manual for installation

CSH

CSH QG.830 Series Instruction manual for installation

Wenger Signature Choral Riser 4-Step Assembly & owners manual

Wenger

Wenger Signature Choral Riser 4-Step Assembly & owners manual

Primal Vantage MNSL-120 Instruction and safety manual

Primal Vantage

Primal Vantage MNSL-120 Instruction and safety manual

Westward 44YY09 Operating instructions & parts manual

Westward

Westward 44YY09 Operating instructions & parts manual

GÜNZBURGER STEIGTECHNIK 40630 operating instructions

GÜNZBURGER STEIGTECHNIK

GÜNZBURGER STEIGTECHNIK 40630 operating instructions

WERNERCO AH2512 installation instructions

WERNERCO

WERNERCO AH2512 installation instructions

manuals.online logo
manuals.online logoBrands
  • About & Mission
  • Contact us
  • Privacy Policy
  • Terms and Conditions

Copyright 2025 Manuals.Online. All Rights Reserved.