manuals.online logo
Brands
  1. Home
  2. •
  3. Brands
  4. •
  5. Confer Plastics
  6. •
  7. Ladder
  8. •
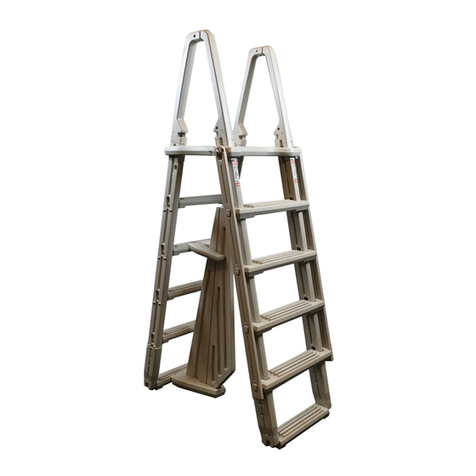
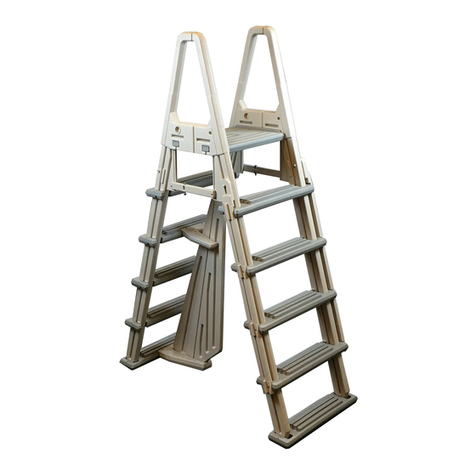
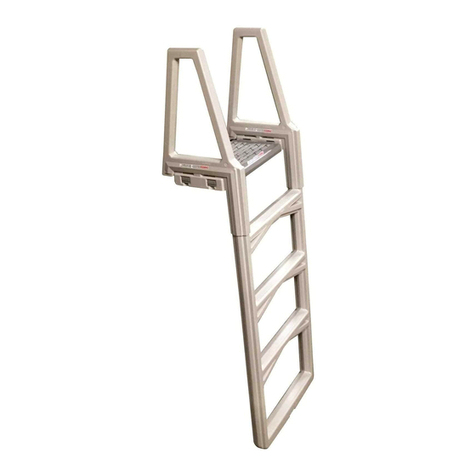
  9. Confer Plastics 7000 User manual

Confer Plastics 7000 User manual

LIMITED, PRO-RATED WARRANTY
Confer Plastics, Inc. warrants their swimming pool ladders to be free from defects in workmanship for one year from date of
purchase. After the first year the cost to replace a part is as follows:
MODELS #626B ALL OTHER MODELS:
2nd Year - 40% 2nd Year - 20%
3rd Year - 80% 3rd Year - 40%
4th Year - 60%
5th Year - 80%
Plus shipping/handling charges
DO NOT RETURN DEFECTIVE PART TO DEALER
The defective part should be returned, postpaid, to: Confer Plastics, Inc.
97 Witmer Road
North Tonawanda
N.Y. 14120-2421
Enclose proof-of-purchase (receipts, etc.) showing date purchased, your name, address, and daytime phone number.
You will be notified of cost to replace part.
This warranty gives you specific legal rights, and you may also have other rights which may vary from state to state.
Printed in U.S.A.
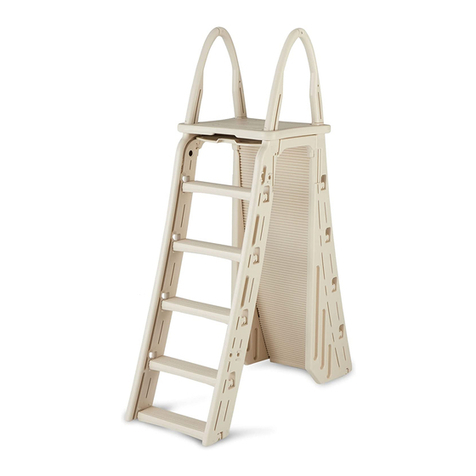
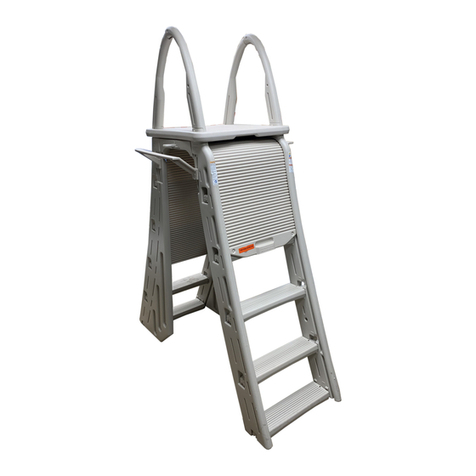
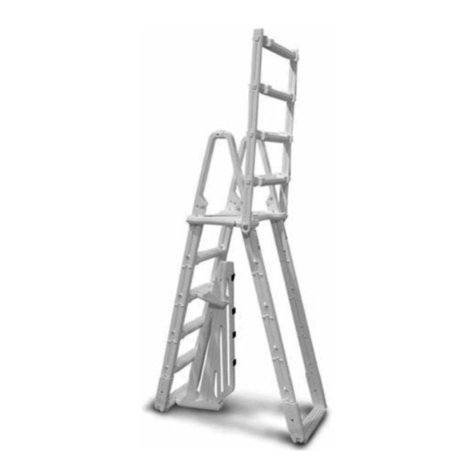
MODEL #7000
“ELIMINATOR” A-FRAME LADDER
Assembly Instructions
Purchase our #CK100
Conversion Kit and cut
the handrails under the
deck platform as
indicated in the photo
below. Be sure to cut
the legs on the
“swing up” side of the
ladder. Follow the
instructions provided
with the conversion
kit to fasten the
ladder to the deck.
Flush to deck
OPTIONAL ACCESSORY
SKIM-IT SKIMS OFF DEBRIS
Cut cleaning time 75% with
skimmer extension that guides debris directly into your
skimmer. Fits most in-ground and above-ground pool
skimmers. Corrosion-resistant plastic Skim-It installs in
seconds without tools.
*DANGER: Never use an electric
drill in or around the pool
MADE IN THE U.S.A. by: Made in U.S.A. by
To convert this ladder
to a Deck ladder
Swing up instructions
When not in use always secure ladder by swinging
up outer treads and locking with cable lock provided.
To swing up the outer treads stand on the
bottom tread, grasp the underside of the
second lowest tread and swing it out
toward you. Swing them up until the tread
connectors drop into the preformed locks
on each leg and stay in the upright position.
To lower the treads lift them straight up to
clear the locks and carefully swing them
down toward you.
SAFETY RULES
•Locate ladder on a solid base
•One person on the ladder at a time
•Ladder MUST be installed
per manufacturer’s instructions
•DANGER: No Jumping or Diving from ladder
•Face ladder when entering and
leaving pool
•To prevent entrapment or drowning -
Do not swim through, behind or around ladder
•Ladder to be used as a swimming pool ladder only
•Ladder must be fastened to top seat
•
Maximum weight on steps not to exceed 300 lbs.
• When ladder is not in use lock up outer treads with cable lock
provided
WARNING: Exceeding the recommended weight requirement may cause the
ladder to fail.
To order call 1-800-635-3213
97 Witmer Road
North Tonawanda, New York 14120-2421
Toll Free U.S. 800-635-3213
716-694-3100 / FAX 716-694-3102
www.conferladders.com
4
SAVE THESE INSTRUCTIONS
DEALER/INSTALLER: GIVE TO HOMEOWNER
Locate
cable
lock
here
As required by ANSI/NSPI - This ladder is equipped with an anti-entrapment barrier to prevent children from swimming behind
or through the rungs of the ladder. It is NOT intended as a substitute for proper adult supervision.
See cutting
instructions
on insert
CP-7000 09/04
Confer 7000_9_04 9/23/04 2:58 PM Page 1
PARTS LIST
4-Handrail / Leg
1-Deck Platform
2-Bottom Tread
8-Upper Tread (Slip-on Style)
2-Adjustable Brace
1-Tread Connector (Left Hand)
1-Tread Connector (Right Hand)
MODEL # 7000
“ELIMINATOR” A-FRAME LADDER
ADJUSTABLE to fit 48”TO 54” ABOVE GROUND POOLS
HARDWARE PACK
26 - #10 x 1-1/4" Screw
2-1/4-20 x 3-1/4" Bolt
6-1/4" Washer
2-1/4" Nylon Nut
2-1/4-20 x 2-1/4" Bolt
2-1/4" Hex Nut
4-Push in Plug
1 - Cable Lock Set
IMPORTANT: Remove the wedges from the
deck platform protrusions and SAVE
for step 5.
Slide the handrail/ legs
together as shown.
Apply liquid soap or
spray lubricant to aid
assembly.
Tools required for assembly:
Hammer or mallet, Cordless drill motor, 1/8" & 9/32" drill bits, Phillips screwdriver bit. Pliers, 7/16" wrench or adjustable
wrench.
Twist and save. Pliers may be
useful to aid in removal.
Step 3.
Place one handrail/leg assembly on a clean flat surface
and push the deck platform protrusions in the openings.
Step 4.
Repeat the process with the second handrail/leg assembly,
pushing firmly down onto the deck protrusions to ensure a
secure fit.
Step 8.
Step 5.
Insert the four wedges that were saved from step 1
into the top of the openings as shown.
Insert wedges
Step 7.
Slide the three remaining upper treads into
position in the ladder legs. Position the right
and left hand tread connectors onto the ends
of the treads and fasten them to the ladder
legs, through the pre-formed holes, using two
1/4-20 x 3-1/4" bolts four washers and two
nylon nuts (as shown in exploded diagram).
Tighten securely but do not overtighten. Attach
the tread connectors to the ends of each tread
using #10 x 1-1/4" screws (four per tread).
Step 9. Step 10.
Attach
Bottom
treads
Stand here
Stand here
Push down firmly.
Push down firmly.
32
Step 6.
Slide five upper
treads into position
so they are resting
on the double nubs
of the legs (as
shown in diagram).
Secure the treads
to the legs using
#10 x 1-1/4" screws
(two per tread)
through the
pre-drilled hole.
Do not
attach the
three
remaining
upper
treads to
the legs.
Tread connectors
1/4” Nylon Nut
1/4”-20 x 3-1/4”
Bolt
1/4" Washer
TILT
Locate the ladder at the desired
position on the pool and place one
of the adjustable braces on the side
of the ladder so that it rests on the
top of the pool. Secure the
adjustable brace to the ladder with
two #10x 1-1/4" screws. Repeat for
other brace. Note: the adjustable
braces are not needed if the deck
platform of the ladder rests on the
top of the pool.
Using the braces as locators (or the
deck platform), drill two 9/32" holes
through the pool top seat. Be care-
ful not to damage liner or pool wall.
Fasten the ladder to the pool top
using the two 1/4-20 x 2/1/4" bolts,
washers and hex nuts.
26 2 6 2 2 2 4
Step 1. Step 2.
Stand on one of the upper
treads to snap the legs into
the bottom tread.
Nubs
Place the ladder
in the pool and fill
legs with water
through the openings
with a hose. Then
plug the holes using
the four push in
plugs. Tilt it so the air
is released from all
the submerged
treads.
(Not To Scale)
Step 8a. Please refer to the separate instruction sheet for anti-entrapment barrier installation.
Confer 7000_9_04 9/23/04 2:58 PM Page 3
Other Confer Plastics Ladder manuals

Confer Plastics 7000X User manual

Confer Plastics

Confer Plastics 7000X User manual

Confer Plastics 8000X User manual

Confer Plastics

Confer Plastics 8000X User manual

Confer Plastics 8100X User manual

Confer Plastics

Confer Plastics 8100X User manual

Confer Plastics PES-G Setup guide

Confer Plastics

Confer Plastics PES-G Setup guide

Confer Plastics 635-52 User guide

Confer Plastics

Confer Plastics 635-52 User guide

Confer Plastics 8000 Setup guide

Confer Plastics

Confer Plastics 8000 Setup guide

Confer Plastics PES-1X User manual

Confer Plastics

Confer Plastics PES-1X User manual

Confer Plastics 7100X Setup guide

Confer Plastics

Confer Plastics 7100X Setup guide

Confer Plastics CCX-IG Setup guide

Confer Plastics

Confer Plastics CCX-IG Setup guide

Confer Plastics ROLLGUARD 7200 Setup guide

Confer Plastics

Confer Plastics ROLLGUARD 7200 Setup guide

Confer Plastics STEP-ENC User manual

Confer Plastics

Confer Plastics STEP-ENC User manual

Confer Plastics 635-52X Setup guide

Confer Plastics

Confer Plastics 635-52X Setup guide

Confer Plastics EVOLUTION 7100 Setup guide

Confer Plastics

Confer Plastics EVOLUTION 7100 Setup guide

Confer Plastics 7100X User manual

Confer Plastics

Confer Plastics 7100X User manual

Confer Plastics 6000B User guide

Confer Plastics

Confer Plastics 6000B User guide

Confer Plastics 6000 User manual

Confer Plastics

Confer Plastics 6000 User manual

Confer Plastics 6000 Setup guide

Confer Plastics

Confer Plastics 6000 Setup guide

Confer Plastics 8100X User manual

Confer Plastics

Confer Plastics 8100X User manual

Confer Plastics 6000X Setup guide

Confer Plastics

Confer Plastics 6000X Setup guide

Confer Plastics ROLLGUARD 7200 Setup guide

Confer Plastics

Confer Plastics ROLLGUARD 7200 Setup guide

Confer Plastics CK7100-X User manual

Confer Plastics

Confer Plastics CK7100-X User manual

Popular Ladder manuals by other brands

Primal Vantage MNSL-120 Instruction and safety manual

Primal Vantage

Primal Vantage MNSL-120 Instruction and safety manual

Piristeel Pisko SafeLine Instructions for installation, use and maintenance manual

Piristeel

Piristeel Pisko SafeLine Instructions for installation, use and maintenance manual

Batavia GIRAFFE AIR BT-TL010 operating instructions

Batavia

Batavia GIRAFFE AIR BT-TL010 operating instructions

Reechcraft Bronco user manual

Reechcraft

Reechcraft Bronco user manual

Safelincs EvacSill user manual

Safelincs

Safelincs EvacSill user manual

Vestil LAD Series instruction manual

Vestil

Vestil LAD Series instruction manual

EXTOL PREMIUM 8849005 Translation of the original user manual

EXTOL PREMIUM

EXTOL PREMIUM 8849005 Translation of the original user manual

Rockler GRP32636 2 Assembly instructions

Rockler

Rockler GRP32636 2 Assembly instructions

Alu-Cab TELESCOPIC LADDER instructions

Alu-Cab

Alu-Cab TELESCOPIC LADDER instructions

Realtree RTLS-314 Instruction & safety manual

Realtree

Realtree RTLS-314 Instruction & safety manual

Costway Giantex GT3427 user manual

Costway

Costway Giantex GT3427 user manual

Werner ALDEK Assembly instructions

Werner

Werner ALDEK Assembly instructions

Hailo TopLine TL100 Instructions for use

Hailo

Hailo TopLine TL100 Instructions for use

Dolle LOFT LADDER Installation instruction

Dolle

Dolle LOFT LADDER Installation instruction

KRAUSE 820143 user manual

KRAUSE

KRAUSE 820143 user manual

Stromberg Carlson Products LA-401 installation instructions

Stromberg Carlson Products

Stromberg Carlson Products LA-401 installation instructions

GIERRE AL065 Operating and maintenance instructions

GIERRE

GIERRE AL065 Operating and maintenance instructions

mobirolo EHLEVA NOVA Assembly instructions

mobirolo

mobirolo EHLEVA NOVA Assembly instructions

manuals.online logo
manuals.online logoBrands
  • About & Mission
  • Contact us
  • Privacy Policy
  • Terms and Conditions

Copyright 2025 Manuals.Online. All Rights Reserved.