manuals.online logo
Brands
  1. Home
  2. •
  3. Brands
  4. •
  5. Connects2
  6. •
  7. Automobile Accessories
  8. •
  9. Connects2 CT23CA06 User manual

Connects2 CT23CA06 User manual

Cadillac
2007-14 ESCALADE
2007-14 ESCALADE EXT
2007-14 ESCALADE ESV
VEHICLE APPLICATIONS
NOTE: THIS INSTALLATION KIT REQUIRES
ROFESSIONAL INSTALLATION. MAJOR SUB-DASH
MODIFICATION IS REQUIRED TO FIT RADIO.
CT23CA06
1. Carefully remove the center console where the cup holders are located
(panel removal
tool recommended). There are 4 clips holding it in place, two on each side.
2. Remove the trim panel located next to the top right side of the factory radio bezel,
above the glove box which has a vent mounted in it.
3. Carefully start unsnapping the dash bezel that surrounds the factory radio
and climate controls.
4. Remove the (6) 9/32 screws holding the factory radio in the sub dash.
5. Unplug all harnesses from factory radio and remove from dash
ISOBRK
ISOBRK
DASH DISASSEMBLY INSTRUCTIONS DOUBLE DIN INSTALLATION INSTRUCTIONS
2 3
Fig B
ISOBRK
ISOBRK
Fig A
Remove shaded tabs
on left and right sides
of the brackets
(Right side not shown)
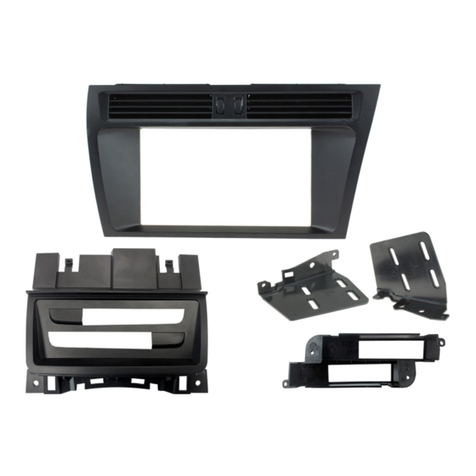
KIT ASSEMBLY INSTRUCTIONS
1. Insert pocket into lower section of the CT23CA06 brackets
2. Install brackets to rear of main frame using the (6) screws provided.
3. Insert ISO mountable radio between ISO mount brackets and loosely attach to sides
of radio using screws provided with radio when possible, or screws supplied with kit.
4. Using the main frame of the CT23CA06 as a guide, slide radio forward or backward
for desired look and then tighten screws to the radio.
NOTE: Attach a rear support bracket to the rear of the new radio and adjust as
necessary to support the weight of the radio. Suggested.
THIS INSTALLATION KIT REQUIRES ROFESSIONAL INSTALLATION.
MAJOR SUB-DASH MODIFICATION IS REQUIRED TO FIT RADIO.
Single ISO Mount Applications
Double DIN Mount Applications
See Fig B for bracket tab removal.
1. Install brackets to rear of main frame using the (6) screws provided.
2. Insert ISO mountable radio between ISO mount brackets and loosely attach to
sides of radio using screws provided with radio when possible, or screws supplied
with kit.
3. Using the main frame of the CT23CA06 as a guide, slide radio forward or
backward for desired look and then tighten screws to the radio.
NOTE: Attach a rear support bracket to the rear of the new radio and adjust as
necessary to support the weight of the radio. Suggested.

Other Connects2 Automobile Accessories manuals
Connects2 CTSHU002.2 Assembly instructions

Connects2

Connects2 CTSHU002.2 Assembly instructions

Connects2 CTSJD001.2 User manual

Connects2

Connects2 CTSJD001.2 User manual

Connects2 adaptiv mini ADVM-BM1 User manual

Connects2

Connects2 adaptiv mini ADVM-BM1 User manual

Connects2 CAM-32 User manual

Connects2

Connects2 CAM-32 User manual
Connects2 CTUFT02 User manual

Connects2

Connects2 CTUFT02 User manual

Connects2 CTSPO008.2 User manual

Connects2

Connects2 CTSPO008.2 User manual

Connects2 CAM-55 User manual

Connects2

Connects2 CAM-55 User manual

Connects2 CAM-AR1-AD User manual

Connects2

Connects2 CAM-AR1-AD User manual

Connects2 CT23AU13/L User manual

Connects2

Connects2 CT23AU13/L User manual

Connects2 CTUJP01 User manual

Connects2

Connects2 CTUJP01 User manual

Connects2 CAN-Connect CANHBBM2 User manual

Connects2

Connects2 CAN-Connect CANHBBM2 User manual

Connects2 CAM-AU5-AD User manual

Connects2

Connects2 CAM-AU5-AD User manual

Connects2 CT23AU12/L User manual

Connects2

Connects2 CT23AU12/L User manual

Connects2 CT23CT11 User manual

Connects2

Connects2 CT23CT11 User manual

Connects2 CTKIV02 User manual

Connects2

Connects2 CTKIV02 User manual

Connects2 CAM-BM1-AD User manual

Connects2

Connects2 CAM-BM1-AD User manual

Connects2 CTUST02 User manual

Connects2

Connects2 CTUST02 User manual

Connects2 CT51-MC03 User manual

Connects2

Connects2 CT51-MC03 User manual

Connects2 Connects2Vision CAM-8 User manual

Connects2

Connects2 Connects2Vision CAM-8 User manual

Connects2 Vision CAM-16 User manual

Connects2

Connects2 Vision CAM-16 User manual

Connects2 CTKHA02 User manual

Connects2

Connects2 CTKHA02 User manual

Connects2 CAN-Connect CANHBBM1 User manual

Connects2

Connects2 CAN-Connect CANHBBM1 User manual

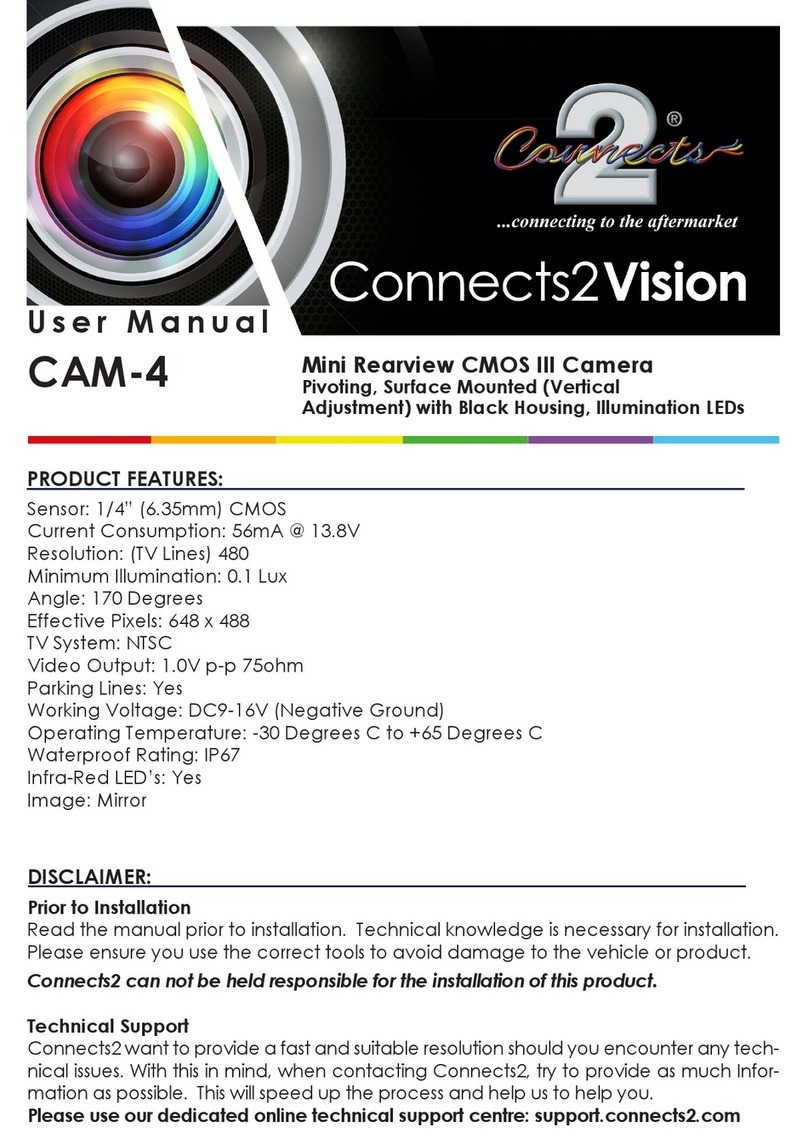
Connects2 Vision CAM-4 User manual

Connects2

Connects2 Vision CAM-4 User manual

Connects2 CT53-PO05 User manual

Connects2

Connects2 CT53-PO05 User manual

Popular Automobile Accessories manuals by other brands

Akyga AK-CH-09 user manual

Akyga

Akyga AK-CH-09 user manual

Stack ST700 manual

Stack

Stack ST700 manual

Aries 202003 installation manual

Aries

Aries 202003 installation manual

Calix M7T 130 Assembly instructions

Calix

Calix M7T 130 Assembly instructions

BraunAbility Carolock Instructions for use

BraunAbility

BraunAbility Carolock Instructions for use

Parrot CK3300 Setup guide

Parrot

Parrot CK3300 Setup guide

Paxton Automotive Novi Supercharger 1200 Owner's installation guide

Paxton Automotive

Paxton Automotive Novi Supercharger 1200 Owner's installation guide

EOinnovations EOC3103 instruction manual

EOinnovations

EOinnovations EOC3103 instruction manual

Yakima K893 instructions

Yakima

Yakima K893 instructions

Car-Interface CI-RL4-MIB92 manual

Car-Interface

Car-Interface CI-RL4-MIB92 manual

Thule Rapid 1451 Fitting instructions

Thule

Thule Rapid 1451 Fitting instructions

Akyga AK-CH-01 user manual

Akyga

Akyga AK-CH-01 user manual

TEINHOF C-270 FITTING AND OPERATION MANUAL

TEINHOF

TEINHOF C-270 FITTING AND OPERATION MANUAL

InCarTec 29-UC050-REN1 quick start guide

InCarTec

InCarTec 29-UC050-REN1 quick start guide

Thule 1159 instructions

Thule

Thule 1159 instructions

TrailFX 23004X quick start guide

TrailFX

TrailFX 23004X quick start guide

Yakima HoldUp manual

Yakima

Yakima HoldUp manual

Circutor Raption 150 Series installation guide

Circutor

Circutor Raption 150 Series installation guide

manuals.online logo
manuals.online logoBrands
  • About & Mission
  • Contact us
  • Privacy Policy
  • Terms and Conditions

Copyright 2025 Manuals.Online. All Rights Reserved.