10” Wall-Mount Touch Screen
Installation Guide
Supported Models and Requirements
C4-TSWM10-E-W (white)
C4-TSWM10-E-B (black)
C4-TSWM10-E-A (almond)
Introduction
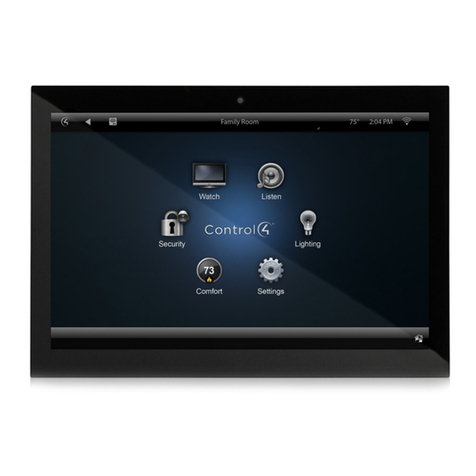
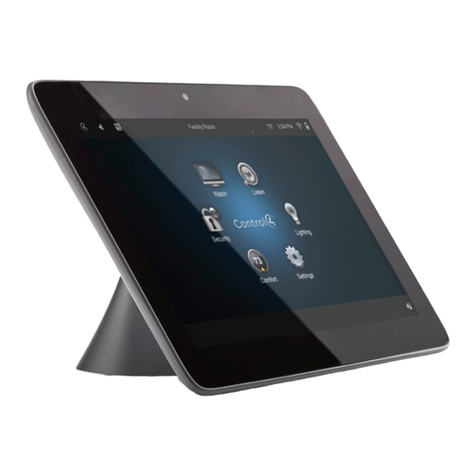
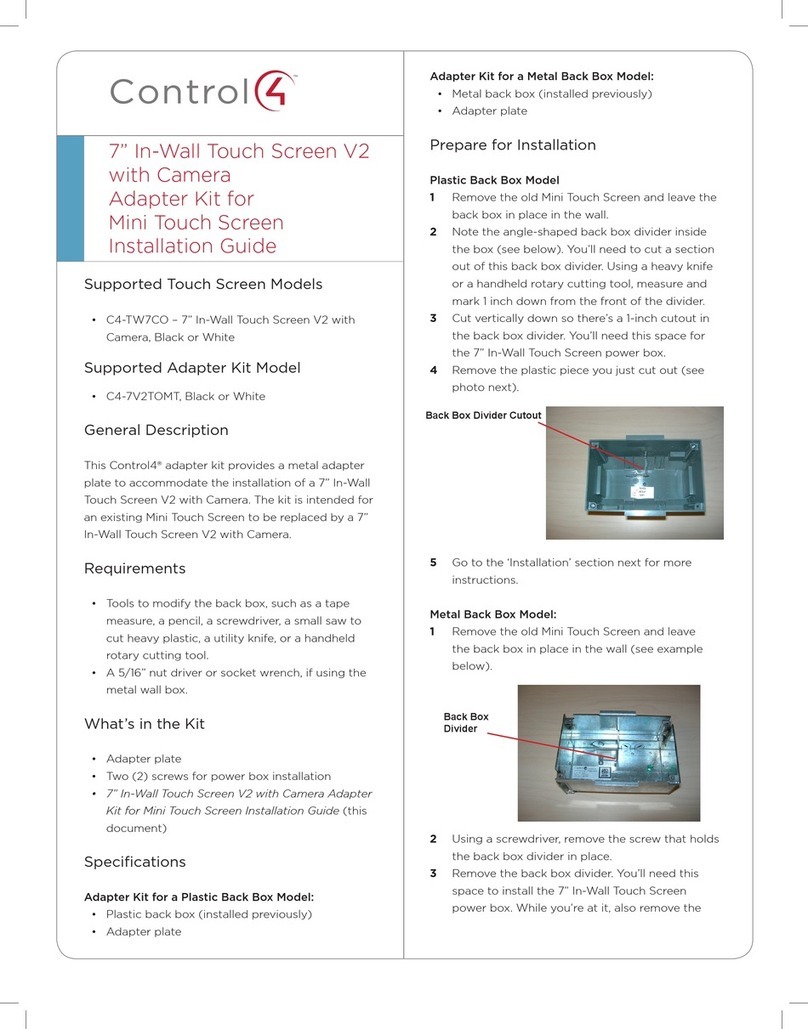
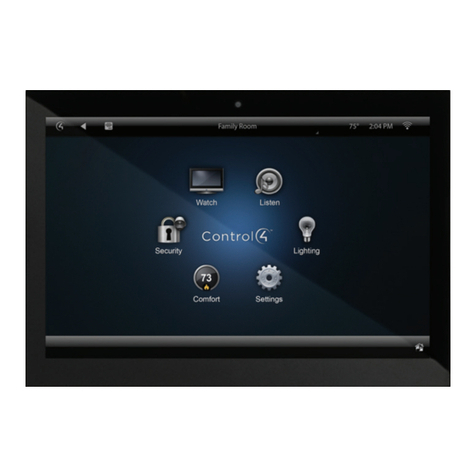
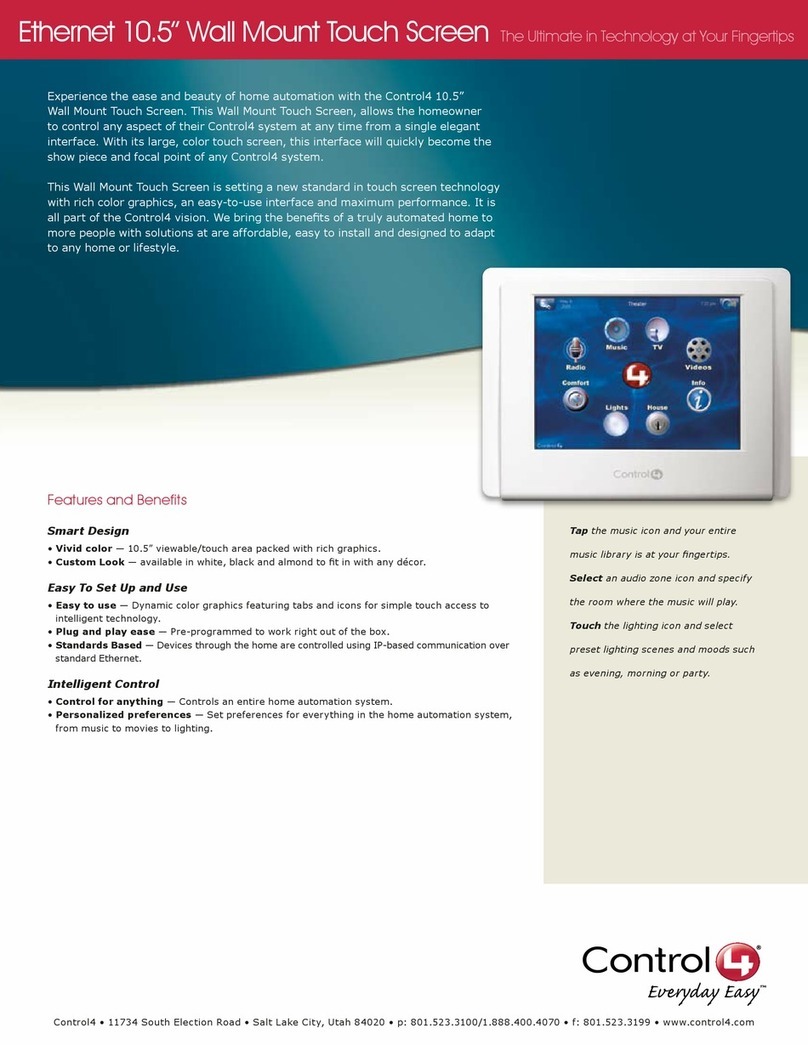
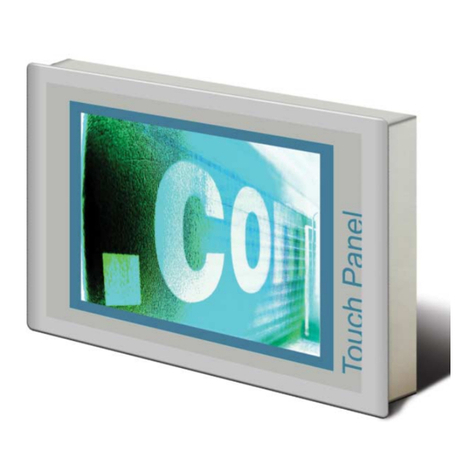
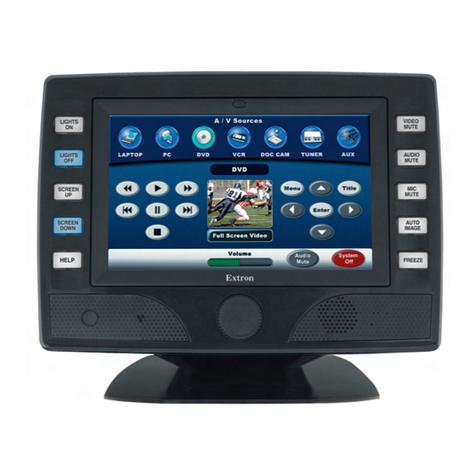
This document describes how to install the 10” Touch Screen. The 10” Touch
Screen is an Ethernet or WiFi-based, user interface device that monitors and
controls home automation devices, heating, ventilating, and air conditioning
(HVAC) equipment, media, and lighting. Figure 8 shows a typical 10 Touch
Screen.
Important Safety Instructions
1 Read these instructions.
2 Keep these instructions.
3 Heed all warnings.
4 Follow all instructions.
5 Do not use this apparatus near water.
6 Clean only with dry cloth.
7 Install in accordance with the manufacturer’s instructions.
8 Do not install near any heat sources such as radiators, heat registers,
stoves, or other apparatus (including amplifiers) that produce heat.
9 Refer all servicing to qualified service personnel. Servicing is required
when the apparatus has been damaged in any way, such as power-supply
cord or plug is damaged, liquid has been spilled or objects have fallen into
the apparatus, the apparatus has been exposed to rain or moisture, does
not operate normally, or has been dropped.
Follow these guidelines when installing a 10” Wall Box and Touch Screen:
WARNING! Risk of fire or electrical shock. To reduce, do not expose
this apparatus to rain or moisture.
WARNING! Risk of bodily harm. To avoid, always contact a Control4-
authorized reseller for assistance if any repair or adjustment is required.
WARNING! Risk of equipment damage. To avoid, do not place unit
near sources of heat or expose to direct sunlight for an extended period
of time.
WARNING! Risk of electrical shock. For the location where you are
installing the Touch Screen, switch off the circuit breaker or remove the
fuse from the fuse box.
IMPORTANT! Do not use pens or sharp objects to navigate or make
selections on the screen. To select an item or scroll through a list, use
your fingertip.
IMPORTANT! Improper use or installation can cause LOSS/DAMAGE
OF PROPERTY.
IMPORTANT! Before you can complete the installation instructions for
the Touch Screen, you must have a Wall Box installed according to the
documentation provided in the wall box kit.
Parts Included
Verify that the following parts are included in the package.
•one 10” Touch Screen
•one high voltage power supply brick with low voltage pigtail
•one high voltage power supply pigtail
Special Tools and Materials Needed
•phillip’s screwdriver
•5/16” nut driver or wrench
Installation
IMPORTANT! Transport the Touch Screen in the original container to
minimize vibration and shock damage to the Touch Screen.
1 Consider the mounting location and mount the 10” Wall Box. See the Wall
Mount TS Wall Box Mounting Instruction Guide for instructions.
2 Follow these guidelines when wiring a wall box for a Z10 Touch Screen:
•Provide slack in the wires and cables.
To wire the wall box:
a. The first six inches of the power supply cable are stripped. Strip the
Romex wire and connect the black Romex wire to the brown power
supply wire, the white Romex wire to the blue power supply wire, and
the bare Romex ground wire and the green power supply wire with
the yellow stripe to the green ground wire with the yellow stripe that
came with the box.
b. Take the plastic cable clamp and put it around the power supply
cable. Screw this back into one of these holes:
NOTE: You need to gauge where to place the clamp along the cable so that when
the high-voltage partition is replaced, only the IEC connector and a couple of
inches of wire come through the opening.
3 Place the high-voltage partition in place with the two teeth in their
respective slots. Make sure you bring the power supply cable through the
opening in the partition. Secure the partition with the supplied SEMs
screws.
4 Plug the power supply cable into the power supply brick that is provided
with the 10” Touch Screen.
5 Hold the power supply brick snugly against the high-voltage partition with
one hand. The power supply cable should disappear completely into the
high-voltage partition.
6 Place the power cable restraint bracket over the power supply brick and
secure it with the supplied KEPs nuts.
Note: The power supply brick translates the high voltage power that
comes into the wall box into low voltage power before it reaches the
Touch Screen.
7 Plug the low voltage wire coming from the other end of the power supply
brick into the receptacle in the back of the Touch Screen.
8 Install the Ethernet Cable in the back of the Touch Screen.
Note: This is not necessary for a WiFi Touch Screen.
Figure 1: 10” Wall Box Dimensions and
Other Physical Features
Internal Threaded
Metal Post
Ground Wire
Symbol
Figure 2: Back of a 10” Wall Box
Figure 3: Power Supply Cable
Figure 4: Secure Plastic Cable Clamp
Two
Teeth
Opening for
Power Supply Cable
Figure 5: Use these two Teeth to Secure the High
Voltage Partition
Figure 6: Insert Power Supply Cable
