manuals.online logo
Brands
  1. Home
  2. •
  3. Brands
  4. •
  5. Craftsman
  6. •
  7. Tools Storage
  8. •
  9. Craftsman 120.29684 User manual

Craftsman 120.29684 User manual

USER iNSTRUCTiONS
[RA Iq
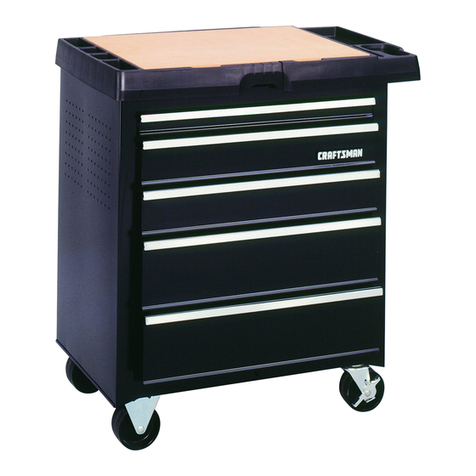
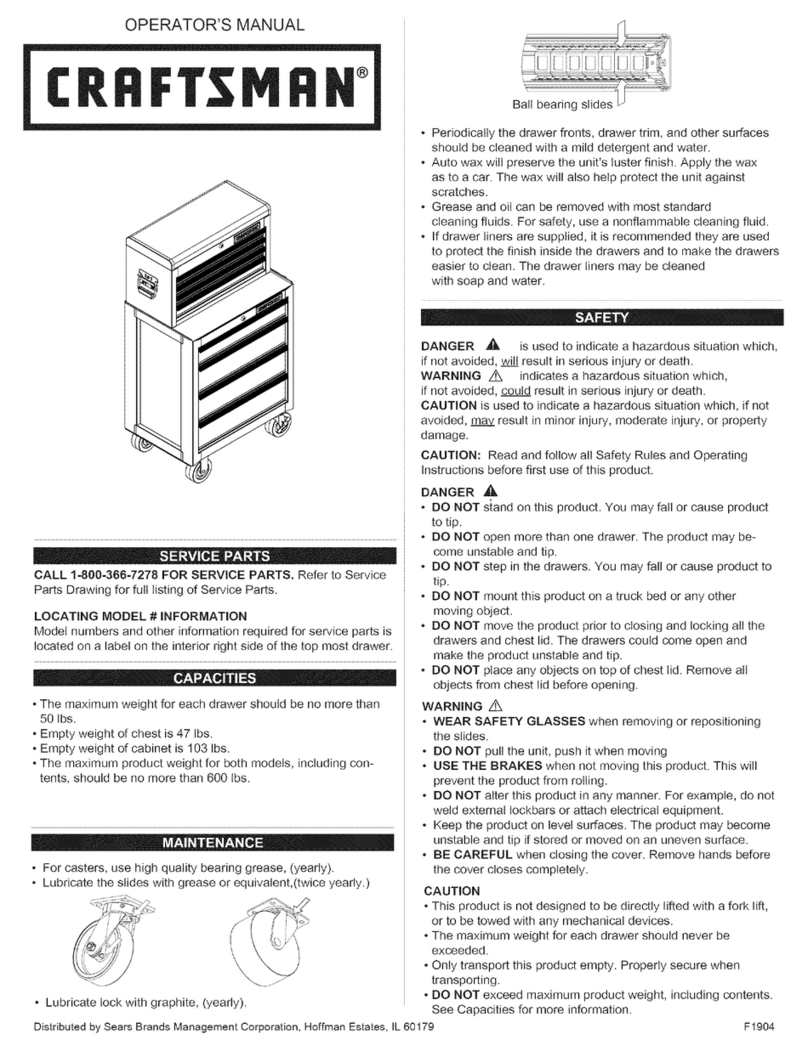
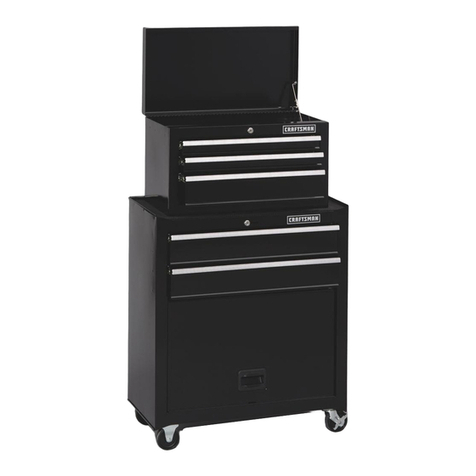
8 Drawer- 28 in,
Contour Storage Combo
Model: 120.29683 (Chest}
Model: 120.29684 (Cabinet}
®
SAFETY iNSTRUCTiONS
WARNING: Read all Safety Instructions before
assembling and using this product.
• WEAR SAFETY GLASSES AND GLOVES when
assembling this product.
• BE CAREFUL of sharp edges.
• DO NOT stand on this product. You may fall which may
cause personal injury.
• DO NOT alter this product in any manner. For example,
do not weld external lock bars or attach electrical
equipment to it. This may cause product damage or
personal injury.
• Keep the product on a level surface. The product may
become unstable and tip if stored or moved on a tilted
surface, and may cause personal injury or product
damage.
• The maximum weight for each loaded drawer of the
Chest should be no more than 70 Ibs. The maximum
weight for each loaded drawer of the Cabinet should be
no more than 100 Ibs.
ALWAYS WEAR ANSI approved safety goggles when
working with tools and equipment.
WARNING: TAKE SAFETY PRECAUTIONS
WHEN USING YOUR TOOL CHEST /CABINET
Donotopenmore Donotstep D0notlet
thanonedrawer orleanonthe childrennear
atatime. drawers, thet0ol chest.
REPLACEMENT PARTS
Refer to product illustration and parts list for parts
locations and numbers. To order replacement
parts, call 1=800=4MY=HOME ® (1=800=469=4663).
Setthebrakeon Lockdrawersand
thelockingcasters lidbeforemoving
unlessyouare thet001chest.
movingthet001chest.
Whereapplicable
Whenaddingachest,alladd-on
topsmustberemovedfromthe
rollercabinet.Besureboth
connectorbracketsareinplace
andsecure.
CHEST
The chest keys are taped to the top storage area of
the chest. The key code is printed on the face of the
chest lock.
Ref. # Description Part # Qty
1 Mechanical strut 303065 2
2 Chest handle 306046 2
3 Slide (right) 300114R 4
4 Slide (left) 300114L 4
5 Lock 304000 1
6 M6X12 hex bolt 321054 2
7 Connector 200837 2
6 _7
i
9
2
ASSEMBLY
Assembly requires 10mm and 14mm sockets or wrenches.
To install the handles, simply position them over the holes
and attach with the bolts provided. Tighten securely.
il
/.- _ ._
J
/
f
CABINET
The cabinet keys are taped to the top of the caster
shipping box located in the bottom drawer of the cabinet.
The key code is printed on the face of the cabinet lock.
Ref. # Description Part # Qty
1 Cabinet handle 306078 1
2 M6x20 hex bolt 321054 4
3 Swivel caster 302066 2
4 M8x20 hex bolt 321027 16
5 Washer 324255 16
6 Slide (left) 300114L 4
7 Slide (right) 300114R 4
8 Fixed caster 302067 2
9 Lock 304000 1
INSTALLING CASTERS
Carefully lay bottom cabinet on its back, with a soft mat
under the back for the purpose of protection. Remove
caster attachment bolts from bottom of cabinet. Position
the two swivel casters on the same side of the cabinet
bottom. Insert the bolts through washers, then through
the casters and into the cabinet bottom. Tighten securely.
Repeat for the two rigid casters on the other side.
iNSTALL CHEST ON CABINET
With the help of another person, install chest on top of
cabinet inside of the 4 corner stays. The chest will stay
securely atop the cabinet under its own weight.
OPERATION
CHEST AND CABINET CONNECTION
WARNING: (Where applicable) When adding a
chest, all add-on tops must be removed from the
roller cabinet. Be sure both connector brackets
are in place and secure.
Place the chest on the cabinet. Attach the connectors
making sure the connectors slide into the openings on the
back of the chest. Fasten the connectors to the back of
the chest with screws.
x\\\
I
//
//
/
To remove drawers
Empty drawer. Pull drawer out to almost full extension.
Push up on right hand black release lever, while pulling
down on left hand black release lever. While holding the
levers in the positions as instructed above, pull the
drawer outward until it is released from the drawer slide.
PUSH UP
(RIGHT HAND SIDE)
". ,_................... c::::2 ..... :-j_,
PULL DOWN
(LEFT HAND SIDE)
To replace drawers
Empty drawer. Extend the drawer slides from the tool
chest, insert the brackets on each side of the drawer into
the slots in the cabinet slides, being careful that they are
properly positioned. Once properly inserted, completely
close the drawer to set the slides in their proper positions.
RAISE AND RELEASE DRAWER FRONTS:
These units are equipped with the raise and release drawer
fronts. To open, lift up on the drawer front while pulling
towards you. To close, shut the drawer firmly until the latch
engages. If the drawer does not stay closed, the hook may
be bent, or it may rub against the drawer slides. To fix this
problem, lightly bend the hook until the drawer will engage
in the slide.
[ q
[
CRAFTSMAN THREE YEAR LIMITED WARRANTY
FOR THREE YEARS from the date of purchase, this
product is warranted against any defects in material or
workmanship. With proof of purchase, a defective part will
be replaced free of charge. If a replacement part is unavail-
able, the product will be replaced with one of equal value.
This warranty does not apply to a product that is
damaged or altered through misuse, abuse, accident,
neglect, modification or mishandling.
For warranty coverage details, visit the web site:
www.craftsman.com
This warranty gives you specific legal rights, and you may
also have other rights which vary from state to state.
SearsBrandsManagement Corporation,
Hoffman Estates, IL 60179
REPLACEMENT PARTS
Refer to product illustration and parts list for parts
locations and numbers, To order replacement parts, call
1=800=4MY=HOME ® {1=800=469=4663}.
For replacement keys: key codes are printed on the face
of the locks.

This manual suits for next models

1

Other Craftsman Tools Storage manuals

Craftsman 14927 User manual

Craftsman

Craftsman 14927 User manual

Craftsman 706.592150 User manual

Craftsman

Craftsman 706.592150 User manual

Craftsman PROFESSIONAL SERIES User manual

Craftsman

Craftsman PROFESSIONAL SERIES User manual

Craftsman 120.29687 User manual

Craftsman

Craftsman 120.29687 User manual

Craftsman Tool Storage Roll-Away User manual

Craftsman

Craftsman Tool Storage Roll-Away User manual

Craftsman 706.597400 User manual

Craftsman

Craftsman 706.597400 User manual

Craftsman PREMIUM SERIES User manual

Craftsman

Craftsman PREMIUM SERIES User manual

Craftsman 706.366440 User manual

Craftsman

Craftsman 706.366440 User manual

Craftsman PROJECT CENTER User manual

Craftsman

Craftsman PROJECT CENTER User manual

Craftsman 3000 Series User manual

Craftsman

Craftsman 3000 Series User manual
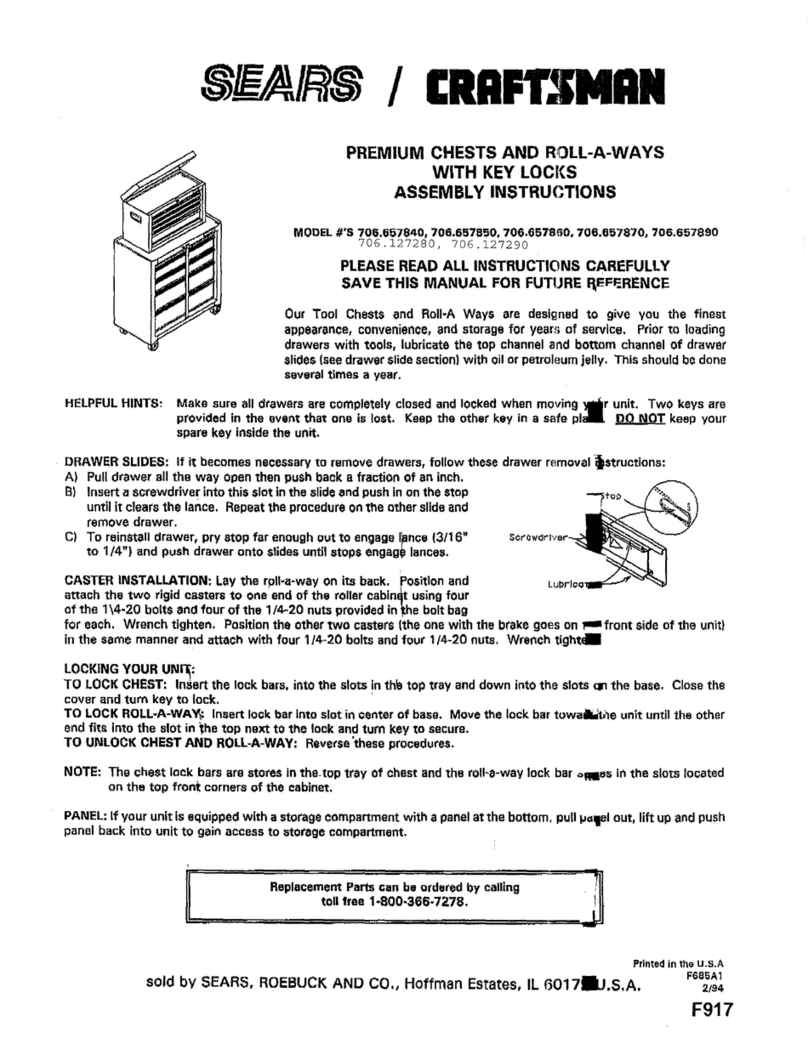
Craftsman HEAVY DUTY TOOL CHESTS User manual

Craftsman

Craftsman HEAVY DUTY TOOL CHESTS User manual

Craftsman 706.139890 User manual

Craftsman

Craftsman 706.139890 User manual

Craftsman Workbench User manual

Craftsman

Craftsman Workbench User manual

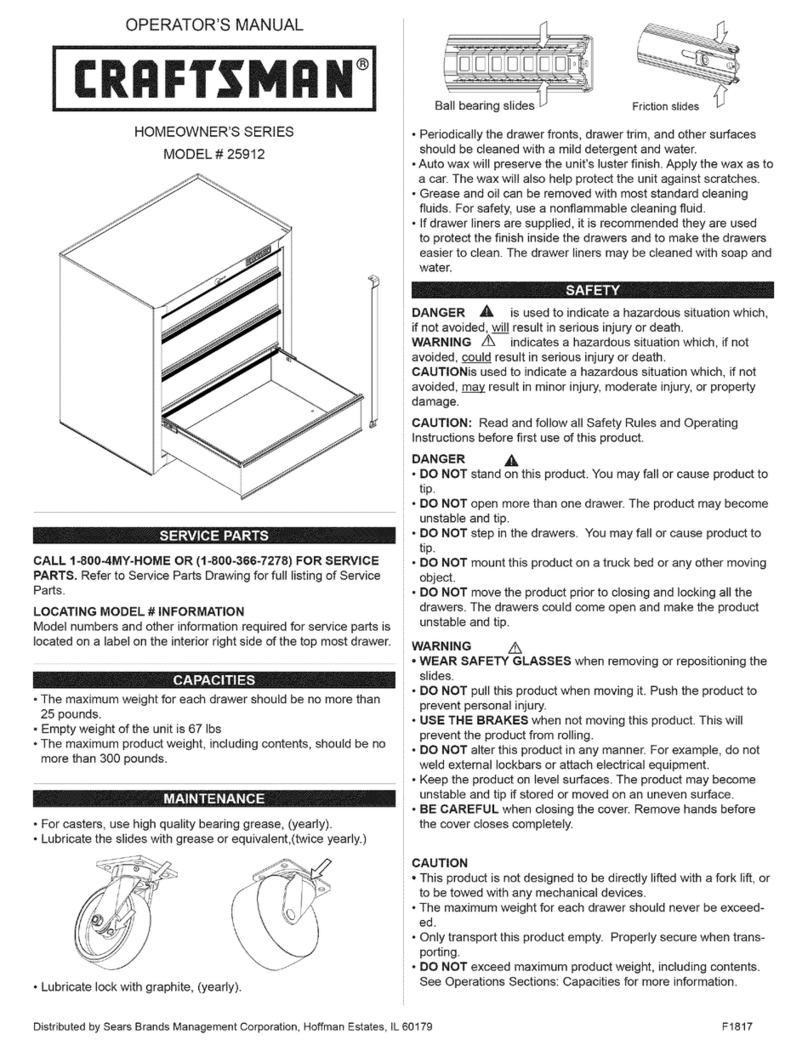
Craftsman 25912 User manual

Craftsman

Craftsman 25912 User manual

Craftsman 31011 User manual

Craftsman

Craftsman 31011 User manual

Craftsman PROFESSIONAL SERIES Instruction Manual

Craftsman

Craftsman PROFESSIONAL SERIES Instruction Manual

Craftsman 351.221050 User manual

Craftsman

Craftsman 351.221050 User manual

Craftsman Workbench User manual

Craftsman

Craftsman Workbench User manual

Craftsman 706.132880 User manual

Craftsman

Craftsman 706.132880 User manual
Craftsman HEAVY DUTY TOOL CHESTS User manual

Craftsman

Craftsman HEAVY DUTY TOOL CHESTS User manual

Craftsman Homeowner's Series User manual

Craftsman

Craftsman Homeowner's Series User manual

Craftsman 120.29685 User manual

Craftsman

Craftsman 120.29685 User manual

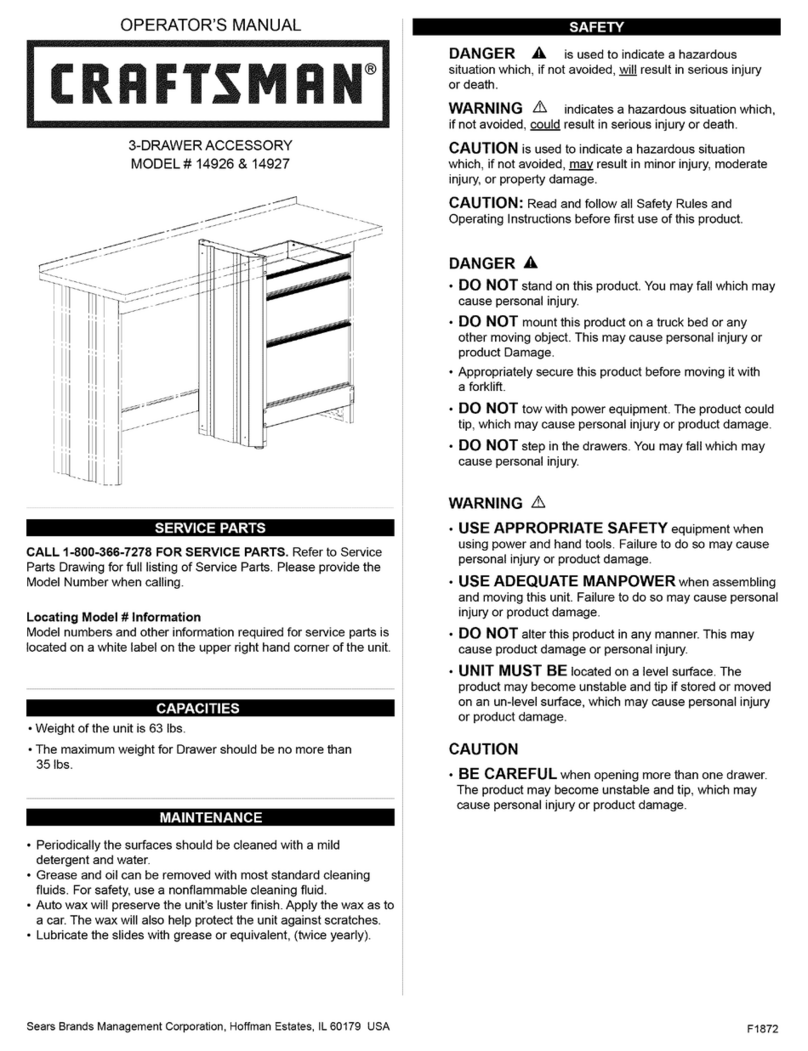
Craftsman GARAGE STORAGE SOLUTIONS User manual
Craftsman

Craftsman GARAGE STORAGE SOLUTIONS User manual

Craftsman F1198A5 User manual

Craftsman

Craftsman F1198A5 User manual

Popular Tools Storage manuals by other brands

Husky HOTC5213B1OS Use and care guide

Husky

Husky HOTC5213B1OS Use and care guide

Cocraft 40-8477 instruction manual

Cocraft

Cocraft 40-8477 instruction manual

Sealey AP165WB instructions

Sealey

Sealey AP165WB instructions

Stahlwille WB625 installation manual

Stahlwille

Stahlwille WB625 installation manual

U-Line H-9638 Assembly instructions

U-Line

U-Line H-9638 Assembly instructions

Clarke CWB1201E Assembly instructions

Clarke

Clarke CWB1201E Assembly instructions

Woodstock The Rebel W2000 operating manual

Woodstock

Woodstock The Rebel W2000 operating manual

kupper 12020 Assembly instruction

kupper

kupper 12020 Assembly instruction

Sealey PCT2 quick start guide

Sealey

Sealey PCT2 quick start guide

ramia HB-N1500 Assembly instructions

ramia

ramia HB-N1500 Assembly instructions

Whittan Stockrax T bar Guide to assembly

Whittan

Whittan Stockrax T bar Guide to assembly

Electron Microscopy Sciences 64401-10 instruction manual

Electron Microscopy Sciences

Electron Microscopy Sciences 64401-10 instruction manual

Black & Decker Workmate 79-020 owner's manual

Black & Decker

Black & Decker Workmate 79-020 owner's manual

Sandusky Lee WB362460 manual

Sandusky Lee

Sandusky Lee WB362460 manual

Gladiator VERSATOP Series installation instructions

Gladiator

Gladiator VERSATOP Series installation instructions

Beta C23S-O Instructions for use

Beta

Beta C23S-O Instructions for use

Borroughs Box Edge Plus installation instructions

Borroughs

Borroughs Box Edge Plus installation instructions

Sealey AP2020 instructions

Sealey

Sealey AP2020 instructions

manuals.online logo
manuals.online logoBrands
  • About & Mission
  • Contact us
  • Privacy Policy
  • Terms and Conditions

Copyright 2025 Manuals.Online. All Rights Reserved.