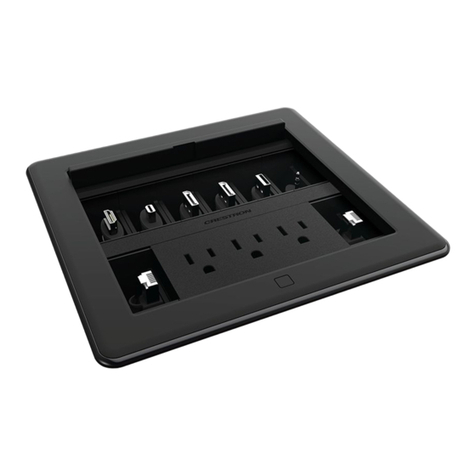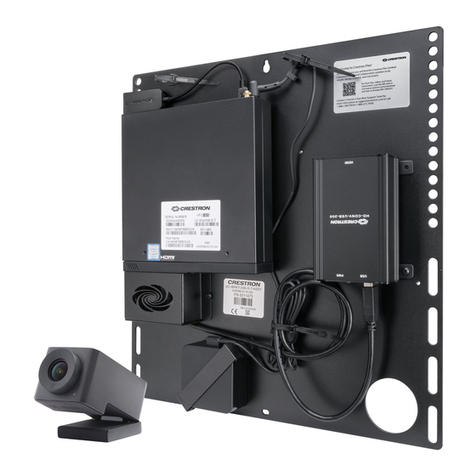
Prepare for Hardware Hookup
On the wall bracket assembly, open the connector covers located above and below the
UC-ENGINE-Z to reveal the UC-ENGINE-Z’s connectors.
NOTE: Each connector cover is secured to the wall bracket with a 6-32 Phillips screw. Use a #1
Phillips screwdriver to remove or install the screws. For additional security, replace the screws
with the spanner screws included with the UC-BRKT-100-Z-ASSY. A 1/4 in. driver bit is supplied
with the wall bracket assembly to install the spanner screws.
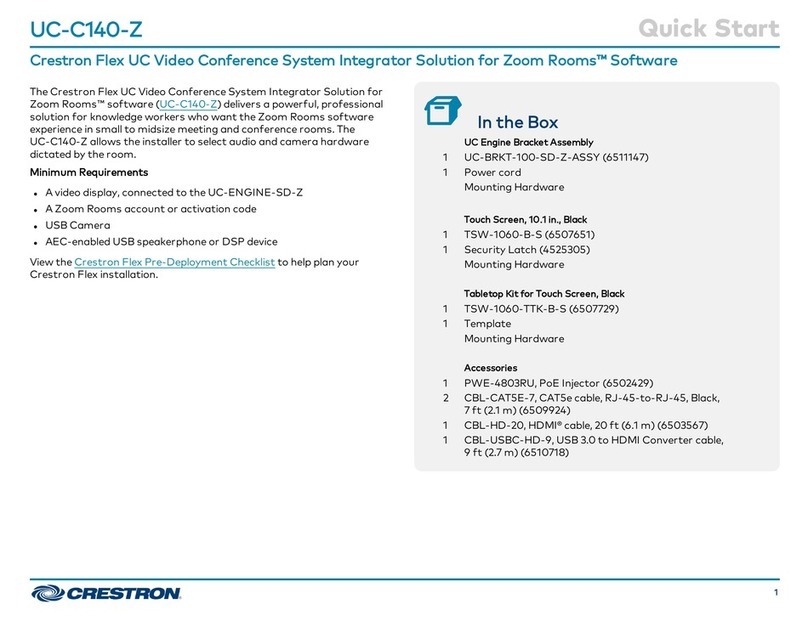
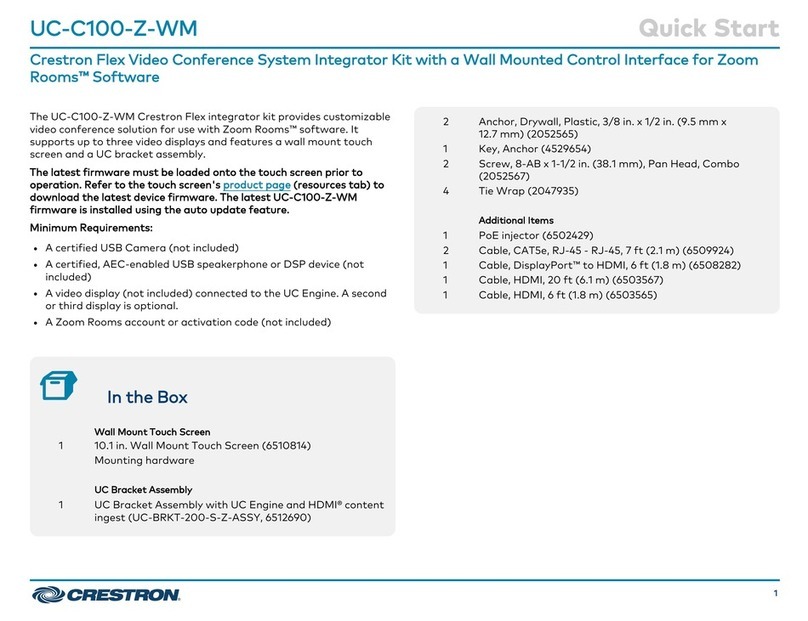
Connect the System
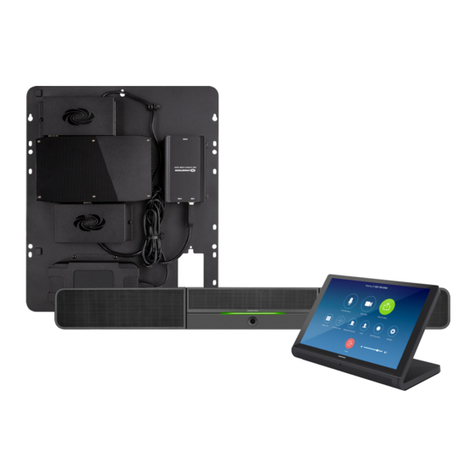
UC-ENGINE-Z
Connect the CCS-UCA-KB-USB, CCS-UC-1, displays, camera, and LAN to the UC-ENGINE-Z.
Connections are made to the top and bottom of the UC-ENGINE-Z.
UC-ENGINE-Z, Bottom (as mounted)
HD-CONV-USB-200
CCS-UCA-KB-USB
• CCS-UCA-KB-USB: Connect the USB dongle (supplied with CCS-UCA-KB-USB) to a
port on the UC-ENGINE-Z for local keyboard and mouse control.
• HD-CONV-USB-200: The HD-CONV-USB-200 is already installed on the wall bracket
assembly and connected to the UC-ENGINE-Z.
UC-ENGINE-Z, Top (as mounted)
CCS-CAM-USB-F-400
UC-ENGINE-Z
Secondary Display
Primary Display
• LAN: Connect the CBL-CAT5E-7 cable to the port on the UC-ENGINE-Z and to the
corporate LAN.
NOTE: The UC-ENGINE-Z and CCS-UC-1 must be on the same network switch.
• CCS-CAM-USB-F-400: Connect the CCS-CAM-USB-F-400 camera to the port on the
UC-ENGINE-Z with the cable included with the camera.
• Displays:
• Connect the CBL-HD-THIN-HS-6 to the HDMI port on the UC-ENGINE-Z and to the
primary display.
• (Optional) Connect the CBL-USBC-HD-9 to the port on the UC-ENGINE-Z and the
optional secondary display
• UC-CONN-HD: Reserved for future use. The UC-CONN-HD is mounted on the
UC-BRKT-100-Z-ASSY. Do not use it to make connections.
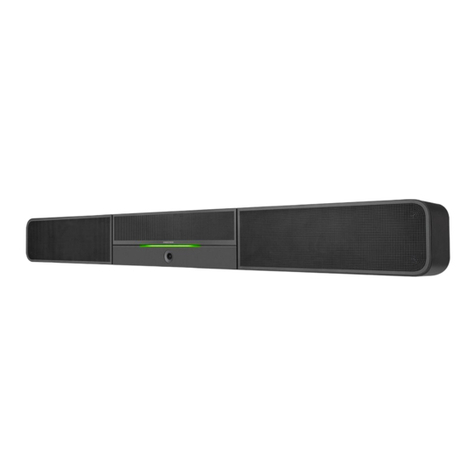
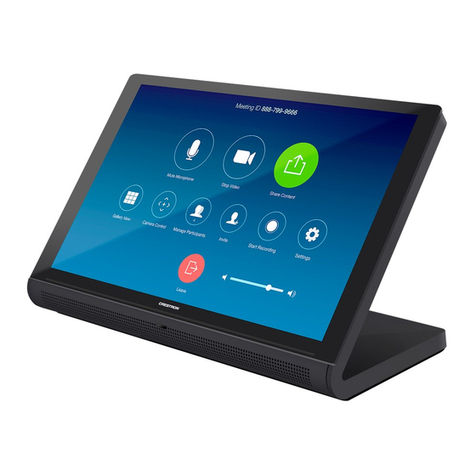
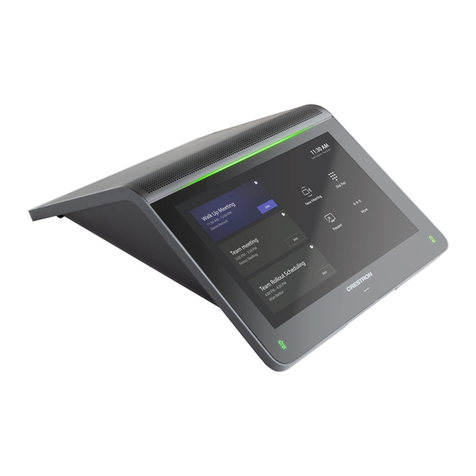
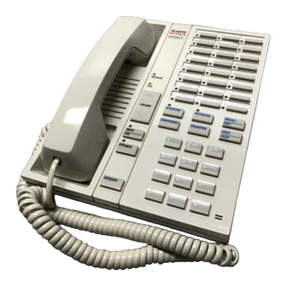
CCS-UC-1
Ground
UC-ENGINE-Z CCS-UCA-MEM-USB
PW-2420-RU
• USB B: Connect the CBL-USB-A-BMICRO-6 (supplied with CCS-UC-1) to the USB B port on
the CCS-UC-1 and a USB port on the UC-ENGINE-Z. If additional cable is required, use the
CBL-USB-A-EXT-15 to extend the length of the CBL-USB-A-BMICRO-6.
NOTE: Make this connection only when the CCS-UC-1 is to be used as an audio device.
• USB/ACC: Insert the CCS-UCA-MEM-USB into the USB/ACC port.
• LAN: Connect a 12 ft (3.6 m) CAT5e cable (included with the CCS-UC-1) to the LAN port
and to the corporate LAN.
NOTE: The CCS-UC-1 and UC-ENGINE-Z must be on the same network switch.
• Ground: Connect the CCS-UC-1 to earth ground.
• AC Power: Connect the PW-2420RU power pack to an AC receptacle and to the 24V 2.5A
port on the CCS-UC-1.
NOTE: The CCS-UC-1 can also be powered by PoE+. However, if the CCS-UCA-MIC is to be used,
the CCS-UC-1 must be powered by the PW-2420-RU.
HD-CONV-USB-200
The HD-CONV-USB-200 is already installed on the wall bracket assembly and connected to the
UC-ENGINE-Z. Connect an HDMI source to the HDMI port on the HD-CONV-USB-200 with the
included CBL-HD-20 cable.
Complete the Installation
1. Bundle the cables with the integrated cable tie wraps. The cable tie wraps are reusable.
2. Secure the connector covers with the spanner screws or the Phillips screws removed earlier
from the wall bracket assembly.
3. Connect the wall bracket assembly’s power pack cord to a wall outlet.
Apply Power
When all connections are made, press the power button on the bottom of the UC-ENGINE-Z and
apply power to all of the other devices in the system. The CCS-UC-1 will start and the display will
show its IP address.
NOTE: Remove the CCS-UCA-MEM-USB from the CCS-UC-1.
Configure the System
On the UC-ENGINE-Z:
1. Start the Zoom Rooms application, and sign in with the CCS-UCA-KB-USB keyboard and
Zoom Rooms credentials.
2. Select the conference room name from the list, and click Next. The Zoom Rooms
Conference Room screen is shown on the display.
On the CCS-UC-1
1. Sign in with a pairing code or email address and password.
• Pairing Code: Enter the pairing code provided by the administrator.
• Email Address: Tap Sign In, enter the email address and password used to sign in to the
user’s Zoom account, and tap Sign In. A list of conference rooms is displayed.
2. Tap the name of the conference room that was previously selected on the UC-ENGINE-Z.
The Zoom Rooms Controller app is displayed.
3. Tap Settings. The Settings screen is displayed.
4. Tap Microphone, and select the Crestron Mercury device as the source.
5. Tap Speaker, and select the Crestron Mercury device as the source.
6. Tap Meet Now to exit.
Additional Information
Scan or click the QR code for detailed product information.
UC-M150-Z
Compliance and Legal
Original Instructions: The U.S. English version of this document is the original instructions. All other languages are a translation
of the original instructions.
The product warranty can be found at www.crestron.com/warranty.
The specific patents that cover Crestron products are listed at
www.crestron.com/legal/patents.
Certain Crestron products contain open source software. For specific information, please
visit www.crestron.com/opensource.
Crestron, the Crestron logo, and Crestron Mercury are either trademarks or registered trademarks of Crestron Electronics,
Inc. in the United States and/or other countries. HDMI and the HDMI logo are either trademarks or registered trademarks of
HDMI Licensing LLC in the United States and/or other countries. Huddly IQ is either a trademark or a registered trademark of
Huddly AS in the United States and/or other countries. Zoom Rooms and the ZOOM logo are either trademarks or registered
trademarks of Zoom Video Communications, Inc. in the United States and/or other countries. Other trademarks, registered
trademarks, and trade names may be used in this document to refer to either the entities claiming the marks and names or
their products. Crestron disclaims any proprietary interest in the marks and names of others. Crestron is not responsible for
errors in typography or photography.
©2019 Crestron Electronics, Inc.
Crestron Electronics, Inc.
15 Volvo Drive, Rockleigh, NJ 07647
Tel: 888.CRESTRON
Fax: 201.767.7576
www.crestron.com
Quick Start - Doc. 8467B
(2053828)
07/22/19
Specifications subject to
change without notice.
