manuals.online logo
Brands
  1. Home
  2. •
  3. Brands
  4. •
  5. Crosswater
  6. •
  7. Plumbing Product
  8. •
  9. Crosswater WS2001RC User manual

Crosswater WS2001RC User manual

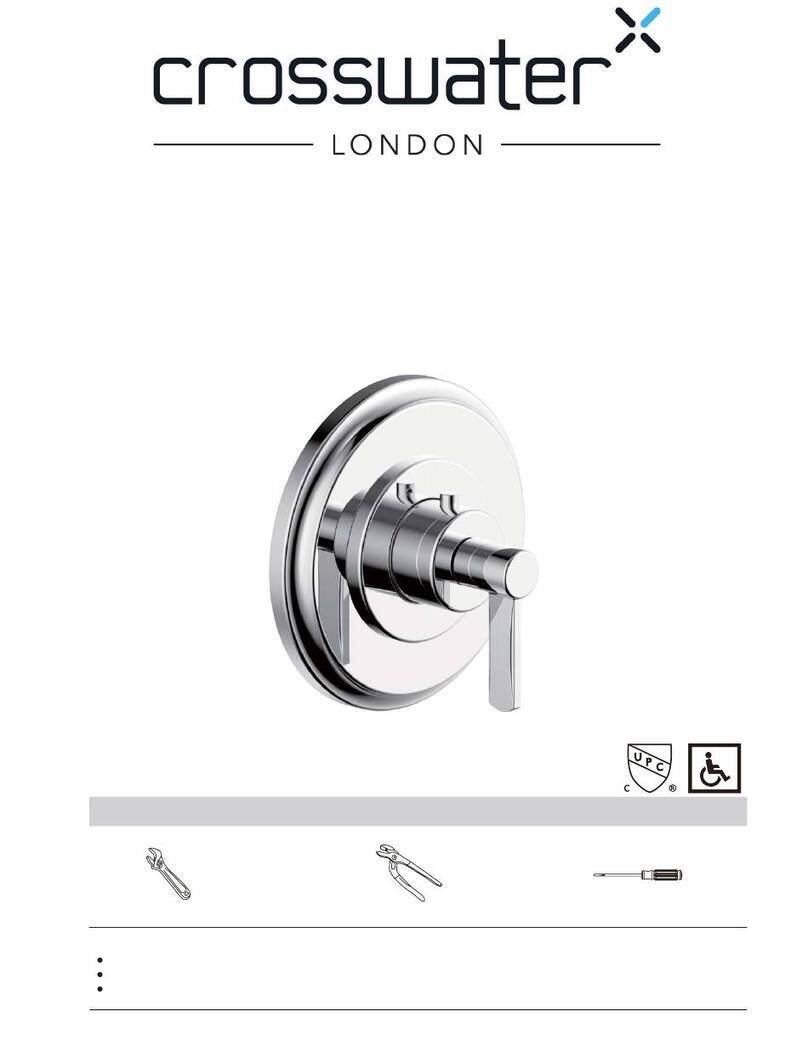
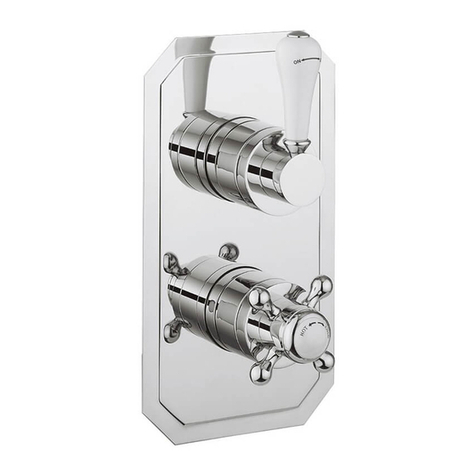
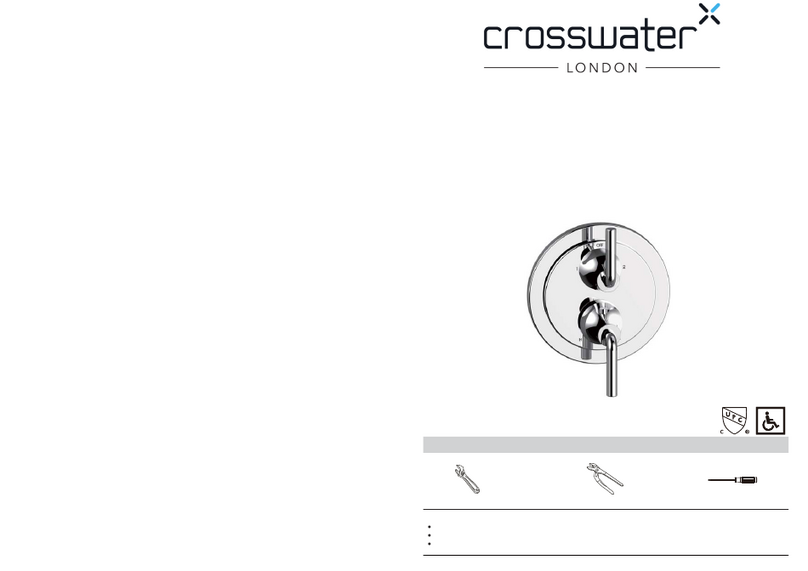
THERMOSTATIC SHOWER VALVE WS2001RC
INSTALLATION INSTRUCTIONS
For any further information please contact
Crosswater on: 0845 873 8840
Or visit our web-site at www.crosswater.co.uk
The manufacturer reserves the right to make technical
modifications without prior notice.
P5-WS2001RC-E A/0
12
INTRODUCTION
This thermostatic valve is suitable for use with all water systems up to a maximum
operating pressure of 5.0 bar, (beyond which we recommend pressure reducing
valves to be fitted).
The thermostatic valve has two outlets that can be controlled simultaneously.
The two main outlets are controlled by the flow control cartridges, commonly used for
a main shower head and a bath spout.
NOTE: FOR ILLUSTRATIVE PURPOSES HANDLES ARE NOT SHOWN
DIMENSIONS
NOTE: ALL DIMENSIONS IN MILLIMETRES
WS2001RC
PARTS IDENTIFICATION
OPEN
CLOSE
120
275
0
90 0
90
OPEN
CLOSE
C
H
80
45X45
147
78-105
G3/4
C w 2
H O T
TMV APPROVED INSTALLATIONS
This thermostatic valve has been designed to be compliant with the requirements of
TMV2. NB for installations governed by this legislation the CW marking (as pictured
on valve above) must always be left visible for the commissioning process.
No liability for installation costs will be accepted If, for example, the tiling is too close to
the body of the valve or expanding foam is used preventing the marking of the valve
being visible.Once the inspection has been carried out the cover plate can be fitted.
FLOW CONTROL
(BATH FILLER)
MAIN OUTLET
(BATH FILLER
BODY JETS
HANDSET)
G3/4
G3/4
80
45X45 45X45
MAIN OUTLET
(BATH FILLER
BODY JETS
HANDSET)
FIXING
LUGS
HOT
INLET
MAIN OUTLET
(SHOWER-FIXED HEAD)
HOT CHECK
VALVE
& FILTER
COLD CHECK VALVE
&FILTER
TEMPERATURE
CONTROL FLOW
CONTROL
(SHOWER)
MAIN OUTLET
(SHOWER-FIXED HEAD)
FIXING LUG
COLD
INLET
34
INSTALLATION INSTALLATION
WS2001RC
NOTES:
Please read these instructions carefully and keep in a safe place for future reference.
The installation must comply with all Local/National Water Supply Authority
Regulations/Bye laws and Building and Plumbing Regulations (UK: BS6700).
This valve is a mixing device and therefore requires the water supplies to be
reasonably balanced, otherwise we recommend a pressure reducing valve to be
fitted.
The valve is fitted with integral WRC approved single check valves cartridges which
command the water supply, therefore the thermostatic valve is protected against
cross-flow due to unbalanced line pressures as required by the Water Supply
(Water Fittings) Regulations 1999.
Fitting isolating valves to the inlet feeds is recommended for ease of maintenance.
INSTALLATION
Remember to turn off the mains water supply before connecting to any
existing pipe work.
Warning! Please check for any hidden pipes and cables before drilling
holes in the wall.
!
!
Position the valve onto the wall and mark the position of the fixing lugs (x4). Make
sure the valve is set back from the front face of the wall by the appropriate depth
to allow for plasterboard, filling and tiling etc. (min. 78mm to max. 105mm see
dimension page).
Mount casting to the wall using suitable fixings.
Always leave access to the four front cartridges for servicing.
Once the valve has been secured to the wall, the black Plastic Dust Cover can be
temporally attached to the valve with the screws supplied. This will protect the valve
while the rest of the work is completed (see fig 1).
Inlets and outlets are all tapped BSP. Make all pipe work connections using a
proprietary thread sealer.
Do not use tapered threaded adaptors.
Blank off and seal the open outlet if it is not required.
Remove the Plastic Dust Cover.
Turn on supplies and test all connections for water tightness.
Remove Hot and Cold check valves, and flush out the installation, clean the filters
and refit.
Apply a narrow bead of clear silicone sealant around the back edge of the cover plate
and carefully press into position.
Fit the control knobs by lining up the flat surface of the valve cover with the grub
screw on the handle, tighten the screw with the supplied hexagonal key (see fig 2).
3/4"
FIG. 2 FITTING CONTROL HANDLESFIG. 2 FITTING CONTROL HANDLES
FIXING LUGS
FIG. 1 FITTING PLASTIC DUST COVER
DUST COVER
FIXING SCREWS
FIXING SCREWS
COVER PLATE
HANDLE
56
WS2001RC
STOP
THERMOSTATIC
SPINDLE
THERMOSTATIC
CARTRIDGE
TEMPERATURE SETTING MAINTENANCE
To set the temperature, remove the
handle and unscrew the centre screw of
the thermostatic control cover. Rotate the
exposed thermostatic spindle (clockwise
for cold, and anti-clockwise for hot) until the
maximum desired showering temperature
0
is set (42 C-suggested maximum pre-set
temperature).
Then line up the screw head on the back of
the thermostatic control cover with the first
stop on the stop ring itself. Push the control
cover onto the splines and tighten the centre
screw, refit the handle. The thermostat is
now set to its new temperature and can only
be increased or decreased by repeating this
process.
" "
MAINTENANCE
Note: To avoid damage, please remove all chrome
parts before any maintenance takes place.
THERMOSTATIC CARTRIDGES
The 1 concealed thermostatic valve should
give trouble free service, but in the event of
failure, servicing is straight forward.
"
To remove the thermostatic cartridge.
Undo the cartridge clamp nut (take note of
the orientation of the cartridge) and pull the
cartridge out using the temperature control
knob to aid removal. Wash the cartridge with
clean running water and make sure that any
trapped debris has been removed. Dry and
lightly grease the seals (only use silicone
grease) and replace the cartridge making
sure that the locating lug is located in the
recess on the hot side of the valve.
FLOW CONTROL CARTRIDGE
The Flow Control Cartridge uses ceramic discs which normally last indefinitely unless
debris manages to get between them. Wash the cartridge with clean running water, dry and
lightly grease the seal.
FILTERS/CHECK VALVES
The check valves stop cross flow
between the hot and cold supplies.
To clean the Check Valves.
Undo and remove the Check valve.Using
a pair of pliers remove the Non return
valve and filter. Wash the filter with clean
running water, dry and lightly grease the
seals.
CARE OF YOUR SHOWER VALVE
We recommend cleaning the valve with a soft damp cloth.
We strongly advise against the use of ALL cleaning products.
TROUBLE SHOOTING
SYMPTOM SOLUTION
After installation the shower runs HOT
or COLD and will not mix.
Hot and cold supplies are plumbed the
wrong way round.
Remove the thermostatic cartridge,
undo the clamp nut and pull the cartridge
out (using the temperature control knob
to aid removal).
Reinstall it with the locating lug pointing
away from the inlets.
Shower will not run hot enough when
first installed.
Maximum temperature needs adjusting,
see temperature setting .
Cold water tracking through the valve
into the hot water system.
Check and clean the check valve
cartridges and filters located under
the check valves.
Very low flow or no flow (gravity). Check hot and cold feeds (the valve will
shut down if either the hot or cold supply
fails).
FILTER
NON RETURN
VALVE
CHECK
VALVE
LOCATING LUG
SEALS(X3)
THERMOSTATIC
CARTRIDGECARTRIDGE
CLAMP NUT
LOCATING LUG

Other Crosswater Plumbing Product manuals
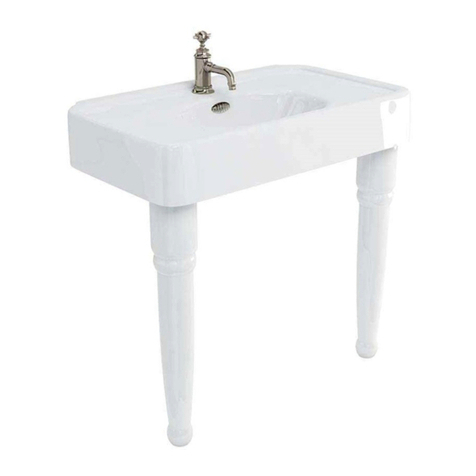
Crosswater KWC 10.441.004.000FL Manual

Crosswater

Crosswater KWC 10.441.004.000FL Manual

Crosswater 11-04 User manual

Crosswater

Crosswater 11-04 User manual

Crosswater Belgravia US-BL422 User manual

Crosswater

Crosswater Belgravia US-BL422 User manual

Crosswater US-BSW0101 User manual

Crosswater

Crosswater US-BSW0101 User manual

Crosswater BTW0241C User manual

Crosswater

Crosswater BTW0241C User manual

Crosswater Leyden 14X-03-T User manual

Crosswater

Crosswater Leyden 14X-03-T User manual

Crosswater Waldorf US-WF0613 User manual

Crosswater

Crosswater Waldorf US-WF0613 User manual

Crosswater Arcade US-ARC600 User manual
Crosswater

Crosswater Arcade US-ARC600 User manual

Crosswater LIBRA LB6117C Series User manual

Crosswater

Crosswater LIBRA LB6117C Series User manual

Crosswater Wisp US-WP418 User manual

Crosswater

Crosswater Wisp US-WP418 User manual

Crosswater 1000 Series User manual

Crosswater

Crosswater 1000 Series User manual

Crosswater Berea 11-02-T User manual

Crosswater

Crosswater Berea 11-02-T User manual

Crosswater US-BTW0201 User manual

Crosswater

Crosswater US-BTW0201 User manual

Crosswater Berea 11-19-T User manual

Crosswater

Crosswater Berea 11-19-T User manual

Crosswater US-AL7005CW User manual

Crosswater

Crosswater US-AL7005CW User manual

Crosswater MPRO US-PRO110 User manual

Crosswater

Crosswater MPRO US-PRO110 User manual

Crosswater Arcade US-ARC14 User manual

Crosswater

Crosswater Arcade US-ARC14 User manual

Crosswater Waldorf US-WF422175 User manual

Crosswater

Crosswater Waldorf US-WF422175 User manual

Crosswater KL322DC User manual

Crosswater

Crosswater KL322DC User manual

Crosswater UNION US-UN800 User manual

Crosswater

Crosswater UNION US-UN800 User manual

Crosswater ATOLL SQUARE EXPOSED THERMO SHOWER VALVE... User manual
Crosswater

Crosswater ATOLL SQUARE EXPOSED THERMO SHOWER VALVE... User manual

Crosswater Belgravia Wall Union US-BL004 User manual

Crosswater

Crosswater Belgravia Wall Union US-BL004 User manual

Crosswater 17-20-T User manual

Crosswater

Crosswater 17-20-T User manual

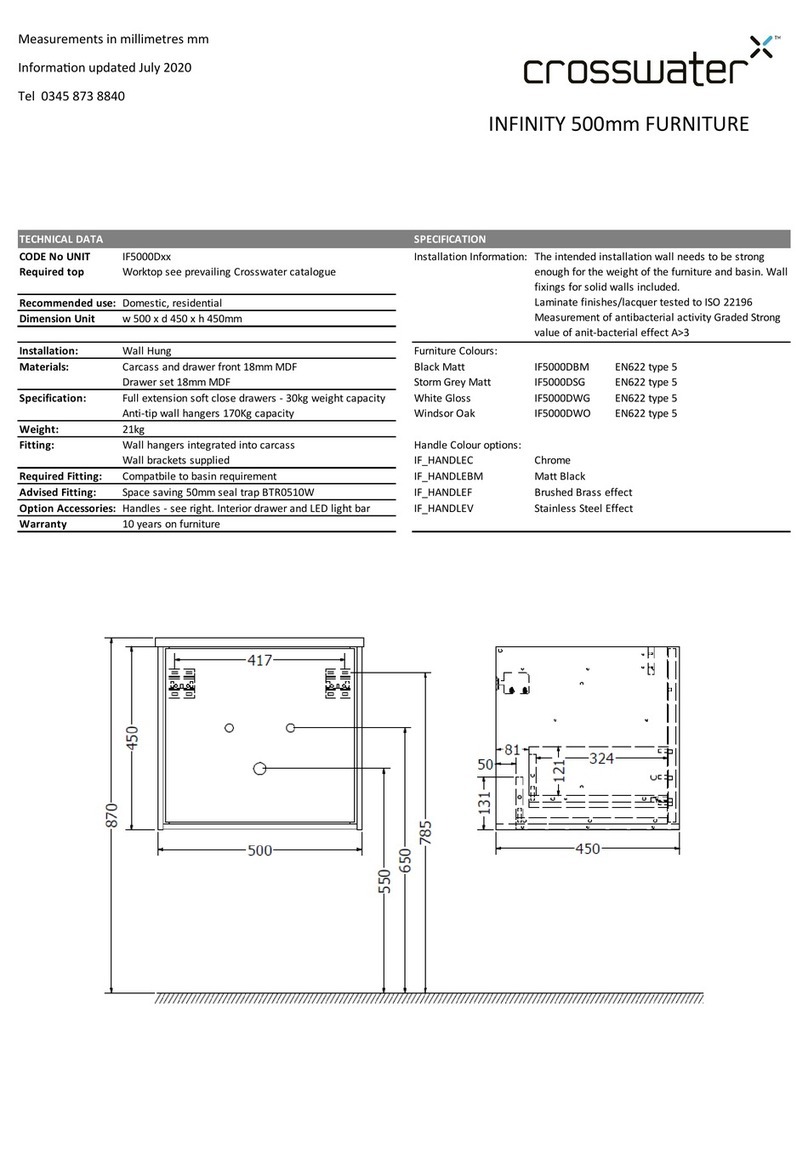
Crosswater INFINITY 500mm FURNITURE User manual
Crosswater

Crosswater INFINITY 500mm FURNITURE User manual

Popular Plumbing Product manuals by other brands

American Standard Two- Handle Centerset Lavatory Faucet... Specification sheet

American Standard

American Standard Two- Handle Centerset Lavatory Faucet... Specification sheet

Kohler K-45210 Installation and care guide

Kohler

Kohler K-45210 Installation and care guide

American Standard Countertop Lavatory 0293 Series installation instructions

American Standard

American Standard Countertop Lavatory 0293 Series installation instructions

Mirabelle PERDITA MIRXCPD100CP installation instructions

Mirabelle

Mirabelle PERDITA MIRXCPD100CP installation instructions

IMC/Teddy PHS installation manual

IMC/Teddy

IMC/Teddy PHS installation manual

Sanela SLP 23Z Instructions for use

Sanela

Sanela SLP 23Z Instructions for use

PEERLESS P188103LF Series manual

PEERLESS

PEERLESS P188103LF Series manual

ZURN AQUASPEC Z84300-XL SERIES technical information

ZURN

ZURN AQUASPEC Z84300-XL SERIES technical information

American Standard Colony Soft 2175.502 installation instructions

American Standard

American Standard Colony Soft 2175.502 installation instructions

Bristan Jute JU PBSM C Fitting Instructions & Contents List

Bristan

Bristan Jute JU PBSM C Fitting Instructions & Contents List

WimTec LOFT Assembly and operating instructions

WimTec

WimTec LOFT Assembly and operating instructions

Pfister Bronson LG48-BS0 Quick installation guide

Pfister

Pfister Bronson LG48-BS0 Quick installation guide

Dynamic Saunas DYN6202 owner's manual

Dynamic Saunas

Dynamic Saunas DYN6202 owner's manual

Sanela SLUN 71P Instructions for use

Sanela

Sanela SLUN 71P Instructions for use

American Standard Heritage 7292.152 Specification sheet

American Standard

American Standard Heritage 7292.152 Specification sheet

American Standard Wiiliamsburg 2904.222.002EZ Specification sheet

American Standard

American Standard Wiiliamsburg 2904.222.002EZ Specification sheet

Danze eFoodie D423107 manual

Danze

Danze eFoodie D423107 manual

Hans Grohe Metris Classic 13413000 Assembly instructions

Hans Grohe

Hans Grohe Metris Classic 13413000 Assembly instructions

manuals.online logo
manuals.online logoBrands
  • About & Mission
  • Contact us
  • Privacy Policy
  • Terms and Conditions

Copyright 2025 Manuals.Online. All Rights Reserved.