Cumberland FLX-5639 User manual

Automated Slide Gate for XD and
XD Ultra Unloaders
Models:
FLX-5639 AND FLX-5700 (SINGLE GATE)
FLX-5640 AND FLX-5701 (TWIN GATE)
Installation Manual
PNEG-2391
Version 1.0
Date: 10-06-22
PNEG-2391

All information, illustrations, photos, and specifications in this manual are based on the latest
information available at the time of publication. The right is reserved to make changes at any
time without notice.
2PNEG-2391 Automated Slide Gate for XD and XD Ultra

Contents
Chapter 1 Safety Precautions ....................................................................................................................5
Safety Guidelines........................................................................................................................5
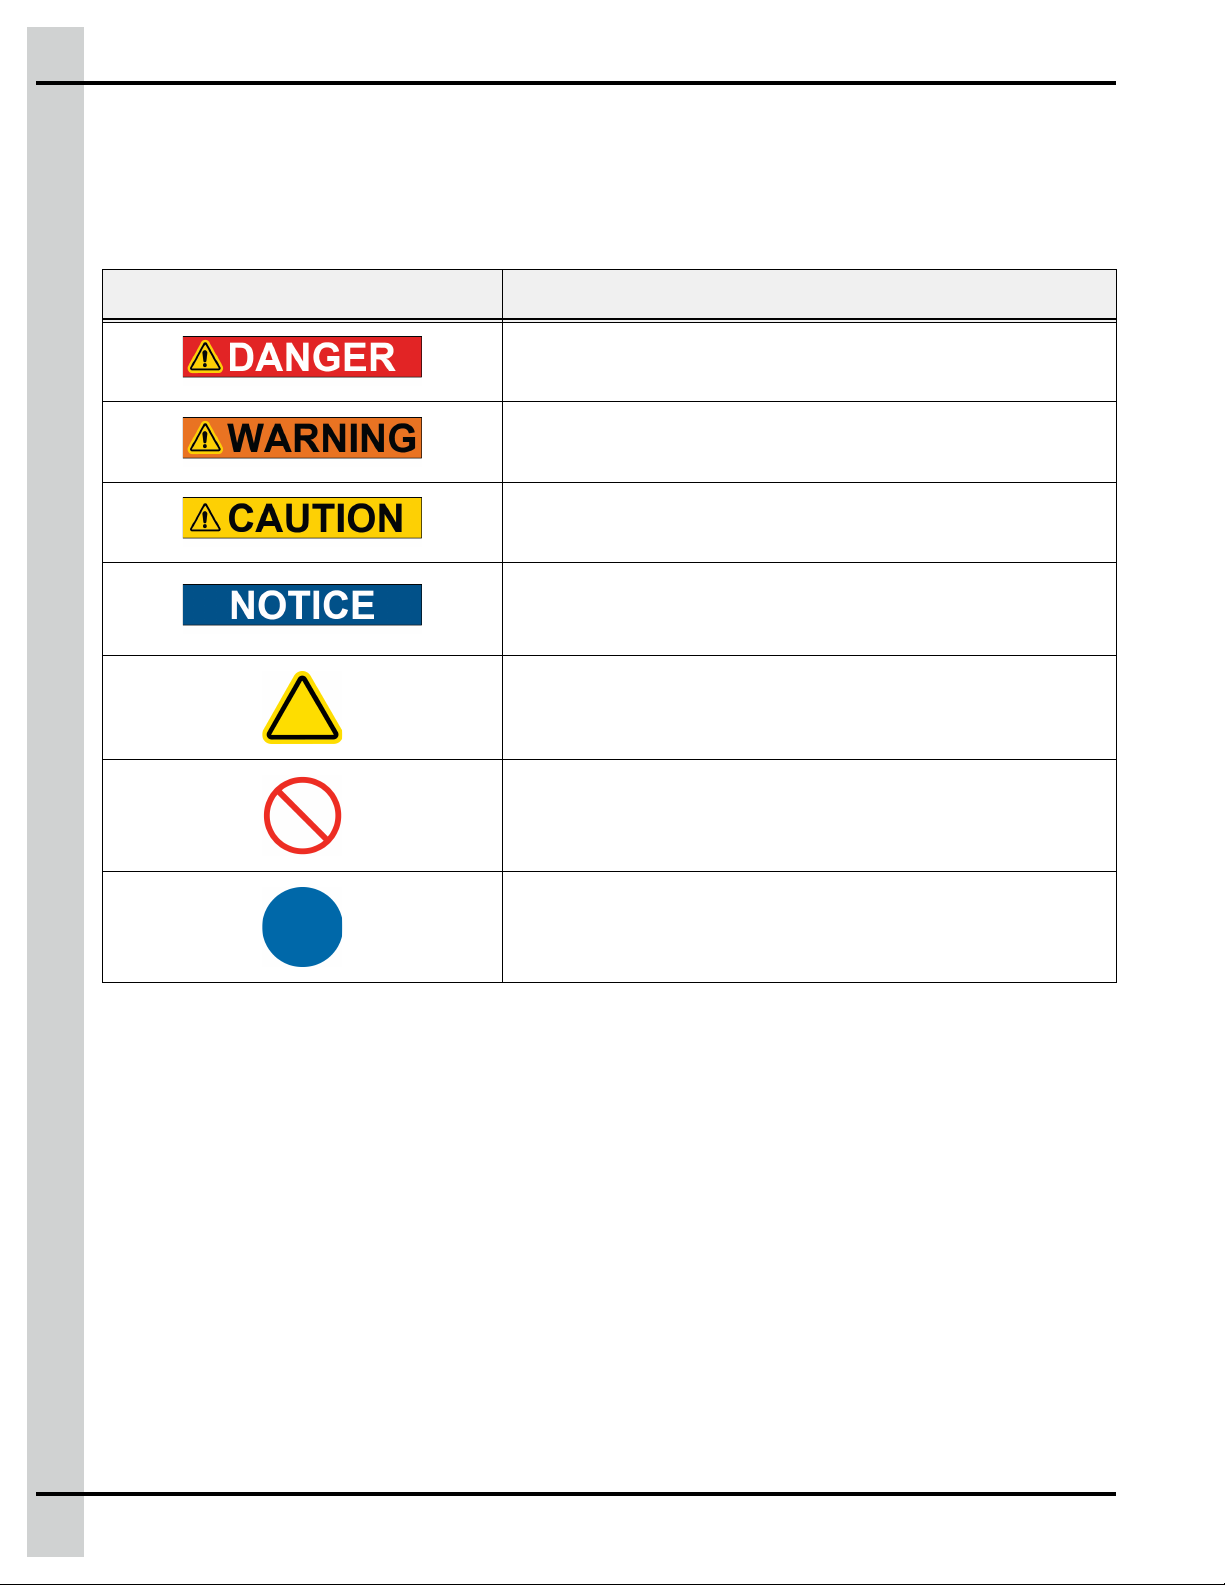
Cautionary Symbol Definitions......................................................................................................6
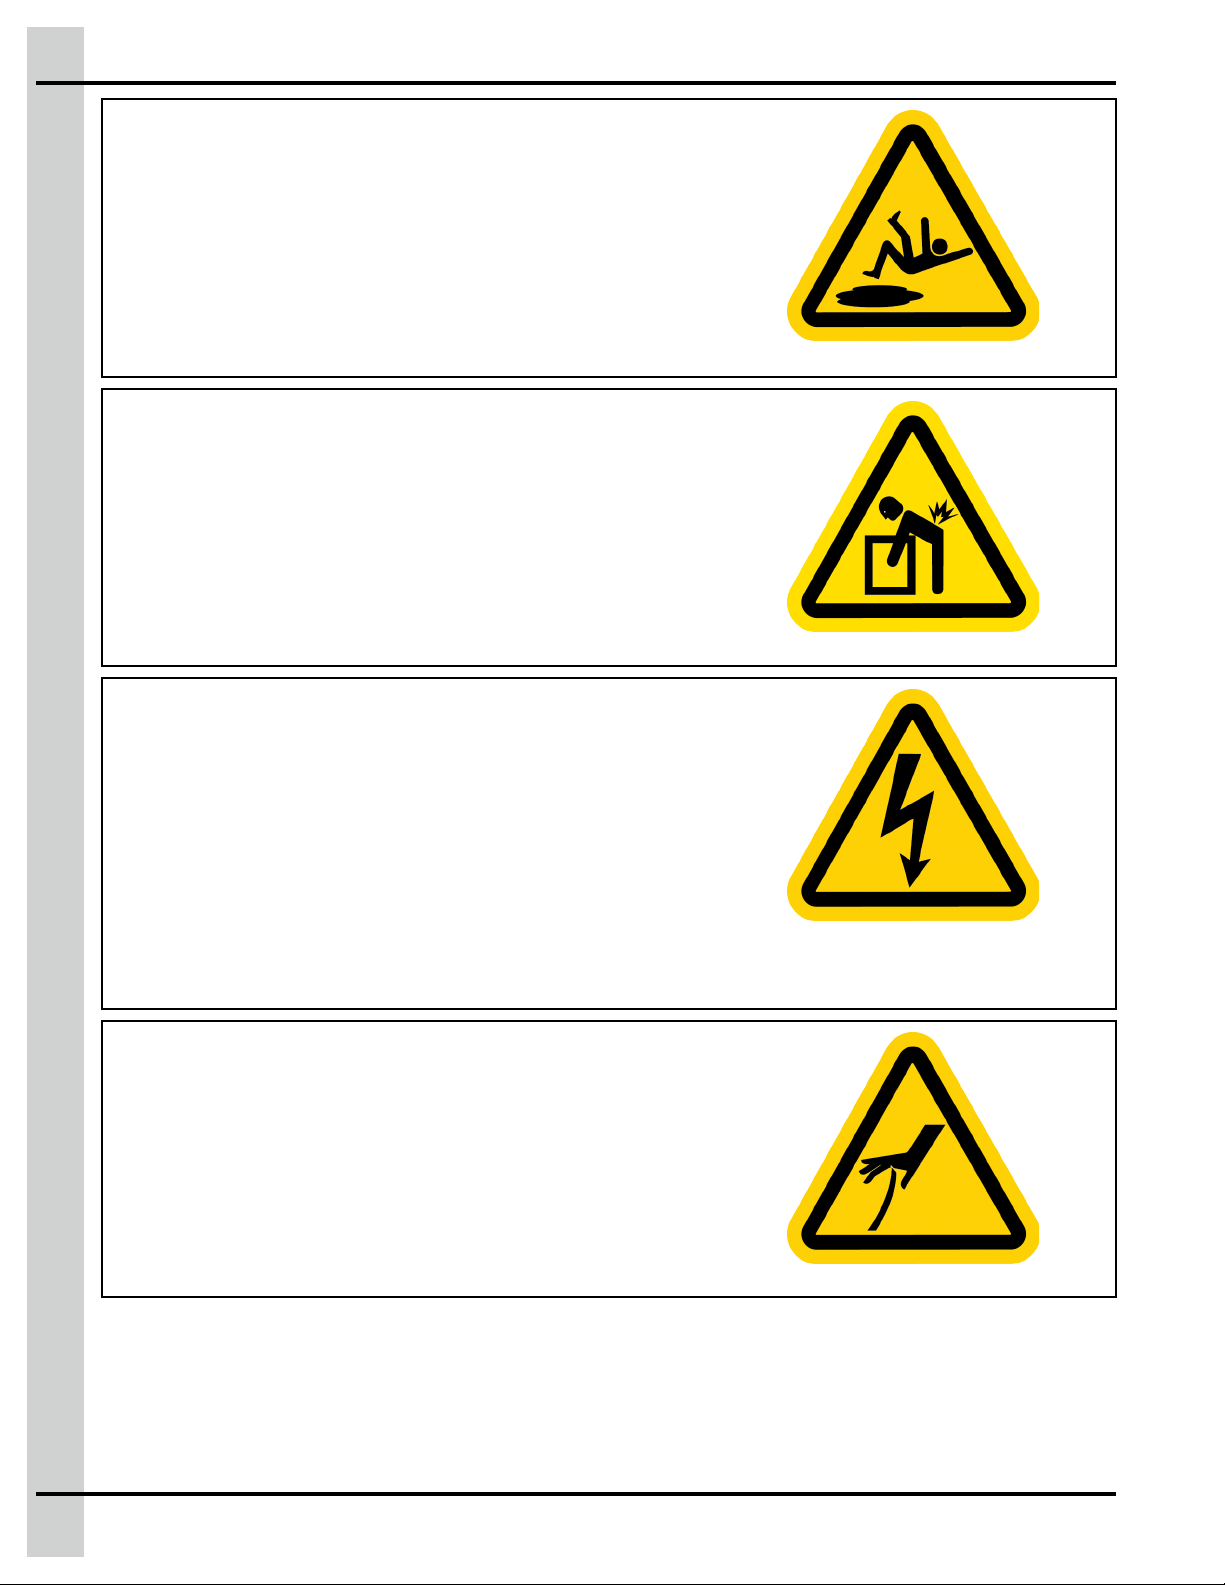
Safety Cautions...........................................................................................................................7
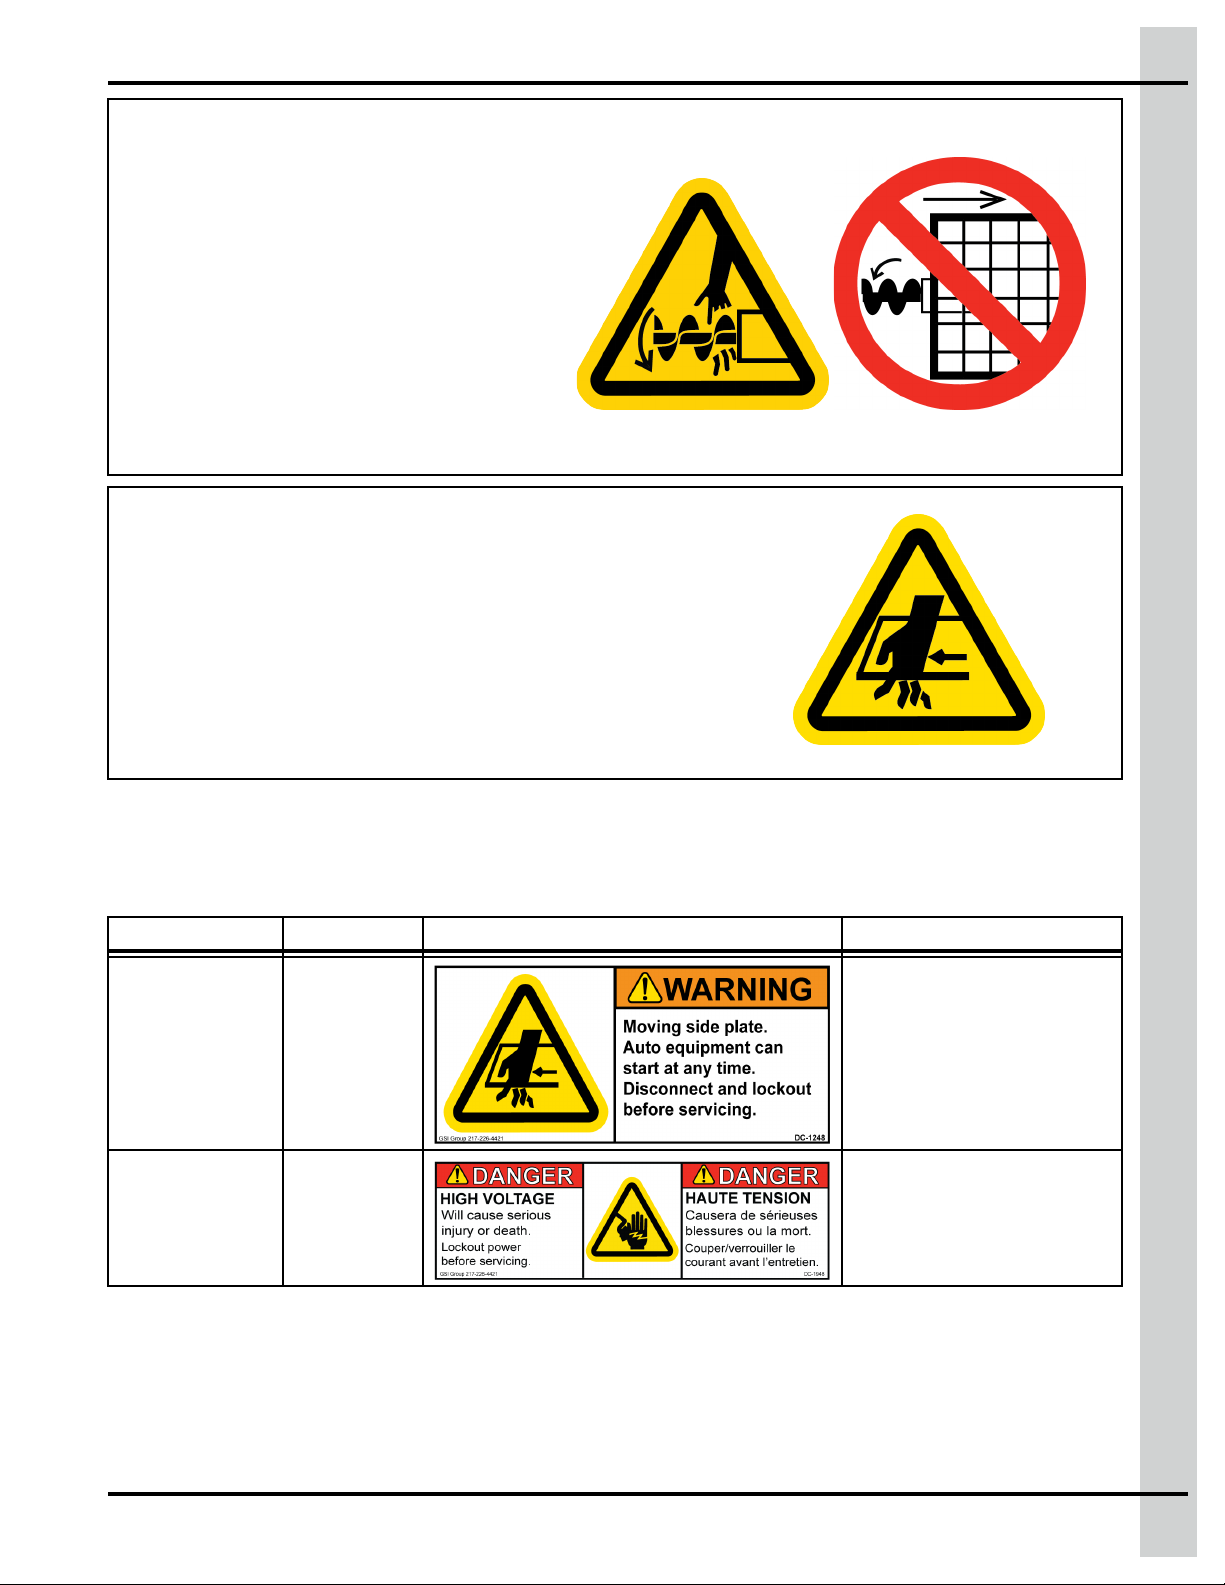
Safety Decals .............................................................................................................................9
Safety Sign-off Sheet.................................................................................................................10
Chapter 2 Installing the Slide Gate ..........................................................................................................11
General Information................................................................................................................... 11
Part Numbers............................................................................................................................ 11
Installing the Automatic Slide Gate Assembly (For XD or Legacy Unloader)...................................12
Installing the Automatic Slide Gate Assembly (For XD Ultra Unloader) ..........................................15
Routing the Conduit(s) to the Controller ......................................................................................18
Installing the Proximity Switch (Optional).....................................................................................19
Chapter 3 Wiring Diagrams......................................................................................................................21
Chapter 4 Parts List.................................................................................................................................25
Single Slide Gate Assembly for XD Unloader (FLX-5700) .............................................................26
Twin Slide Gate Assembly for XD Unloader (FLX-5701) ...............................................................28
Single Slide Gate Assembly for XD Ultra Unloader (FLX-5639) .....................................................30
Twin Slide Gate Assembly for XD Ultra Unloader (FLX-5640) .......................................................32
Limited Warranty - Protein Products .......................................................................................35
PNEG-2391 Automated Slide Gate for XD and XD Ultra 3

NOTES
4PNEG-2391 Automated Slide Gate for XD and XD Ultra

1Safety Precautions
Topics Covered in this Chapter
▪ Safety Guidelines
▪ Cautionary Symbol Definitions
▪ Safety Cautions
▪ Safety Decals
▪ Safety Sign-off Sheet
Safety Guidelines
Safety guidelines are general-to-specific safety rules that must be followed at all times. This manual is
written to help you understand safe operating procedures and problems that can be encountered by the
operator and other personnel when using this equipment. Read and save these instructions.
As owner or operator, you are responsible for understanding the requirements, hazards, and precautions
that exist and to inform others as required. Unqualified persons must stay out of the work area at all
times.
Alterations must not be made to the equipment. Alterations can produce dangerous situations resulting in
SERIOUS INJURY or DEATH.
This equipment must be installed in accordance with the current installation codes and applicable
regulations, which must be carefully followed in all cases. Authorities having jurisdiction must be
consulted before installations are made.
When necessary, you must consider the installation location relative to electrical, fuel and water utilities.
Personnel operating or working around equipment must read this manual. This manual must be delivered
with equipment to its owner. Failure to read this manual and its safety instructions is a misuse of the
equipment.
ST-0001–4
PNEG-2391 Automated Slide Gate for XD and XD Ultra 5

Chapter 1: Safety Precautions
Cautionary Symbol Definitions
Cautionary symbols appear in this manual and on product decals. The symbols alert the user of potential
safety hazards, prohibited activities and mandatory actions. To help you recognize this information, we
use the symbols that are defined below.
Table 1-1 Description of the different cautionary symbols
Symbol Description
This symbol indicates an imminently hazardous situation which, if
not avoided, will result in serious injury or death.
This symbol indicates a potentially hazardous situation which, if not
avoided, can result in serious injury or death.
This symbol indicates a potentially hazardous situation which, if not
avoided, can result in minor or moderate injury.
This symbol is used to address practices not related to personal
injury.
This symbol indicates a general hazard.
This symbol indicates a prohibited activity.
This symbol indicates a mandatory action.
ST-0005–2
6PNEG-2391 Automated Slide Gate for XD and XD Ultra

Chapter 1: Safety Precautions
Safety Cautions
Use Personal Protective Equipment
• Use appropriate personal protective equipment:
Eye
Protection
Respiratory
Protection
Foot
Protection
Hearing
Protection
Head
Protection
Fall
Protection
Hand
Protection
• Wear clothing appropriate to the job.
• Remove all jewelry.
• Tie long hair up and back.
ST-0004–1
Follow Safety Instructions
• Carefully read all safety messages in this manual and safety
signs on your machine. Keep signs in good condition.
Replace missing or damaged safety signs. Be sure new
equipment components and repair parts include the current
safety signs. Replacement safety signs are available from
the manufacturer.
• Learn how to operate the machine and how to use controls
properly. Do not let anyone operate without instruction.
• If you do not understand any part of this manual or need
assistance, contact your dealer.
ST-0002–1
PNEG-2391 Automated Slide Gate for XD and XD Ultra 7

Chapter 1: Safety Precautions
Maintain Equipment and Work Area
• Understand service procedures before doing work. Keep
area clean and dry.
• Never service equipment while it is operating. Keep hands,
feet, and clothing away from moving parts.
• Keep your equipment in proper working condition. Replace
worn or broken parts immediately.
ST-0003–1
Lifting Hazard
• Single person lift can cause injury.
• Use a mechanical lifting device to lift or move the equipment
during installation.
ST-0021–2
Install and Operate Electrical Equipment Properly
• Electrical controls must be installed by a qualified electrician
and must meet the standards set by applicable local codes
(National Electrical Code for the US, Canadian Electric
Code, or EN60204 along with applicable European
Directives for Europe).
• Lock-out power source before making adjustments, cleaning,
or maintaining equipment.
• Make sure all equipment is properly grounded.
ST-0027–4
Sharp Edge Hazard
• This product has sharp edges, which can cause serious
injury.
• To avoid injury, handle sharp edges with caution and always
use proper protective clothing and equipment.
ST-0036–2
8PNEG-2391 Automated Slide Gate for XD and XD Ultra

Chapter 1: Safety Precautions
Rotating Auger Hazard
• Keep clear of rotating augers and
moving parts.
• Do not remove or modify guards or
covers.
• Lock-out power source before making
adjustments, cleaning, or maintaining
equipment.
• Failure to follow these precautions will
result in serious injury or death.
ST-0037–1
Stay Clear of Slide Gate
• Keep hands away from slide gate opening. Slide gates can
crush and dismember. Motor can start at any time.
• Lock-out power source before making adjustments, cleaning,
or maintaining equipment.
ST-0049–1
Safety Decals
The safety decals on your equipment are safety indicators which must be carefully read and understood
by all personnel involved in the installation, operation, service and maintenance of the equipment.
Location Decal No. Decal Description
On side of the
rain cover DC-1248 Decal, Warning Slide Gate
On side of the
rain cover DC-1948 Decal, Danger Hi-Voltage
To replace a damaged or missing decal, contact us to receive a free replacement.
GSI Decals
1004 E. Illinois St.
Assumption, IL 62510
Tel: 1-217-226-4421
PNEG-2391 Automated Slide Gate for XD and XD Ultra 9

Chapter 1: Safety Precautions
Safety Sign-off Sheet
Below is a sign-off sheet that can be used to verify that all personnel have read and understood the safety
instructions. This sign-off sheet is provided for your convenience and personal record keeping.
Date Employee Name Supervisor Name
ST-0007
10 PNEG-2391 Automated Slide Gate for XD and XD Ultra

2Installing the Slide Gate
Topics Covered in this Chapter
▪ General Information
▪ Part Numbers
▪ Installing the Automatic Slide Gate Assembly (For XD or Legacy Unloader)
▪ Installing the Automatic Slide Gate Assembly (For XD Ultra Unloader)
▪ Routing the Conduit(s) to the Controller
▪ Installing the Proximity Switch (Optional)
General Information
The automatic slide gate for XD and XD Ultra unloaders uses the existing plastic transfer plates which
allows to install the slide gate assembly without dropping the unloader. This means that the slide gate
assembly can be retrofit with the feed inside the tank.
Part Numbers
Table 2-1 Slide gate assembly part numbers
Ref # Part # Description
XD or Legacy XD Ultra
1 S-4336 –5/16" x 1" MS screw
2–S-10185 5/16" x 1-1/2" flange bolt
3 S-396 –5/16" hex nut
4–S-7382 5/16" nylock nut
5 BLK-10497 FLX-5739 Rain guard
6 FLX-4782 FLX-5540 Single slide gate
7 FLX-4785 –Double slide gate
8–FLX-5543L Left slide gate
9–FLX-5543R Right slide gate
10 FLX-5686 Power supply
11 Chain
12 Slide gate assembly
13 Slide gate
14 Plastic transfer plate
15 Conduit adapter
16 Conduit bracket
17 3/4" conduit
18 Controller
19 Boot
20 Unloader
Table 2-2 Proximity switch kit (FLX-5732)
21 S-7466 #10-16 x 3/4" self-drilling screw
22 FLX-5206 Proximity switch mounting bracket
23 FLXDF-1172 Proximity switch
PNEG-2391 Automated Slide Gate for XD and XD Ultra 11

Chapter 2: Installing the Slide Gate
Installing the Automatic Slide Gate Assembly (For XD or Legacy
Unloader)
Removing the Rain Cover and Manual Gate(s) from the Unloader
1. Remove the two 5/16" x 1" MS screws (1) with a 1/2" wrench/socket that connects the rain guard (5)
to the unloader (20).
2. Remove the rain guard (5) from the unloader (20).
Figure 2-1 Removing the rain guard from the unloader
3. Remove the single manual slide gate (6) or double manual slide gates (7) from the unloader (20).
Figure 2-2 Removing the slide gate(s) from the unloader
12 PNEG-2391 Automated Slide Gate for XD and XD Ultra

Chapter 2: Installing the Slide Gate
Installing the Automatic Slide Gate Assembly to the Unloader
4. Position the front end of automatic slide gate assembly (12) onto the unloader (20). Pass the chains
(11) through the two eyelets at the rear end of the assembly (12) and hang the assembly (12).
Figure 2-3 Hanging the slide gate assembly with chains
5. Align the gate (13) inside the slide gate assembly (12) with the slot on the plastic transfer plate (14).
Figure 2-4 Aligning the gate with the transfer plate slot
PNEG-2391 Automated Slide Gate for XD and XD Ultra 13

Chapter 2: Installing the Slide Gate
6. Push the slide gate assembly (12) until the two holes on the front end aligns with the two holes on
the unloader (20). Secure the assembly (12) to the unloader (20) using 5/16" x 1" MS screws (1) and
5/16" hex nuts (3) that are removed in step 1, page 12.
NOTE: Adjust the chains (11) at the rear end of the assembly (12) to level the unit.
Figure 2-5 Installing the slide gate assembly to the unloader
7. Attach the 90 degree conduit adapter (15) to the conduit bracket (16) on the slide gate assembly
(12).
Figure 2-6 Attaching the conduit bracket
14 PNEG-2391 Automated Slide Gate for XD and XD Ultra

Chapter 2: Installing the Slide Gate
Installing the Automatic Slide Gate Assembly (For XD Ultra
Unloader)
Removing the Rain Cover and Manual Gate(s) from the Unloader
1. Remove the two 5/16" x 1-1/2" flange bolts (2) with a 1/2" wrench/socket that connects the rain
guard (5) to the unloader (20).
2. Remove the rain guard (5) from the unloader (20).
Figure 2-7 Removing the rain guard from the unloader
3. Remove the single manual slide gate (6) or twin manual slide gates (8 and 9) from the unloader
(20).
Figure 2-8 Removing the slide gate(s) from the unloader
PNEG-2391 Automated Slide Gate for XD and XD Ultra 15

Chapter 2: Installing the Slide Gate
Installing the Automatic Slide Gate Assembly to the Unloader
4. Position the front end of automatic slide gate assembly (12) onto the unloader (20). Pass the chains
(11) through the two eyelets at the rear end of the assembly (12) and hang the assembly (12).
Figure 2-9 Hanging the slide gate assembly with chains
5. Align the gate (13) inside the slide gate assembly (12) with the slot on the plastic transfer plate (14).
Figure 2-10 Aligning the gate with the transfer plate slot
16 PNEG-2391 Automated Slide Gate for XD and XD Ultra

Chapter 2: Installing the Slide Gate
6. Push the slide gate assembly (12) until the two holes on the front end aligns with the two holes on
the unloader (20). Secure the assembly (12) to the unloader (20) using 5/16" x 1-1/2" flange bolts
(2) and 5/16" nylock nuts (4) that are removed in step 1, page 15.
NOTE: Adjust the chains (11) at the rear end of the assembly (12) to level the unit.
Figure 2-11 Installing the slide gate assembly to the unloader
7. Attach the 90 degree conduit adapter (15) to the conduit bracket (16) on the slide gate assembly
(12).
Figure 2-12 Attaching the conduit bracket
PNEG-2391 Automated Slide Gate for XD and XD Ultra 17

Chapter 2: Installing the Slide Gate
Routing the Conduit(s) to the Controller
1. Run the wires through the 3/4" conduit (17).
2. Route the 3/4" conduit (17) across the braces to the controller (18).
3. Wire the controller (18) and power supply (10). Refer to Chapter 3 Wiring Diagram, page 21 for
details.
Figure 2-13 Routing the 3/4" conduit
4. Test the slide gate in service mode or manually move the slide gate to make sure the gate operates
smoothly.
5. Configure the local controller with the appropriate node, slides, feed lines and proximity switch.
18 PNEG-2391 Automated Slide Gate for XD and XD Ultra

Chapter 2: Installing the Slide Gate
Installing the Proximity Switch (Optional)
In auto mode, proximity switches allow the system to automatically switch between the tanks connected
to a “feedline”. Premise of the program is that it will keep one slide gate on each “feedline” open all the
time if there is feed in the tanks. When one tank runs empty, the system will switch to the next tank
automatically. This is the “Auto” mode.
1. Mount the proximity switch mounting bracket (22) onto the middle of the boot (19) face using four
#10-16 x 3/4" self-drilling screws (21).
NOTE: Make sure to mount the bracket (22) on the boot (19) face opposite to the actuator.
2. Attach the proximity switch (23) to the switch mounting bracket (22).
3. Calibrate the proximity switch (23).
Figure 2-14 Installing the proximity switch
4. Route the cable through the conduit for the other load cell wires.
5. Wire the proximity switch (23) to the controller
6. Program the proximity switch (23) accordingly.
a. If you have one controller for one tank, then wire the switch to either proximity 1 or proximity 2
and select the appropriate setting in the configuration menu.
b. If you have one controller for two tanks (single on each tank), then wire the two switches and
select the “proximity switch: Both” setting in the configuration menu.
PNEG-2391 Automated Slide Gate for XD and XD Ultra 19

NOTES
20 PNEG-2391 Automated Slide Gate for XD and XD Ultra
This manual suits for next models
3
Table of contents
Other Cumberland Farm Equipment manuals

Cumberland
Cumberland Integra Feed-Link User manual

Cumberland
Cumberland Farm Hand Swine Finisher User manual

Cumberland
Cumberland U-Series User manual

Cumberland
Cumberland Hi-Lo Flood Feeder User manual

Cumberland
Cumberland Integra Feed-Link User manual

Cumberland
Cumberland 6500 Series Specification sheet

Cumberland
Cumberland Hi-Lo User manual

Cumberland
Cumberland PNEG-240 User manual

Cumberland
Cumberland Hi-Lo User manual