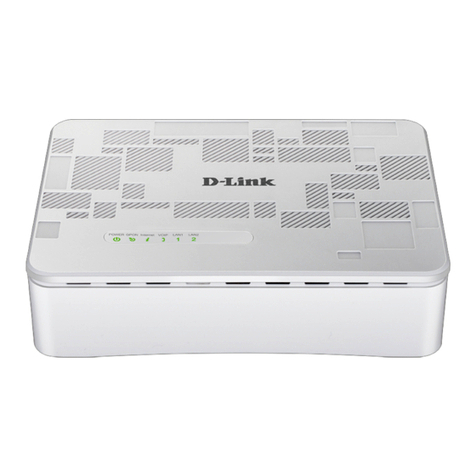
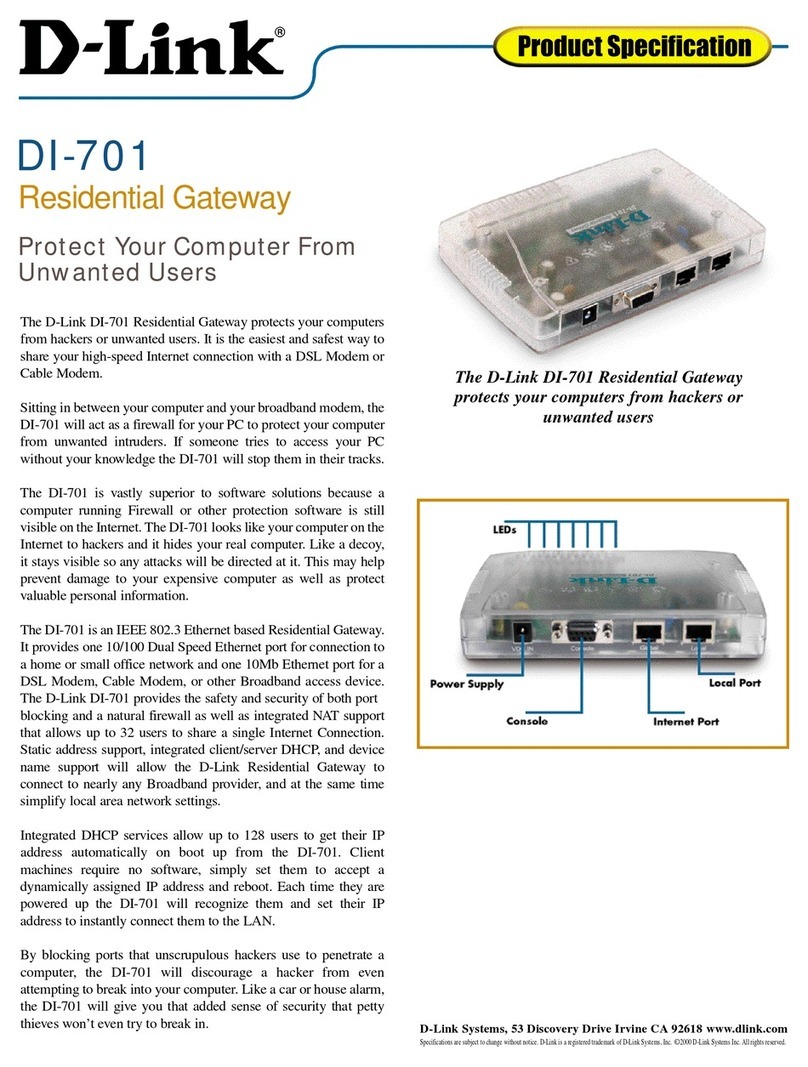
D-Link DPN-1021G User manual
Other D-Link Gateway manuals
D-Link
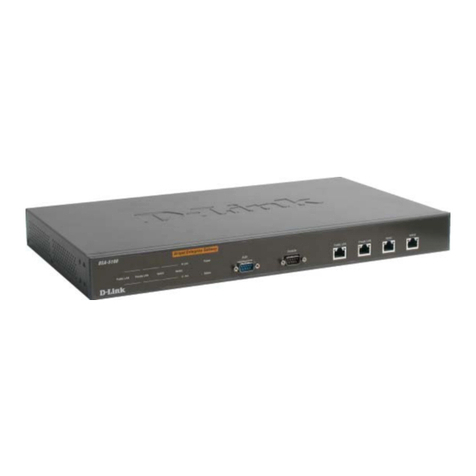
D-Link DSA 5100 - Airspot - Gateway User manual
D-Link
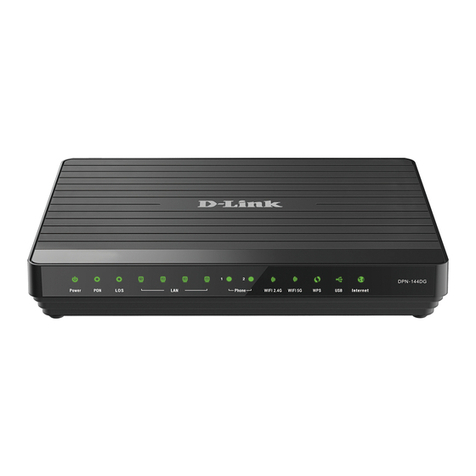
D-Link DPN-144DG User manual
D-Link
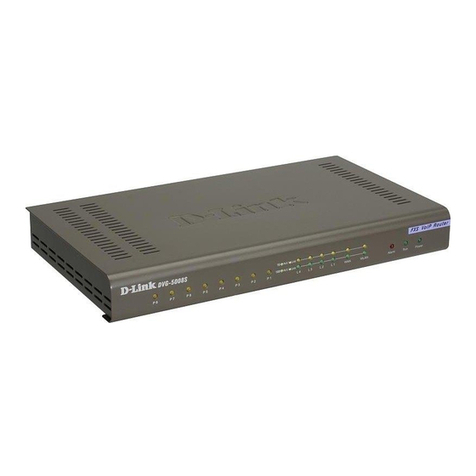
D-Link DVG-5008S User manual
D-Link
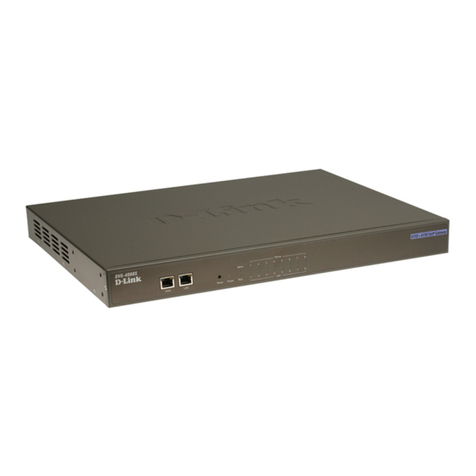
D-Link DVG-4088S User manual
D-Link
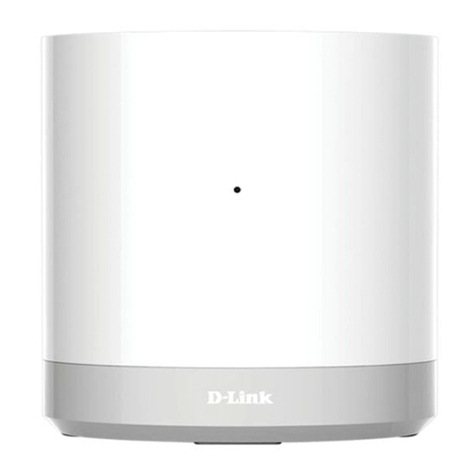
D-Link DCH-G020 User manual
D-Link
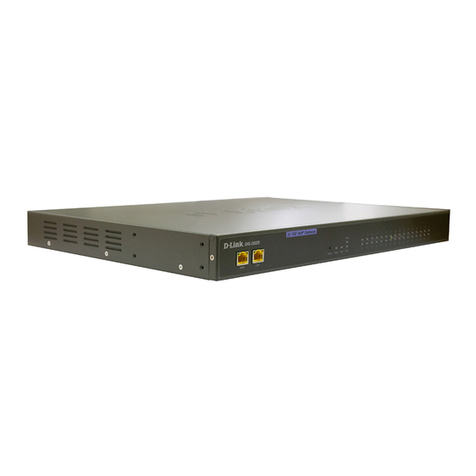
D-Link DVG-2032S User manual
D-Link
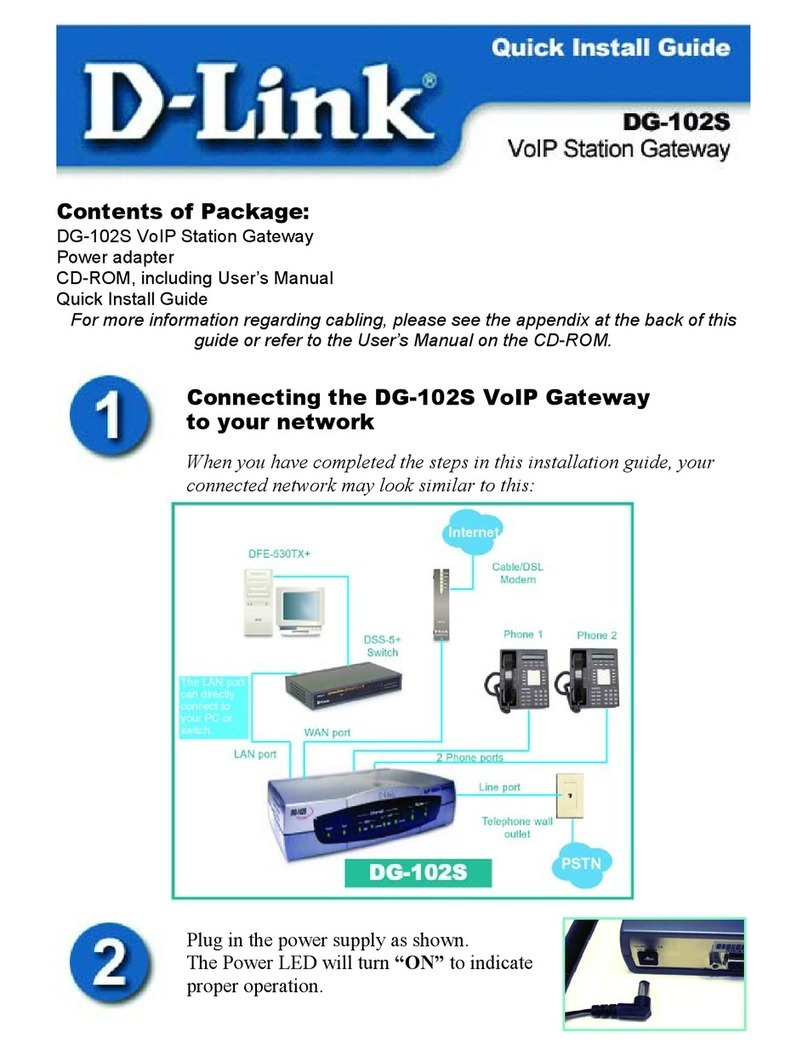
D-Link DG-102S User manual
D-Link
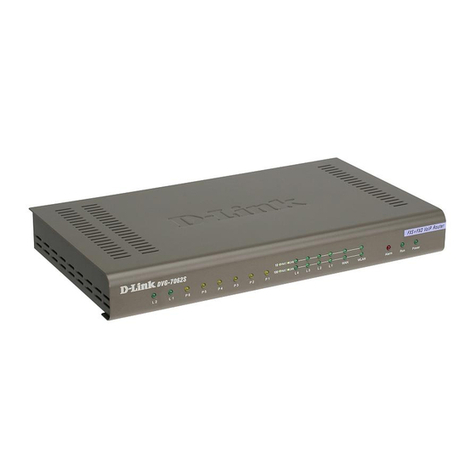
D-Link DVG-7062S User manual
D-Link
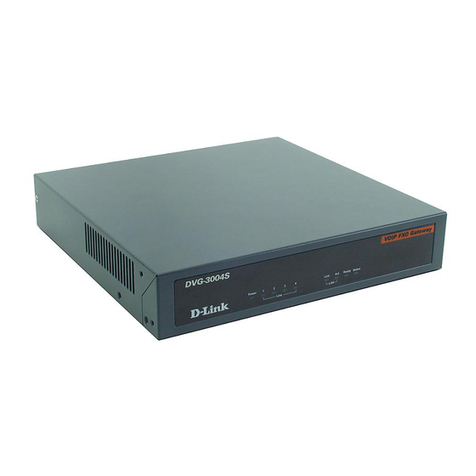
D-Link DVG-3004S User manual
D-Link
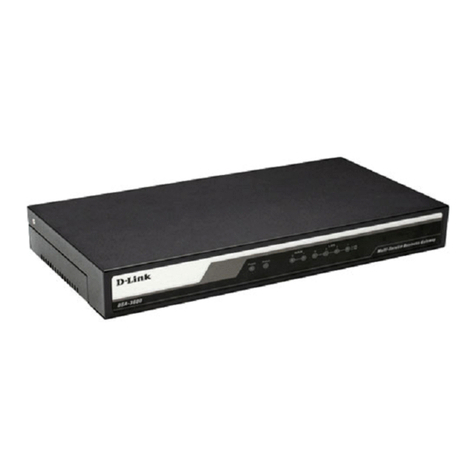
D-Link DSA-3600 User manual
D-Link
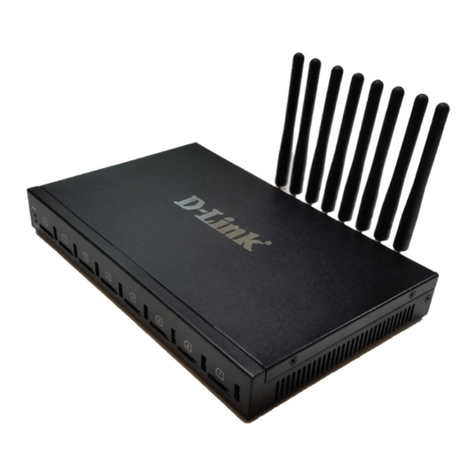
D-Link DVG?6008G User manual
D-Link
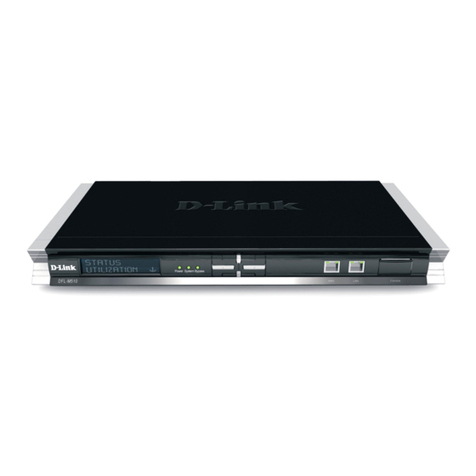
D-Link DFL-M510 User manual
D-Link
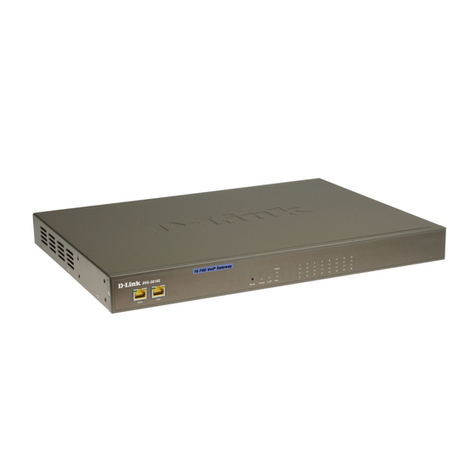
D-Link DVG-3016S User manual

D-Link
D-Link DPN-144DG User manual
D-Link
D-Link DG-102S User manual
D-Link
D-Link DG-104S User manual
D-Link
D-Link DRO-220i User manual
D-Link
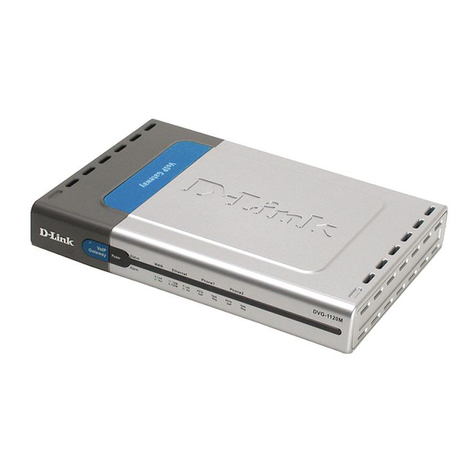
D-Link DVG-1120M User manual
D-Link
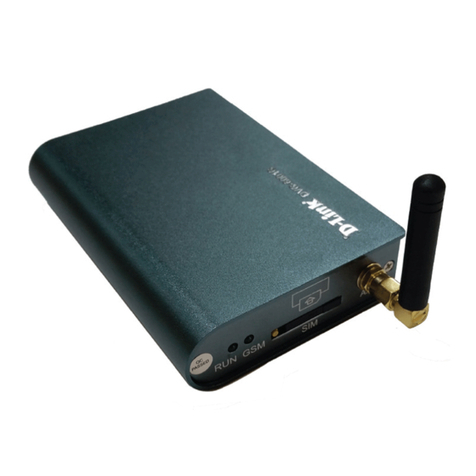
D-Link DVG?6001G User manual
D-Link
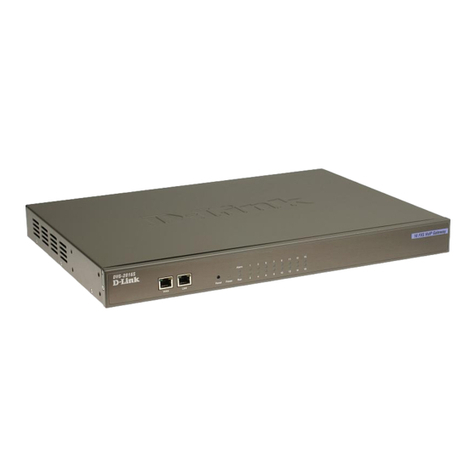
D-Link DVG-2016S User manual
Popular Gateway manuals by other brands

LST
LST M500RFE-AS Specification sheet

Kinnex
Kinnex Media Gateway quick start guide

2N Telekomunikace
2N Telekomunikace 2N StarGate user manual

Mitsubishi Heavy Industries
Mitsubishi Heavy Industries Superlink SC-WBGW256 Original instructions

ZyXEL Communications
ZyXEL Communications ZYWALL2 ET 2WE user guide

Telsey
Telsey CPVA 500 - SIP Technical manual
