manuals.online logo
Brands
  1. Home
  2. •
  3. Brands
  4. •
  5. Darco
  6. •
  7. Medical Equipment
  8. •
  9. Darco Body Armor Walker User manual

Darco Body Armor Walker User manual

5. Placez le protège-tibia en position et fixez-le sous les bords de la coquille de la botte.
6. Insérez les sangles dans les boucles et ajustez-les à la compression souhaitée. Fermez les boucles
à bout bleu en position verrouillée.
Modification du site de décharge : Body Armor® Walker II
1. Retirez la semelle intérieure supérieure (beige) de la botte.
2. Placez une pellicule stérile sur la zone à décharger.
3. Marquez la zone à décharger sur la pellicule avec un marqueur transférable.
4. Placez le pied dans la botte et tenez-vous debout pour permettre à la marque de se transférer sur
la semelle intérieure inférieure (blanche). Retirez la semelle inférieure une fois que c’est terminé.
5. À l’aide d’un couteau utilitaire ou d’un outil rotatif, découpez la zone de décharge. Écartez les
bords (environ 30°). La zone de décharge doit être 0,5 cm plus large que le bord extérieur de la
zone à décharger et étendue distalement de 1,25 cm.
6. Replacez la semelle intérieure inférieure modifiée dans la botte et couvrez-la avec la semelle
intérieure supérieure.
La gestion du site de décharge doit être effectuée sous les instructions d’un professionnel de la santé
et en consultation avec celui-ci.
Mise en garde
Veuillez toujours suivre ces instructions d’utilisation. En cas de douleur ou de gonflement, cessez
l’utilisation et consultez immédiatement votre médecin. Cet appareil est conçu pour aider à la
récupération et doit être utilisé exclusivement sous les instructions d’un professionnel de la santé
et en consultation avec celui-ci. DARCO® International Inc. n’assume aucune responsabilité en cas
de mauvaise utilisation du produit. Il est conseillé de porter des pansements ou des chaussettes
avec la botte. Ne conduisez pas de véhicule pendant que vous portez cet appareil. Soyez extrême-
ment prudent lorsque vous marchez sur toutes les surfaces lorsque vous utilisez cet appareil.
Marchez plus lentement que d’habitude. Cet appareil est destiné à un usage par un seul patient.
Pour le patient ou l’utilisateur : Cet appareil à la fine pointe de la technologie a été conçu et fabriqué
par DARCO® International, Inc. pour le traitement d’une condition médicale spécifique. Si un incident
grave survient relativement à cet appareil, il doit être signalé au fabricant aux coordonnées indiquées
dans ce document et aux autorités compétentes du pays ou de l’État où vous vous trouvez. Une fois le
traitement terminé, jetez cet appareil conformément aux lois et aux ordonnances locales.
Indications
> Postoperative use, trauma care, stress fractures, soft tissue injury
Contraindications
> Open fractures, poor circulation
Cleaning Instructions/Maintenance
> When the shell or inner liner is slightly dirty, clean it with a damp cloth or a soft brush.
> Allow the shell or inner liner to air dry only.
Instructions for use - Body Armor® Walker
1. Unlock all buckles and remove the shin guard, foam pads, and liner.
2. Wrap the liner around the foot and secure with the closures - Additional Liners are available.
3. Spread open the shell and place the foot heel first into the walker.
4. Place the foam pads in areas of excessive rubbing or to limit space (Optional).
5. Place the shin guard into position and secure it under the edges of the walker shell.
6. Insert straps into the buckles and adjust them to the desired compression. Close the blue-tipped
buckles to the locked position.
Instructions for use - Body Armor® Walker II
1. Unlock all buckles, remove the shin guard and foam pads.
2. If off-loading for ulcers, fractures, or other painful areas, see below instructions.
3. Spread open the shell and place the foot heel first into the walker.
4. Place the foam pads in areas of excessive rubbing or to limit space (Optional).
5. Place the shin guard into position and secure it under the edges of the walker shell.
6. Insert straps into the buckles and adjust them to the desired compression. Close the blue-tipped
buckles to the locked position.
Off-load site modification - Body Armor® Walker II
1. Remove top insole (tan) from the walker.
2. Place a sterile film over the area to be off-loaded.
3. Mark the area to be off-loaded on the film with a transferable marker.
4. Place the foot in the walker and stand to allow the mark to transfer to the bottom insole (white).
Remove bottom insole when complete.
5. Using a utility knife or rotary tool, cut out the relief area. Skive the edges (approx. 30°).
The relief area should be 0.5 cm larger than the outer edge of the area to be offloaded and
extended distally 1.25 cm.
6. Place the modified bottom insole back in the walker and cover with the top insole.
Off-load site management should be under the instruction of and in consultation with a healthcare
professional.
EN
BWAL-IFU-21_Rev0321
Manufactured for:
DARCO® International, Inc.
810 Memorial Blvd.
Huntington, WV 25701, USA
Phone 304.522.4883
www.darcointernational.com
DARCO® (Europe) GmbH
Gewerbegebiet 18
82399 Raisting, Germany
Telefon +49 8807 9228 0
www.darco.de
Made in China
Body Armor® Walker
Instructions For Use
Body Armor® Walker Body Armor® Walker Liner
Body Armor® Walker II
®
Caution
Please always follow these instructions for use. In case of pain or swelling, discontinue use and
consult your medical provider immediately. This device is designed to assist recovery and should be
used exclusively under the instruction of and in consultation with a healthcare professional.
DARCO® International Inc. does not assume any responsibility for misuse of the product. It is
advisable to wear dressings or socks with the walker. Do not drive a vehicle while you are wearing
this device. Use extreme caution when walking on all surfaces when using this device. Walk more
slowly than normal. This device is for single-patient use only.
To the patient/user: This device has been designed and manufactured by DARCO® International, Inc.
to be state of the art for treatment of a specific medical condition. Should any serious incident occur
in relation to this device it should be reported to the manufacturer at the contact information listed
on this document and the proper authority of the country or state where you are located. When
treatment is complete, dispose of this device according to local laws and ordinances.
Indicaciones
> Uso postoperatorio, atención de traumatismos, fracturas por sobrecarga, lesiones de tejidos
blandos
Contraindicaciones
> Fracturas expuestas, mala circulación
Instrucciones de limpieza/mantenimiento
> Cuando la carcasa o el revestimiento interior estén ligeramente sucios, límpielos con un paño
húmedo o un cepillo suave.
> Deje que la carcasa o el revestimiento interior se seque al aire.
Instrucciones de uso: Body Armor® Walker
1. Destrabe todas las hebillas y retire la espinillera, las almohadillas de espuma y el revestimiento.
2. Envuelva el revestimiento alrededor del pie y asegúrelo con los cierres. Hay disponibles reves
timientos adicionales.
3. Separe la cubierta y coloque el talón del pie primero en el caminador.
4. Coloque las almohadillas de espuma en áreas de excesivo roce o para limitar el espacio (opcio
nal).
5. Coloque la espinillera en su lugar y fíjela debajo de los bordes de la cubierta del caminador.
6. Inserte las correas en las hebillas y ajústelas para lograr la compresión deseada. Cierre las hebil
las de punta azul hasta la posición de bloqueo.
Instrucciones de uso: Body Armor® Walker II
1. Destrabe todas las hebillas, quítese la espinillera y las almohadillas de espuma.
2. Si lo retira por úlceras, fracturas u otras áreas dolorosas, consulte las instrucciones a continu
ación.
3. Separe la cubierta y coloque el talón del pie primero en el caminador.
4. Coloque las almohadillas de espuma en áreas de excesivo roce o para limitar el espacio (opcio
nal).
5. Coloque la espinillera en su lugar y fíjela debajo de los bordes de la cubierta del caminador.
6. Inserte las correas en las hebillas y ajústelas para lograr la compresión deseada. Cierre las hebil
las de punta azul hasta la posición de bloqueo.
Modificación del sitio de descarga: Body Armor® Walker II
1. Retire la plantilla superior (oscura) del caminador.
2. Coloque una película estéril sobre el área a descargar.
3. Marque el área a descargar en la película con un marcador transferible.
4. Coloque el pie en el caminador y párese para permitir que la marca se transfiera a la plantilla
5. Con una navaja o una herramienta rotativa, corte el área de alivio. Bisele los bordes (aprox. 30°).
El área de alivio debe ser 0,5 cm más grande que el borde exterior del área a descargar y extend
erse distalmente 1,25 cm.
6. Vuelva a colocar la plantilla inferior modificada en el andador y cúbrala con la plantilla superior.
El manejo del sitio de descarga debe estar bajo la instrucción de y en consulta con un profesional de
la salud.
Precaución
Siga siempre estas instrucciones de uso. En caso de dolor o hinchazón, suspenda el uso y consulte
con su proveedor médico de inmediato. Este dispositivo está diseñado para ayudar en la recu-
peración y debe usarse exclusivamente bajo las instrucciones de y en consulta con un profesional
de la salud. DARCO® International Inc. no asume ninguna responsabilidad por el mal uso del
producto. Es recomendable usar vendajes o calcetines con el caminador. No conduzca mientras
esté usando este dispositivo. Tenga mucho cuidado al caminar sobre todas las superficies cuando
utilice este dispositivo. Camine más despacio de lo normal. Este dispositivo es para uso de un solo
paciente.
Para el paciente/usuario: Este dispositivo ha sido diseñado y fabricado por DARCO® International,
Inc. para ser el más avanzado en el tratamiento de una afección médica específica. Si ocurriera
algún incidente grave en relación con este dispositivo, se debe informar al fabricante cuya infor-
mación de contacto figura en este documento y a la autoridad correspondiente del país o estado
donde se encuentra. Una vez finalizado el tratamiento, deseche este dispositivo de acuerdo con las
leyes y ordenanzas locales.
Indications
> Utilisation postopératoire, soins traumatologiques, fractures de stress, lésions des tissus mous
Contre-indications
> Fractures ouvertes, mauvaise circulation
Instructions de nettoyage et entretien
> Si la coquille ou la doublure intérieure est légèrement sale, nettoyez-la avec un chiffon humide
ou une brosse douce.
> Laissez la coquille ou la doublure intérieure sécher à l’air uniquement.
Mode d’emploi : Body Armor® Walker
1. Détachez toutes les boucles et retirez le protège-tibia, les coussinets en mousse et la doublure.
2. Enroulez la doublure autour du pied et fixez-la avec les fermetures. Des doublures supplémen
taires sont disponibles.
3. Écartez la coquille et placez d’abord le talon du pied dans la botte.
4. Placez les coussinets en mousse dans les zones de frottement excessif ou pour limiter l’espace
(facultatif).
5. Placez le protège-tibia en position et fixez-le sous les bords de la coquille de la botte.
6. Insérez les sangles dans les boucles et ajustez-les à la compression souhaitée. Fermez les boucles
à bout bleu en position verrouillée.
Mode d’emploi : Body Armor® Walker II
1. Déverrouillez toutes les boucles, retirez le protège-tibia et les coussinets en mousse.
2. En cas de déchargement pour cause d’ulcères, de fractures ou d’autres zones douloureuses,
suivez les instructions ci-dessous.
3. Écartez la coquille et placez d’abord le talon du pied dans la botte.
4. Placez les coussinets en mousse dans les zones de frottement excessif ou pour limiter l’espace
(facultatif).
ES
FR
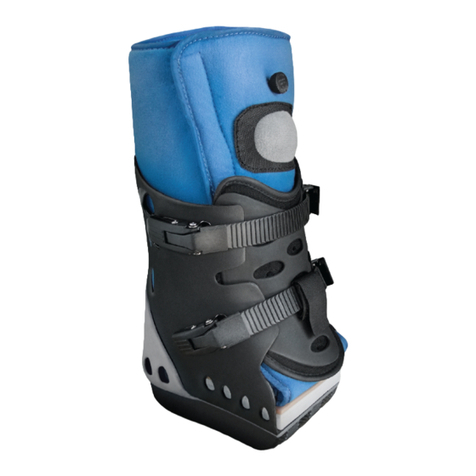
This manual suits for next models

2

Other Darco Medical Equipment manuals

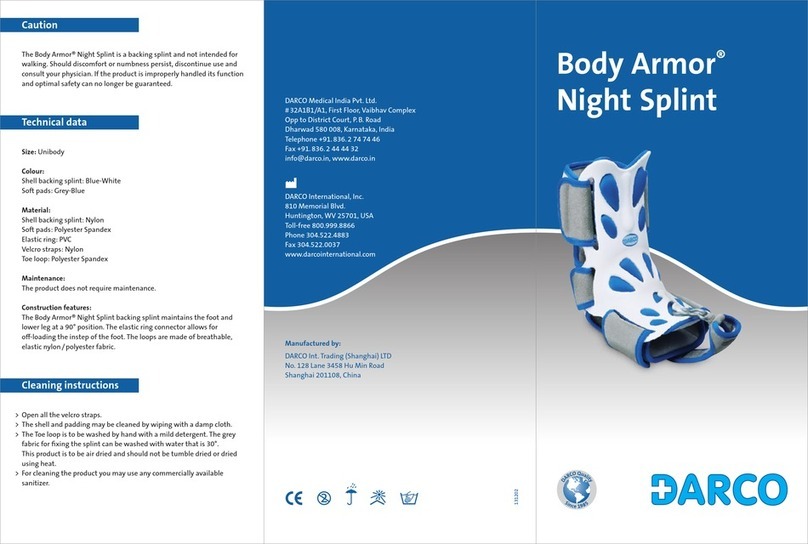
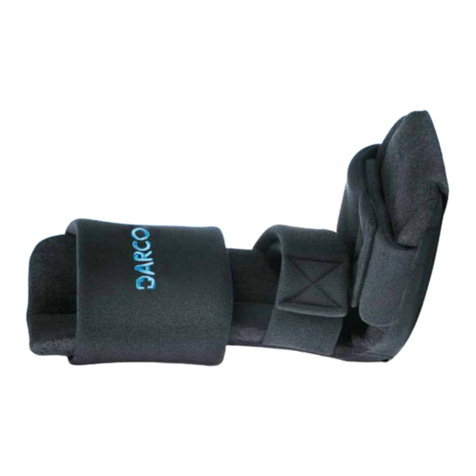
Darco Body Armor Night Splint User manual

Darco

Darco Body Armor Night Splint User manual

Darco AirTraveler Walker User manual

Darco

Darco AirTraveler Walker User manual

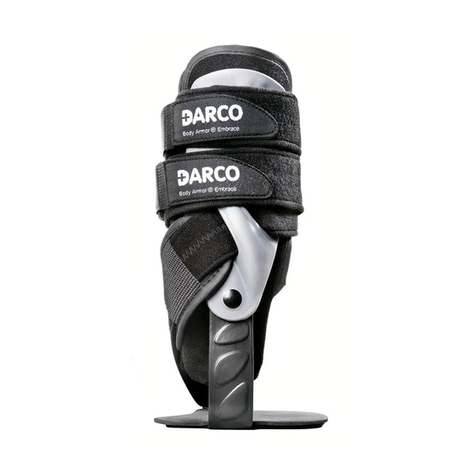
Darco Body Armor Embrace User manual

Darco

Darco Body Armor Embrace User manual

Darco BODY ARMOR PRO TERM User manual

Darco

Darco BODY ARMOR PRO TERM User manual

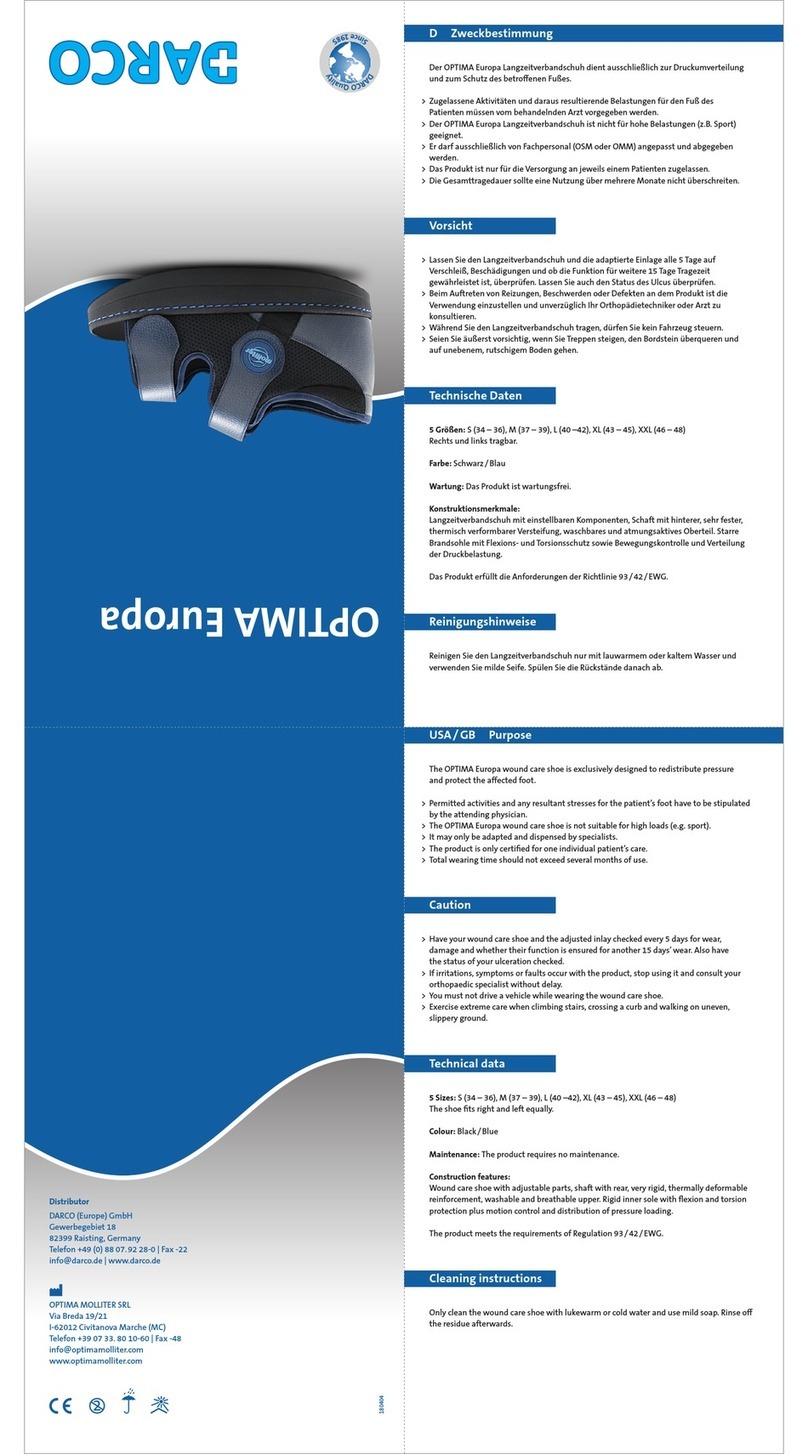
Darco OPTIMA Europa User manual

Darco

Darco OPTIMA Europa User manual

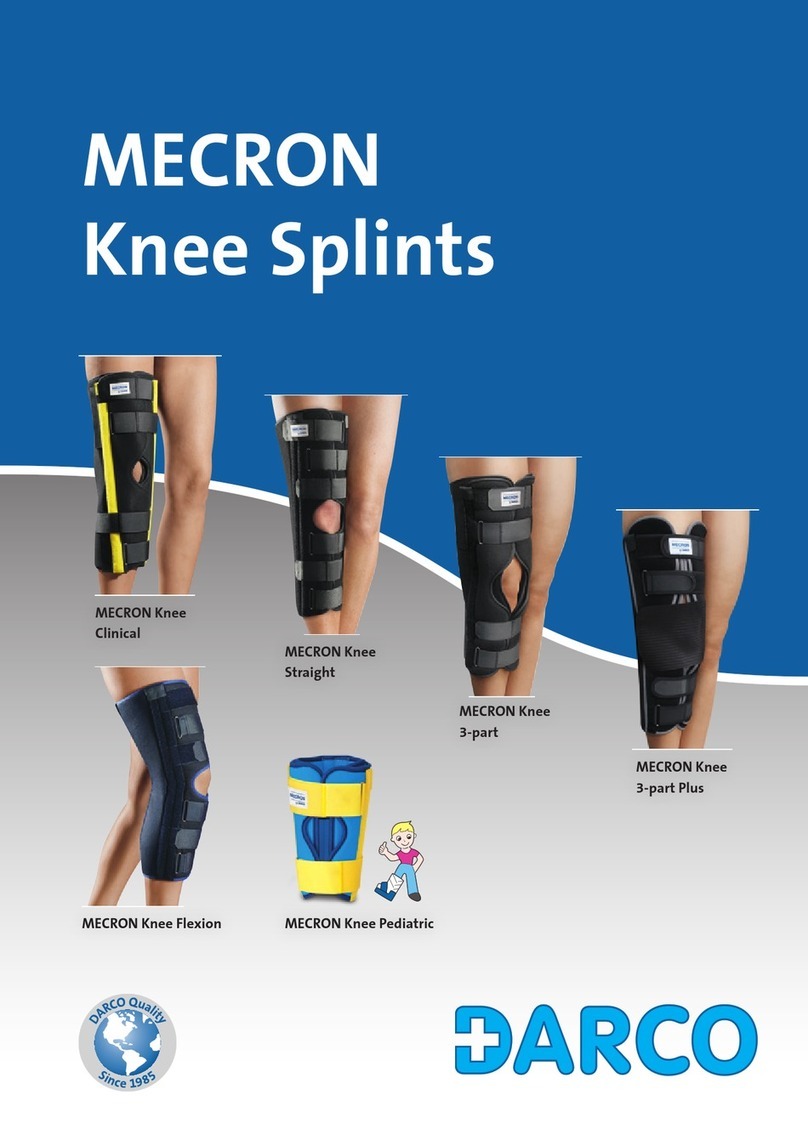
Darco MECRON Knee Splints User manual

Darco

Darco MECRON Knee Splints User manual

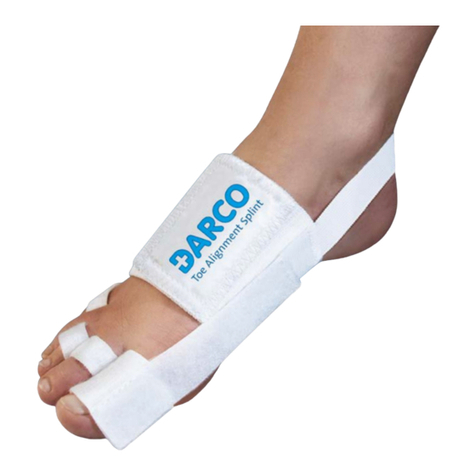
Darco TAS User manual

Darco

Darco TAS User manual

Darco NightSplint User manual

Darco

Darco NightSplint User manual

Darco Body Armor Night Splint User manual

Darco

Darco Body Armor Night Splint User manual

Darco Body Armor Heel Reliever User manual

Darco

Darco Body Armor Heel Reliever User manual

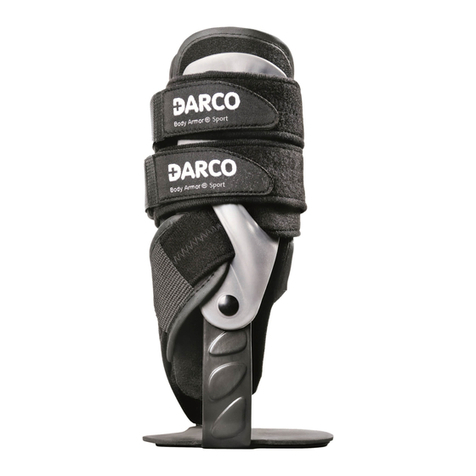
Darco Body Armor Sport User manual

Darco

Darco Body Armor Sport User manual

Darco Mecron X-patch User manual

Darco

Darco Mecron X-patch User manual

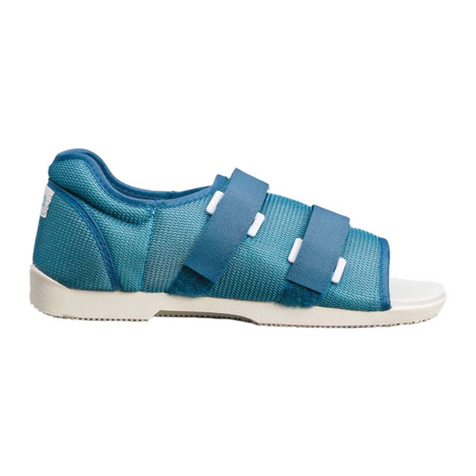
Darco MedSurg User manual

Darco

Darco MedSurg User manual

Darco CBO User manual

Darco

Darco CBO User manual

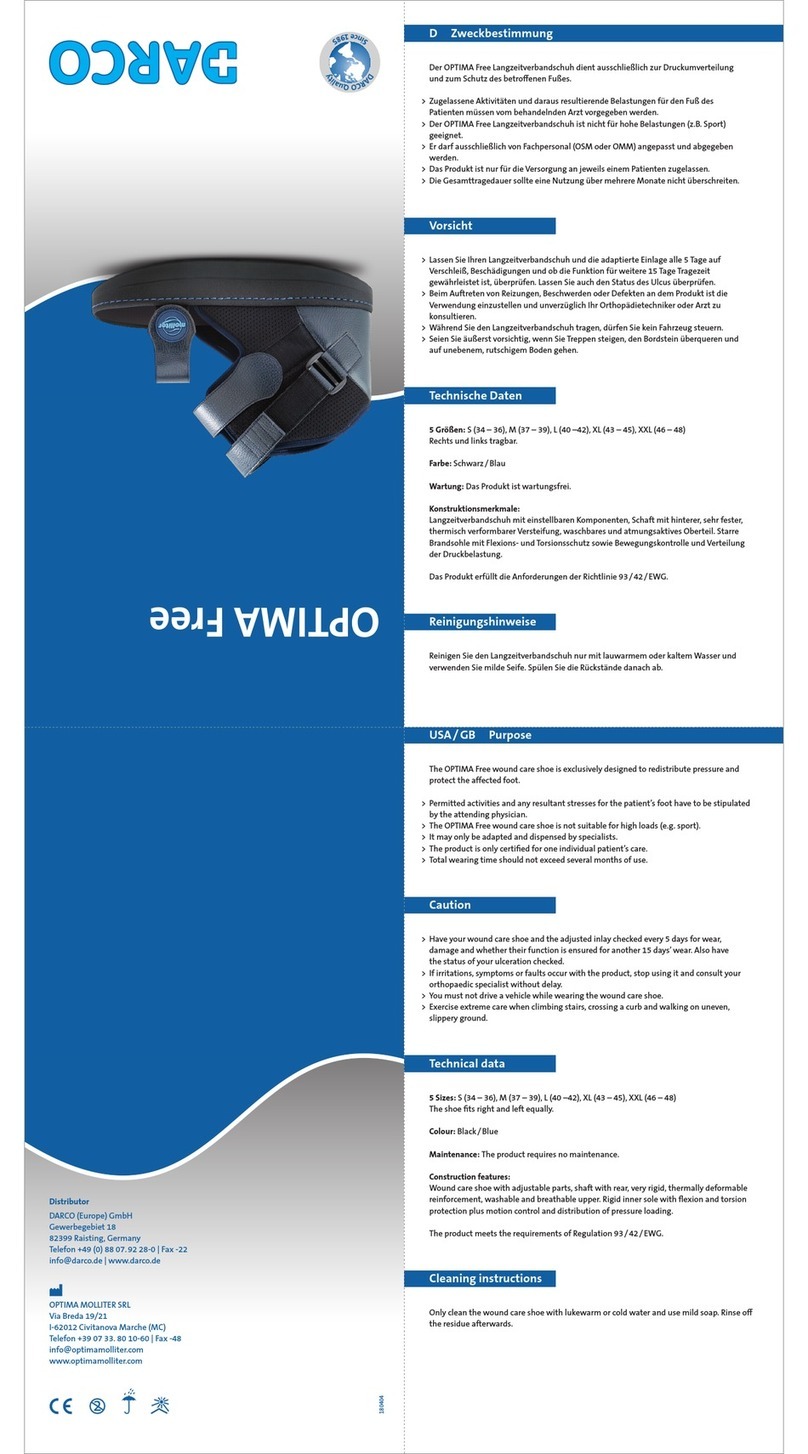
Darco OPTIMA Free User manual

Darco

Darco OPTIMA Free User manual

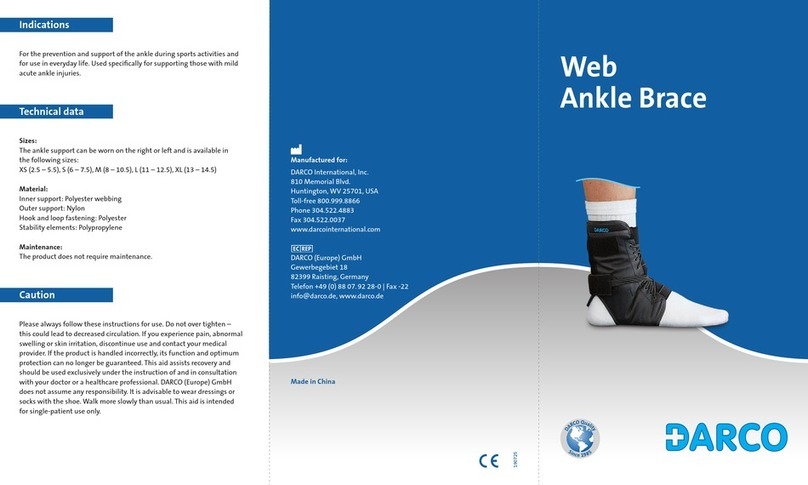
Darco Web Ankle Brace User manual

Darco

Darco Web Ankle Brace User manual

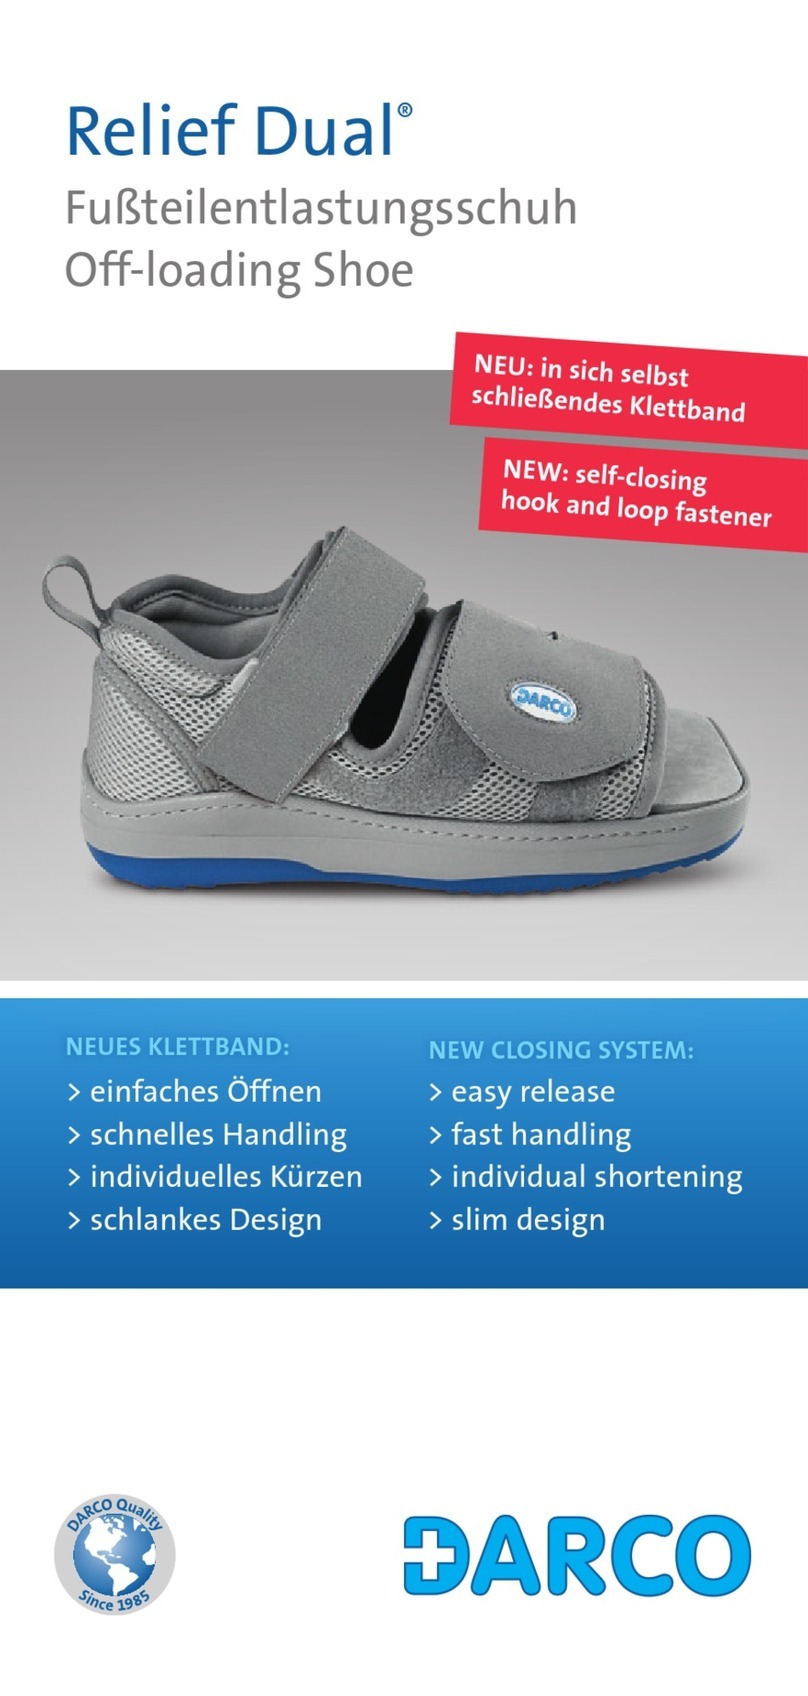
Darco Relief Dual User manual

Darco

Darco Relief Dual User manual

Popular Medical Equipment manuals by other brands

BIOTRONIK CardioMessenger Preliminary manual

BIOTRONIK

BIOTRONIK CardioMessenger Preliminary manual

DeVilbiss Healthcare Drive Ambience user manual

DeVilbiss Healthcare

DeVilbiss Healthcare Drive Ambience user manual

Hamamatsu Photonics C10819 Series instruction manual

Hamamatsu Photonics

Hamamatsu Photonics C10819 Series instruction manual

Plinth 2000 93CDT Service manual

Plinth 2000

Plinth 2000 93CDT Service manual

Edwards EV1000 Clinical Platform Operator's manual

Edwards

Edwards EV1000 Clinical Platform Operator's manual

Joerns Healthcare Hoyer Sling Guide

Joerns Healthcare

Joerns Healthcare Hoyer Sling Guide

MORIA CB instruction manual

MORIA

MORIA CB instruction manual

Sirona DAC UNIVERSAL Operating	 instruction

Sirona

Sirona DAC UNIVERSAL Operating instruction

TERMA DRACO user guide

TERMA

TERMA DRACO user guide

Beurer LifePad RH 112 Instructions for use

Beurer

Beurer LifePad RH 112 Instructions for use

Sirona inEos X5 operating instructions

Sirona

Sirona inEos X5 operating instructions

Otto Bock AxonSoft 2.2 560X500 V2.2 Instructions for use

Otto Bock

Otto Bock AxonSoft 2.2 560X500 V2.2 Instructions for use

Renfert SYMPRO instruction manual

Renfert

Renfert SYMPRO instruction manual

BEYES CareMaster Instructions for use

BEYES

BEYES CareMaster Instructions for use

Defibtech DDU-2400 user manual

Defibtech

Defibtech DDU-2400 user manual

Rossmax SB200 user manual

Rossmax

Rossmax SB200 user manual

College Park Breeze Technical instructions

College Park

College Park Breeze Technical instructions

BMB MEDICAL TIM VELVET SWANN user manual

BMB MEDICAL

BMB MEDICAL TIM VELVET SWANN user manual

manuals.online logo
manuals.online logoBrands
  • About & Mission
  • Contact us
  • Privacy Policy
  • Terms and Conditions

Copyright 2025 Manuals.Online. All Rights Reserved.