De Agostini Model Space C57 User manual


Other manuals for Model Space C57
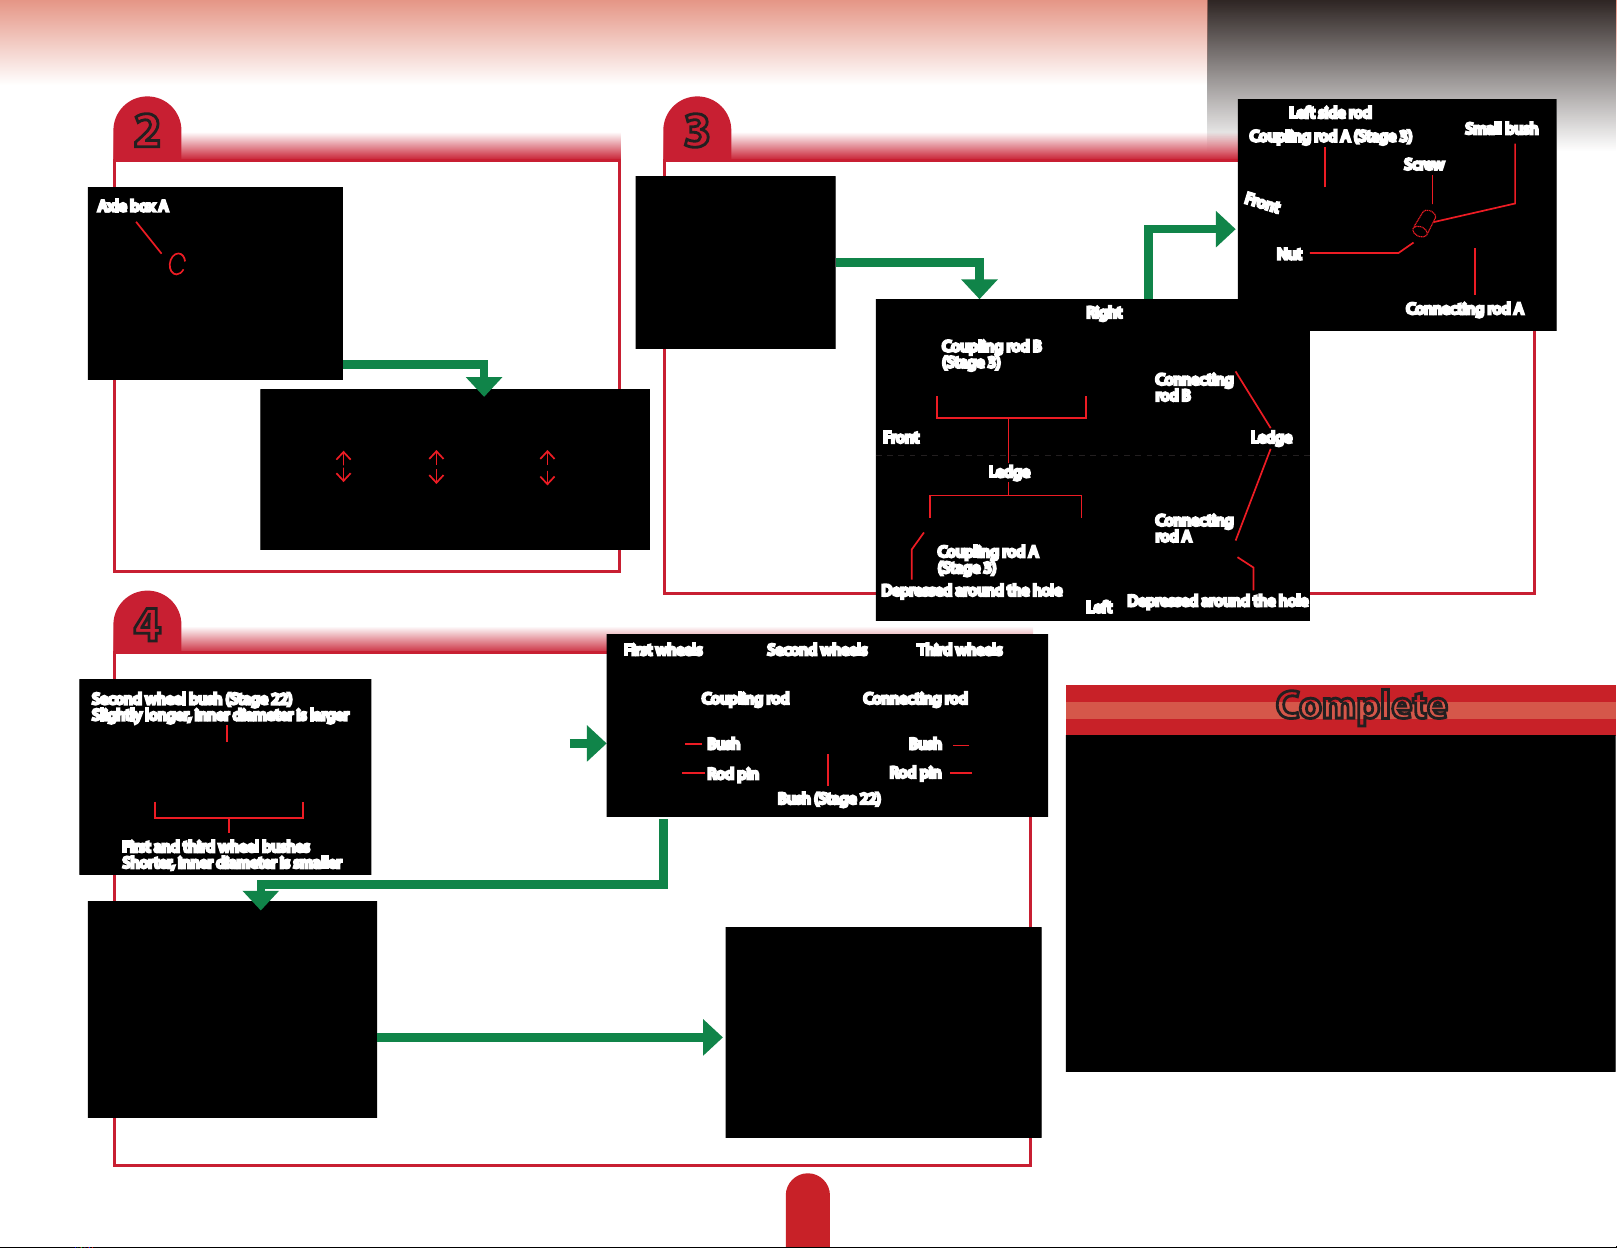
4
Other De Agostini Toy manuals

De Agostini
De Agostini Model Space T-72 User manual

De Agostini
De Agostini Model Space HUMMER H1 User manual

De Agostini
De Agostini MODEL SPACE Honda CB750 FOUR User manual

De Agostini
De Agostini MODEL SPACE Honda CB750 FOUR User manual

De Agostini
De Agostini Model Space T-72 User manual

De Agostini
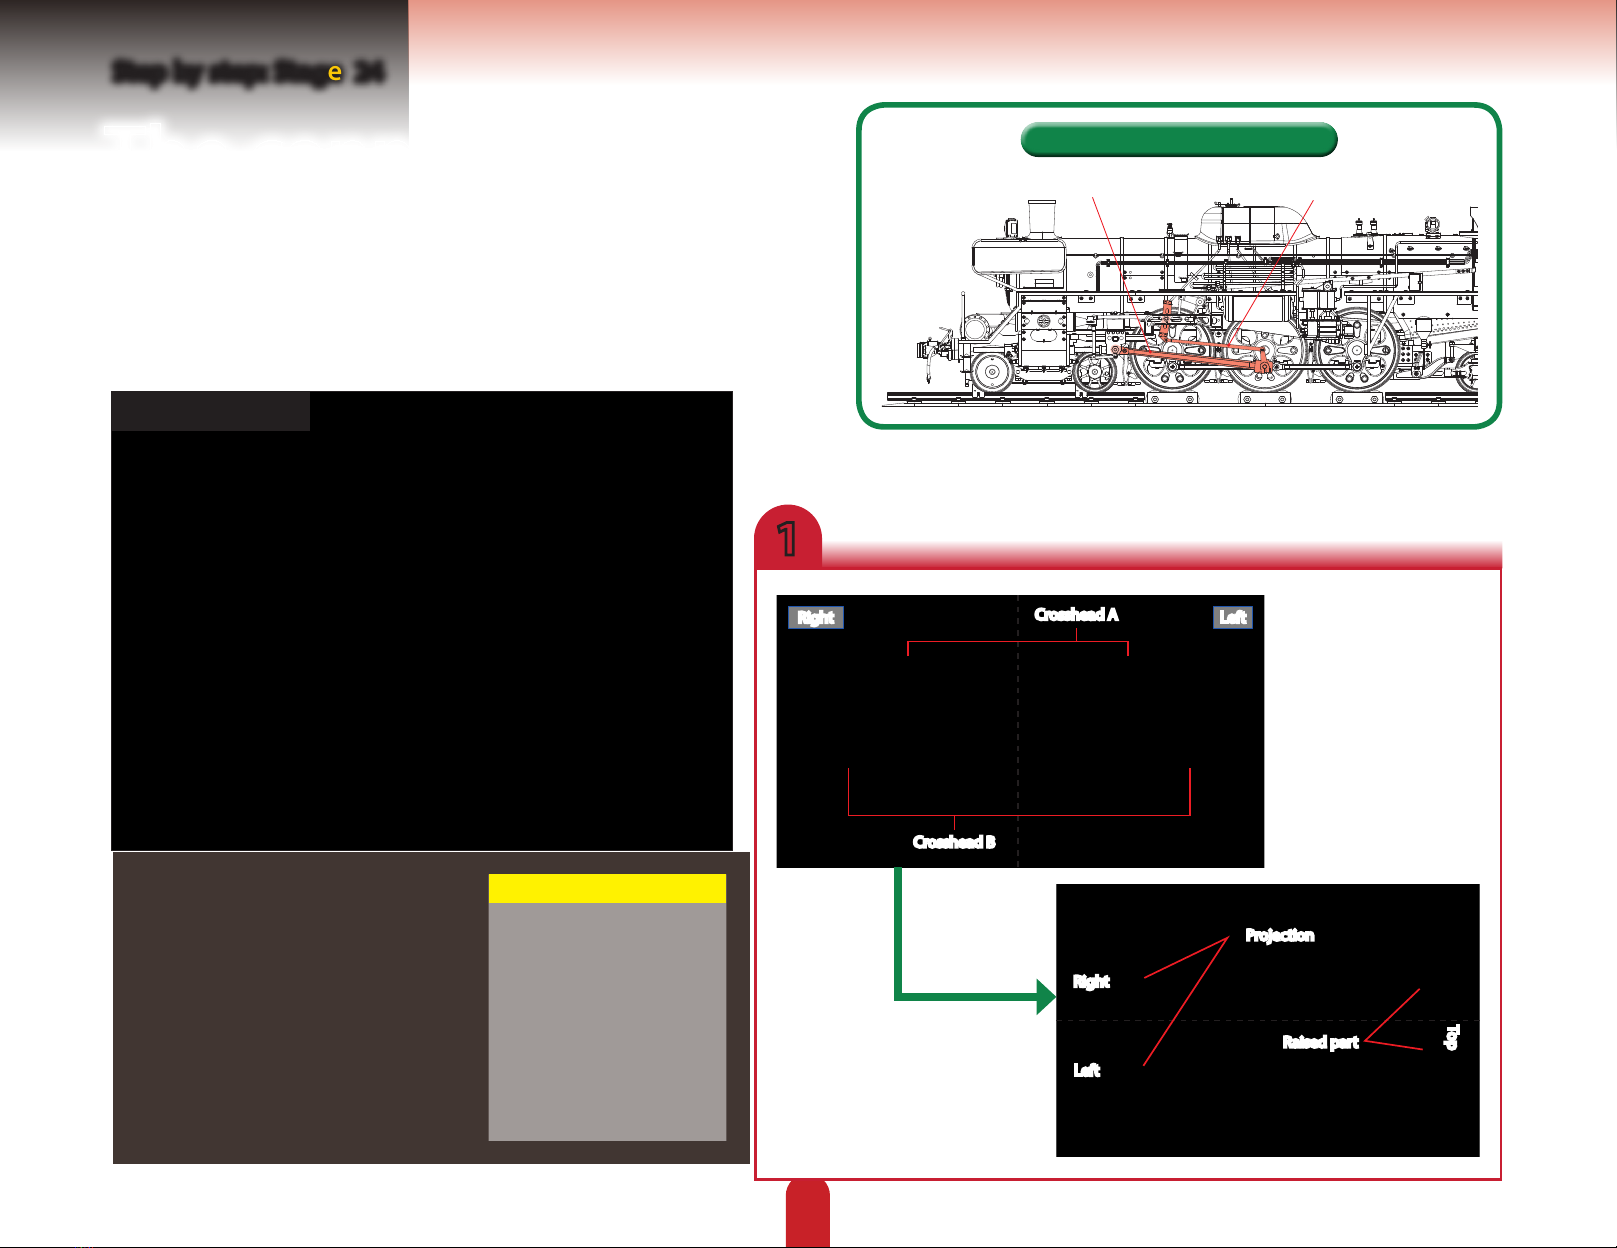
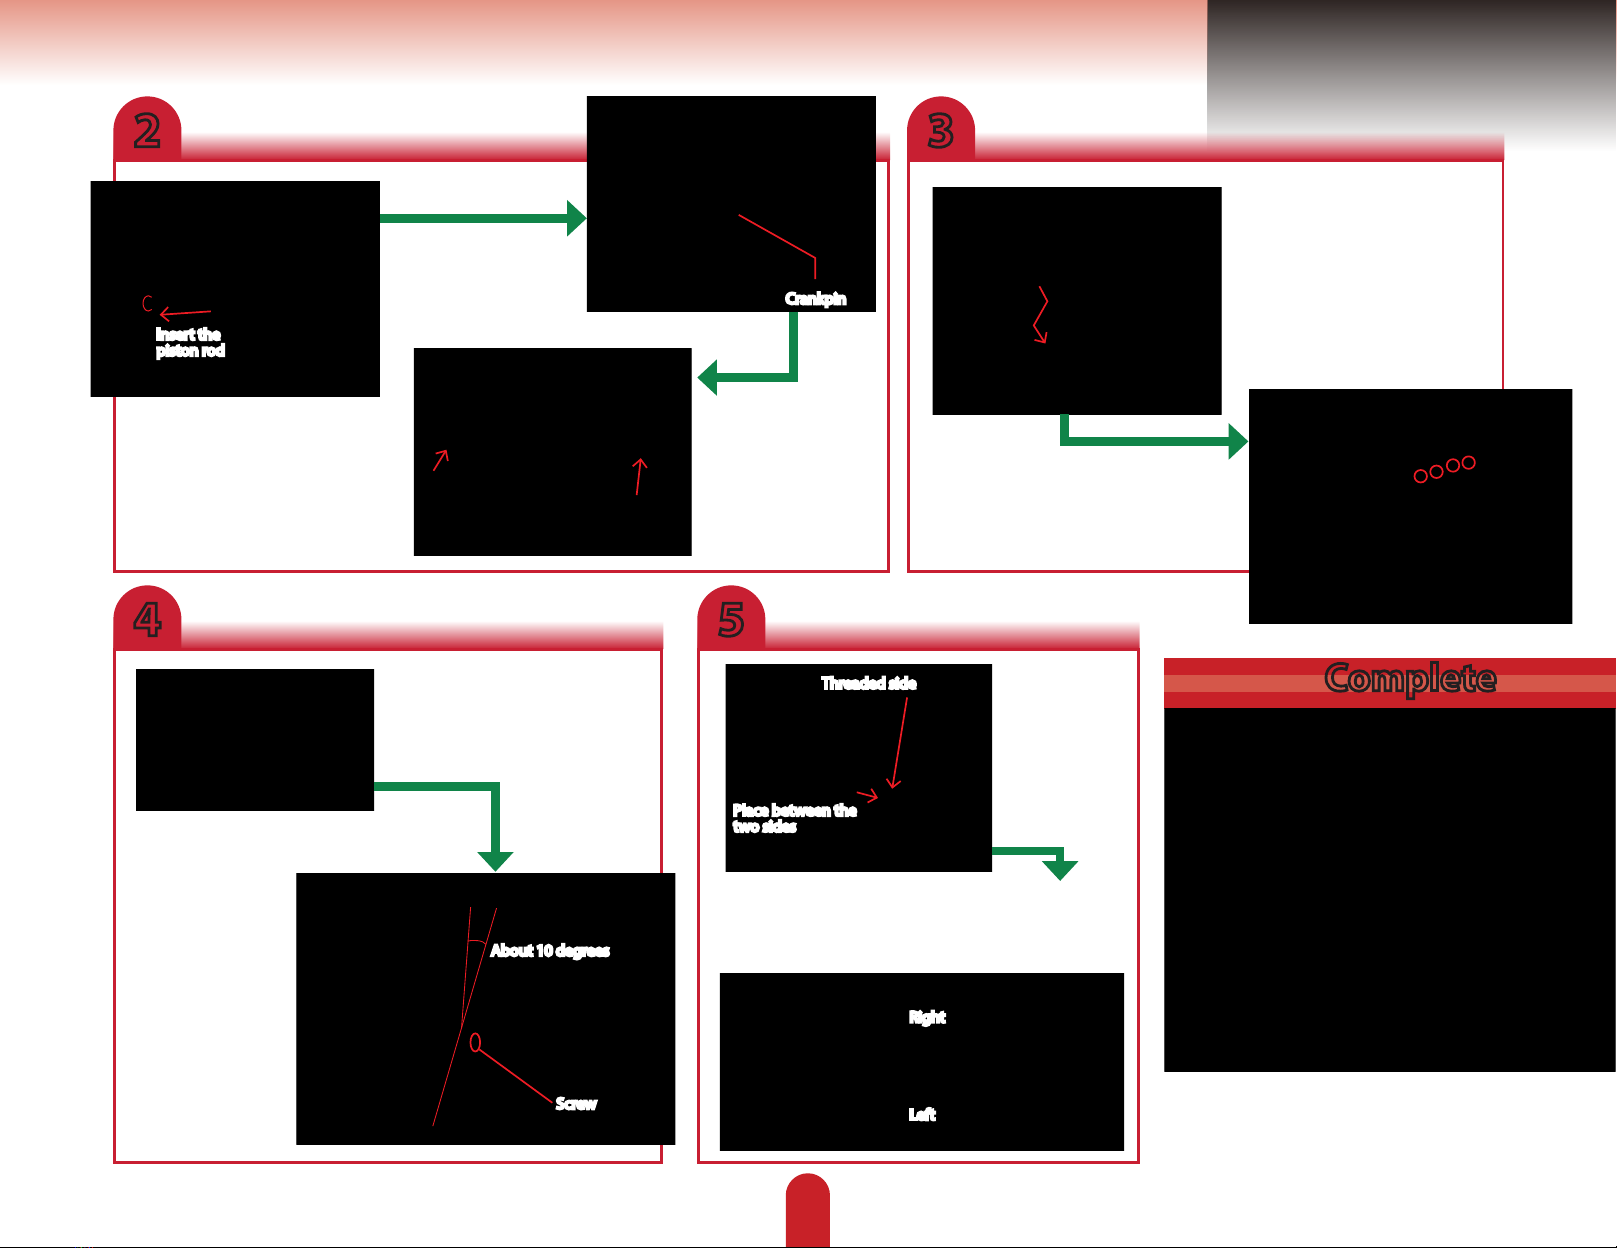
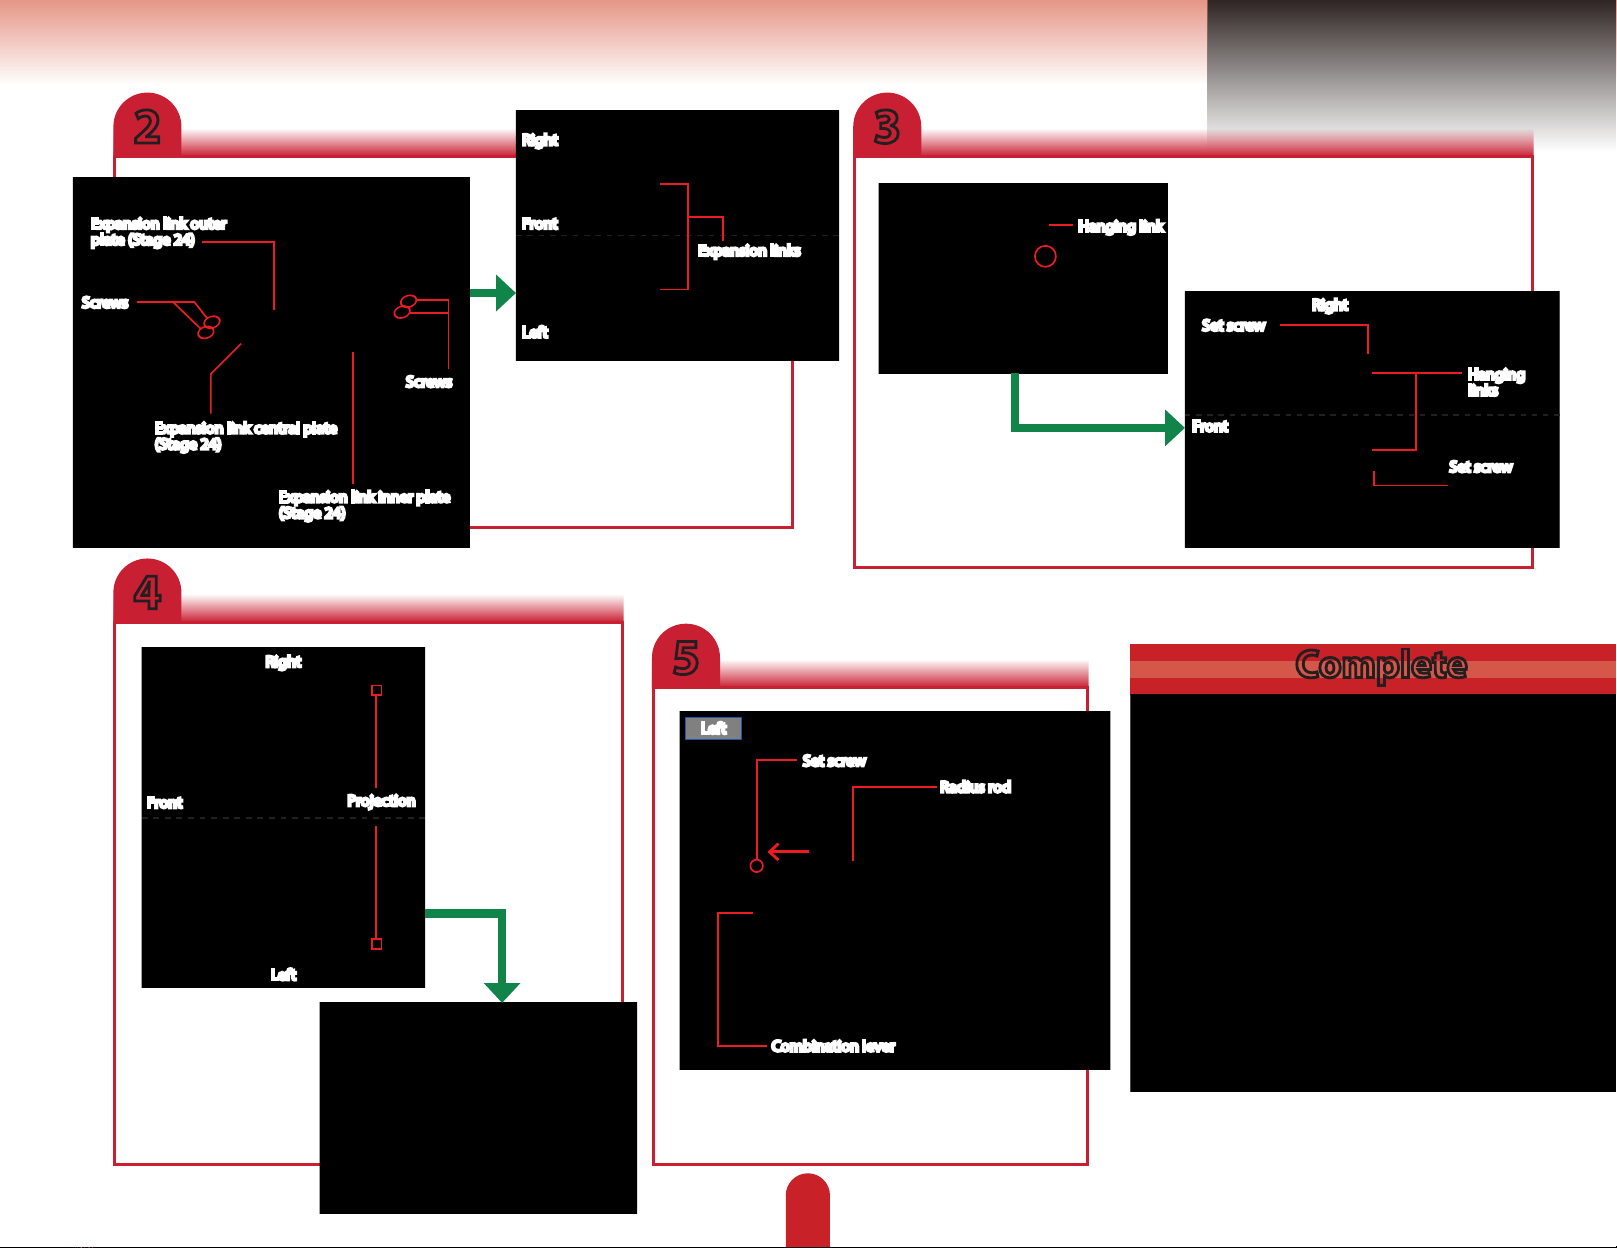
De Agostini Model Space D51 200 User manual

De Agostini
De Agostini Model Space MiG-29 User manual

De Agostini
De Agostini Model Space MiG-29 User manual

De Agostini
De Agostini Model Space MiG-29 User manual

De Agostini
De Agostini Model Space IJN Akagi User manual

De Agostini
De Agostini MODEL SPACE Honda CB750 FOUR User manual

De Agostini
De Agostini MODEL SPACE Honda CB750 FOUR User manual

De Agostini
De Agostini Model Space MiG-29 User manual

De Agostini
De Agostini MODEL SPACE Honda CB750 FOUR User manual

De Agostini
De Agostini Model Space H.M.S. Bounty Admiralty User manual

De Agostini
De Agostini Model Space MiG-29 User manual

De Agostini
De Agostini Model Space MiG-29 User manual

De Agostini
De Agostini Model Space MiG-29 User manual

De Agostini
De Agostini MODEL SPACE Soleil Royal User manual

De Agostini
De Agostini Model Space Harley-Davidson FLSTF Fat Boy User manual


