Denver DMB-106HD User manual

DMB-106HD
DVB-T PLAYER
Digital Set Top Box
Operating Manual
黑白印刷 尺寸: 130 X 180mm

DENVER DMB-106HD
THANK YOU FOR BUYING THE DENVER DMB-106HD.
1.WHEN RECORDING TO USB STICK OR EXTERNAL HARDDISC ON THIS MODEL
, YOU HAVE TO WAIT A FEW SECONDS BEFORE PUSHING REC. AFTER INS
ERTING THE MEDIA. OTHERWISE THE UNIT CAN FREEZE IN THE SIGNAL.
IF THAT HAPPENS, THEN PLEASE TAKE OFF POWER AND CONNECT AGAIN TO
FIX THIS.
2.WHEN DIGITAL AUDIO OUTPUT IS SET TO RAW IT IS FOR USING WITH
SURROUND RECEIVER ONLY. YOU HAVE TO MUTE THE SOUND ON THE TV
WHEN ON THIS MODE, OTHERWISE YOU CAN HAVE SOME NOISE IN THE TV
SPEAKERS.
IF USING ONLY WITH TV, THEN PLEASE MAKE SURE THE AUDIO OUTPUT IS
SET TO PCM.
3.AUTO STANDBY FUNCTION:
THIS FUNCTION SHUTS DOWN AUTOMATICALLY AFTER 3 HOURS IF NO USER
INTERFERENCE HAS BEEN DONE DURING THESE HOURS. 2 MINUTES BEFORE
SHUTDOWN A WARNING MESSAGE WILL BE SHOWN ON THE TV.
AUTO STANDBY FUNCTION ARE PRESET TO ON FROM FACTORY SIDE, BUT
CAN BE TURNED OFF IN THE SYSTEM MENU.
4.WHEN USING AN EXTERNAL HARDDISC, PLEASE MAKE SURE YOU HAVE
FORMATTED IT IN FAT OR FAT32 FILESYSTEM.. NTFS WON’T WORK.
AND THE HARDDISC NEED AN EXTERNAL POWER SUPPLY TO WORK, AS THE
USB PORT WON’T GIVE ENOUGH POWER TO RUN IT PROPERLY.

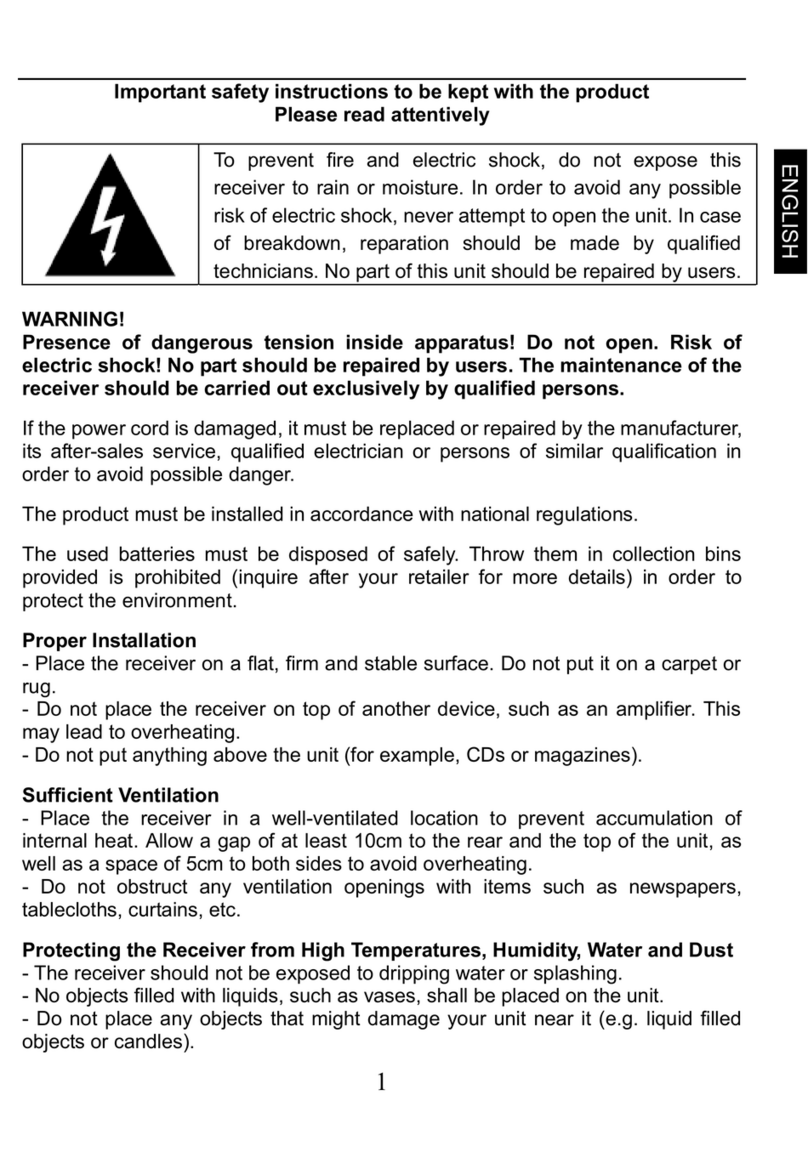
Safety Instructions
Disclaimer
Information in this document is subject to change without notice.
The manufacturer does not make any representations or warranties
(implied or otherwise) regarding the accuracy and completeness of this
document and shall in no event be liable for any loss of profit or any
commercial damage, including but not limited to special, incidental,
consequential, or other damage.
Always read the safety instructions carefully
Keep this Instruction Manual for future reference
Keep this device away from humidity
Lay this device on a reliable flat surface before setting it up
D o not stand it on soft furnishings
If any of the following situation arises, get the Set Top Box checked by
a service technician:
It has been exposed to moisture
It has been dropped and damaged
It has obvious sign of breakage
It has not been working well or you cannot get it to work according
to the Instruction Manual
Warning
To prevent the risk of electric shock, do not open the cover or the
back of the receiver.
Do not block the ventilation holes of the device. Leave appropriate
gap above and around it to allow for adequate ventilation.
Do not place the device in an unventilated cabinet or on top of a unit
which emits heat.
Copyright Statement
No part of this publication may be reproduced in any form by any means
without the prior written permission. Other trademarks or brand names
mentioned herein are trademarks or registered trademarks of their
respective companies.
1
The power cable/disconnect device shall remain easy to operate/disconnect.

2 3 457
16
1. Power switch button.
2. PROG-/+、VOL-/+.
3. LED indicator lamp.
4. Remote receive sensor.
Front Panel
Rear Panel
2
1. RF IN/RF LOOP THROUGH
TV RF IN socket connects to your external aerial.
LOOP THROUGH socket will bypass the input RF signal to another tuner.
2.USB
You can play media file and update software from USB terminal.
3.HDMI OUTPUT
High Definition Multimedia output, supprot up to 1080i format output.
4.SPDIF OUTPUT
Digital audio output.
5.TV SCART OUTPUT
This terminal output CVBS or RGB signal, you can switch it in menu, and the
default setting is CVBS output.
6. VCR SCART OUTPUT/INPUT
In DVB work mode, this terminal output CVBS signal.
When press TV/VCR button in remote control, TV SCART outputs VCR signal;
7. POWER INPUT
Power cord input, and the power supply AC 110~240V
The unit will automatic power off at standby mode if no operation is performed
after 3 hours, TV screen will display “power down after 120 seconds”before
unit power off, select exit button by remote control to cancel standby mode.
IN - A N T - O U T U SB
SP D I F
HDMI AC 110~240 V
50/60 Hz
TV SC A RTVC R S C ART
2
3
4
1

Remote Control Unit
3
MUTE STAN D BY
MEN U
OK
PR O G+
PR OG-
VOL+
VOL-
EX IT
TT X
EPG
INFO
LIST
TV/RA DIO
AUDIO
SU B.T
RE CA LL
20 20
19
21
22 23
19
17 18
14
15
10
79
8
12
6
5
4
3
FAV PAGE- TV/VC R
13
12
11
16
26
27
24
25
28
TI MER USB V-FORM AT
PAGE+
31
32
29
30
1)MUTE: Used to turn the sound on or off.
2)STANDBY: Used to switch the set top
box to on and off.
3)NUMBER KEYS: Used to select channel
numbers or input numbers in menus.
4)TV/RADIO: Used to switch between TV
channels and Radio stations.
5)AUDIO: Used to set the sound output,
the available settings are STEREO,
LEFT, RIGHT, MONO.
6)SUB.T: Used to switch between different
subtitles that are broadcasted.
7)LIST: To display the channel list.
8)INFO: Used to display information about
the channel being viewed.
9)TTX:TELETEXT
10) :
11) :
12) : Searches forwards during media
play.
13) :Searches forwards during media
play.
14)PAUSE:Press this button to pause
playback.
15)PLAY:Press this button start to playback.
Skips to the previous track during
playing media
Skips to the next track during
playing.Media

Remote Control Unit
16)STOP: Stops media play.
17)MENU: Used to open the main menu
window.
18)EXIT: Used to return to the previous
screen or menu.
19)PROG+/PROG-: To select channels
upward or downward , or move upward or
downward in menu operation.
20)VOL+/VOL-: To adjust volume or
selected menu item in menu operation;
To move left or right in menu operation.
21)OK: Used to confirm a selection
within a menu.
22)EPG: Used to display information
about the program being viewed and what
is on next.
23)RECALL: Used to switch between
the last two viewed channels.
24)FAV: Used to access your favourite
channels.
25)/26)PAGE-/PAGE+):Adjust page+/- .
27)TV/VCR: Used to switch output between
STB and VCR.
28)COLOUR KEYS(RED/GREEN/YELLOW
/BLUE): Used to operate
different functions in TEXT screen or other
menus.
29)TIMER:Show timer scheduled recording/
play.
30)USB:You can play media file and update
software from USB terminal.
31)●:Real-time record.
32)V-FORMAT:
in USB menu
Change HD output resolutions.
4
MU TE STAN D BY
MEN U
OK
PR OG+
PR OG-
VOL+
VOL-
EX IT
TTX
EPG
INFO
LIST
TV/RA DIO
AUDIO
SU B.T
RE CA LL
20 20
19
21
22 23
19
17 18
14
15
10
79
8
12
6
5
4
3
FAV PAGE- T V/VCR
13
12
11
16
26
27
24
25
28
TI ME R USB V-F ORMAT
PAGE+
31
32
29
30

Installing the Batteries
Remove the battery cover from the Remote Control and put 2xAAA size
batteries inside the compartment.
The diagram inside the Battery Compartment shows the correct way to
install the batteries.
OPEN
CLOSE
1.Open the cover 2.Install batteries 3.Close the cover
5

FIRST INSTALLATION
OSD LANGUAGE ENGLISH
COUNTRY FRANCE
TIME ZONE GMT+1
LCN ON
START
OSD LANGUAGE:Press OK key to select Osd language
COUNTRY:Press OK key to select Country.
TIME ZONE:Press OK key to select Time zone
LCN:Press OK key to select lcn ON or OFF
START:Press OK key to start first programs search.
First Time Installation
OSD LANGUAGE:Select an OSD LANGUAGE
COUNTRY:Select your country of residence.
LCN:Set LCN on or off
TIME ZONE: a.TIME ZONE : Select Time zone of the country.
b.SUMMER TIME: Select Summer timer on or off.
AUTO STANDBY: The unit will automatic power off at standby mode if no
operation is performed after 3 hours, TV screen will display “power down after
120 seconds”beforeunit power off, select exit button by remote control to
cancel standby mode on/off the funtion.
CHANGE PASSWORD:Set or change the password for Locked programs.
Enter your old Password or the default password '1234'. You will then be
asked to enter your new password.
To confirm re-enter your new password.
SYSTEM INFORMATION:Show some information of the player.
FACTORY RESET:Reset the factory setting of player.
6
After all connections have been made properly, switch on TV and make
sure the receiver is connected to the Main Power. Press Power Button to
switch receiver on. If you are using the receiver For the first time or
restored to Factory Default, the Main Menu will appear on your TV screen.
SYSTEM SETUP
VIDEO SETTINGS
AUDIO SETTINGS
INSTALLATION
CHANNEL EDIT
OSD LANGUAGE
COUNTRY
LCN
TIME ZONE
AUTO STANDBY
CHANGE PASSWORD
SYSTEM INFORMATION
FACTORY RESET
Setup Installation
Press menu key to enter setup installation.

SYSTEM SETUP
VIDEO SETTINGS
AUDIO SETTINGS
INSTALLATION
CHANNEL EDIT
TV SYSTEM
HD OUTPUT
SCREEN RATIO
SCART OUTPUT
TV SYSTEM:Select tv color system pal or ntsc.
HD OUTPUT:HD TV programe display mode(1080i, 720p, 576p/480p,
576i/480i, auto).
SCREEN RATIO: You must set the display format to either 4:3 ,16:9 or Auto
to get the maximum display when watching TV.
SCART OUTPUT :Select Scart output mode : CVBS or RGB
LR MODE: Select audio output mode : LEFT, RIGHT OR STEREO
SPDIF: Select digital audio output mode : PCM or RAW
Manual search: Install new channels manually.
Auto search: Search and install all channels automatically.
Upgrade stb: Upgrade the player.
SYSTEM SETUP
VIDEO SETTINGS
AUDIO SETTINGS
INSTALLATION
CHANNEL EDIT
LR MODE
SPDIF
SYSTEM SETUP
VIDEO SETTINGS
AUDIO SETTINGS
INSTALLATION
CHANNEL EDIT
MANUAL SEARCH
AUTO SEARCH
UPGRADE SIN
7

TV CHANNEL and RADIO CHANNEL:
To edit your programs prefences(favourite, lock, move or delete), as picture 6
1.USB PVR has the following features:
-Support one-channel TS recoding
-Support scheduled recording and real-time recording
-Support program playback
-Support playback modes include: pause, fast forward and fast rewind.
The storage media supported :
-USB adapted hard disk (500mA)
-USB disk (depending on the read-write speed, 500mA)
-In order to delete recorded files on a USB stick then please connect the
USB stick to your computer and then delete the recorded files.
The TV program is recorded to file at .PVR format, which can be played
back on this unit and PC using a suitable player, but can not be played
back on DVD or PDVD.
The file system format support :
-FAT
-FAT 32
2.Before recording
Must plus USB disk or USB adapted hard disk (500mA). Press STOP key to
stop recording.
8
SYSTEM SETUP
VIDEO SETTINGS
AUDIO SETTINGS
INSTALLATION
CHANNEL EDIT
TV CHANNEL
RADIO CHANNEL
SYSTEM SETUP
VIDEO SETTINGS
AUDIO SETTINGS
INSTALLATION
CHANNEL EDIT
CHANNEL EDIT
ADD TO FAV 1
1000 SZTVM01
1001 SZTVM02
1002 SZTVM03
1003 SZTVM04
1004 Data
FAVORITE LOCK MOVE DELETE
PVR (Personal video recorder)

3.Video recording.
- Real-time recording
In the normal play mode, Press ● to enter the recording status. Once video
recording starts, the upper left crner will display the recording icon.
Press STOP key to stop recording.
-Scheduled recording.
User may set up scheduled recording by setting the data, time and program.
Once the scheduled recording time is reached, The player will switch to the
scheduled program automatically for recording.
To scheduled recording , Press EPG key, to enter EPG page. select your
need record program, press OK key to enter scheduled recording page as
picture
4.Recorder file play
-Enter USB mode and select video,then open file of USB and select torrget
document which is recorder.
9
New Reservation 10/3/2006 17:14
Channel Name Nederland 2
DATE YEAR 2006 MONTH 03 Day 10
START TIME HOUR 16 MINUTE 25
End time HOUR 17 MINUTE 20
Runnlng Mode ONE TIME
Reserve Type Rec
Event Name Top of the Pops
OK SAVE Exit Back
Switch Schedule Detall Descrlptor OK New Reservation

The image stopped
suddenly or mosaic
Problem Potential Reasons What to do
No picture Power isn't connected Connect the power
The power switch is not on Switch on the power
Screen shows
No Signal
DVB-T cable not connected
Plug in the DVB-T cable
Incorrect setting Reset setting
No sound from
speaker
No or incorrect connection
with audio cable
Connect the audio cable
correctly
Sound on mute Turn off mute function
Incorrect sound track Try another sound track
Only sound, no
image on the
screen
No or incorrect connection
with AV cable
Make sure cables are
connected correctly
The program is a radio
program
Press <TV/RADIO> key to
shift into TV mode
Remote Control
is not responding
The battery is exhausted Change battery
Remote Control is not
facing or close enough
to the Set Top Box
Adjust the position of the
Remote Control and move
closer to the unit
The signal is too weak Strengthen the signal
Troubleshooting
10

Technical Specifications
11
Video Decoder Format
MPEG4 AVC/H.264 HP@L4
MPEG2 MP@ML.HL
Output Format 576P , 720P, 1080i, 4:3 and 16:9
Output Port HDMI,2XSCART
Audio Decoder Format MPEG-1 (layer1&2)
Audio output Digital audio: S/PDIF
Power Voltage AC 110-240V 50/60Hz
Working Power 8W
Item Sub Item Parameter
Tuner Input Frequency 170~230MHz
470~860MHz
RF Input level -25~-82dBm
IF Bandwidth 7MHz and 8MHz
Modulation QPSK,16QAM,64QAM
0.5W
Standby power

Table of contents
Other Denver Set-top Box manuals

Denver
Denver DVBT-41 User manual

Denver
Denver DVH-1240M User manual

Denver
Denver DMB-113CI User manual

Denver
Denver DVBT-42 User manual

Denver
Denver DVBT-17 User manual

Denver
Denver DMB-115CI User manual

Denver
Denver DVBT-11 User manual

Denver
Denver DMB-105HD User manual

Denver
Denver DMB-105HD User manual

Denver
Denver DMB-119CI User manual