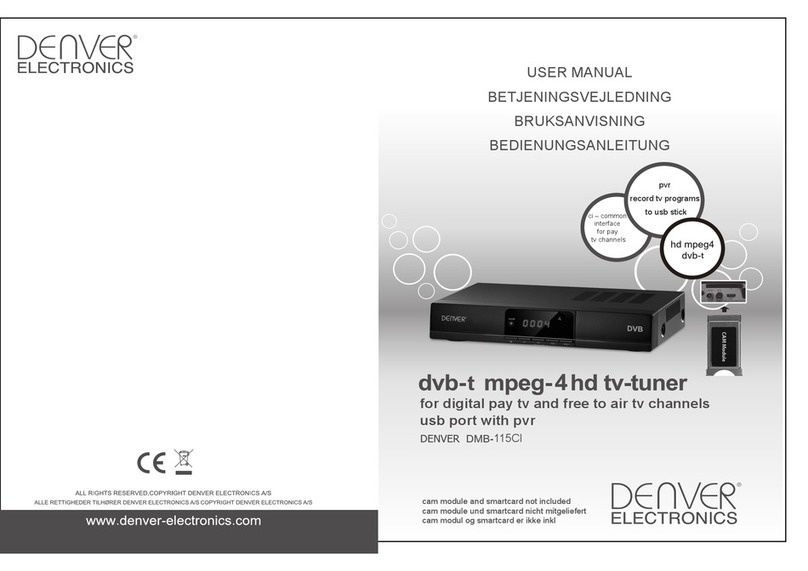
Denver DMB-119CI User manual

Important safety instructions to be kept with the product
Please read attentively
To prevent fire and electric shock, do not expose this receiver to rain or
moisture. In order to avoid any possible risk of electric shock, never
attempt to open the unit. In case of breakdown, reparation should be
made by qualified technicians. No part of this unit should be repaired by
users.
WARNING!
Presence of dangerous tension inside apparatus! Do not open. Risk of electric shock!
No part should be repaired by users. The maintenance of the receiver should be
carried out exclusively by qualified persons.
If the power cord is damaged, it must be replaced or repaired by the manufacturer, its
after-sales service, qualified electrician or persons of similar qualification in order to avoid
possible danger.
The product must be installed in accordance with national regulations.
The used batteries must be disposed of safely. Throw them in collection bins provided is
prohibited (inquire after your retailer for more details) in order to protect the environment.
Proper Installation
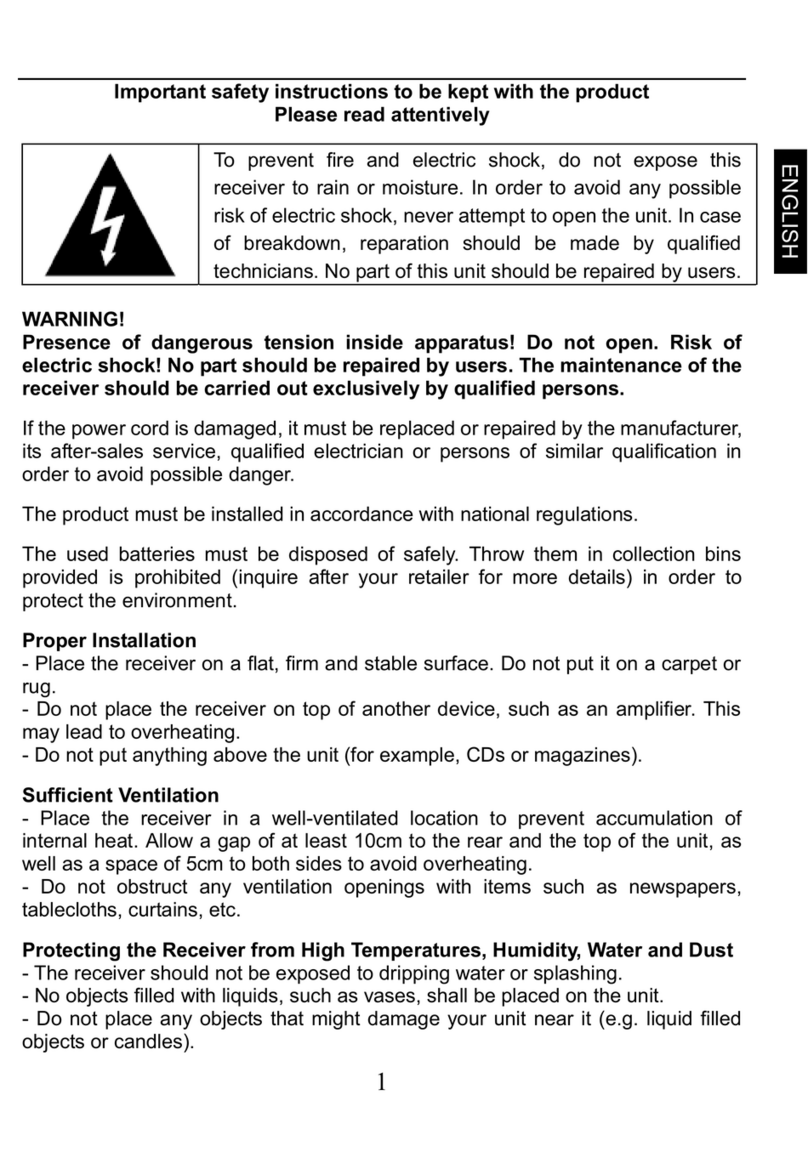
- Place the receiver on a flat, firm and stable surface. Do not put it on a carpet or rug.
- Do not place the receiver on top of another device, such as an amplifier. This may lead to
overheating.
- Do not put anything above the unit (for example, CDs or magazines).
Sufficient Ventilation
- Place the receiver in a well-ventilated location to prevent accumulation of internal heat.
Allow a gap of at least 10cm to the rear and the top of the unit, as well as a space of 5cm to
both sides to avoid overheating.
- Do not obstruct any ventilation openings with items such as newspapers, tablecloths,
curtains, etc.
Protecting the Receiver from High Temperatures, Humidity, Water and Dust
- The receiver should not be exposed to dripping water or splashing.
- No objects filled with liquids, such as vases, shall be placed on the unit.
- Do not place any objects that might damage your unit near it (e.g. liquid filled objects or
candles).
- Do not place any source of flames such as lit candles on the receiver.
- This receiver is to be used in a temperate climate and should not be used in a tropical
climate.
Electricity Supply
HSILGNE
1

2
- Please unplug the receiver in case of prolonged non-use.
- If the power cord is damaged, it must be replaced or repaired by the manufacturer, its
after-sales service, qualified electrician or similar qualifications to those to avoid possible
danger.
- This device must be connected to a 240V ~ 50Hz electrical network.
- The plug must remain readily accessible after the installation of the product.
Main features:
Slim size
MPEG-2, MPEG-4(H.264) decoding
USB2.0 for software update , music ,image, movie and recording
LCN(Logical Channel Number) supported;
Parental control
Favorite lists
Timer
EPG/TXT/SUBTITLE supported
Digital sound through COAXIAL output (S/PDIF)
PVR ready supported
HSILGNE

3
Contents
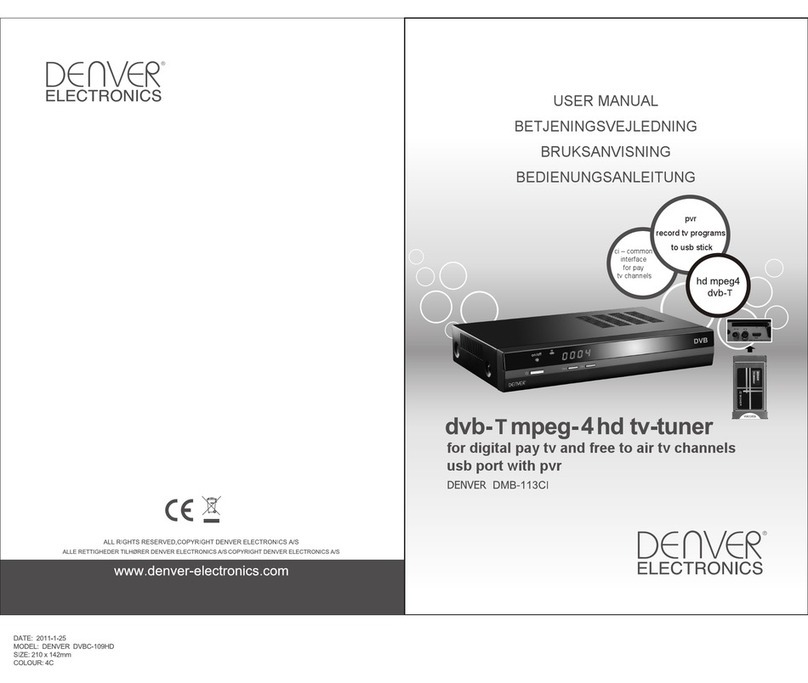
1. Installation of STB..............................................................................................................6
1.1 Front Panel.....................................................................................................................6
1.2 Rear Panel .....................................................................................................................6
1.3 Connection.....................................................................................................................7
2. IR..........................................................................................................................................9
2.1 Remote...........................................................................................................................9
3. Basic functions ..................................................................................................................10
3.1 First Installation..............................................................................................................10
3.2 Volume adjustment and Mute ........................................................................................10
3.3 TV/RADIO programs switch...........................................................................................10
3.4 Station switch .................................................................................................................10
3.5 Program list....................................................................................................................10
3.6 Display information of programs ....................................................................................10
3.7 Program return...............................................................................................................10
3.8 Audio language switch and L/R channel switch.............................................................11
3.9 Electronic programs guide (EPG) ..................................................................................11
3.10 Teletext.........................................................................................................................11
3.11 Subtitle .........................................................................................................................11
3.12 REC..............................................................................................................................11
3.13 Time shift......................................................................................................................11
4. Installation ..........................................................................................................................12
4.1 Auto Search..................................................................................................................12
4.2 Manual Search .............................................................................................................12
4.3 Channel Filter...............................................................................................................12
4.4 LCN...............................................................................................................................12
4.5 Country.........................................................................................................................12
4.6 Active Antenna .............................................................................................................12
5. Channel...............................................................................................................................13
5.1 Channel Manager.........................................................................................................13
5.2 Favorite List..................................................................................................................13
6. Preference Setting .............................................................................................................14
6.1 OSD Language ............................................................................................................14
6.2 OSD Timeout................................................................................................................14
HSILGNE

4
6.3 OSD Transparency.......................................................................................................14
6.4 Preferred Subtitle .........................................................................................................14
6.5 Hard Hearing................................................................................................................14
6.6 Preferred Audio ............................................................................................................14
6.7 Multimedia....................................................................................................................14
6.8 PVR Config.................................................................................................................15
7. System Setting .................................................................................................................15
7.1 Timers ..........................................................................................................................15
7.2 Child Lock ....................................................................................................................16
7.3 Date Time.....................................................................................................................16
7.4 Common Interface .......................................................................................................16
7.5 Factory Reset...............................................................................................................16
7.6 Upgrade .......................................................................................................................16
7.7 Version .........................................................................................................................16
7.8 Auto Standby................................................................................................................16
8. AV Setting ....................................................................................................................... 17
18
8.1 SPDIF......................................................................................................................... 17
20
21
21
2
22
22
22
8.2 Aspect Ratio............................................................................................................... 17
8.3 Video Output .............................................................................................................. 17
8.4 Video Resolution....................................................................................................... 17
8.5 HDMI Audio................................................................................................................ 17
9. OSD Game ...................................................................................................................... 17
10. Multi-Media ...................................................................................................................
10.1 MOVIE..................................................................................................................... 18.
10.1.1 Movie file browser......................................................................................................... 18
.
10.1.2 Movie playback ........................................................................................................... 18
10.2 MUSIC..................................................................................................................... 19.
10.3 PHOTO .................................................................................................................... 19
10.3.1 Photo file browser ....................................................................................................... 19
10.3.2 Photo playback ...........................................................................................................
10.3.3 Photo thumbnail ......................................................................................................... 20
10.4 NATIVE32 GAME.................................................................................................... 20
10.5 RECORDER MANAGER .........................................................................................
10.5.1 Recorder manager browser ........................................................................................
10.6 DISK MANAGER ..................................................................................................... 1
10.6.1 Disk manager browser ................................................................................................
10.6.2 Move/Copy..................................................................................................................
10.7 E-Book .....................................................................................................................
HSILGNE

5
10.7.1 E-Book browser ..........................................................................................................
10.8 ISO............................................................................................................................ 22
22
11. Upgrade......................................................................................................................... 23

11.1 USB Upgrade ........................................................................................................... 23
12. Troubleshooting............................................................................................................ 24
HSILGNE

1. Installation of STB
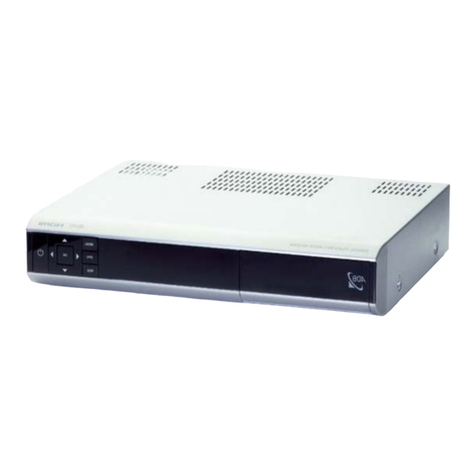
1.1 Front Panel
1:Switch between Standby mode and active mode.
2 CH-: Down channel
3 CH+: Up channel
4On/off:Power lamp, red color in Standby mode, green color in active mode
5IR : Receives the remote control signal
6LED: Display the state and the channel number
1.2 Rear Panel
1. RF IN
Connect cable signal.
2. RF OUT
To connect to TV.
3. HDMI
Connecting to the HDMI input on the TV set.
HSILGNE
6

7
4.TV SCART Connector
Use this connector to connect your receiver to your video recorder using a SCART cable.
Your video signal will now be looped through your receiver to your TV set.
5. SCART VCR
Connect the external video input
6. S/PDIF
Digital audio signal output
7.CI
Insert CI module and Smart Card into CI slot, to decode pay tv programs
8. USB
It is used for playing media and PVR
USB harddisc on products with PVR function.
Please notice that we recommend using a hard disc with OWN power supply on this
unit. This is to ensure that it has enough power to work properly.
You can buy many hard discs without power supply, but our experience is that they
need too much power to work stable. MAXIMUM power for hard discs without
power supply is 500mAh.. If they use more than this, they will fail when recording.
9. Power Cord
1.3 Connection
Note: Before connect this STB to other devices, please close all devices’ power.
1.3.1 Connecting to cable signal
To receive the broadcast signal, the cable signal should be connected to the CABLE IN
HSILGNE

8
connector at the back of the receiver.
1.3.2 Connecting to TV
1. Connect the scart connectors at the back of the receiver to the scart connectors on
your TV set.
2. Connect the HDMI connector at the back of the receiver to the HDMI connector on
your TV set.
1.3.3 Connecting to Digital Audio Amplifier
Connect OPTICAL connector at the back of your receiver to appropriated input of your
Digital Audio
HSILGNE

9
2. IR
2.1 Remote
1、『STANDBY』switch of power supply
2、『RECALL』return to upper menu or previous program palyed.
3、『AUDIO』audio pid switch and left/right channel
4、『MUTE』mute control
5、『TV/RADIO』TV/RADIO switch
6、『FAV』enter channel/Fav list
7、『TEXT』Teletext
8、『EPG』go to EPG
9、『INFO』Display information of programs
10、『SUB』Subtitle
11、『MENU』Enter main menu
12、『CH+/-』left/right channel
13、『RETURN/EXIT』Exit to the menu or escape from the item
14、『VOL+/-』 volume adjusting
15、『 / / / & OK』move high_light and confirm
16、『PAGE UP&DOWN』Page up&down
17、『NUMBER』digital strokes
18、『REC』enter REC
19、『DTV/VCR』switch DTV to VCR
20、『USB』Into USB menu
21、『PLAY/PAUSE』play/pause key
22、『STOP』stop playing USB Media
23、『REPEAT』set repeat mode
24、『PREV & NEXT』play previous&next USB Media
24、『REV & FWD』speed up&down while USB Media playing
25、『COLOUR』Use to navigate between pages in teletext mode.
HSILGNE

10
3. Basic functions
3.1 First Installation
First installation shall setup some important
configures.
User can select OSD Language、Country、Time Zone、
Active Antenna and LCN from this menu,when it is
set completely,User can use “Start Search”to search
channels.
3.2 Volume adjustment and Mute
1. Press “vol+/-” to adjust volume when system is in normal playing mode; and it will show
volume bar on the image.
2. Press “MUTE” to enter into the mode when normally playing and repress “MUTE” to back
the normal state.
3.3 TV/RADIO programs switch
Press “TV/RADIO” to switch the programs when it is in full screen.
3.4 Station switch
1. Press “CH+/-” to switch to the next or previous program.
2. Press number keys to input program number.
3.5 Program list
1. Press “ENTER” to switch to the program list, press “LEFT/RIGHT” to select different
program class; press “UP/DOWN” to select program.
2.If there are some favorite programs that been set up, just press “FAV” key to enter into the
favorite program list:
3.6 Display information of programs
Press key “INFO” to show the information of current programs when it is in normal
playing state.
3.7 Program return
Press “RECALL” under state of full-screen to return to the previous program palyed.
HSILGNE

11
3.8 Audio language switch and L/R channel switch
Press “AUDIO” key to switch the language of sound of current programs and switch among
“stereo” “left” “right”(stereo left channel right channel).
3.9 Electronic programs guide (EPG)
1. You can press key “EPG” on the remote controller to enter into the EPG page to know
more about the programs to be played.
2. Press the colour key to choose the detailed information corresponding to the current
program.
3.10 Teletext
Press “TEXT” on the remote to enter into Teletext page.
3.11 Subtitle
Press SUBTITLE key on the remote to enter the Subtitle menu for selecting subtitle
on/off/language.
3.12 REC
Press “REC” key to record current program. You can press “info” key to watch current
recording information.
Press “stop” key while recording, will stop record and resume normal playback mode.
3.13 Time shift
1) In TV full screen, Press Pause key to into time shift mode.
2) In time shift mode, User can use PLAY/PAUSE/Fast forward/Fast backward.
HSILGNE

12
4. Installation
Please input its password (0000) when entering into installation menu each time.
4.1 Auto Search
Auto search will scan all frequency and all programs based on your country setting.
4.2 Manual Search
Manual Search is for someone who know about how to select the exact frequency to scan.
4.3 Channel Filter
All channels or only unencrypted channels are set to be searched by selective settings.
4.4 LCN
LCN Mode can control the channel whether sort by the sequence information in the streams
4.5 Country
Use can set country
4.6 Active Antenna
Enables/Disables the “Active Antenna”
HSILGNE

13
5. Channel
5.1 Channel Manager
Channel manager page includes channel deleting, moving, locking and rename.
5.2 Favorite List
1. As shown in the figure below via “Main menu->channel-> Favorite list”
2. User can set channel favorite list.
HSILGNE

14
6. Preference Setting
6.1 OSD Language
User can select OSD language
6.2 OSD Tiemeout
User can select OSD Timeout
6.3 OSD Transparency
User can adjust OSD Transparency
6.4 Preferred Subtitle
User can set 1st and “2nd Preferred subtitle language.
6.5 Hard Hearing
Enables/Disables the “hearing impaired”
6.6 Preferred Audio
User can set 1st and “2nd Preferred audio language.
6.7 Multimedia
User can setting for media player.
HSILGNE

15
6.8 PVR Config
It contains six options as fallow:
1、PVR File Format:
Either of options, TS/PS
2、File Size:
Any of options, 4G/3G/2G/1G, can be selected to set the size of the file to be recorded
3、Timeshift:
Any of options, AUTO/OFF/ PAUSE, if AUTO is selected, timeshift operation will perform
automatically on the background, if OFF is selected, timesshift operation will stop; if
PAUSE is selected, timeshift operation will be Manual start by Pause key
4、Timeshift Length:
Any of options, AUTO/30min/1h/2h, can be selected to set the time depth of the timeshift
5、Timeshift to Record:
Either of options, ON/OFF, can be selected.
7. System Setting
7.1 Timers
10 timers are supported. Setting for timer:
HSILGNE

16
Date:Specifies the timer date
Program Name:Specifies the channel for which the timer is set
Start time:Specifies the start time of the timer
End time:Specifies the end time of the timer,be used in Recorder Type
Duration:Specifies the duration time of the timer,be used in Recorder Type
Mode:Specifies the frequency of the timer. Duration can be any of the following:
Once -timer will be triggered only once.
Daily -timer will be triggered daily at the specified time.
Weekly-timer will be triggered every week at the specified time.
Monthly- timer will be triggered every Monthly at the specified time.
7.2 Child Lock
User can set Enables or Disables the system lock, and also can set the parental rating
from 0 to 18.
7.3 Date Time
If the “Time Mode” is set to “Auto” then, “Time Zone” and “DST” shall be active for
editing. If the Mode is “Manual”, these options shall be disabled.
If the “Time Mode” is set to “Manual” then, “Date” and “Time” shall be active for editing.
If the Mode is “Auto”, these options shall be disabled.
7.4 Common Interface
Information about common interface
7.5 Factory Reset
There will be Reset to default when this option be selected. The system will hint to input
“0000”; to set factory Reset
7.6 Upgrade
Software Upgrade
7.7 Version
Information about the stb
7.8 Auto Standby
Control the STB to standby automatically after any comportment for 3 hours.
HSILGNE

17
8. AV Setting
TV setup provides convenient TV input mode, as shown in Figure
8.1 SPDIF
Used to select AVC mode –Mute,PCM and Bitstream
8.2 Aspect Ratio
Aspect Ratio can be set as 16: 9, 4: 3PanScan, 4: 3LetterBox,Full Screen;
8.3 Video Output
Video Output can be set as RGB, CVBS;
8.4 Video Resolution
Video Resolution can be set as 480p_60,480i_30,576p_50,576i_25, 720p-60, 720p_50,
1080i_30, 1080i_25, 1080p_60, 1080p_50;Auto Detect
8.5 HDMI Audio
HDMI Audio can be set HDMI PCM HDMI RAW HDMI Mute;
9. OSD Game
Four OSD games are provided include Box Man、Tetris、Hit Rat、Go Bang .
HSILGNE

18
10. Multi-Media
10.1 MOVIE
10.1.1 Movie file browser
Supported file formats are MPG, AVI, VOB, DAT, ASF, MKV, RM, WMV, TS, QT.
10.1.2 Movie playback
Key Stroke Action
KEY_PREV Shall stop this movie and play the previous movie in the list.
KEY_NEXT Shall stop this movie and play the next movie in the list.
KEY_PLAY play movie and show play icon.
KEY_PAUSE If the movie is playing, then this will pause and show pause icon
KEY_STOP Stop the movie and show the layout
KEY_FWD Fast forward the movie.
KEY_REV Fast reverse the movie.
KEY_RECALL The same as the key KEY_STOP
KEY_MUTE TV mute shall be toggled.
KEY_VOLUME Change the volume
KEY_INFO Display information of the playing movie
HSILGNE

19
10.2 MUSIC
WMA, WAV, AAC,and MP3 format will be supported.
Key Stroke Action
KEY_PREV play the previous music
KEY_NEXT play the next music
KEY_PLAY play current music
KEY_PAUSE pause music
KEY_STOP stop the music
KEY_FWD fast forward the music
KEY_REV fast reverse the music
KEY_NUM the highlight shall change to the corresponding item according
to the input number.
10.3 PHOTO
10.3.1 Photo file browser
Supported file formats are JPG, TIF, PNG, GIF and BMP.
HSILGNE

20
Key Stroke Action
KEY_ENTER press the key will play the selected photo.
KEY_RECALL press KEY_RECALL shall return from file list to filter selection
mode.
KEY_NUM the highlight shall change to the corresponding item according
to the input number
KEY_YELLOW Shall show thumbnail menu.
10.3.2 Photo playback
Key Stroke Action
KEY_UP Shall rotate the image 180
KEY_DOWN Shall rotate the image 180
KEY_LEFT Shall rotate the image 270
KEY_RIGHT Shall rotate thr image 90
KEY_PREV Displays the previous image in the List. If the displayed image is
the first one then the key is ignored.
KEY_NEXT Displays the next image in the List. If the displayed image is the
last one then the key is ignored.
KEY_INFO Shall display the information of the image
KEY_PAUSE Slide show was paused if press the key
KEY_PLAY Slide show was start to play if press the key
10.3.3 Photo thumbnail
The thumbnail view of the photos.
10.4 NATIVE32 GAME
Supported file formats are native32.
HSILGNE
Table of contents
Other Denver Set-top Box manuals

Denver
Denver DMB-113CI User manual

Denver
Denver DMB-105HD User manual

Denver
Denver DVBT-41 User manual

Denver
Denver DVH-1240M User manual

Denver
Denver DMB-106HD User manual

Denver
Denver DVBT-12 User manual

Denver
Denver DVBT-42 User manual

Denver
Denver DVBT-11 User manual

Denver
Denver DMB-115CI User manual

Denver
Denver DTB-142 User manual