manuals.online logo
Brands
  1. Home
  2. •
  3. Brands
  4. •
  5. Displays2go
  6. •
  7. Indoor Furnishing
  8. •
  9. Displays2go RWDRYERS5 User manual

Displays2go RWDRYERS5 User manual

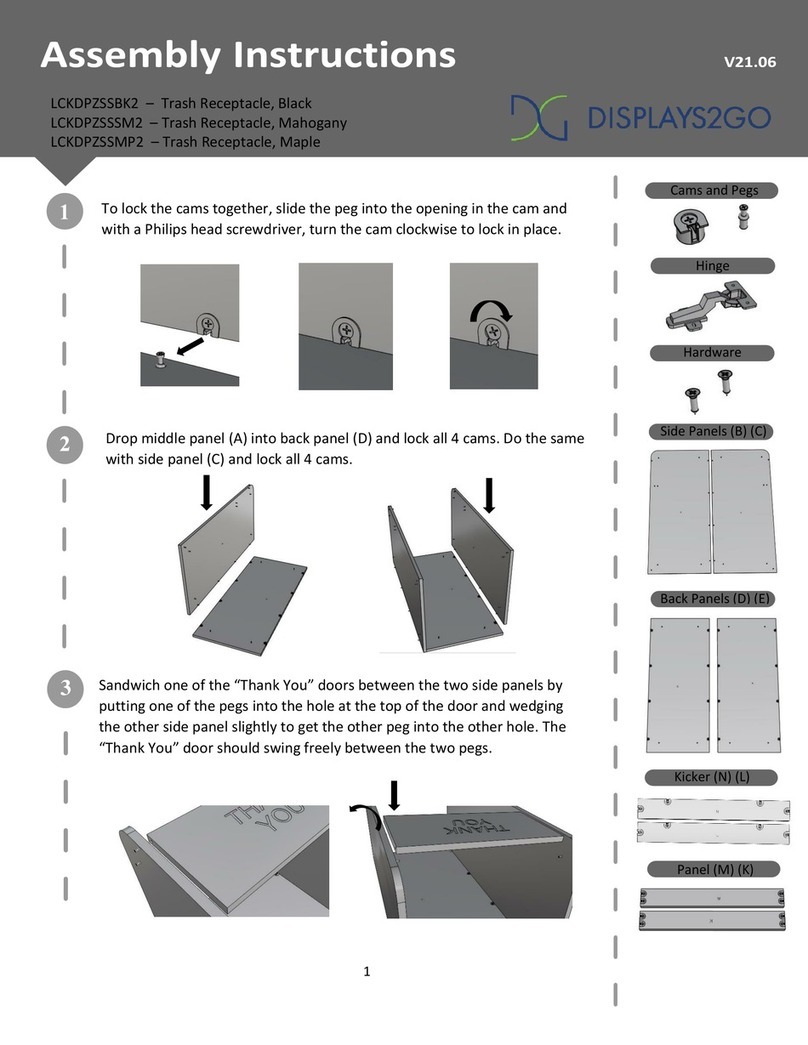
1. Identify Vertical Panels (E and F), and Shelves (G and H) as marked in the image below. Insert 3 cam posts (H2) into
holes on the Vertical Panel E. Tighten only until snug. Do the same for all Panel F and Shelf G.
Attach 1 Shelf G to Panel E by inserting cam posts into corresponding holes as shown. Insert 3 cam locks into the cam lock
holes on Shelf G, use a phillips screw driver to turn cam locks clockwise to secure cam posts.
Attach 1 Panel F to Shelf G and fix it with cam locks. Assemble the remaining Panel F, G and Panel H in sequence as shown
in the image below.
DO NOT over-tighten.
E
F
F
F
G
G
H
G
WORK ON A CLEAN SMOOTH SURFACE
Join Panels H2 Insert Cam Lock
H1
Tighten Cam Lock
(a) (b) (c)
How to join 2 boards with CAM lock:
(a) Insert cam post into flat surface of a board and fix it with
a screw driver. Do not over tighten. Fit the hole in the edge
of the joining board over the cam post.
(b) Insert the cam lock into the cam hole. Be sure the
opening section on the back fits the head of the cam post.
(c) Use a screw driver to turn the cam lock clockwise so it
locks onto the head of the cam post. Do not over tighten.
Tool Needed:
Phillips Screwdriver
PARTS LIST
No. Qty. Description Qty. Description
Side Panel-Left
Bottom Panel
Top PanelA 1
B1
C
1
1
H2
56
Cam Post
Back Panel
D1
Vertical Panel - Front
E1
H1
2
Cam Lock
Vertical Panel - Middle
F3
H4
Caster with Brake
16
Caster
G
Side Panel-Right
B2 1
No.
3
H3
H5
H6
56
2
10
Wood Screw and Washer
Wood Screw
H
I1
1
Shelf
Shelf
Front Panel
ASSEMBLY INSTRUCTIONS
1 of 3
V21.06
2 people
are required
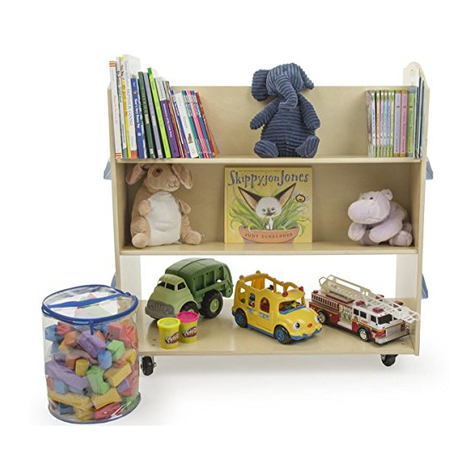
RWDRYERS5 - Roll and Write 5 Tier Book Display with Dry Erase Board
2. Insert 4 cam posts into the Back Panel D. Connect the Panel D with assembled panels in Step 1 and use cam locks to fix
the back panel.
Insert 3 cam posts into the Top Panel A and attach it to the top of Panel D. Use cam locks to secure the top panel.
3. Insert cam posts into Side Panels B1 and B2.
Place the Right Side Panel B2 on the floor with cam post side facing up. Attach Right Side Panel B2 to the right side of the
finished panel assembly in Step 3, and attach Front Panel I to the B2 panel as shown. Use cam locks to secure the right
side panel.
Attach Left Side Panel B1 to the other side and fix it with the remaining cam locks.
D
A
I
B2
B1
ASSEMBLY INSTRUCTIONS
2 of 3
4. Attach Bottom Panel C to the main unit and align pre-drilled holes on all sides. Use Wood Screws (H6) to secure the
bottom panel to the unit.
5. Attach 2 Casters with Brake H3 at the front and fix them with Wood Screws and Washers H5. Fix the other 2 Casters H4
at the back with the remaining wood screw and washers the same way. The assembly is finished.
C
H6
H3
H3
H4
H4
H5
Scan QR code to visit
the product page:
ASSEMBLY INSTRUCTIONS
3 of 3
If you have any questions regarding our products, please visit us at www.displays2go.com or contact D2g customer service at 844-221-3388.

Other Displays2go Indoor Furnishing manuals
Displays2go DP031NVB User manual

Displays2go

Displays2go DP031NVB User manual

Displays2go LCKDPZSSBK2 User manual

Displays2go

Displays2go LCKDPZSSBK2 User manual

Displays2go TVCON49MO User manual

Displays2go

Displays2go TVCON49MO User manual

Displays2go FDEDGECTA User manual

Displays2go

Displays2go FDEDGECTA User manual

Displays2go LCKDBLRSM User manual

Displays2go

Displays2go LCKDBLRSM User manual
Displays2go DIGART32 User manual

Displays2go

Displays2go DIGART32 User manual

Displays2go mrclsc72bk User manual

Displays2go

Displays2go mrclsc72bk User manual

Displays2go SMGEOSHNT1 User manual

Displays2go

Displays2go SMGEOSHNT1 User manual

Displays2go DIGEAS43 User manual

Displays2go

Displays2go DIGEAS43 User manual

Displays2go UPTSECOLB1 User manual

Displays2go

Displays2go UPTSECOLB1 User manual

Displays2go WRADC User manual

Displays2go

Displays2go WRADC User manual

Displays2go Easel DIGCOM43 User manual

Displays2go

Displays2go Easel DIGCOM43 User manual

Displays2go IMU60DC User manual

Displays2go

Displays2go IMU60DC User manual

Displays2go SCTWRCOLBK User manual

Displays2go

Displays2go SCTWRCOLBK User manual

Displays2go LCKDPZTRBK2 User manual

Displays2go

Displays2go LCKDPZTRBK2 User manual

Displays2go SMSFSMFB30 User manual

Displays2go

Displays2go SMSFSMFB30 User manual

Displays2go LCTKD User manual

Displays2go

Displays2go LCTKD User manual

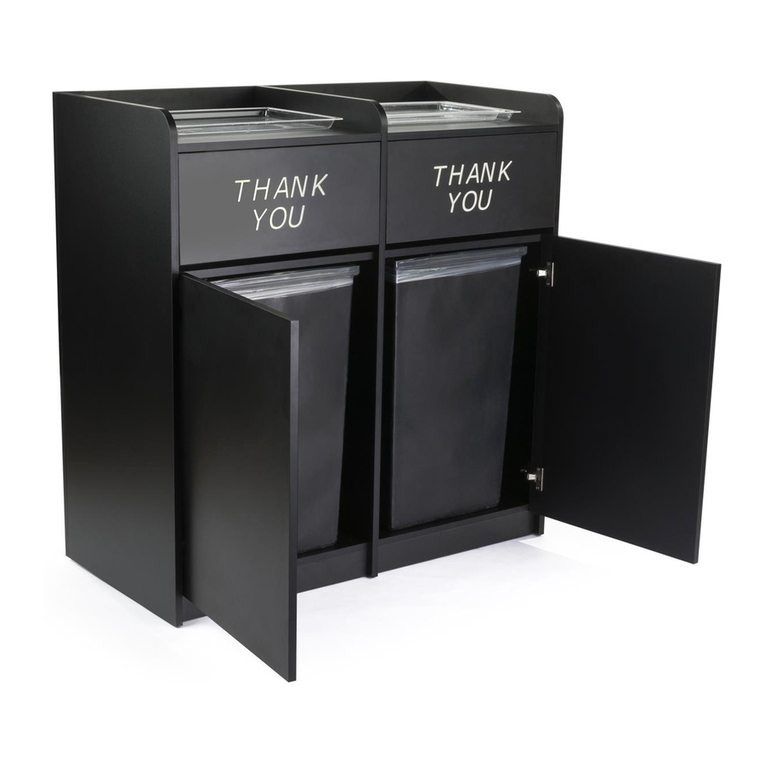
Displays2go THANK YOU Trash Receptacle Bin User manual

Displays2go

Displays2go THANK YOU Trash Receptacle Bin User manual

Displays2go BLKDMPTB Installation guide

Displays2go

Displays2go BLKDMPTB Installation guide

Displays2go SMSFSSC35 User manual

Displays2go

Displays2go SMSFSSC35 User manual

Displays2go DCECODCWT User manual

Displays2go

Displays2go DCECODCWT User manual
Displays2go SMHSNATLG User manual

Displays2go

Displays2go SMHSNATLG User manual

Displays2go NESTING SHELVES WITH WHEELS MBSHF User manual

Displays2go

Displays2go NESTING SHELVES WITH WHEELS MBSHF User manual

Displays2go LCKDTLCSBK2 User manual

Displays2go

Displays2go LCKDTLCSBK2 User manual

Popular Indoor Furnishing manuals by other brands

Home affaire Lucy 3510 6853 Assembly instructions

Home affaire

Home affaire Lucy 3510 6853 Assembly instructions

Next 131023 Assembly instructions

Next

Next 131023 Assembly instructions

Suncast C2800 owner's manual

Suncast

Suncast C2800 owner's manual

Venjakob 2543 Assembly instructions

Venjakob

Venjakob 2543 Assembly instructions

IKEA FLYTTA KITCHEN CART 38 5/8X22 1/2" instructions

IKEA

IKEA FLYTTA KITCHEN CART 38 5/8X22 1/2" instructions

CorLiving DPU-604-B quick start guide

CorLiving

CorLiving DPU-604-B quick start guide

Granberg Baselift Corner 6311H installation instructions

Granberg

Granberg Baselift Corner 6311H installation instructions

BDI CENTRO 6407 SW manual

BDI

BDI CENTRO 6407 SW manual

GoodHome perma 5059340018157 manual

GoodHome

GoodHome perma 5059340018157 manual

Julian Bowen Limited FAR002 Assembly instructions

Julian Bowen Limited

Julian Bowen Limited FAR002 Assembly instructions

Wilding Wallbeds Installation instruction

Wilding

Wilding Wallbeds Installation instruction

VITRA Alcove Cabin Instructions for use

VITRA

VITRA Alcove Cabin Instructions for use

Enwork FE Series installation instructions

Enwork

Enwork FE Series installation instructions

Oeseder Möbelindustrie 992 580 Assembly instructions

Oeseder Möbelindustrie

Oeseder Möbelindustrie 992 580 Assembly instructions

Julian Bowen Limited IMO101 Assembly instructions

Julian Bowen Limited

Julian Bowen Limited IMO101 Assembly instructions

Stompa Uno Highsleeper Nero Assembly instructions

Stompa

Stompa Uno Highsleeper Nero Assembly instructions

Living Spaces JAXON GREY 241124 owner's manual

Living Spaces

Living Spaces JAXON GREY 241124 owner's manual

Steelcase Duo Tall Storage Mounted on Montage Assembly instructions

Steelcase

Steelcase Duo Tall Storage Mounted on Montage Assembly instructions

manuals.online logo
manuals.online logoBrands
  • About & Mission
  • Contact us
  • Privacy Policy
  • Terms and Conditions

Copyright 2025 Manuals.Online. All Rights Reserved.