3
Installation
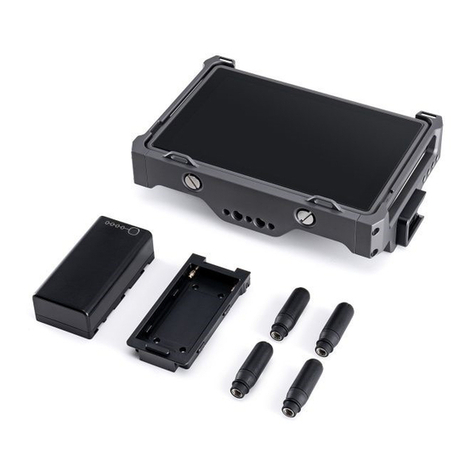
Attach the antenna to the Force Pro and then tighten the securing knob.
1. Antenna
Relays control signals. Do not
obstruct the antenna.
2. Pan Axis Speed Control Knob
Turn this to adjust the maximum
speed of the pan axis. Set the
value to 65 for a 1:1 movement
ratio between the gimbal and
Force Pro.
3. Tilt Axis Speed Control Knob
Turn this to adjust the maximum
speed of the tilt axis. Set the
value to 65 for a 1:1 movement
ratio between the gimbal and
Force Pro.
4. Mounting Mode
Press this button to select a
gimbal mounting mode.
5. Roll Axis Speed Control Knob
Turn this to adjust the maximum
speed of the roll axis. Set the
value to 65 for a 1:1 movement
ratio between the gimbal and
Force Pro.
6. Back Button
Press once to return to the
previous menu.
7. Sleep Button
Press and hold the button to
enable and disable gimbal sleep
mode. The Force Pro is unable to
control the gimbal while in sleep
mode.
8. C1 Button
Customizable button.
9. Jog Wheel
Rotate to select options.
10. DC IN Port
Supports 9-26 V DC input with
communication functionality.
The DJI Force Pro can be
powered by other power
source through this port.
11. DC OUT Port
Supports 5 V DC output with
communication functionality.
12. C2 Button
Customizable button.
13. OK Button
Press once to conrm an
option.
14. USB-C Port
For charging and updating
the rmware of the Force Pro.
15. Power/Record Button
Press to turn on/off the Force
Pro (press and hold for
eight seconds to turn it off
mandatorily). Press once to
check the battery level when
powered off. Press once to
start/stop recording video
when powered on.
16. Toggle Button
Press once to toggle between
the submenus.
17. Lock Button
Lock the Force Pro to avoid
accidental operation.
18. Follow Mode Button
Selects Follow mode.
19. Mounting Hole 1
1/4”-20 thread with a 10 mm
depth.
20. Mounting Hole 2
3/8”-16 thread with a 10 mm
depth.
21. Mounting Hole 3
1/4”-20 thread with a 10 mm
depth.
