Dolphin 12V25A User manual

Notice BEN.1225/40 rév 01
1
DOLPHIN Battery
chargers,
for boat builders
12V25A
Vin : 115V / 230V
Vout : 12V 25A
REYA code : 299735
12V40A
Vin : 115V / 230V
Vout : 12V 40A
REYA code : 299740
TECNHICAL NOTICE, english version, page 1
NOTICE TECHNIQUE version française, page 7
REYA
144, Avenue de la Roubine
06156 CANNES-LA-BOCCA
Tel : (33) 04.93.90.47.00
Fax : (33) 04.93.47.42.57
www.reya.com

Notice BEN.1225/40 rév 01
2
WARNINGS
Before Operation :
-The manual contains vital and essential information. The owner should read and understand this
important document before operating the charger. Contact REYA if you do not understand a statement.
Before Installation :
-In order to avoid overcharging or irreversible damage to the materials, please follow closely all
recommendations cited below. An owner should seek guidance from an authorized dealer or the factory.
-Do not install this system near inflammable materials.
-Do not install this system near a heat source.
-It should not be installed in an airtight or badly ventilated area.
-All ventilation ducts must be unobstructed.
-Mount in a vertical position, to create natural ventilation for the charger. Note that the wiring connections
are at the bottom of the charger. Leave at least three inches clearance above and below the unit for
proper ventilation.
-This system should not be exposed to water or dust.
-It is strictly forbidden to tamper with the system casing.
Hazardous Conditions :
-Can result from improper installation and:
•Can cause serious injury or death of the occupants.
•Can cause serious damage or destruction of the vessel.
Serial number :
-The serial numbers are on the data plate which is located on the right side of the charger. These serial
numbers indicate the year, month, and sequence in which the charger was manufactured. The first letter
in the serial number represents the month it was manufactured (i.e. A-January, B-February, etc.). The
following two numbers represent the year the charger was manufactured and the remainder of the serial
number simply indicates the sequence in which that particular charger was manufactured.
BASIC INSTALLATION GUIDE
Connection precautions :
-This system is set to be connected to a mono phase network 230V 50Hz or 115V 60Hz
-There is an automatic 115V/230V selection.
-For security reasons, the system's PE terminal must strictly be connected to the installation's Earth
(green/yellow wire in the cable section)
-To prevent overheating, ensure the correct connection of cables.
-NB: If an inverse polarization of the batteries occurs, the battery fuses will automatically blow.
Start up precautions :
-In order to prevent all risk of electric shocks at either start up or during the utilization of this system, the
protection cap must rest in place and be tightly screwed.
Maintenance precautions :
-In order to prevent risk of electric shocks during maintenance, please follow closely all recommendations
below before any maintenance begins.
-Disconnect AC cable
--DC or –BAT cable must be disconnected in order to avoid transfer of energy.
-Please wait 5 minutes before accessing into the casing
-Fuses must be replaced by fuses that have the same characteristics and performance levels.

Notice BEN.1225/40 rév 01
3
TECHNICAL SPECIFICATIONS
12V 25A
12V 40A
INPUT VOLTAGE
98V to 264V (full range & automatic selection)
INPUT FREQUENCY
50Hz / 60Hz (+/- 10%)
POWER FACTOR / EFFICIENCY
0.9 / 85%
INPUT CURRENT
4A / 2A
8A / 4A
INPUT FUSE
Slow 6 Amps
Slow 10 Amps
NUMBER OF OUTPUTS
3 insulated outputs
CHARGING SELECTOR
8 positions
Wet & flooded
electrolyte batteries
3
2
1
ON
“Scanning charge”
14,4V
13,2V
V.bat
I.bat
T2 = T1 x 4
4Hrs max
T1
T2
Sealed lead batteries
3
2
1
ON
“Scanning charge”
14,2V
13,6V
V.bat
I.bat
T2
T1
T2 = T1 x 4
4Hrs max
Calcium lead batteries
3
2
1
ON
“Scanning charge”
14,8V
13,8V
V.bat
I.bat
T2
T1
T2 = T1 x 4
4Hrs max
DELPHI batteries
3
2
1
ON
“Scanning charge”
15,4V
13,8V
V.bat
I.bat
T2
T1
T2 = T1 x 4
4Hrs max
OPTIMA & MAXIMA
batteries
3
2
1
ON
14,8V
15,5V
V.bat
I.bat
3H
6H max.
1H
13,8V

Notice BEN.1225/40 rév 01
4
Winterisation
3
2
1
ON
14,4V
V.bat
I.bat
168H
2H max
1H
13,2V
1H
Gel batteries
3
2
1
ON
“Scanning charge”
14,4V
13,8V
V.bat
I.bat
T2 = T1 x 4
4Hrs max
T1
T2
Power Supply
3
2
1
ON
13,6V
V.bat
I.bat
OUTPUT VOLTAGE SHARING
+/-2%
RIPPLE AND NOISE
<1%
MAX OUTPUT CURRENT
25A (+/-5%)
40A (+/-5%)
OUTPUT FUSE
Fast 30A
2 x fast 30A
PROTECTIONS
Against output overload and short circuit, excessive internal temperature,
faulty over output voltage, generally faulty fuse.
LED DISPLAYS
Led 3 colours
CONTROL
Microprocessor based RISC technology
SILENT NIGHT FONCTION
By front push button
OPERATING TEMPERATURE
0°C to 60°C
STORAGE TEMPERATURE
-20°C to 70°C
HUMIDITY
10% to 90% (without condensation)
EMC / SAFETY
EN50081-1 & EN50082-1 / EN60335-1
VENTILATION
Forced fan cooling
CASING
Grey aluminium with powder coating treatment
MOUNTING
Wall mounted - 3 screws M4
DIMENSIONS
280 x 135 x 100mm
280 x 190 x 100mm
WEIGHT
2,5Kg
3,5 Kg
MAIN OUTLET
WINSTA (WAGO) connector –3 x 4mm2 max
BATTERIES OUTLET
PHOENIX CONTACT connector –16mm2 max
IMPORTANT :
-It is very important to note that an inappropriate use of the battery's charging cycle can seriously degrade or even
damage the batteries.
-This is particularly true for cycles where the charge outputs are vastly superior to those recommended by the
manufacturer.
-Serious risk of battery overheating and discharge of noxious gasses.
-Please refer to the manufacturer's recommendations for your choice of cycle

Notice BEN.1225/40 rév 01
5
OPERATING INSTRUCTIONS
> ABSORPTION
•LED is orange
•Batteries are in absorption MODE (6 hrs max.)
> EQUALIZATION
•LED is flashing orange
•Batteries are in equalization mode (4 hrs max.)
> FLOATING
•LED is flashing green
•Batteries charged and in floating mode
> SILENT NIGHT MODE
•SILENT NIGHT MODE is active by pushing the front push-button, during a minimum of 3 sec.
•SILENT NIGHT MODE is OFF by pushing a new time, on the same push-button
•SILENT NIGHT MODE is automaticaly OFF after a periode of 10 hrs.
•LED is flashing fast green
•The charger is in silent night mode
•Internal fan is automaticaly OFF
•LED is flashing fast orange
•The charger is in stand-by mode (over-temperature protection)
> TEMPERATURE FAULT
•LED is flashing red
•Internal temperature fault
•The charger is in stand-by mode for 30 sec. (min.)
•Check the installation and climatic conditions
•Check the internal fan is operational
•Check charger's confinement
> OUTPUT VOLTAGE FAULT
•LED is red
•Faulty output voltage
•The charger is in stand-by mode for 30 sec.
•Check state of electronic card
> OUTPUT FUSE FAULT
•LED is red
•Faulty output fuse
•Check battery connections
•Check the status of the fuse box

Notice BEN.1225/40 rév 01
6
CONNECTIONS
PC board
Top view
DC3 DC2 DC1 -DC
6mm2 for 25A model
10mm2 for 40A model
1.5 meter max
L1 PE N
1,5mm2 for both models
5 meter max
Battery fuses
F30A for 25A model
2 x F30A for 40A model
Led
Charging
selector
Push button
“Silent night mode”
WARRANTY
-In order to prevent all risks arising due to the incorrect use of this device, please carefully read the list of possible
situations or faults that are not covered by the warranty.
-If the mechanical components of the devise are not protected by the casing and fall, irreversible damage of the
ventilation system and certain electrical components may result.
-Modifications made to the casing (and in particular if holes are bored), may result in the deposit of metallic shavings
or filings on to the electronic card and consequently may cause the malfunction of or damage to the device.
-Interfering with or modifications made to the electronic card may result in unforeseen operations and consequently
may cause the malfunction of or damage to the device.
-Use of a non-adapted power supply (as a general rule, the input voltage will be too high) may cause the malfunction
of or damage to the device.
-An accidental electrical surcharge or lightening strike will generally cause the malfunction of or damage to the device.
-Replacement of battery fuses with fuse types other than those recommended (same characteristics) may cause the
malfunction of or damage to the device.
-Obvious connection errors will result in the malfunction of or damage to the device.
-Water gaining access to the interior of the device may cause the malfunction of or damage to the device.
IMPORTANT :
-It is very important to note that an inappropriate use of the battery's charging cycle can seriously degrade or even
damage the batteries.
-This is particularly true for cycles where the charge outputs are vastly superior to those recommended by the
manufacturer.
-Serious risk of battery overheating and discharge of noxious gasses.
-Please refer to the manufacturer's recommendations for your choice of cycle

Notice BEN.1225/40 rév 01
7
PRECAUTIONS DE SECURITE !!
AFIN DE PREVENIR TOUT RISQUE DE CHOC ELECTRIQUE OU D’INCENDIE, LIRE
ATTENTIVEMENT CE MANUEL AVANT D’INSTALLER L’APPAREIL. En cas de problème ou
d’incompréhension, contacter la société REYA
-Cet appareil contient des composants qui peuvent provoquer des arcs électriques ou
étincelles, lors des raccordements par exemple. Afin de prévenir tout risque d’incendie ou
d’explosion, ne pas installer cet appareil à proximité de matériels, liquides ou gaz
inflammables
Précautions d’installation
-Afin de prévenir tout risque de surchauffe ou de dommage irréversible sur le matériel, veillez à suivre de
manière impérative et rigoureuse les recommandations ci-dessous
-Cet appareil ne doit pas être installé à proximité d’une source de chaleur
-Il ne doit pas être installé dans un compartiment étanche ou mal aéré
-Les ouies de ventilations ne doivent pas être obstruées
-Un espace libre d’au moins 10cm doit être prévu tout autour du coffret pour permettre une bonne
convection
-Cet appareil ne doit pas être exposé aux ruissellements, aux projections d’eau et aux poussières de
toutes natures
-Il est recommandé de fixer l’appareil en position verticale, la sortie des câbles orientée vers le bas
-Il est formellement interdit de modifier mécaniquement le coffret par des perçages supplémentaires par
exemple
Précautions de raccordements
-Afin de prévenir tout risque de choc électrique ou de dommage irréversible sur le matériel, veillez à suivre
de manière impérative les recommandations ci-dessous
-Cet appareil est prévu pour être raccordé sur des réseaux monophasés 230V 50Hz ou 115V 60Hz
-La sélection 115V / 230V est automatique
-Pour des raisons de sécurité, la borne PE de cet appareil doit impérativement être raccordée à la terre
générale de l’installation (fil vert / jaune du câble secteur)
-Afin de prévenir tout échauffement parasite, veiller à la bonne section des câbles ainsi qu’aux bons
serrages des connections
Précautions de mise en service
-Afin de prévenir tout risque de choc électrique lors de la mise en service ou pendant le fonctionnement,
le capot de protection doit impérativement être en place et correctement vissé sur le bâti
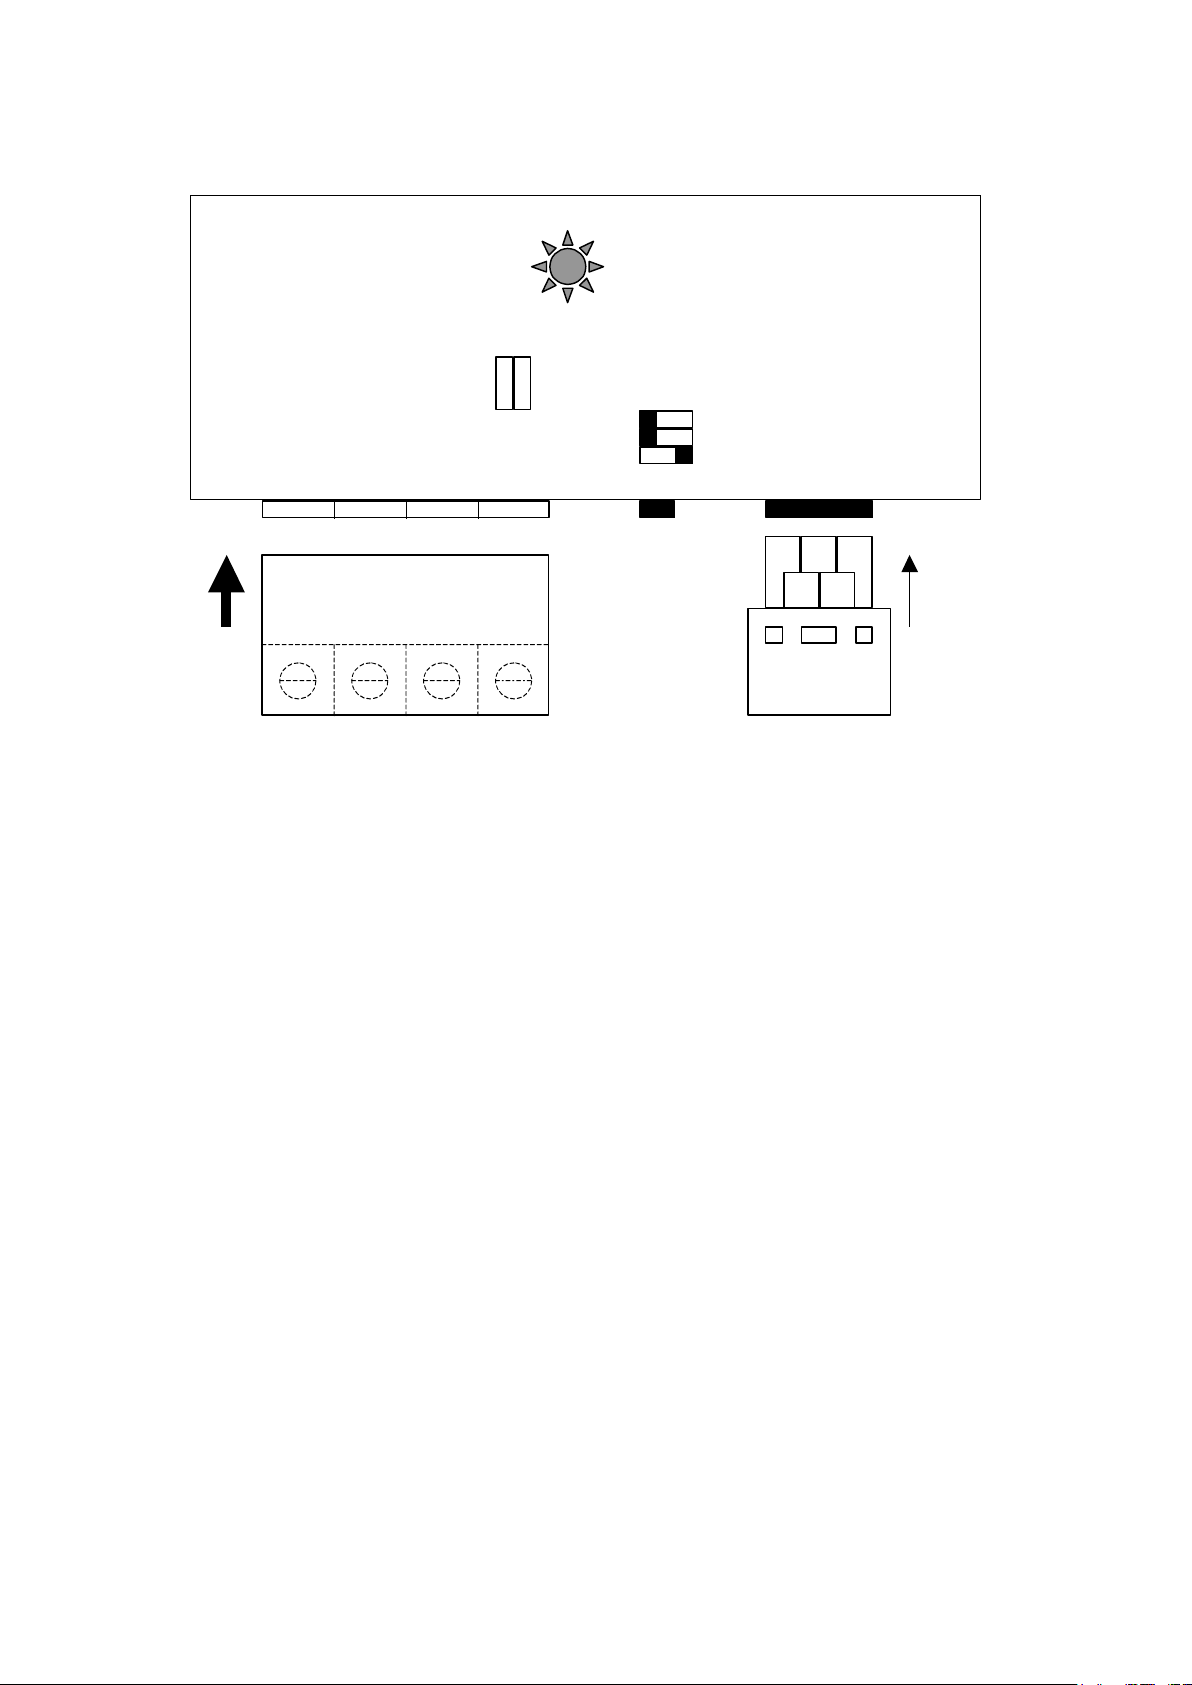
N° de série de l’appareil
-Le numéro de série de l’appareil se trouve sur l’étiquette grise collée sur le côté du coffret. Ce numéro est
vertical et est composé d’un 1er chiffre mentionnant l’année de fabrication (ex : 06 pour 2006), une lettre
indiquant le mois de fabrication (ex : C pour le mois de mars) et un numero à 4 chiffres représentant le
numéro du produit dans la série
Précautions de maintenance
-Afin de prévenir tout risque de choc électrique lors des opérations de maintenance, veillez à suivre de
manière impérative les recommandations qui suivent avant d’intervenir dans l’appareil
-L’accès secteur doit impérativement être déconnecté (câble ou sectionneur)
-L’accès –DC ou -BAT doit lui aussi être déconnecté pour éviter tout transfert d’énergie
-Pour permettre aux condensateurs haute tension de se décharger, attendre 5 minutes avant d’intervenir
dans le coffret
-Les fusibles doivent être remplacés par des fusibles aux caractéristiques et performances strictement
identiques

Notice BEN.1225/40 rév 01
8
SPECIFICATIONS TECHNIQUES
12V 25A
12V 40A
TENSION SECTEUR
98V to 264V (sélection 115V / 230V automatique)
FREQUENCE SECTEUR
50Hz / 60Hz (+/- 10%)
COS/ RENDEMENT
0.9 / 85%
CONSOMMATION SECTEUR
4A / 2A
8A / 4A
FUSIBLE SECTEUR
T6A
T10A
NOMBRE DE SORTIES
3 sorties isolées
SELECTEUR DE CHARGE
8 positions
Electrolyte libre
3
2
1
ON
“Scanning charge”
14,4V
13,2V
V.bat
I.bat
T2 = T1 x 4
4Hrs max
T1
T2
Plomb étanche
3
2
1
ON
“Scanning charge”
14,2V
13,6V
V.bat
I.bat
T2
T1
T2 = T1 x 4
4Hrs max
Plomb calcium
3
2
1
ON
“Scanning charge”
14,8V
13,8V
V.bat
I.bat
T2
T1
T2 = T1 x 4
4Hrs max
Spécifique DELPHI
3
2
1
ON
“Scanning charge”
15,4V
13,8V
V.bat
I.bat
T2
T1
T2 = T1 x 4
4Hrs max
Spécifique
OPTIMA / MAXIMA
3
2
1
ON
14,8V
15,5V
V.bat
I.bat
3H
6H max.
1H
13,8V

Notice BEN.1225/40 rév 01
9
Hivernage
3
2
1
ON
14,4V
V.bat
I.bat
168H
2H max
1H
13,2V
1H
Electrolyte Gélifié
3
2
1
ON
“Scanning charge”
14,4V
13,8V
V.bat
I.bat
T2 = T1 x 4
4Hrs max
T1
T2
Alimentation
3
2
1
ON
13,6V
V.bat
I.bat
TOLERANCE TENSION
+/-2%
ONDULATION DE SORTIE
<1%
COURANT DE SORTIE
25A (+/-5%)
40A (+/-5%)
FUSIBLE DE SORTIE
30A rapide
2 x 30A rapide
PROTECTIONS
Court-circuit et surcharge en sortie, température interne excessive
tension de sortie trop haute et défaut général par fusible
AFFICHAGE
Led 3 couleurs
PILOTAGE DE L’APPAREIL
Micro-contrôleur RISC
FONCTION NUIT
Bouton poussoir sur le côté de l’appareil
TEMP. DE FONCTIONNEMENT
0°C à 60°C
TEMPERATURE DE STOCKAGE
-20°C à 70°C
HUMIDITE
10% to 90% (sans condensation)
CEM / SECURITE
EN50081-1 & EN50082-1 / EN60335-1
VENTILATION
Forcée par ventilateur thermostaté
BOITIER
Aluminium peint et traité
MONTAGE
Mural par 3 vis 4mm
DIMENSIONS
280 x 135 x 100mm
280 x 190 x 100mm
POIDS
2,5Kg
3,5 Kg
BORNIER SECTEUR
Connecteur WINSTA (WAGO) –3 x 4mm2 max
BORNIER BATTERIES
Connecteur PHOENIX CONTACT –16mm2 max
IMPORTANT :
-Il est important de notifier que l’utilisation d’un cycle de charge non approprié à la technologie de la batterie peut
largement dégrader voir endommager cette dernière
-Ceci est particulièrement vrai pour des cycles dont les tensions de charges sont bien supérieures aux valeurs
préconisées par les fabricants de batteries
-Risques importants de surchauffe des batteries et de dégagements gazeux nocifs pour la santé
-Se référer donc aux préconnisations fabricants pour le choix du cycle

Notice BEN.1225/40 rév 01
10
MODES DE FONCTIONNEMENTS
> ABSORPTION
•La LED est orange
•Les batteries sont en cours de recharge, dans le mode absorption (6 hrs max.)
> EGALISATION
•La LED est orange clignotante
•Les batteries sont en fin de recharge, dans le mode égalisation (4 hrs max.)
> FLOATING
•La LED est verte clignotante
•Les batteries sont chargées, dans le mode floating
> FONCTION NUIT
•La fonction nuit est activée par l’appui prolongé (< 3 sec.) sur le bouton poussoir (côté du chargeur)
•La fonction nuit est désactivée manuellement par un appui bref sur ce même bouton poussoir
•Ou automatiquement après une période de 10 heures
•La LED est verte clignotante mais fugitive (flash)
•Le chargeur est en mode nuit
•Le ventilateur interne est off
•La LED est orange clignotante mais fugitive (flash)
•Le chargeur est en stand-by (en protection over température)
> DEFAUT TEMPERATURE INTERNE
•La LED est rouge clignotante
•Le chargeur est en stand by pendant une durée comprise entre 30 secondes et 10 minutes
•Vérifier les conditions climatiques
•Vérifier le bon fonctionnement du ventilateur interne
•Vérifier le confinement du chargeur
> DEFAUT TENSION DE SORTIE
•La LED est rouge
•Le chargeur est en stand by pendant une durée de 30 secondes
•Vérifier l’état de la carte électronique du chargeur
> DEFAUT FUSIBLE DE SORTIE
•La LED est rouge
•Vérifier la polarité des câbles batteries
•Vérifier l’état des porte-fusibles batteries sur la carte chargeur

Notice BEN.1225/40 rév 01
11
RACCORDEMENTS
Carte chargeur
Vue de dessus
DC3 DC2 DC1 -DC
6mm2 pour 12V25A
10mm2 pour 12V40A
1.5m max
L1 PE N
3 x 1,5mm2
5m max
Fusibles batteries
F30A pour 12V25A
2 x F30A pour 12V40A
Led
Sélecteur
De charge
Bouton poussoir
“Fonction nuit”
GARANTIE
-AFIN DE PREVENIR TOUT RISQUE DE MAUVAISE UTILISATION DE L’APPAREIL, LIRE ATTENTIVEMENT
LA LISTE DES EVENEMENTS OU DEFAUTS POTENTIELS NON COUVERTS PAR LA GARANTIE PRODUIT
-Chute mécanique de l’appareil non emballé pouvant entraîner des déformations irréversibles du coffret ainsi que le
« crash » du ventilateur interne et de certains composants électroniques
-Modifications du coffret (perçages additionnels en particulier) pouvant entraîner la diffusion de copeaux ou de
limailles métalliques sur la carte électronique et par voie de conséquence, des dysfonctionnements ou dégâts
irréversibles sur le matériel
-Interventions ou modifications sur la carte électronique pouvant entraîner des modes de fonctionnements non prévus
à l’origine, et par voie de conséquence, des dysfonctionnements ou dégâts irréversibles sur le matériel
-Alimentation de l’ensemble par une source non adaptée (en règle générale, tension d’alimentation secteur trop
haute) pouvant entraîner des dégâts irréversibles sur le matériel
-Surtension secteur d’origine accidentelle ou choc foudre entraînant en règle générale des dégâts irréversibles sur le
matériel
-Remplacement des fusibles batterie par des fusibles aux caractéristiques différentes pouvant entraîner des dégâts
irréversibles sur le matériel
-Erreurs manifestes de raccordements entraînant des dégâts irréversibles sur le matériel
-Projections ou ruissellements d’eau à l’intérieur de l’appareil pouvant entraîner des dysfonctionnements irréversibles
sur le plan électronique
IMPORTANT :
-Il est important de notifier que l’utilisation d’un cycle de charge non approprié à la technologie de la batterie peut
largement dégrader voir endommager cette dernière
-Ceci est particulièrement vrai pour des cycles dont les tensions de charges sont bien supérieures aux valeurs
préconisées par les fabricants de batteries
-Risques importants de surchauffe des batteries et de dégagements gazeux nocifs pour la santé
-Se référer donc aux préconnisations fabricants pour le choix du cycle
Other manuals for 12V25A
1
This manual suits for next models
3
Table of contents
Languages:
Other Dolphin Batteries Charger manuals

Dolphin
Dolphin 12V10A User manual

Dolphin
Dolphin PROLITE Series User manual

Dolphin
Dolphin All In One Series User manual

Dolphin
Dolphin COMBI SW User manual

Dolphin
Dolphin Premium 12V60A User manual

Dolphin
Dolphin 12V25A User manual

Dolphin
Dolphin PROLITE Series User manual

Dolphin
Dolphin 12V 10A Owner's manual

Dolphin
Dolphin pro HD+ 24V40A User manual

Dolphin
Dolphin 12V40A User manual