6
X-TENDA-ROOMTM INSTALLATIONANDOPERATINGINSTRUCTIONS
11. Assemblethecenterrafterroofpoleandplacethe
ballendintothesocketontheCenterpolesupport.
See Fig. 8.
12. Unlocktheleverandpullthecenterrafterpoleuntil
C-Clipcanbesnappedontothecenterofthearchof
thefrontpoleassembly.Stretchtherooffabrictaut
andlocklever.
Note:Thecenter rafterpolewillpopoutoftheballsocketif
too much tension is added.
13. A fabric flap 3" wide with loop tape sewn in,
surroundsthedooropeningoftheX-TendA-RoomTM.
The hook tape must be placed where it will stretch
thefabricandsealaroundthedoorframe.Placethis
fabricflapagainstthewallsandceilingandmarkthe
location.Peelthebackingoffthehooktape(approxi-
mately 12" at a time), and press it in place on the
walls and ceiling.
Note:Toensureadhesionofthetapetothewallsandceiling,
the surfaces must be clean and dry.
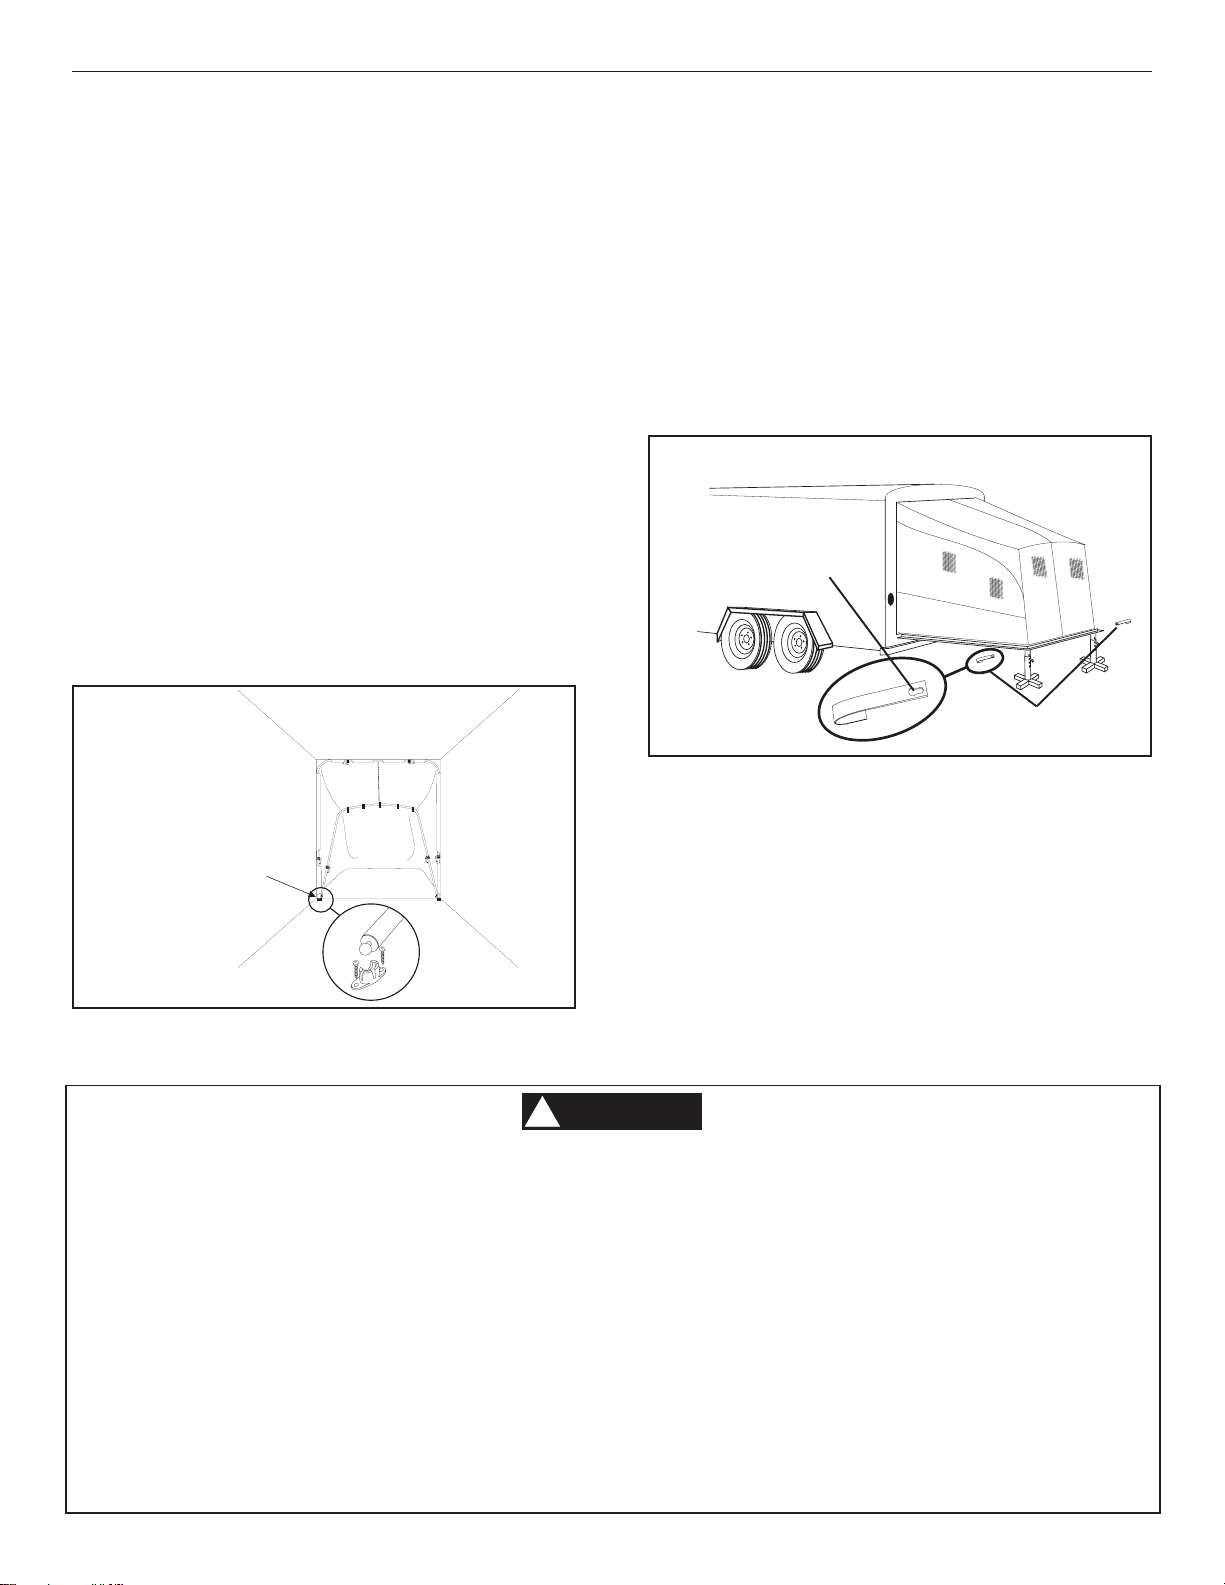
14. Locate a place for the ball sockets on the ramp
surface,wheretheywillbeoutoftheway;butallow
theramp to close.The"OPEN" cutout shouldface
the direction of the ramp end to allow for the pole
rotationtodifferentangles.SeeFig.9.
15. Attachthetwoballsockets,oneoneachsideofthe
ramp with 2 #8 x 3/4" screws. Snap the front pole
assembly ball ends into the sockets. Loosen the
lockandextendeachsideequallyuntilthefabricis
taut.
16. The fabric is held against the ramp with an elastic
cordstretchedinasleevesewnintothebottomhem
of the fabric assembly. At the ends of the elastic
cord is a rubber coated hook that is to be attached
to the ramp.
Iftheelasticcordhookisnotlargeenoughtofiton
theedgeoftheramp,fourlargeJ-hooksareprovided.
PlacetheJ-hookonthe ramp edge and theelastic
cord hook is secured in the J-hook. See FIG. 10.
The Open Cutout
On The Ball
Socket Should
Face The Ramp
End. Locate It Out
Of The Way
Fasten With 2
Screws
FIG. 9
TO REDUCE THE RISK OF PERSONAL INJURY, DEATH, FIRE, OR DAMAGE:
1. The stands support the X-TendA-RoomTM and ramp. The stands are designed to support a
total of 1,200 pounds including persons, equipment and ramp.
2. Do not use grills, hibachis, camp stove or gas burning lamps inside the X-TendA-RoomTM.
3. Never operate generators, motorcycles, any internal combustion engines inside the X-
TendA-RoomTM .
4. Close attention is necessary when used by or near children. Do not allow children or adults
to lean against the sides or front of the X-Tend A-RoomTM .
5. Do not suspend electrical lights from rafter poles or allow them to come in contact with the
X-TendA-RoomTM fabric.
6. Do not modify or change the installation of this X-Tend A-RoomTM .
7. Follow all trailer manufacturers instructions regarding ramp use and limitations.
8. Use only as described in this manual.
WARNING
!
17. Pull the front bottom corners taut and mark the
locationwhere the eyeletgrommet makes contact
to the ramp. This is repeated for both sides. Drill
1/8" pilot hole (9/64" in metal) and install a twist
fastener or each side. See FIG. 11 on page 6.
18. The corners of the roof fabric has web belts with
buckles. Fasten the web belt to the corners of the
rear/framepoleassemblyandstretchthefabrictight
toreducewaterpooling.
19. Water Bags/Weights 3105851.004 (available at
your Dometic Dealer) can be added along the
bottomforaddedbugprotection
FIG. 10
Place J-hook On
RampEdges
AttachHookOf
ElasticCord