manuals.online logo
Brands
  1. Home
  2. •
  3. Brands
  4. •
  5. Dometic
  6. •
  7. Batteries Pack
  8. •
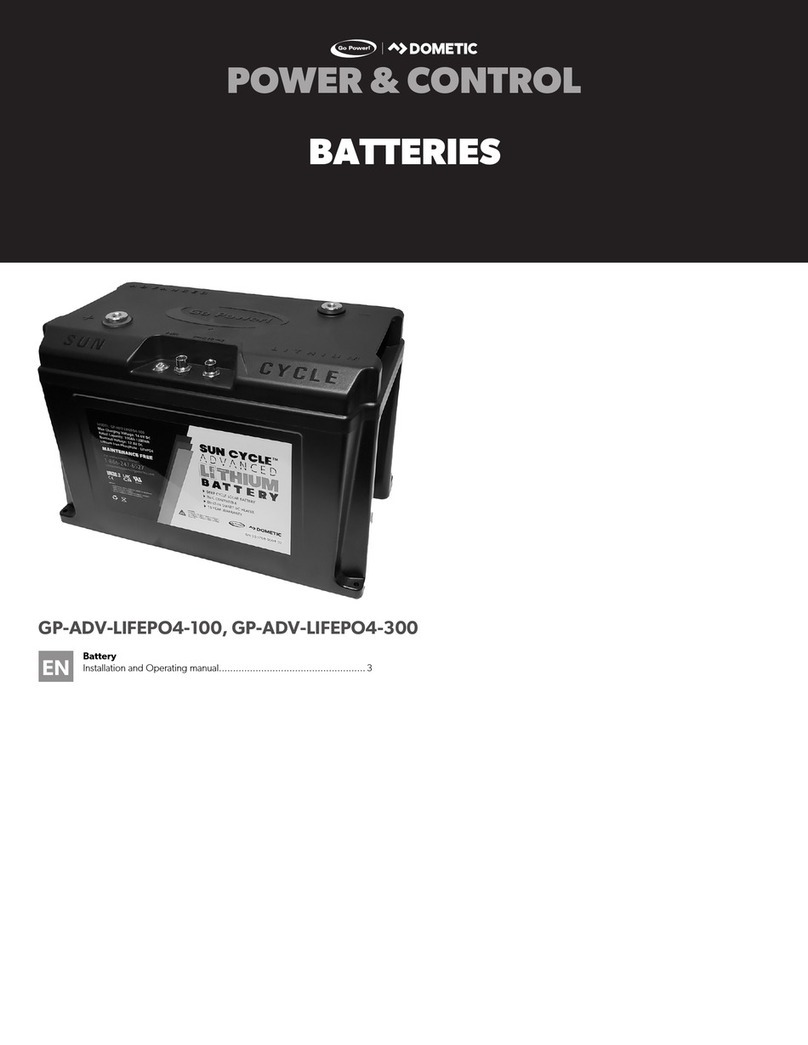
  9. Dometic Go Power! GP-ADV-LiFePO4-100 User manual

Dometic Go Power! GP-ADV-LiFePO4-100 User manual

Other manuals for Go Power! GP-ADV-LiFePO4-100

2

Other Dometic Batteries Pack manuals

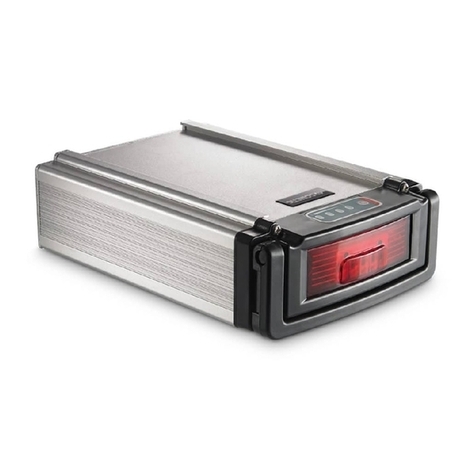
Dometic CoolPower44 RAPS44 User manual

Dometic

Dometic CoolPower44 RAPS44 User manual

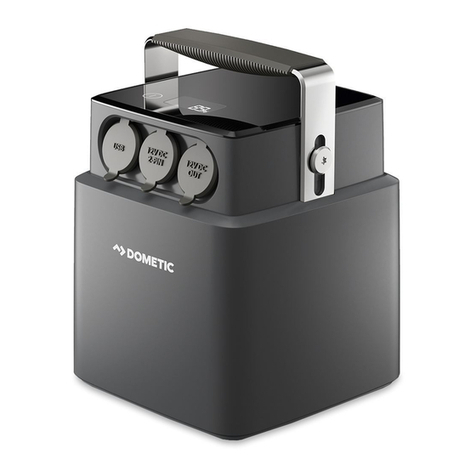
Dometic PLB40 User manual

Dometic

Dometic PLB40 User manual

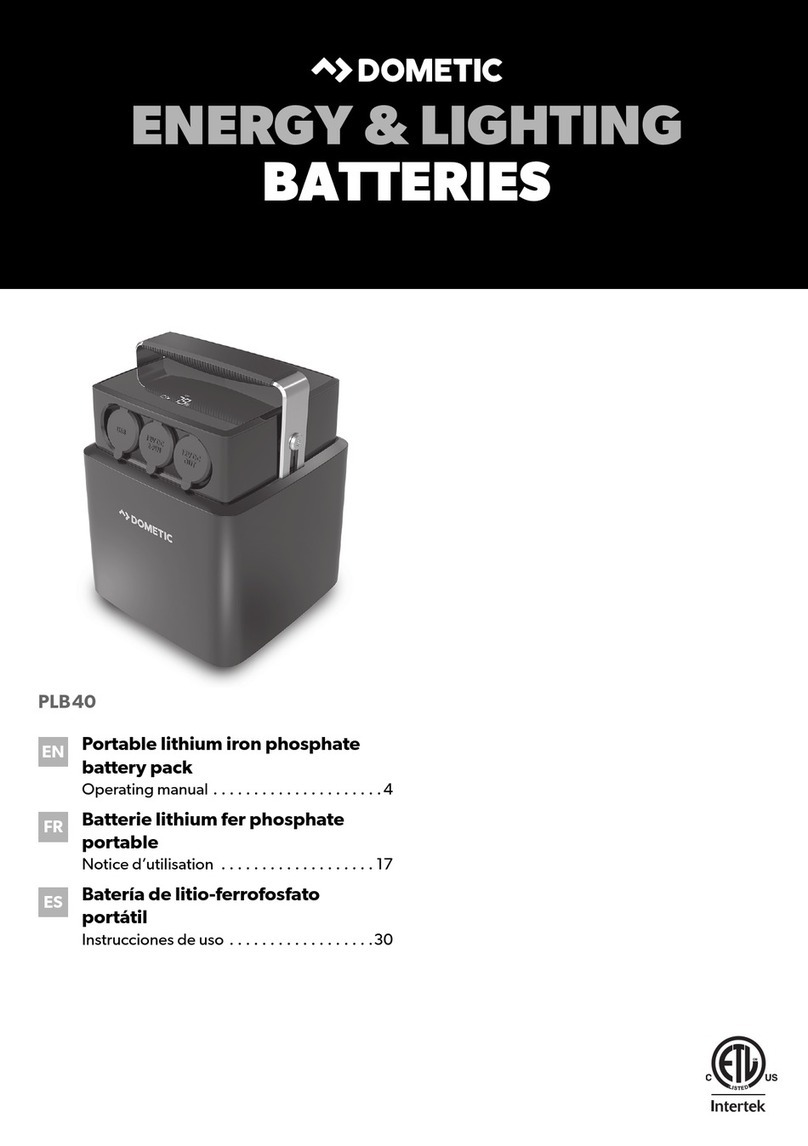
Dometic PLB40 User manual

Dometic

Dometic PLB40 User manual

Dometic BatteryPack BP124 User manual

Dometic

Dometic BatteryPack BP124 User manual

Dometic PLB40 User manual

Dometic

Dometic PLB40 User manual

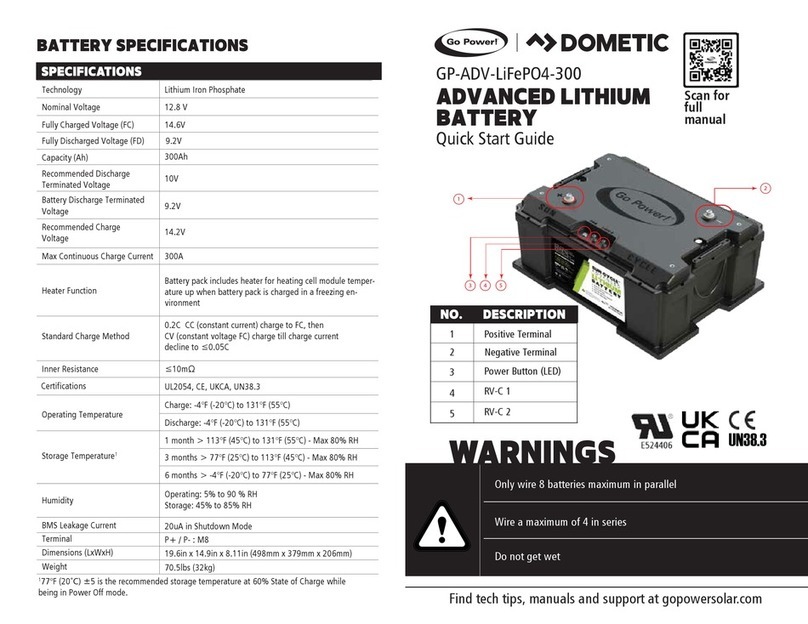
Dometic GP-ADV-LiFePO4-300 User manual

Dometic

Dometic GP-ADV-LiFePO4-300 User manual

Dometic PLB40 User manual

Dometic

Dometic PLB40 User manual

Dometic Go Power! GP-ADV-LiFePO4-100 User manual

Dometic

Dometic Go Power! GP-ADV-LiFePO4-100 User manual

Dometic NDS 3LION User manual

Dometic

Dometic NDS 3LION User manual

Dometic PLB40 User manual

Dometic

Dometic PLB40 User manual

Popular Batteries Pack manuals by other brands

Acumentrics PACK-POWER SYSTEM Quick reference guide

Acumentrics

Acumentrics PACK-POWER SYSTEM Quick reference guide

ACDC Dynamics SPF12-50 user manual

ACDC Dynamics

ACDC Dynamics SPF12-50 user manual

Aegis ABL-72020P user manual

Aegis

Aegis ABL-72020P user manual

Dyness TowerESS user manual

Dyness

Dyness TowerESS user manual

Growatt APX 5.0P-S0-US user manual

Growatt

Growatt APX 5.0P-S0-US user manual

CyberPower BCA Series installation manual

CyberPower

CyberPower BCA Series installation manual

V-TAC VT-48280-W2 instruction manual

V-TAC

V-TAC VT-48280-W2 instruction manual

Valence RT user guide

Valence

Valence RT user guide

Nikon MB-D14 user manual

Nikon

Nikon MB-D14 user manual

Clas Ohlson PW-290A quick start guide

Clas Ohlson

Clas Ohlson PW-290A quick start guide

EINHELL MULTI-Ah Power X-Change Plus Original operating instructions

EINHELL

EINHELL MULTI-Ah Power X-Change Plus Original operating instructions

IOGear GBP24V Series user manual

IOGear

IOGear GBP24V Series user manual

Samsung EB-U3300 quick start guide

Samsung

Samsung EB-U3300 quick start guide

ECTIVE LC Series instruction manual

ECTIVE

ECTIVE LC Series instruction manual

Narada 12REXC70 Operation manual

Narada

Narada 12REXC70 Operation manual

Festool BP 12 Original instructions

Festool

Festool BP 12 Original instructions

Simons Voss Technologies CR2450 quick guide

Simons Voss Technologies

Simons Voss Technologies CR2450 quick guide

Huawei LUNA2000-2.0MWH Series user manual

Huawei

Huawei LUNA2000-2.0MWH Series user manual

manuals.online logo
manuals.online logoBrands
  • About & Mission
  • Contact us
  • Privacy Policy
  • Terms and Conditions

Copyright 2025 Manuals.Online. All Rights Reserved.

Technology Lithium Iron Phosphate
Nominal Voltage 12.8 V
Fully Charged Voltage (FC) 14.6V
Fully Discharged Voltage (FD) 9.2V
Capacity (Ah) 100Ah
Recommended Discharge
Current
Maximum Charge Current
100A
Recommended Charge
Voltage 14.2V
100A
20A - Battery pack at 0˚C~5˚C & 45˚C~55˚C
50A - Battery pack at 5˚C~15˚C
100A - Battery pack at 15˚C~45˚C
Battery Discharge Terminated
Voltage 9.2V
Recommended Charge
Current
Standard Charge Method
0.5C CC (constant current) charge to FC, then
CV (constant voltage FC) charge till charge current
decline to ≤0.05C
Inner Resistance ≤10mΩ
UL2054, CE, UKCA, UN38.3
Operating Temperature Charge: 32°F (0°C) to 131°F (55°C)
Discharge: -4°F (-20°C) to 131°F (55°C)
Storage Temperature1
1 month > 113°F (45°C) to 140°F (60°C) - Max 80% RH
3 months > 77°F (25°C) to 113°F (45°C) - Max 80% RH
6 months > 68°F (20°C) to 77°F (25°C) - Max 80% RH
177°F (20˚C) ±5 is the recommended storage temperature at 60% State of Charge while
being in Power Off mode.
Humidity
20uA in Shutdown Mode
BMS Leakage Current
P+ / P- : M8
Terminal
12.4in x 6.9in x 8.7in (313.9mm x 174.1mm x 221mm
Dimensions (LxWxH)
26.5lbs (12kg)
Weight
Operating: 5% to 90 % RH
Storage: 45% to 85% RH
GP-ADV-LiFePO4-100
WARNINGS
Only wire 8 batteries maximum in parallel
Do not get wet
Wire a maximum of 4 in series
Find tech tips, manuals and support at gopowersolar.com
BATTERY SPECIFICATIONS
SPECIFICATIONS
Certifications
Negative Terminal
Positive Terminal
Power Button (LED)
RV-C 1
RV-C 2
No.
Descrip�on
1
2
3
4
5
NO. DESCRIPTION
ADVANCED LITHIUM
BATTERY
Quick Start Guide
45
3
2
1
UN38.3
Scan for
full
manual
LED Battery Mode Definition
Solid light Power on mode
Blinking light Sleep/Reserve mode
OFF Power off mode
LED (POWER BUTTON) INDICATORS
CAN PORT WIRING
VARIOUS POWER MODES
INTERFACE DESCRIPTION
Reserve
Capacity
Reserve
Capacity
Power off
Press and hold for 3s and release
Press and hold for 8s and release
Press and hold for 3s and release
or charge battery to above 5Ah
Press button for more than 3 seconds and release. The battery will enter sleep
mode. The LED will blink. Power off mode should only be used for long term
storage or to reset the BMS. Use sleep mode to disable output power of batteries.
Scan the QR code to download the Go Power! Connect App
for use with the Sun Cycle®Advanced Lithium Battery.
MOBILE APP
RV-C system
(if applicable)
Power on
Power on
Power on
Power off
Power off
Sleep Mode
Sleep
Mode
*cables purchased separately
System Connection Cable
Battery Inter-Connect Cable
Battery End Cap
Terminating Resistor
HOW TO USE
NOTE:
To prevent a surge current, perform a “pre-discharge” as outlined in the
steps below.
Batteries are in Power Off mode when unboxed. Press the Power button
for 3 seconds to turn on. If it doesn’t turn on, you will need to charge
the battery.
The batteries need to be configured before they can be used. Please see
battery manual for instructions on battery configuration.
Connect batteries following the series or parallel connection diagrams
found at gopowersolar.com/advanced-lithium-wiring. When
stacking multiple batteries, a communication cable is required between
each battery. A Terminating Resistor on the last battery is also required
on each end of the battery bank. (If the installation utilizes a screen, the
terminating resistor is not required on one end.)
Step 1 - Ensure all batteries are in Power Off mode.
Step 2 -
Step 3 - Ensure battery pack terminals are correctly installed and connected to
the inverter system.
Step 4 - Press the power button on one of the battery packs for 3 seconds to
wake up all battery packs from Power Off mode. The LED indicator
will turn on.
Function
Part Number
GP-RVC-BCR – ADV LFP TERMINATOR
GP-ADV-BC-400 -ADV LFP INTER-BATT HARNESS, 400MM
GP-RVC-BC -ADV LFP RV-C SYSTEM HARNESS
System Connection Cable
100Ah Battery Inter-Connect Cable
