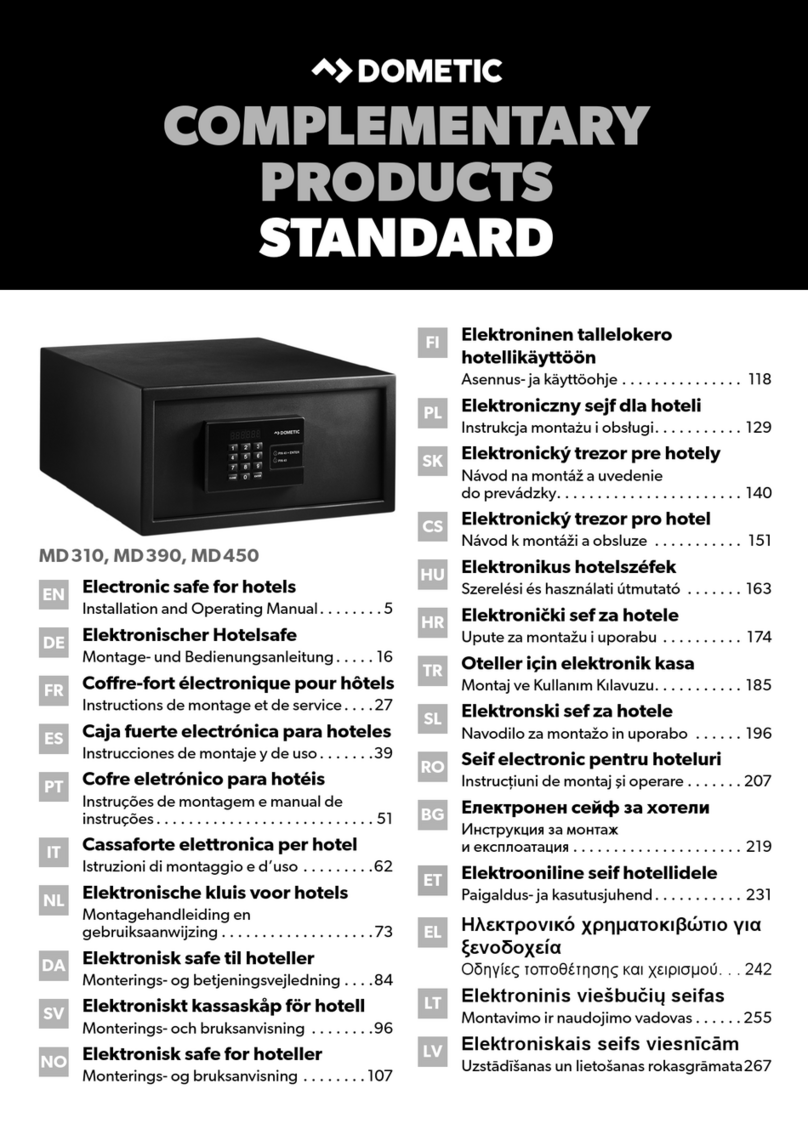
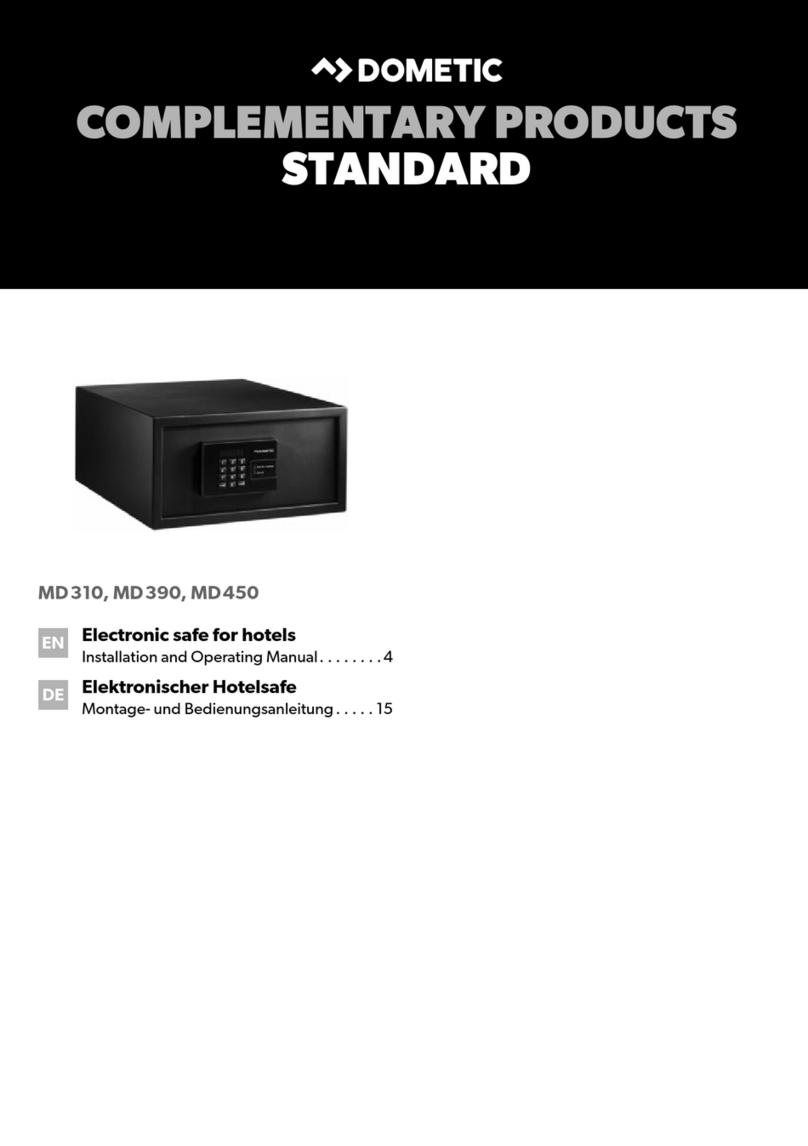
Dometic MDD 403 User manual

MDD403
Electronic safe for hotels
Installation and Operating Manual. . . . . . . . 6
Elektronischer Hotelsafe
Montage- und Bedienungsanleitung . . . . .29
Coffre-fort électronique pour
hôtels
Instructions de montage
et de service . . . . . . . . . . . . . . . . . . . . . . . . .54
Caja fuerte electrónica para
hoteles
Instrucciones de montaje y de uso . . . . . . .78
Cofre eletrónico para hotéis
Instruções de montagem e manual de
instruções . . . . . . . . . . . . . . . . . . . . . . . . . .102
Cassaforte elettronica per
hotel
Istruzioni di montaggio e d’uso . . . . . . . . 127
Elektronische kluis voor hotels
Montagehandleiding en
gebruiksaanwijzing . . . . . . . . . . . . . . . . . . 151
Elektronisk safe til hoteller
Monterings- og betjeningsvejledning . . . 175
Elektroniskt kassaskåp för hotell
Monterings- och bruksanvisning . . . . . . . 198
Elektronisk safe for hoteller
Monterings- og bruksanvisning . . . . . . . . 221
Elektroninen tallelokero
hotellikäyttöön
Asennus- ja käyttöohje . . . . . . . . . . . . . . . 244
Электронные сейфы для отелей
Инструкция по монтажу и эксплуатации 268
Elektroniczny sejf dla hoteli
Instrukcja montażu i obsługi. . . . . . . . . . . 292
Elektronický trezor pre hotely
Návod na montáž a uvedenie
do prevádzky. . . . . . . . . . . . . . . . . . . . . . . 316
Elektronický trezor pro hotel
Návod k montáži a obsluze . . . . . . . . . . . 340
Elektronikus hotelszéfek
Szerelési és használati útmutató . . . . . . . 363
EN
DE
FR
ES
PT
IT
NL
DA
SV
NO
FI
RU
PL
SK
CS
HU
COMPLEMENTARY PRODUCTS
PREMIUM
0'',2VERRN6HLWH'RQQHUVWDJ)HEUXDU

0'',2VERRN6HLWH'RQQHUVWDJ)HEUXDU

MDD403
3
123
456
789
0
ENTER
CLOSE
PIN 4 X PIN 4 X
ENTER
CLOSE
1
2
43
6
5
1
Ø10
9521095
100
100
2
9521095
220
220
Ø10
3
0'',2VERRN6HLWH'RQQHUVWDJ)HEUXDU

MDD403
4
123
456
789
0
ENTER
CLOSE
PIN 4 X PIN 4 X
ENTER
CLOSE
4
123
456
789
0
ENTER
CLOSE
PIN 4XPIN4 X
ENTER
CLOSE
33
1
2
4
5
0'',2VERRN6HLWH'RQQHUVWDJ)HEUXDU

MDD403
5
123
456
789
0
ENTER
CLOSE
PIN 4 X PIN 4 X
ENTER
CLOSE
180°
6
180°
123
456
789
0
ENTER
CLOSE
PIN 4 X PIN 4 X
ENTER
CLOSE
7
123
456
789
0
ENTER
CLOSE
PIN 4 XPIN 4 X
ENTER
CLOSE
11
2
8
0'',2VERRN6HLWH'RQQHUVWDJ)HEUXDU

EN
Explanation of symbols MDD403
6
Please read this instruction manual carefully before installation and first
use, and store it in a safe place. If you pass on the product to another
person, hand over this instruction manual along with it.
Table of contents
1 Explanation of symbols. . . . . . . . . . . . . . . . . . . . . . . . . . . . . . . . . . . . . . . . . . .6
2 Safety instructions . . . . . . . . . . . . . . . . . . . . . . . . . . . . . . . . . . . . . . . . . . . . . . .7
3 Scope of delivery . . . . . . . . . . . . . . . . . . . . . . . . . . . . . . . . . . . . . . . . . . . . . . .7
4 Accessories . . . . . . . . . . . . . . . . . . . . . . . . . . . . . . . . . . . . . . . . . . . . . . . . . . . .8
5 Intended use . . . . . . . . . . . . . . . . . . . . . . . . . . . . . . . . . . . . . . . . . . . . . . . . . . .8
6 Technical description . . . . . . . . . . . . . . . . . . . . . . . . . . . . . . . . . . . . . . . . . . . .8
7 Installing safe . . . . . . . . . . . . . . . . . . . . . . . . . . . . . . . . . . . . . . . . . . . . . . . . . . .9
8 Using the safe . . . . . . . . . . . . . . . . . . . . . . . . . . . . . . . . . . . . . . . . . . . . . . . . .10
9 Replacing the batteries. . . . . . . . . . . . . . . . . . . . . . . . . . . . . . . . . . . . . . . . . 24
10 Display messages . . . . . . . . . . . . . . . . . . . . . . . . . . . . . . . . . . . . . . . . . . . . . 25
11 Troubleshooting . . . . . . . . . . . . . . . . . . . . . . . . . . . . . . . . . . . . . . . . . . . . . . 26
12 Maintaining and cleaning the safe . . . . . . . . . . . . . . . . . . . . . . . . . . . . . . . . 27
13 Warranty . . . . . . . . . . . . . . . . . . . . . . . . . . . . . . . . . . . . . . . . . . . . . . . . . . . . 28
14 Disposal. . . . . . . . . . . . . . . . . . . . . . . . . . . . . . . . . . . . . . . . . . . . . . . . . . . . . 28
15 Technical data . . . . . . . . . . . . . . . . . . . . . . . . . . . . . . . . . . . . . . . . . . . . . . . . 28
1 Explanation of symbols
!
!
WARNING!
Safety instruction: Failure to observe this instruction can cause death
or serious injury.
CAUTION!
Safety instruction: Failure to observe this instruction can lead to injury.
0'',2VERRN6HLWH'RQQHUVWDJ)HEUXDU

EN
MDD403 Safety instructions
7
A
I
2 Safety instructions
The manufacturer accepts no liability for damage in the following cases:
Damage to the product resulting from mechanical influences
Alterations to the product without express permission from the manufacturer
Use for purposes other than those described in the operating manual
!WARNING!
This device can be used by children aged 8 years or over, as wellas by
persons with diminished physical, sensory or mental capacities or a
lack of experience and knowledge, providing they are supervised, or
have been taught how to use the device safely and are aware of the
resulting risks.
Only use the product as intended.
Do not make any modifications or alterations to the product.
ANOTICE!
No unauthorised persons should have access to the master key and
the master code. Store the master key very carefully in a safe location.
3Scopeofdelivery
Safe
Key tool (delivered separately)
Master key (delivered separately)
Installation and operating manual (on request)
I
NOTICE!
Failure to observe this instruction can cause material damage and impair
the function of the product.
NOTE
Supplementary information for operating the product.
NOTE
Key tool and master key will be delivered separately.
0'',2VERRN6HLWH'RQQHUVWDJ)HEUXDU

EN
Accessories MDD403
8
4Accessories
Available as accessories (not included in the scope of delivery):
5 Intended use
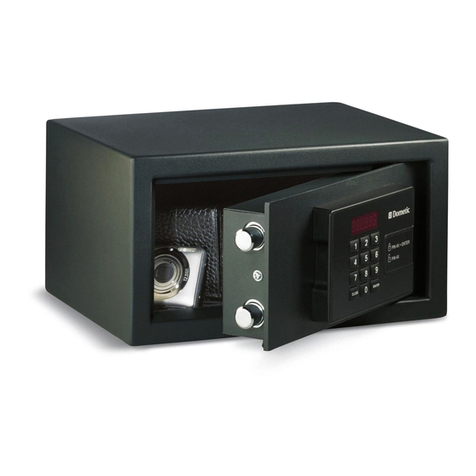
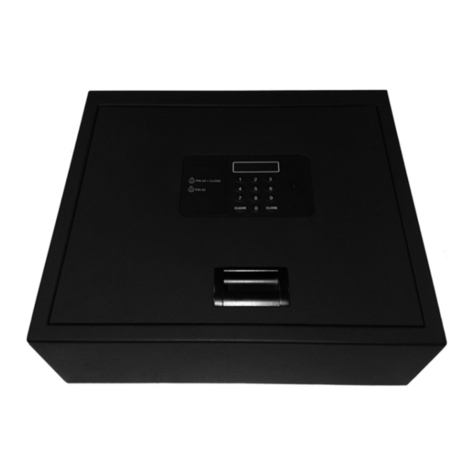
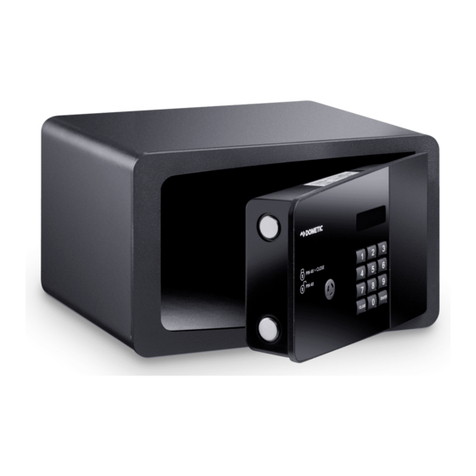
MDD403 is a hotel safe in which guests can securely lock away their valuables.
6 Technical description
The control panel has a display anda key pad for entering the code. A master key and
a master code are available for opening in an emergency.
The model can be identified from the type plate.
The remote emergency opening system (R.E.O.S.) allows functions to be used such
as transmission of the entry code via a website.
6.1 Control elements
Description Ref. no.
Fixing kit 9106600005
No. in
fig. 1,
page 3
Description
1 Display
2Numberkeys
3ENTER button Confirms the code entered
4CLOSE button Closes the safe after code is entered
Cancels the code entered
5 Lock for master key (behind cover)
6 Locking mechanism cover
0'',2VERRN6HLWH'RQQHUVWDJ)HEUXDU

EN
MDD403 Installing safe
9
7 Installing safe
7.1 Notes on installation
A
Follow the instructions when installing.
Carefully check the safe for damage once you have removed it from the
packaging. If there is visible damage, contact the manufacturer (see rear for
addresses).
Install the safe on a flat and even surface.
Select a location for installation which is a sufficient distance from heat sources
(e.g. radiators). Avoid installing in locations with temperatures of under 0 °C and
over 45 °C.
Avoid damp ambient conditions (e.g. in the bathroom and swimming pool) in
order to avoid condensation forming in the device.
Select a fastening material (screws with plugs, if necessary) which is appropriate
for the base.
7.2 Attaching the safe
➤Select a suitable installation location.
➤Select an appropriate method for installation (attachment on the rear or on the
underside).
➤Mark the drill holes (fig. 2, page 3 and fig. 3, page 3).
➤Pre-drill the hole in the mounting location (e.g. in the wall or cupboard).
➤Pull out the drawer, remove the four screws of the guide rail and take the drawer
out off the case (fig. 4, page 4).
➤Attach the safe with suitable fastening material.
➤Attach the drawer on the guide rails and push it into the case.
NOTICE!
The safe must only be installed by qualified specialists.
0'',2VERRN6HLWH'RQQHUVWDJ)HEUXDU

EN
Using the safe MDD403
10
8 Using the safe
8.1 Operating functions for guests
Closing the safe
➤Enter a four digit code.
➤Press the CLOSE button.
✓CLOSED appears on the display.
Opening the safe
➤Enter the correct four digit code.
✓The code entered is shown in the display.
✓The safe will open.
✓OPEN appears on the display.
I
8.2 Emergency opening using master code
The master code is necessary if guests have left the safe locked or have forgotten
their code.
NOTE
If an incorrect code is entered, the message ERROR appears on the dis-
play.
After five incorrect attempts, the safe will remain blocked for six minutes
and no further entries are possible. As soon as a button is pressed, the
message ERROR5 appears on the display.
PIN 4X CLOSE
PIN 4X
0'',2VERRN6HLWH'RQQHUVWDJ)HEUXDU

EN
MDD403 Using the safe
11
Opening safe with the master code
➤Press the ENTER button twice.
➤Enter the correct six digit master code.
➤Press the ENTER button.
✓The display shows the message DELAY.The door opens automatically after ten
seconds.
Changing the master code
A
You can change the factory-set master code (210104). The safe must be locked for
this.
NOTICE!
If you forget your master code, nobody can access the safe any
more (not even the manufacturer). No resetting, or similar action, is
possible.
Therefore note down the master code and store it very carefully in a
safe location.
The safe has a factory-set master code. Change this code for security
reasons.
ENTERENTER PIN 6X
ENTER
DELAY
CURRENT
PIN 6X
ENTER
NEW
PIN 6X
ENTER
ENTER
NEW
PIN 6X
ENTER
ENTER
REPEAT
ENTER2X
0'',2VERRN6HLWH'RQQHUVWDJ)HEUXDU

EN
Using the safe MDD403
12
➤Press the ENTER button twice.
➤Enter the correct six digit master code.
➤Press the ENTER button.
✓The display shows the message DELAY.
➤Press the ENTER button.
➤Enter a new six digit master code within ten seconds.
➤Press the ENTER button.
✓The display shows the message REPEAT.
➤Press the ENTER button.
➤Repeat the entry of the new six digit master code within ten seconds.
➤Press the ENTER button again.
✓The safe confirms the change of the master code with an audio tone.
8.3 Emergency opening using R.E.O.S. (optional)
I
The remote emergency opening system (R.E.O.S.) gives a new four digit code in
case that the guest has forgotten the code used to close the safe.
Open the safe with R.E.O.S. code
➤Press the ENTER button twice.
NOTE
You need access to the Internet to use R.E.O.S.
You must be registered on the internet at
www.sam.dometic.com to be able to use the functions available
there.
The safe must be preconfigured accordingly to be able to use the
R.E.O.S. function. Please contact the manufacturer if you have any
questions (see back for addresses).
ENTERENTER PIN 6X
ENTER
0'',2VERRN6HLWH'RQQHUVWDJ)HEUXDU

EN
MDD403 Using the safe
13
➤Enter the six digit R.E.O.S. code.
I
➤Press the ENTER button.
✓After five seconds, a ten digit alphanumeric code will be shown on the display.
I
➤Go to the www.sam.dometic.com page on the internet.
➤Enter your login data.
➤Select R.E.O.S. code from the menu.
➤Enter the number of the safe (e.g. room number) and the ten digit alphanumeric
code.
➤Click Get code.
✓A new code will be displayed for one minute.
NOTE
You can change the factory-set R.E.O.S. code (210104) (see chapter
“Changing R.E.O.S. code” on page 14).
NOTE
The alphanumeric code will be shown in two parts.
Example: 52115 – Ab271.
0'',2VERRN6HLWH'RQQHUVWDJ)HEUXDU

EN
Using the safe MDD403
14
➤Enter the generated four digit code to open the safe.
Changing R.E.O.S. code
A
You can change the factory-set R.E.O.S. code (210104). The safe must be locked for
this.
➤Press the ENTER button twice.
➤Enter the six digit R.E.O.S. code.
➤Press the ENTER button.
✓The display shows the message DELAY.
NOTICE!
If you forget your R.E.O.S. code, nobody can access the safe any
more (not even the manufacturer). No resetting, or similar action, is
possible.
Therefore note down the R.E.O.S. code and store it very carefully in
a safe location.
The safe has a factory-set R.E.O.S.code. Change this code for secu-
rity reasons.
CURRENT
PIN 6X
ENTER
NEW
PIN 6X
ENTER
ENTER
NEW
PIN 6X
ENTER
ENTER
ENTER2X
DELAY
REPEAT
0'',2VERRN6HLWH'RQQHUVWDJ)HEUXDU

EN
MDD403 Using the safe
15
➤Press the ENTER button.
➤Enter a new six digit R.E.O.S. code within ten seconds.
➤Press the ENTER button.
✓The display shows the message REPEAT.
➤Press the ENTER button.
➤Repeat the entry of the new six digit R.E.O.S. code within ten seconds.
➤Press the ENTER button again.
✓The safe confirms the change of the R.E.O.S. code with an audio tone.
8.4 Emergency opening with the master key
A
Opening the safe with the master key
The safe can be opened in all eventualities with the master key, even in the event of
an electronic fault.
➤Remove the plastic cover which covers the key hole with the key tool (fig. 6,
page 5).
➤Put the master key into the key hole (fig. 7, page 5).
➤Open the safe by turning the master key 180° to the right.
✓The bolts extend mechanically.
Change guest code with the master key
The safe can be opened with the master key in case that the guest forgot his code.
➤Open the safe with the master key.
➤Keep the master key in this position and open the door.
➤Enter a new four digit code.
➤Turn the master key 180° to the left and remove the master key.
✓The safe can be opened with the new code.
NOTICE!
No unauthorised persons should have access to the master key.
Store the master key very carefully in a safe location.
0'',2VERRN6HLWH'RQQHUVWDJ)HEUXDU

EN
Using the safe MDD403
16
8.5 Reading the memory (Audit)
I
The safe has a permanent memory which records the last 1000 events.
Transferring data to an SD card
➤Insert an SD card (fig. 51, page 4) into the SD card reader (fig. 52, page 4)
(not included in scope of delivery).
➤Remove the screws on the cover (fig. 53, page 4).
➤Take off the cover.
➤Connect the SD card reader device to the slot on the circuit board (fig. 54,
page 4).
➤Press the ENTER button twice.
➤Enter the code: 0141497167
➤Press the ENTER button.
✓The display shows the message DATE.
➤Enter the date in the format dd/mm/yy.
✓The display shows the message HOUR.
➤Enter the time in the format hh/mm.
✓The display shows the message ROOM.
➤Enter the lock number (e.g. room number).
➤Press the ENTER button.
✓The transfer of data to the SD card begins.
✓The data transfer is complete when the display goes out and three acoustic
signals sound.
NOTE
You require access to the Internet to use the audit function.
You must be registered on the internet at
www.sam.dometic.com.
0'',2VERRN6HLWH'RQQHUVWDJ)HEUXDU

EN
MDD403 Using the safe
17
Reading data on the computer
➤Go to the www.sam.dometic.com page on the internet.
➤Enter your login data.
➤Select AUDIT from the menu.
➤Click DOWNLOAD.
➤Follow the program instructions.
I
➤Run the “iAudit.exe” file by double-clicking on the icon .
NOTE
The installation wizard starts automatically. The executable file
“iAudit.exe” is saved on your computer. After the installation is
completed, a link is generated on your desktop.
0'',2VERRN6HLWH'RQQHUVWDJ)HEUXDU

EN
Using the safe MDD403
18
➤Enter your login data and click on CONTINUE.
➤Insert the SD card into the SD card reader slot on your computer and click on
CONTINUE.
✓The transfer of data to the internet begins.
0'',2VERRN6HLWH'RQQHUVWDJ)HEUXDU

EN
MDD403 Using the safe
19
➤Click the link.
✓The stored reports are displayed.
➤Click the requested line to generate a print view for each audit report.
8.6 Emergency opening using the anti-tamper system
(security against manipulation) (optional)
If an anti-tamper system (security against manipulation) is activated on the safe this
blocks the safe as soon as the master key (optional) is used or the cover of the lock
mechanism is removed (optional) (e.g. also when the battery is replaced).
0'',2VERRN6HLWH'RQQHUVWDJ)HEUXDU

EN
Using the safe MDD403
20
Changing the anti-tamper code
A
You can change the factory-set anti-tamper code (355408). The safe must be locked
for this.
➤Press the ENTER button twice.
➤Enter the six digit anti-tamper code.
➤Press the ENTER button.
✓The display shows the message DELAY.
➤Press the ENTER button.
➤Enter a new six digit anti-tamper code within ten seconds.
➤Press the ENTER button.
✓The display shows the message REPEAT.
➤Press the ENTER button.
➤Repeat the entry of the new six digit anti-tamper code within ten seconds
➤Press the ENTER button again.
NOTICE!
If you forget your anti-tamper code, nobody can access the safe any
more (not even the manufacturer). No resetting, or similar action, is
possible.
Therefore note down the anti-tamper code and store it very carefully
in a safe location.
The safe has a factory-set anti-tamper code. Change this code for
security reasons.
PIN 6X ENTER
PIN 6X ENTER
ENTER
PIN 6X ENTER
ENTER
ENTER2X
Reos Code
XXXXXX
Wait 10
Reos Code
Repeat 10
DELAY
REPEAT
0'',2VERRN6HLWH'RQQHUVWDJ)HEUXDU
Table of contents
Languages:
Other Dometic Safe manuals
Popular Safe manuals by other brands

Stack-On
Stack-On ASC-1416 instructions

Genie Hand
Genie Hand TDS Series operating instructions

Bunker Hill Security
Bunker Hill Security 97644 Owner's manual and safety instructions

Phoenix
Phoenix FS1270E Series operating instructions

Arregui
Arregui FORMA C Instruction manual and guarantee

DURABLE
DURABLE Key Box Code instructions

Remington
Remington CORE-LOKT SAR59-40C instruction manual

Chubbsafes
Chubbsafes AIR HOTEL CEU operating instructions

Phoenix
Phoenix NESO SS0200F Series operating instructions

Titan
Titan MonsterVault 4828 Installation and owner's manual

Clarke
Clarke CS150F Operation & maintenance instructions
Orbita
Orbita ROTORWIND CASETTA Instruction guide