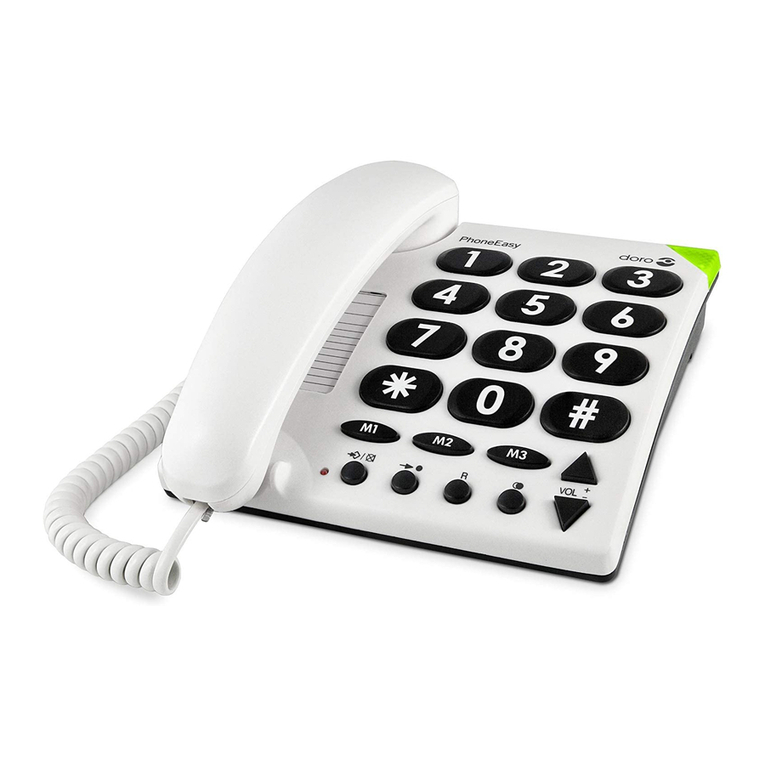
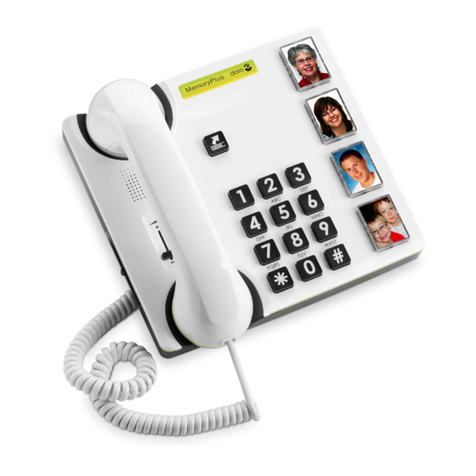
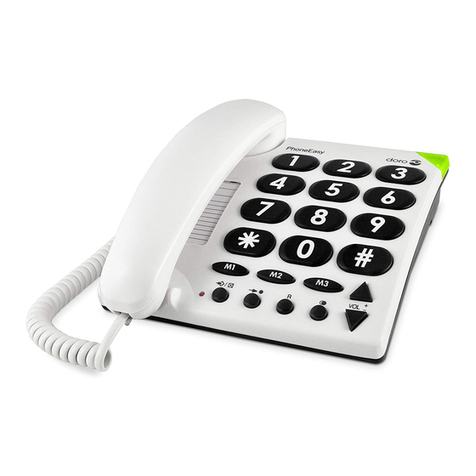
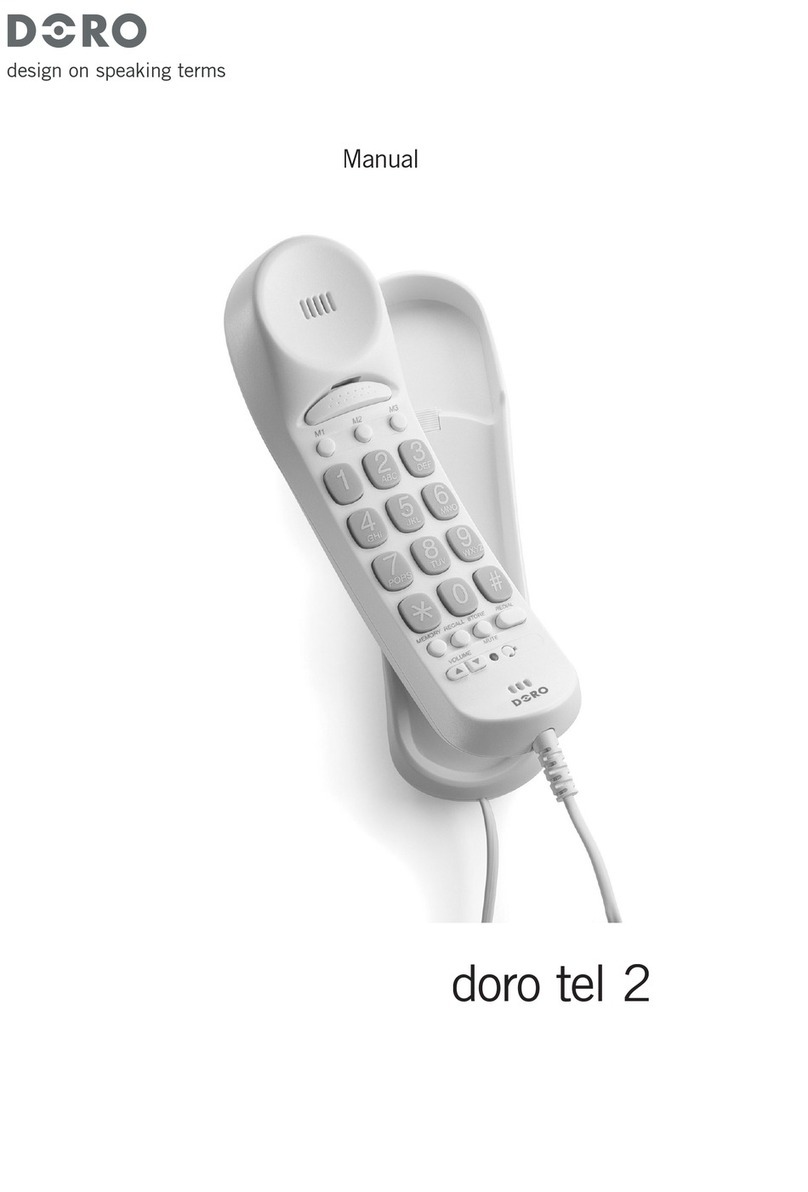
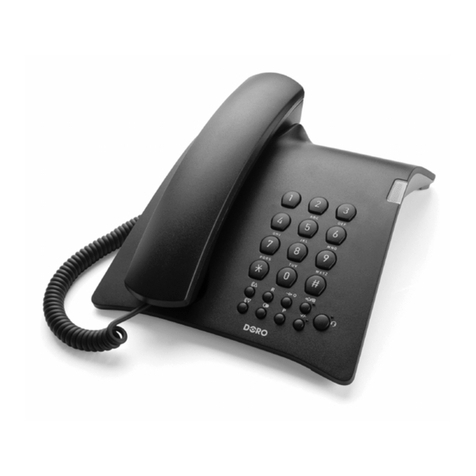
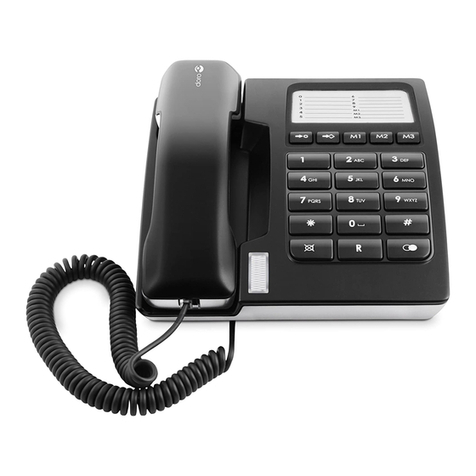
Doro SeePlus 314ci User manual

SeePlus
314ci
English
Svenska
Norsk
Dansk
Suomi
Français

1
4
5
6
7
8
9
10
21
20
19
18
17
15
2
12
13
14
3
11
16
23 24
22

Telephone line socket
Mains adapter socket
External alarm socket
Handset hook
Keypad
Handset cord socket
Handset volume
Recall
Call memory / OK
Delete
Pairing key
Speed dial keys
1.
2.
3.
4.
5.
6.
7.
8.
9.
10.
11.
12.
Phone book
Ring volume
Ring melody
Ring tone
Speaker volume
Speakerphone
UP/DOWN
New call indicator
Ringer indicator
Cordless remote
Answer/alarm button
Indicator
13.
14.
15.
16.
17.
18.
19.
20.
21.
22.
23.
24.
English
Uttag för telefonsladd
Uttag för strömadapter
Externt alarmuttag
Hake för luren
Knappsats
Uttag för sladd till luren
Volymkontroll för luren
R-knapp
Samtalsminne / OK
Radera
Parningsknapp
Snabbvalsknappar
1.
2.
3.
4.
5.
6.
7.
8.
9.
10.
11.
12.
Telefonbok
Ringsignalsvolym
Ringsignalsmelodi
Ringsignal
Högtalarvolym
Högtalartelefon
UPP/NED
Indikator för nytt samtal
Ringningsindikator
Trådlös fjärrkontroll
Svars-/alarmknapp
Indikator
13.
14.
15.
16.
17.
18.
19.
20.
21.
22.
23.
24.
Svenska

Telefonlinjekontakt
Strømadapterkontakt
Ekstern alarmkontakt
Krok til telefonrør
Tastatur
Kontakt til telefonrør
Volumkontroll, telefonrør
R-knapp
Anropsminne / OK
Slett
Synkroniseringstast
Hurtigtaster
1.
2.
3.
4.
5.
6.
7.
8.
9.
10.
11.
12.
Telefonbok
Ringevolum
Ringemelodi
Ringetone
Høyttalervolum
Høyttalerfunksjon
OPP/NED
Indikator for nytt anrop
Ringeindikator
Trådløs fjernkontroll
Svar/alarm-knapp
Indikator
13.
14.
15.
16.
17.
18.
19.
20.
21.
22.
23.
24.
Norsk
Udtag til telefonledning
Udtag til netadapter
Udtag til ekstern alarm
Krog til telefonrør
Tastatur
Udtag til ledning til
telefonrøret
Lydstyrke i telefonrøret
R-tast
Samtalehukommelse/OK
Slet
Parringstast
1.
2.
3.
4.
5.
6.
7.
8.
9.
10.
11.
Hurtigvalgstaster
Telefonbog
Ringestyrke
Ringetype
Ringetone
Lydstyrke i højttaler
Telefon med højttaler
OP/NED
Indikator for nyt opkald
Ringeindikator
Trådløs fjernbetjening
Svar-/alarm-knap
Indikator
12.
13.
14.
15.
16.
17.
18.
19.
20.
21.
22.
23.
24.
Dansk

Puhelinjohdon liitäntä
Verkkovirta-adapterin
liitäntä
Ulkoisen hälyttimen
liitäntä
Luurin pidike
Näppäimet
Luurijohdon liitäntä
Luurin äänenvoimakkuus
R-painike
Puhelutiedot / OK
Poista (Pohjassa)
Paritusnäppäin
Pikavalintanäppäimet
1.
2.
3.
4.
5.
6.
7.
8.
9.
10.
11.
12.
Puhelinmuistio
Soittoäänen voimakkuus
Soittomelodia
Soittoääni
Kaiuttimen
äänenvoimakkuus
Kaiutintoiminto
YLÖS/ALAS
Uuden puhelun
merkkivalo
Soittoäänen merkkivalo
Langaton kauko-ohjain
Vastaus-/hälytysnäppäin
Merkkivalo
13.
14.
15.
16.
17.
18.
19.
20.
21.
22.
23.
24.
Suomi
Prise de ligne
téléphonique
Prise du bloc
d'alimentation
Prise d'alarme extérieure
Décrocheur de combiné
Clavier
Prise du cordon du
combiné
Volume du combiné
Touche R
Mémoire des appels / OK
Effacer
Touche d'association
1.
2.
3.
4.
5.
6.
7.
8.
9.
10.
11.
Touches de numérotation
rapide
Répertoire
Volume de la sonnerie
Mélodie
Tonalité d'appel
Volume du haut-parleur
Mode mains libres
HAUT/BAS
Témoin de nouvel appel
Témoin de la sonnerie
Télécommande sans l
Bouton réponse/alarme
Témoin
12.
13.
14.
15.
16.
17.
18.
19.
20.
21.
22.
23.
24.
Français

1
English
Description
Doro SeePlus 314ci
This product can be used as a desktop or wall-
mounted telephone. Enhanced ring volume and
visual call indication make this telephone well
suited for people with hearing difficulties.
The extra-large keypad, voice function, and easy
to read display with large characters make the
telephone easy to use even with impaired eyesight.
The built-in phonebook can store up to 30 names
and numbers. Three one touch memory keys can
be programmed for frequently used numbers or
emergency numbers. A call memory logs the 15
most recently incoming and outgoing calls.
A speakerphone function allows you to talk hands-
free with the simple press of a button.
Automated emergency calls can be made by
pressing a speed-dialling key on the phone or the
button on the cordless remote.

2
English
Installation
Connection
Connect the curly cord to the handset and to the
socket marked yon the telephone.
Connect the telephone line cord to a network
wall socket and to the Ksocket on the back of
the telephone.
IMPORTANT: Use the telephone line cord supplied,
an existing line cord from a previous phone may
not be compatible.
Connect the mains adapter to the mains power
wall socket and to the DC 9V socket on the
telephone.
Lift the handset and listen for the dial tone.
Batteries
Four AA alkaline batteries are needed for the call memory
and speakerphone in the event of a power cut. When
BATT. LOW
is displayed, replace all 4 batteries. Use only
AA alkaline batteries of good quality (not included).
Note!
Before installing or changing the batteries,
make sure that the telephone is not connected
to the telephone network.
Remove the battery cover and insert the batteries
ensuring correct battery polarity is observed.
Replace the battery cover and reconnect the
telephone line cord.
1.
2.
3.
4.
1.
2.

3
English
Basic setup
Before using the telephone the first time,
the following basic settings should be made.
After confirming a setting, the next setting is
automatically displayed. To skip to the next setting,
press .
The phone will return to standby mode after 30
seconds of inactivity or when pressing .
On first setup the display clock will show
00:00
.
Press and hold *for about 5 seconds until the
hour flashes.
Use v / Vto change the value and confirm
with .
Repeat steps 1–2 to set the minutes, day and
month.
ENGLISH
is displayed.
Use v / Vto select the desired language for
display and voice function, then confirm with .
VOICE ON
Use v / Vto set the voice function ON or OFF
and confirm with .
When ON, a recorded voice is played with key
presses and alert messages.
1.
2.
3.

4
English
ALARM ON
The alarm call function will call a stored number
and play a recorded emergency message when you
press one of the speed dialling keys A/B/C or the
alarm button on the cordless remote.
See also Alarm call.
Use v / Vto set the alarm call function ON or
OFF and confirm with .
QUIET OFF
In quiet alarm mode, no voice or tone signal is
heard when the alarm call is made (see above).
See also Alarm call.
Use v / Vto set the alarm mode to quiet (ON) or
normal (OFF) and confirm with .
EMERGENCY
Press briefly to play the recorded
emergency message.
To skip recording, press briefly, or press
and hold to record a new emergency
message (max. 20 seconds). Start recording at
the tone, and release when finished.
Press to confirm and continue.
See also Alarm call.
1.
2.
3.

5
English
-2- CONTRAST
Use v / Vto select a suitable display contrast
setting (1–4), and confirm with .
KEYT. ON
Use v / Vto set key tone ON or OFF, and confirm
with .
-100- FLASH
Use v / Vto set the flash key time
(100/300/600 ms) and confirm with .
The standard setting is 100 for most countries,
300 for France/Portugal, 600 for New Zealand.
LED OFF
Use v / Vto enable/disable the LED indicator for
new calls, and confirm with .
TONE
Use v / Vto select either tone or pulse dialling
mode, and confirm with .
Note!
If unsure of which mode to use, select TONE as
this works in most locations.

6
English
Wall mounting
The telephone can be wall mounted by using the
included wall mount bracket and two screws (not
included).
Warning!
Make sure that no cables, water pipes or gas pipes
are located inside the wall before drilling into it.
Drill two holes in the wall, vertically 83 mm
apart.
Insert the screws, allowing them to project
~5 mm out from the wall.
Unplug and remove the handset.
Fit the guide tabs (A) on the bracket into the
slots (B) on the back of the telephone, then slide
the bracket upwards until it snaps into place.
B
A
1.
2.
3.
4.

7
English
Position the telephone so that the screws on the
wall fit into the slots in the bracket, then slide
the telephone downwards until it is hanging on
the screws.
Remove the handset hook (C) by pushing it
upwards, and insert it in the reversed position so
that the small tab (D) protrudes. The hook will
now keep the handset in the cradle when the
phone is wall mounted.
C
D
C
Reconnect the handset and place it in the
cradle.
Note!
If the phone is to be used as a desktop phone
again, remember to reverse the position of the
handset hook.
5.
6.
7.

8
English
Operation
Making a call
Normal dialling
Lift the handset.
Dial the number. Hang up the handset to
terminate the call.
Speakerphone
Note!
The speakerphone only works when batteries are
installed or mains adapter is connected.
Press sto activate the speakerphone. The
LED next to the key will light up.
Dial the number. Press sagain to terminate
the call.
Lift the handset to switch from speaker to handset
during a call.
Pre-dialling
Enter the number. Press to delete the last
entered digit.
Lift the handset or press sto dial.
Quick redial
Lift the handset or press s.
Press to redial the last dialled number.
1.
2.
1.
2.
1.
2.
1.
2.

9
English
Dialling numbers in the call memory
Press to display the most recent call.
Use v / Vto scroll through the last 15
incoming and outgoing calls.
= Incoming call
= Outgoing call
Lift the handset or press s to dial the
displayed number.
Speed dial (one-touch dialling)
Press one of the speed dialling keys A/B/C. The
stored telephone number is displayed.
Lift the handset or press sto dial.
Dialling numbers in the phone book
Press b to open the phone book.
Use v / Vto browse through the phone
book, or enter the first character in the name to
quickly find an entry (see Keypad characters).
Lift the handset or press sto dial.
Answering
Lift the handset to answer an incoming call, or
press sto answer using the speakerphone.
You can also answer by pressing the button on the
cordless remote.
1.
2.
3.
1.
2.
1.
2.
3.

10
English
Ring signal
The ring volume, melody and tone can be adjusted
using the sliders on the right side of the telephone.
eRing volume (High/Medium/Low/Off)
Ring melody
Ring tone
Volume control
The speaker volume is adjusted with a slider on the
right side of the telephone.
The handset volume control is located under the
handset.
Keypad characters

11
English
Additional functions
Phone book
The phone book can store up to 30 entries. When
the memory is full,
----100%
is displayed.
Storing numbers in the phone book
Press and hold buntil a blinking cursor is shown.
Enter a telephone number (up to 22 digits). Use
v/Vto move the cursor and to erase if
needed.Use #to insert a pause in the number.
Press to confirm. A blinking cursor will be
shown on the second line on the display.
Enter a name (up to 9 characters) for the
number to be stored (see Keypad characters).
Press to confirm.
OK
is now displayed, then
NAME REC
.
You can now record a name to be read aloud with
the entry. To skip recording, pressTo skip recording, press briefly.
To record, press and hold until a tone isuntil a tone is
heard, say the name, then release . Speak
clearly and about 15-20 cm from the phone.
Repeat steps 1–6 to store another number, or
press and hold to exit.
Deleting numbers from the phone book
Press b to open the phone book.
Use v/Vto browse through the phone book, or
enter the first character to quickly find an entry.
Press and hold to delete the entry
1.
2.
3.
4.
5.
6.
7.
1.
2.
3.

12
English
Editing numbers in the phone book
Press b to open the phone book.
Use v/Vto browse through the phone book, or
enter the first character to quickly find an entry.
Press and hold buntil the blinking cursor appears.
Use v/Vto move the cursor, and use and
the keypad to erase and enter new data.
Press to confirm. The cursor will move to
the second line.
Repeat step 4 to edit the name/description.
Press to confirm.
OK
is now displayed, then
NAME REC
.
You can now record a name to be read aloud with
the entry. To skip recording, pressTo skip recording, press briefly.
To record, press and hold until a tone isuntil a tone is
heard, say the name, then release . Speak
clearly and about 15-20 cm from the phone.
Press to confirm.
Speed dialling keys
The telephone has 3 speed dialling keys that can be
used for numbers that are called frequently, or for
emergency numbers.
Storing speed dial numbers
Enter a telephone number (up to 22 digits) using
the keypad.
1.
2.
3.
4.
5.
6.
7.
8.
9.
1.

13
English
Press and hold one of the speed dialling keys
A/B/C until OK is displayed.
Repeat steps 1–2 to store numbers for the other
speed dialling keys.
Deleting speed dial numbers
Speed dial numbers can not be deleted, they can
only be replaced by storing a new number.
Caller ID and call memory
Caller ID allows you to see who is calling before you
answer and to see who has called in your absence.
Note!
The Caller ID function must be subscribed. Please
contact your network operator for more information.
The call memory will store the last 15 incoming
and 15 outgoing calls. On the display, incoming
(answered and unanswered) calls are indicated with
and outgoing calls with .
If the Call Indicator function is active, a blinking
light indicates that an unanswered call has been
received since the call memory was last checked.
Browsing the call memory
Press then v / Vto scroll through the call
memory. The number and time of each call will
be displayed. For calls older than 24 hours, the
date of the call is displayed instead of the time.
Press to exit the call memory.
2.
3.
1.
2.

14
English
Deleting numbers from the call memory
Press then v / Vto scroll through the
call memory.
Press and hold to delete the selected entry.
Copying call memory entries to the phone book
Press then v / Vto scroll through the
call memory.
Press and hold *.
Press to confirm. A blinking cursor will be
shown on the second line on the display.
Enter a name (up to 9 characters) for the
number to be stored (see Keypad characters).
Press to confirm.
OK
is now displayed, then
NAME REC
.
You can now record a name to be read aloud with
the entry. To skip recording, pressTo skip recording, press briefly.
To record, press and hold until a tone isuntil a tone is
heard, say the name, then release . Speak
clearly and about 15-20 cm from the phone.
Repeat steps 1–6 to store another number.
Call timer
The display shows the current time when in standby
mode. During a call the display will show a call
timer instead, indicating the duration of the call.
The call duration is displayed for 5 seconds after
the call has been terminated.
1.
2.
1.
2.
3.
4.
5.
6.
7.

15
English
Hearing aid
This telephone is hearing aid compatible. Select the
Tmode on your hearing aid to enable this feature.
Recall key (R)
R
Press the Rkey followed by the extension number
to transfer a call when connected to a PBX system.
Additional network services may be accessible by
using the R, *and #keys. Please contact your
network operator for more information.
Table of contents
Languages:
Other Doro Telephone manuals

Doro
Doro TEL2 User manual

Doro
Doro 313C User manual

Doro
Doro Secure 347 User manual

Doro
Doro 909c User manual

Doro
Doro 6531 User manual

Doro
Doro AlertEasy 314C User manual

Doro
Doro COMFORT 3000 User manual

Doro
Doro CONGRESS 305 User manual

Doro
Doro Congress 100 User manual

Doro
Doro HearPlus 317ci User manual