manuals.online logo
Brands
  1. Home
  2. •
  3. Brands
  4. •
  5. DRAGONFIRE
  6. •
  7. Automobile Accessories
  8. •
  9. DRAGONFIRE 18-2102 User manual

DRAGONFIRE 18-2102 User manual

Other DRAGONFIRE Automobile Accessories manuals

DRAGONFIRE 18-1002 User manual

DRAGONFIRE

DRAGONFIRE 18-1002 User manual

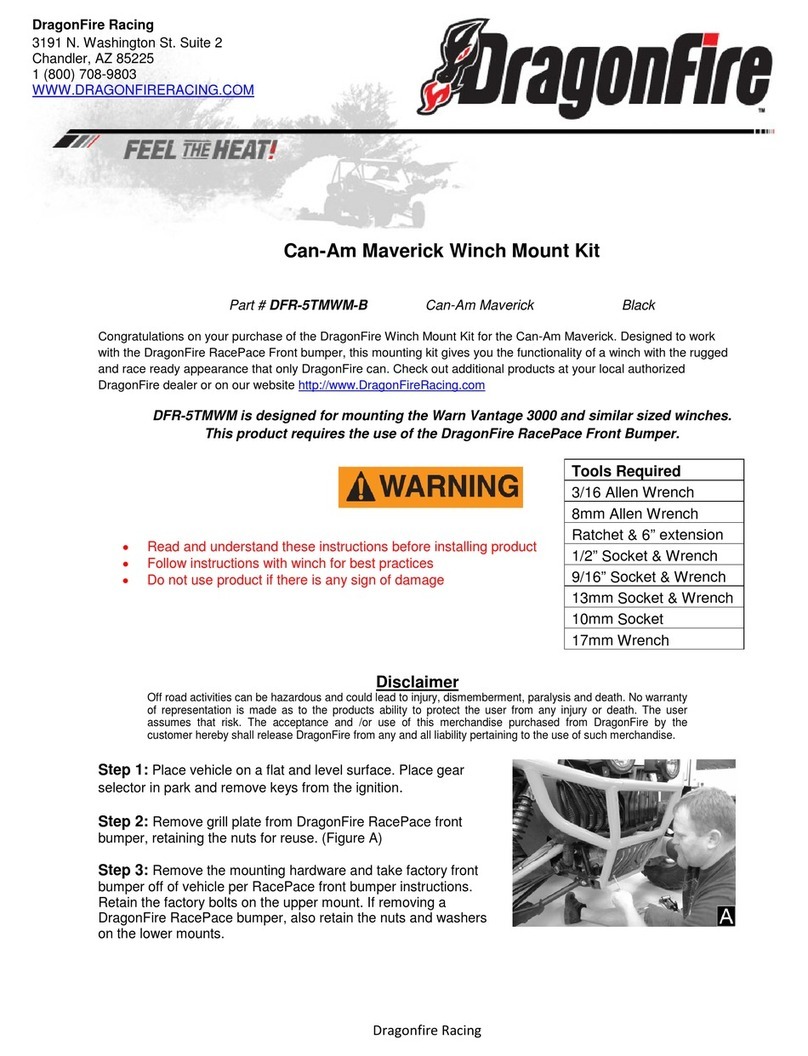
DRAGONFIRE DFR-5TMWM-B User manual

DRAGONFIRE

DRAGONFIRE DFR-5TMWM-B User manual

DRAGONFIRE 07-1900 User manual

DRAGONFIRE

DRAGONFIRE 07-1900 User manual

DRAGONFIRE 15-1111 User manual

DRAGONFIRE

DRAGONFIRE 15-1111 User manual

DRAGONFIRE RacePace 01-3801 User manual

DRAGONFIRE

DRAGONFIRE RacePace 01-3801 User manual

DRAGONFIRE 16-1805 User manual

DRAGONFIRE

DRAGONFIRE 16-1805 User manual

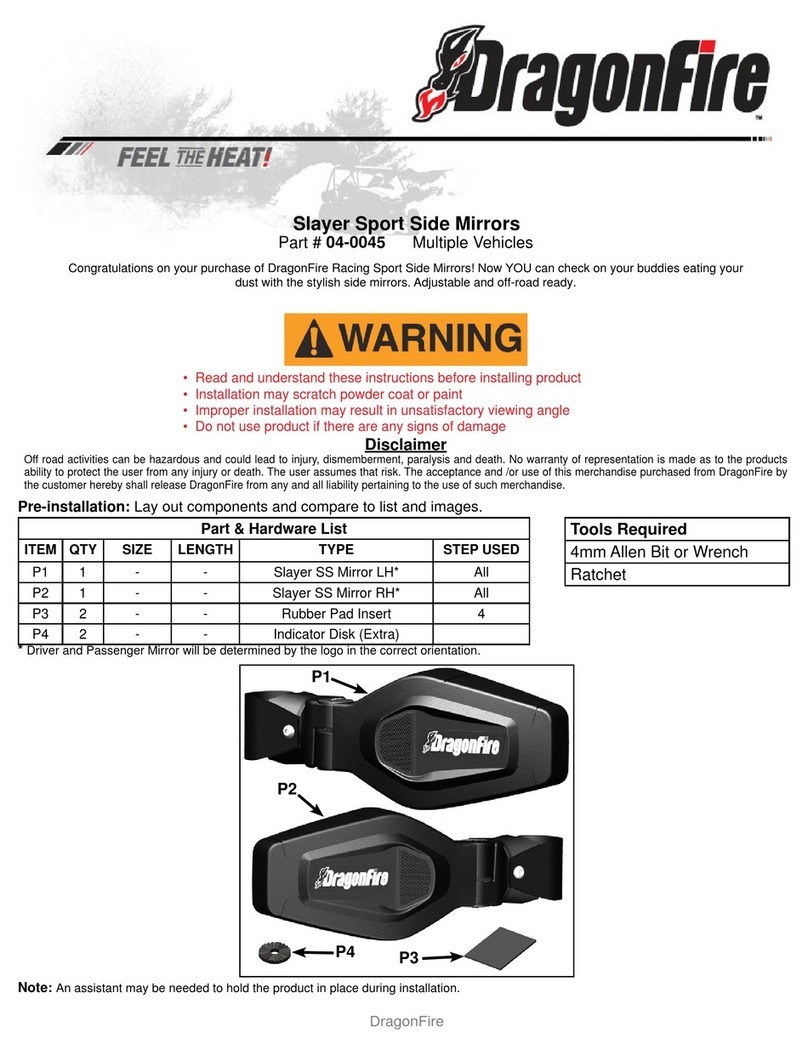
DRAGONFIRE 04-0045 User manual

DRAGONFIRE

DRAGONFIRE 04-0045 User manual

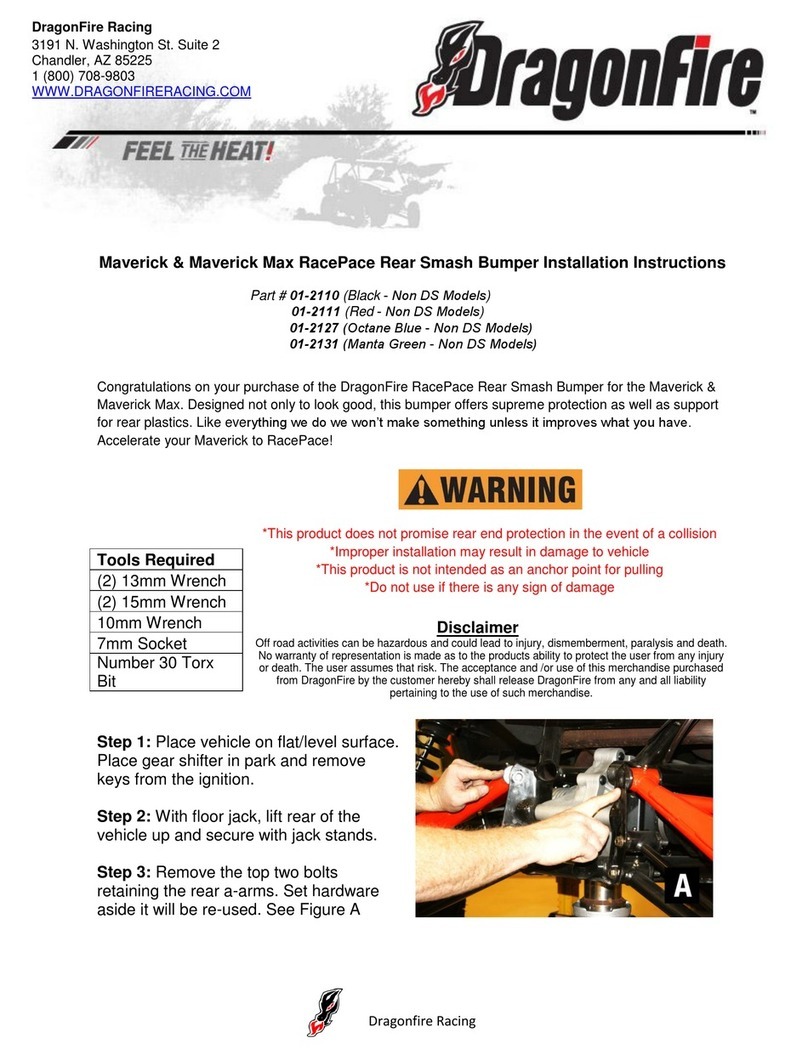
DRAGONFIRE RacePace 01-2110 User manual

DRAGONFIRE

DRAGONFIRE RacePace 01-2110 User manual

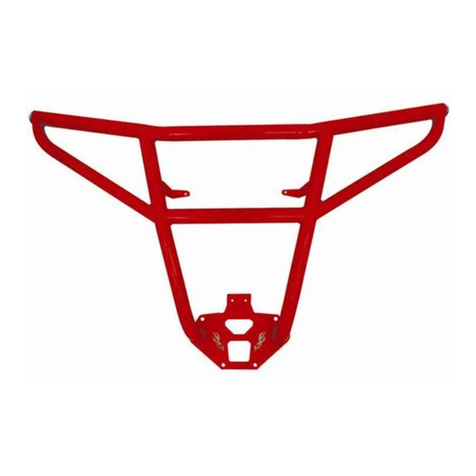
DRAGONFIRE RacePace Smash User manual

DRAGONFIRE

DRAGONFIRE RacePace Smash User manual

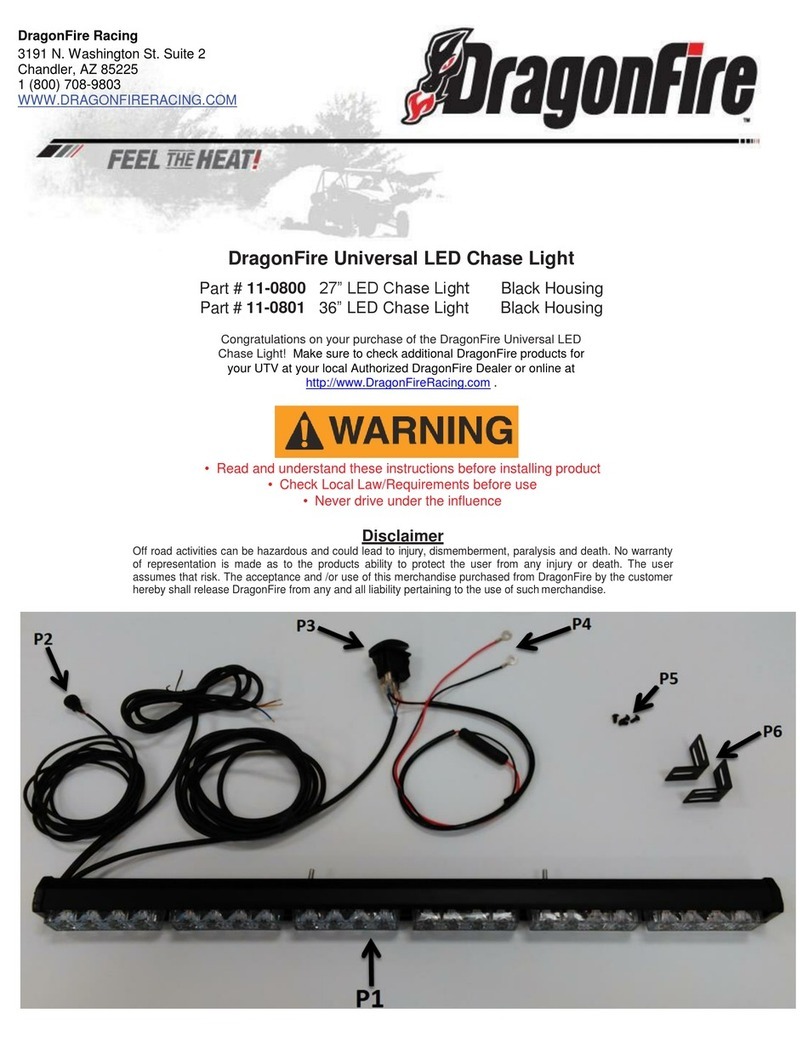
DRAGONFIRE 11-0800 User manual

DRAGONFIRE

DRAGONFIRE 11-0800 User manual

DRAGONFIRE 01-1109 User manual

DRAGONFIRE

DRAGONFIRE 01-1109 User manual

DRAGONFIRE 04-0820 User manual

DRAGONFIRE

DRAGONFIRE 04-0820 User manual

DRAGONFIRE 11-0805 User manual

DRAGONFIRE

DRAGONFIRE 11-0805 User manual

DRAGONFIRE 01-2924 User manual

DRAGONFIRE

DRAGONFIRE 01-2924 User manual

Popular Automobile Accessories manuals by other brands

Magneti Marelli AC161 Installation instruction

Magneti Marelli

Magneti Marelli AC161 Installation instruction

FDI uEZ GUI Start here

FDI

FDI uEZ GUI Start here

JCROffroad JT Install instructions

JCROffroad

JCROffroad JT Install instructions

Rostra VOXXElectronics 250-1930 owner's guide

Rostra

Rostra VOXXElectronics 250-1930 owner's guide

TOP VEHICLE TECH GR3FORD5 installation manual

TOP VEHICLE TECH

TOP VEHICLE TECH GR3FORD5 installation manual

Safe Fleet PRIME DESIGN AR-2000-BLK manual

Safe Fleet

Safe Fleet PRIME DESIGN AR-2000-BLK manual

Skoda Fabia Combi 5J Fitting instructions

Skoda

Skoda Fabia Combi 5J Fitting instructions

Camcar 40077 Al Mounting instructions

Camcar

Camcar 40077 Al Mounting instructions

Camcar 40089 AL Mounting instructions

Camcar

Camcar 40089 AL Mounting instructions

Impac Tradesman 2000 installation manual

Impac

Impac Tradesman 2000 installation manual

DVB OFFROAD BRSB-01 installation manual

DVB

DVB OFFROAD BRSB-01 installation manual

Safari Snorkel SS385HF installation guide

Safari Snorkel

Safari Snorkel SS385HF installation guide

ULTIMATE SPEED 279746 Assembly and Safety Advice

ULTIMATE SPEED

ULTIMATE SPEED 279746 Assembly and Safety Advice

SSV Works DF-F65 manual

SSV Works

SSV Works DF-F65 manual

ULTIMATE SPEED CARBON Assembly and Safety Advice

ULTIMATE SPEED

ULTIMATE SPEED CARBON Assembly and Safety Advice

Witter F174 Fitting instructions

Witter

Witter F174 Fitting instructions

WeatherTech No-Drill installation instructions

WeatherTech

WeatherTech No-Drill installation instructions

TAUBENREUTHER 1-336050 Installation instruction

TAUBENREUTHER

TAUBENREUTHER 1-336050 Installation instruction

manuals.online logo
manuals.online logoBrands
  • About & Mission
  • Contact us
  • Privacy Policy
  • Terms and Conditions

Copyright 2025 Manuals.Online. All Rights Reserved.

D
ra
g
onFir
e
D
DragonFire Racing
3191 N Washington St. Suite 2
Chandler, AZ 85225
1 (800) 708-9803
http://www.DragonFireRacing.com
DragonFire Racing Maverick4 Seat Aluminum Roof
Part # 18-2102 Can Am Maverick X3 Max 4 seat Black
Congratulations on your purchase of the DragonFire Aluminum Roof for the Maverick X3 Max. Designed to give your vehicle a
stylish look while providing you with shade from the sun and rain. Be sure to check out the full line of DragonFire Accessories for
your Can Am Maverick X3 Max at your local authorized dealer or online at http://www.DragonFireRacing.com
Disclaimer
Off road activities can be hazardous and could lead
to injury, dismemberment, paralysis and death. No
warranty of representation is made as to the products
ability to protect the user from any injury or death.
The user assumes that risk. The acceptance and /or
use of this merchandise purchased from DragonFire
by the customer hereby shall release DragonFire
from any and all liability pertaining to the use of such
merchandise.
• Read and understand these instructions before installing product
• This product does not provide roll over protection
• This product does not provide additional protection in the event of a collision
• This product is not intended to hold cargo
• Never stand or allow passengers on top of roof
• Do not use product if there are any signs of damage
Tools Required
5mm Allen or Wrench
13mm Socket or Wrench
Ratchet
Pre-installation: Lay out components and compare to list and images.
Part & Hardware List
ITEM QTY SIZE LENGTH TYPE STEP USED
P1 1 - - Aluminum Roof Visor All
P2 1 - - Aluminum Roof Middle All
P3 1 - - Aluminum Roof Rear All
P4 2 - - Rear Support Bracket 4
P5 4 1-3/4” - P-Clamp 6-7
P6* 4 M8 x 1.25 30mm Button Head Screw 6
P7* 22 M8 x 1.25 16mm Button Head Screw 3-5
P8* 26 M8 - Nylon Washer 3-7
P9* 24 M8 1.25 Flange Nylon LockNut 3,4,6,7
P10* - - Foam Weatherstripping 2,6
P11* 4 - - VHB Double-sided Foam Tape 2
P2
P4
An assistant may be required during installation.
P5
P1
P3
*Not shown in diagram
D
ra
g
onFir
e
D
Step 1: Place vehicle on a flat and level surface. Place gear selector in “Park” and remove keys from the ignition.
Step 2: Lay aluminum roof visor[P1], middle[P2] and rear[P3] upside-down on scratch resistant flat surface. Measure then cut foam weather-
stripping[P10] and apply to areas indicated by white stripes. Place foam tape[P11] to areas indicated by squares. (Figure A)
Step 3: Lay visor under roof while still upside-down as shown (Figure B). Align holes in each, then place a button head screw[P7] with
washer[P8] in each hole from underneath so the bolt head is on the top side (Leave outside holes empty as this will be used later).
Secure each with a nylon locknut[P9]. Leave all hardware loose. Repeat for the rear section except place bolts in all holes.
Step 4: Attach rear support bracket[P4] to the cross bars at the rear outter holes with rear tabs facing up as indicated (Figure C). Secure with a
button head screw[P7] and washer[P8] then nylon locknut[P9] from bottom. Leave hardware loose.
Step 5: Place roof on roll cage and align holes with rear support brackets. Secure with button head bolt[P7] and washer[P8]. (Figure D)
Step 6: Place additional weather stripping where roof contacts roll cage. Install two P-clamps[P5] to roll cage at front visor and middle section
seam and align to outter holes. Attach with button head screws[P6] and washer[P8] from top side, then secure through P-clamp holes
with nylon locknut[P9] from underneath. (Figure E)
Step 7: Install two P-clamps[P5] to the middle section as shown. (Figure F)
Step 8: Tighten all hardware until roof is secured. Do not overtighten hardware; overtightening will cause dimples. (Figure F)
This completes installation. Time to ride and enjoy!
ProTip: Periodically check all hardware and re-tighten if needed.
For further assistance please contact us at customerservice@dragonfireracing.com or 1-800-708-9803.