2 3
ENEN
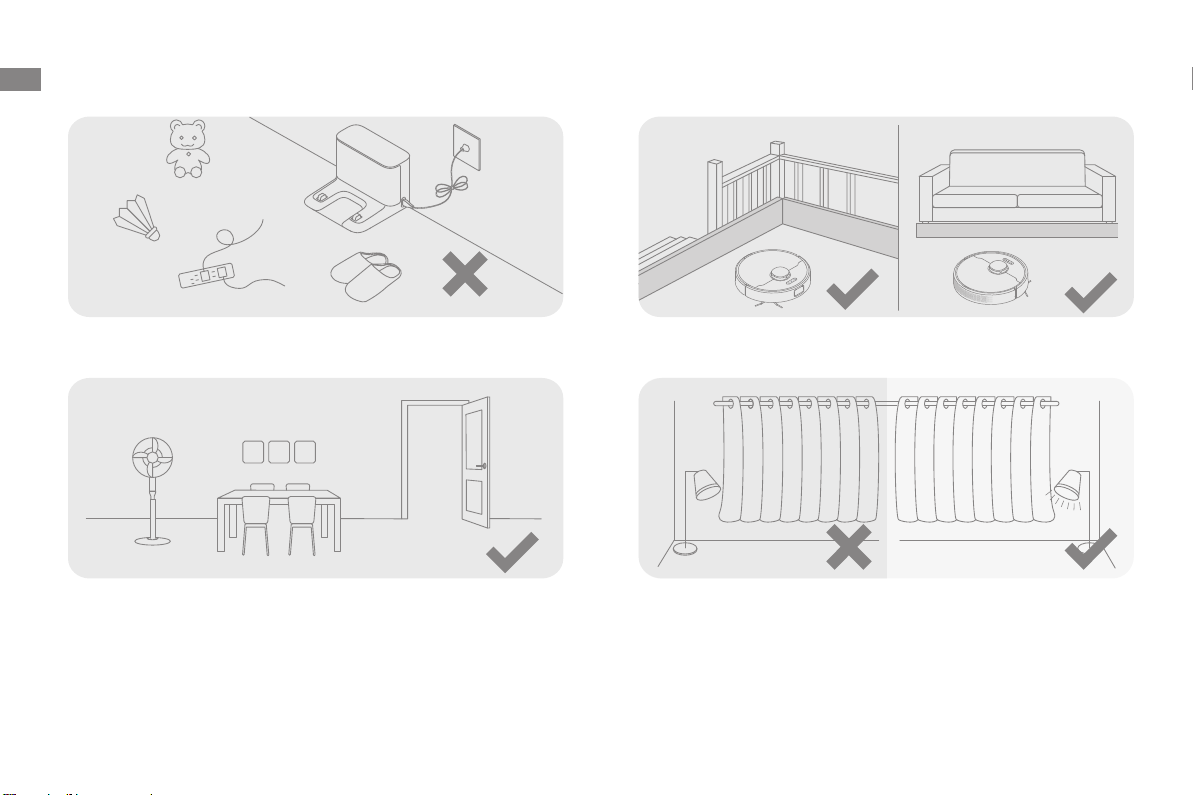
Usage Restrictions Batteries and
Charging
Safety Information Safety Information
Batteries and
Charging
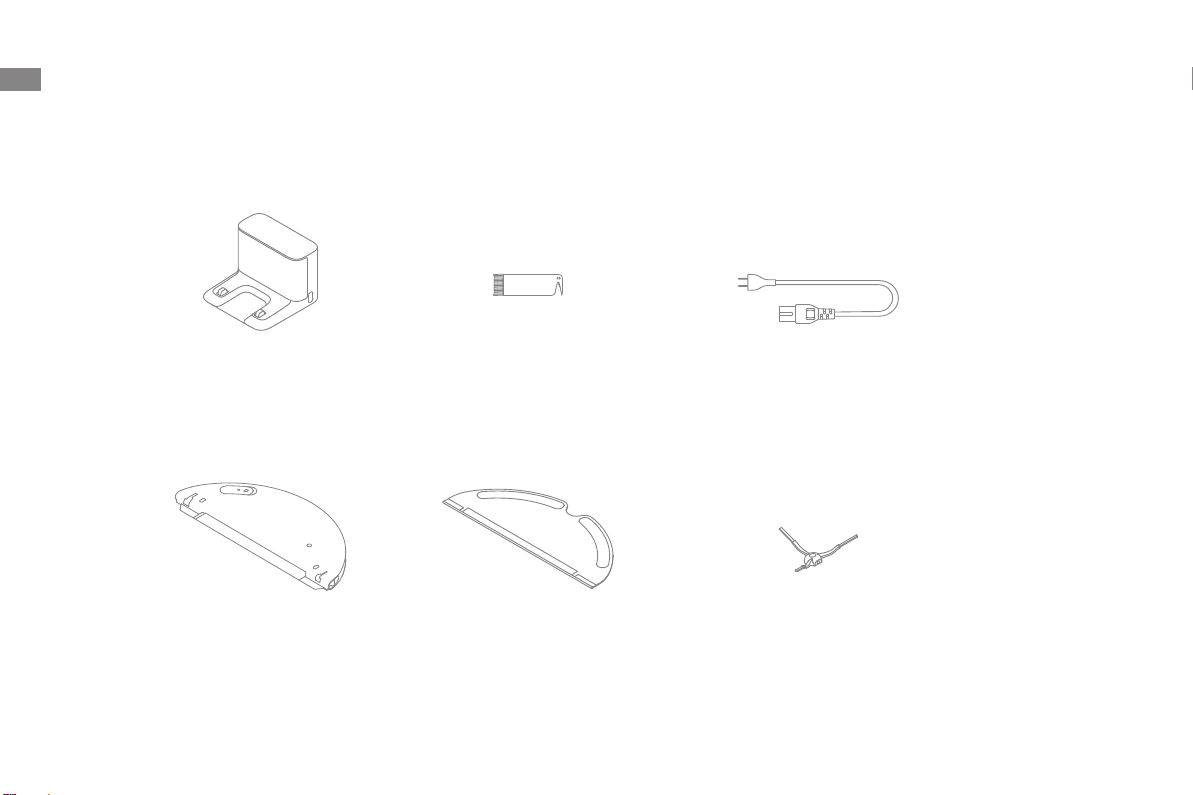
Do not use any third-party battery, power cord, or charging dock. Use only with RCS0
supply unit.
Do not attempt to disassemble, repair, or modify the battery or charging dock on
your own.
Do not place the charging dock near a heat source.
Do not use a wet cloth or wet hands to wipe or clean the dock's charging contacts.
Do not improperly dispose of old batteries. Unneeded batteries should be discarded
at an appropriate recycling facility.
If the robot will not be used for an extended period, fully charge it, then turn it off
and store in a cool, dry place. Recharge the robot at least once every 3 months to
avoid over-discharging the battery.
This product contains batteries that can only be replaced by qualified technicians or
after-sales service.
Keep hair, fingers, and other body parts away from the suction opening of the
robots.
To prevent damage or harm from dragging, clear any loose objects from the floor,
and remove cables or power cords on the cleaning path before operating the
appliance.
Keep the brush cleaning tool out of reach of children.
Do not place children, pets, or any item on top of the robot regardless of whether it
is stationary or moving.
Do not use the robot to clean any burning objects. Do not use the robot to pick up
flammable or combustible liquids, corrosive gases, or undiluted acids or solvents.
Do not vacuum hard or sharp objects. Do not use the appliance to pick up objects
such as stones, large pieces of paper or any item that may clog the appliance.
Make sure the robot is turned off and the charging dock is unplugged before
cleaning or performing maintenance.
Do not use a wet cloth to wipe or any liquid to rinse the robot and charging dock.
Washable parts must be dried completely before installing and using them.
Make sure the robot is turned off when being transported and kept in its original
packaging if possible.
Please use this product in accordance with the instructions in the User Manual. Users
are responsible for any loss or damage that arise from improper use of this product.
Hereby, Dreame Trading(Tianjin)Co., Ltd. declares that the radio equipment type RLS6A is in compliance with Directive 2014/53/EU. The full text of the EU declaration of conformity is
available at the following internet address: https://global.dreametech.com
For detailed e-manual, please go to https://global.dreametech.com/pages/user-manuals-and-faqs
Laser Safety
Information
The laser sensor in this product meets the IEC 60825-1: 2014 Standard for Class 1
laser products. Please avoid direct eye contact with it during use.