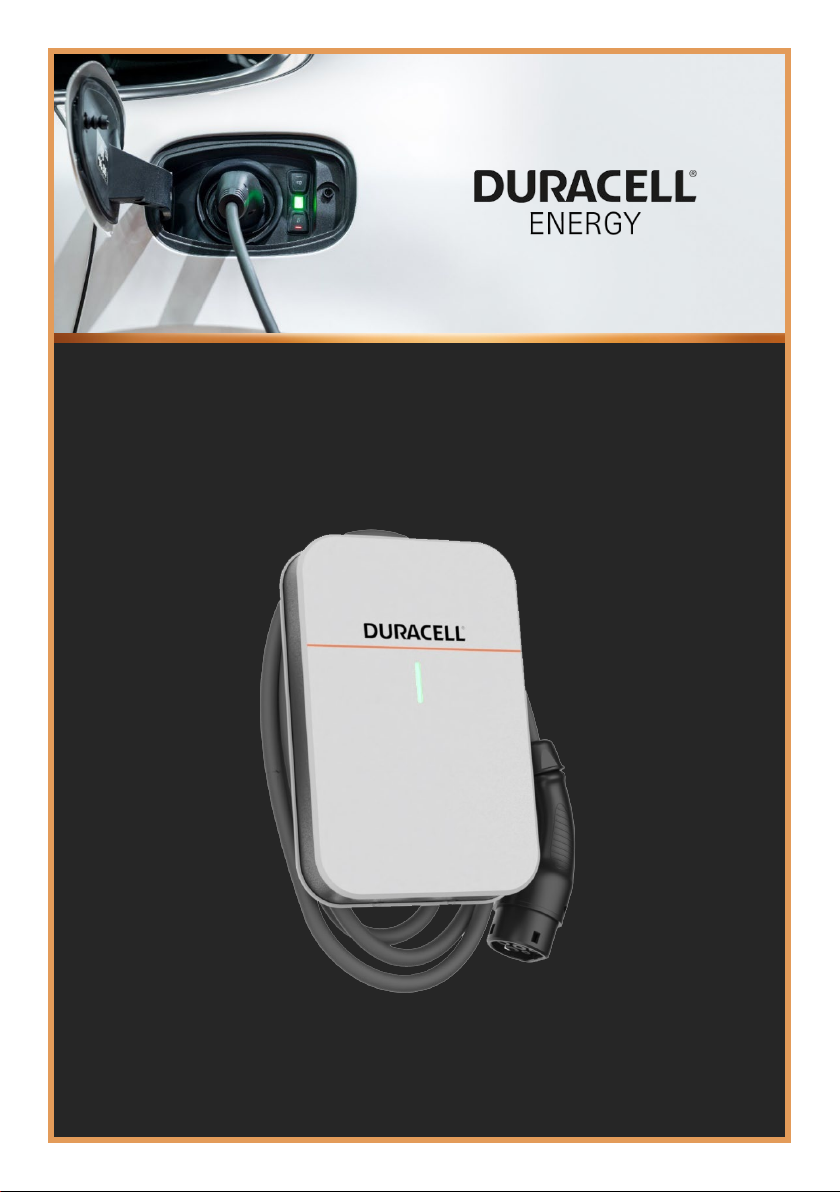
Duracell 1P-T User manual

Page 15 of 13
DURACELL EV (1P-T)
USER MANUAL
Version 1.0

Page 1of 13
Contents
1 Safety and Warning..................................................2
2 EV Charger App .......................................................3
3 Charging Operations on PureCharger App ...............5
3.1 Charging with RFID Card........................................................................6
3.2 Charging modes on the Duracell app. ................................................... 7
4 Troubleshooting...................................................... 11
4.1 Indicator Status..................................................................................... 11
4.2 Fault Code and Resolution....................................................................12

Page 2of 13
1 Safety and Warning
Save these instructions. Read all instructions before installing or using the charger.
1. Keep the charger away from explosive or flammable materials, chemicals, vapours, and
other hazardous objects.
2. Keep the charger socket clean and dry. If it gets dirty, please wipe it with a clean, dry cloth.
3. Touching the socket core with fingers or foreign objects is strictly forbidden when the power
is on.
4. Do not use the charger in case of any device defects, cracks, abrasions, bare leakage and
so on. Please contact the professional personnel if any of these conditions occur.
5. Do not attempt to disassemble, repair, or refit the charger. If necessary, please contact the
professional personnel. Improper operation will result in device damage, electric leakage,
etc.
6. If any abnormal condition happens, please immediately cut off all input and output power
supplies.
7. Please ensure the charger is not in use and protected in case of lightning and
thunderstorms.
8. Keep children away from the charger.
9. During charging, do not drive the EV. Charge only when the EV is stationary. For hybrid
cars, charge only when the engine is switched off.
10. Our packaging materials are environmentally friendly and can be recycled. Please put the
packaging in applicable containers to recycle it. Do not dispose of this device with
household waste. It should be taken to a suitable facility for recycling electrical and
electronic devices. For more detailed information about recycling this device, please
contact your local city/town council office or your household waste disposal service.
The input and output voltages of this device are high voltage, which threatens
the
safety of human life. Please strictly observe all warnings on the device and user
manual. Unauthorized and non-professional service personnel are forbidden to
remove the cover of this device.

Page 3of 13
2 EV Charger App
There are two different apps you need to download for your charger. Download these on the App
store or Google play store. Scan the shown QR codes to download the app.
PureCharger app: For the installer to set up the charger.
Duracell app: For the user, please download this Duracell app to operate the charger.
Apple
Android
Apple
Android
DISCLAIMER: QR CODES WILL BE
AVAILABLE UPON APPLICATION
LAUNCH

Page 4of 13
PureCharger
Duracell Energy app

Page 5of 13
3 Charging Operations on PureCharger App
Post-installation, test the EV Charger through the PureCharger App.
To Start the charging
session, select Max
Charging Current
Select your Max
Charging Current and
select Confirm
Select Start to
begin charging your
vehicle

Page 6of 13
3.1 Charging with RFID Card
•You can also start the charging session by tapping your RFID card on the front of the EV charger.
•Tap it on the area as highlighted by the green rectangle for approximately 3 seconds until a
clicking sound is heard. Then the EV Charger should begin the charging session with the maximum
possible charge rate.
•Repeat this same process to stop the charging session.

Page 7of 13
3.2 Charging modes on the Duracell app.
PureGreen
Smart
GreenBoost
Timed Boost
Charge your EV purely from green energy. At least 1.4kW
of excess solar is required to initiate a charge.
Use excess green energy and top up with grid energy to
ensure you have enough charge. Must use Timed Boost to
set your total kWh required by the set time.
Automatically integrate your variable rate tariff into your
charging schedule to ensure your EV charges at the
cheapest possible rate. Must use Timed Boost to set your
total kWh required by the set time.
Use with ‘GreenBoost’ mode and/or ‘Smart’ mode to set
the amount of minimum energy you require to be added
by the set time.

Page 8of 13
Select ‘Timed boost’ Select the time for when
you’d like the charging
session to be finished
Move the slider to select
the amount of kWh
you’d like to charge your
vehicle
Then select ‘Go’
1
2
3
TIMED BOOST

Page 9of 13
To begin the ‘PureGreen’ charging mode, tap the
‘PureGreen’ icon
To de-select ‘PureGreen’ mode, tap the ‘PureGreen’
icon again
‘PureGreen’ mode
cannot
be selected alongside any
other mode
To begin the GreenBoost charging mode, tap the
‘GreenBoost’ icon
To de-select ‘GreenBoost’ mode, tap the
‘GreenBoost’ icon again
To start this charging session, please follow the
process shown in section
3.2.1
and adjust your
requirements for the slider and time accordingly
‘GreenBoost’ mode
can
be selected alongside Smart
mode
‘GreenBoost must be selected alongside ‘Timed
Boost’
‘GreenBoost’ mode
cannot
be selected alongside
PureGreen mode
GREENBOOST
TIMED BOOST
PUREGREEN

Page 10 of 13
To de-select ‘Smart’ mode, tap the mode again
To start this charging session, please follow the
process shown in section
3.2
and adjust your
requirements for the slider and time accordingly
‘Smart’ mode
can
be used with ‘GreenBoost’ mode
‘GreenBoost’ mode
cannot
be selected alongside
‘PureGreen’ mode
SMART
TIMED BOOST

Page 11 of 13
4 Troubleshooting
4.1 Indicator Status
State
Description
LED
Status
In standby
Normal
Flashing green, 1S on, 4S
off
Charging status
Normal
Breathing green, 1S on, 1S
off
Plugged gun state
Normal
Breathing yellow, 1S on, 1S
off
Software upgrade
Normal
Green light flash
Ground warning
Normal
Flashing yellow, 2S on,
2S off
Relay adhesion
Fault
Red light normally on
Input polarity
reverse
Fault
Flashing red, 500ms on, 500ms off, 1
time, 3S off, Cycle
CP fault
Fault
Flashing red, 500ms on, 500ms off, 2
times, 3S off, Cycle
Leakage current
fault
Fault
Flashing red, 500ms on, 500ms off, 3
times, 3S off, Cycle
Input terminal
overtemperature
Fault
Flashing red, 500ms on, 500ms off, 4
times, 3S off, Cycle
Relay
overtemperature
Fault
Flashing red, 500ms on, 500ms off, 5
times, 3S off, Cycle
Under voltage fault
Fault
Flashing red, 500ms on, 500ms off, 6
times, 3S off, Cycle
Over voltage fault
Fault
Flashing red, 500ms on, 500ms off, 7
times, 3S off, Cycle
Overload fault
Fault
Flashing red, 500ms on, 500ms off, 8
times, 3S off, Cycle
Over frequency fault
Fault
Flashing red, 500ms on, 500ms off, 9
times, 3S off, Cycle
Under frequency
fault
Fault
Flashing red, 500ms on, 500ms off,
10 times, 3S off, Cycle
Leakage current loop
abnormal
Fault
Flashing red, 500ms on, 500ms off,
11 times, 3S off, Cycle

Page 12 of 13
4.2 Fault Code and Resolution
Error Code Problems Possible
Causes
Solutions
OverVolt
Input over voltage
AC input voltage
may be too high.
1. Check the input voltage on your app.
2. If the voltage is over 253Vac for a
short time, wait till the grid supply
recovers to normal voltage range.
UnderVolt
Input lower voltage
AC input voltage
may be too low.
1. Check the input voltage from the back
end.
2. If the voltage is under 184Vac for a
short time, wait till the power grid
recovers to normal voltage range.
OverCurr
Output overload
AC output current
may be too large.
1. Shut off the leakage current
protection, then switch off power
distribution cabinet immediately.
2. Check whether there is low resistance
connection between AC output cables of
the charger.
OverFreq
Input over
frequency
AC input
frequency may be
too high.
1. Check the input voltage frequency
from the back end.
2. If the frequency exceeds 63Hz for
a short time, wait till power grid
recover to normal voltage range.
UnderFreq
Input lower
frequency
AC input
frequency may be
too low.
1. Check the input voltage frequency
from the backend.
2. If the frequency is lower than 47Hz for
short time, wait till power grid recover to
normal voltage range.
OverTemp
Over
temperature
Temperature may
be too low inside
the charger.
1. Check the surrounding conditions of
chargers installed whether there is
heating device nearby. Make sure
environmental temperature is under
60°c.
Over DCLeak
Over leakage
current
Leakage current
to the earth
may be too high.
1. Shut off the leakage current
protection, then switch off power
distribution cabinet immediately.
2. Check whether there is broken of AC
output cables or low resistance
connection to the earth.
PhaseError
Reverse connection
Reverse
connection of L/N
input cable.
1. Shut off the leakage current
protection, then switch off power
distribution cabinet immediately.
2. Check if AC input/output cables
are normal, and if inverse connection
of L/N input cables.
CableRCError
Charging cable
connection
abnormal
Poor connection of
charging cable
with EV/Charger.
1. Check if charging cable connection is
correct and firm.
Note: If the above problems cannot be solved, please contact: duracellenergy.com/contact

Page 13 of 13
CONTACT US
For general inquiries, complaints, questions, or claims,
please visit:
duracellenergy.com/contact
Duracell is a registered trademark of Duracell Batteries BV and Duracell U.S. Operations, Inc., used
under license. All rights reserved. Manufactured under license by Puredrive Energy in unit 18a & 18b,
Orchard Industrial Estate, Evesham rd, Toddington, Cheltenham, GL54 5EB.
Other manuals for 1P-T
1
Table of contents
Other Duracell Batteries Charger manuals

Duracell
Duracell DRMC4A User manual

Duracell
Duracell Charger User manual

Duracell
Duracell PS3 User manual

Duracell
Duracell DRMC1A User manual

Duracell
Duracell DR7000LI User manual

Duracell
Duracell 1P-T User manual

Duracell
Duracell DR7000LI User manual

Duracell
Duracell DRCHDIG User manual

Duracell
Duracell DRCHCAM User manual

Duracell
Duracell PowerSource 1800 User manual