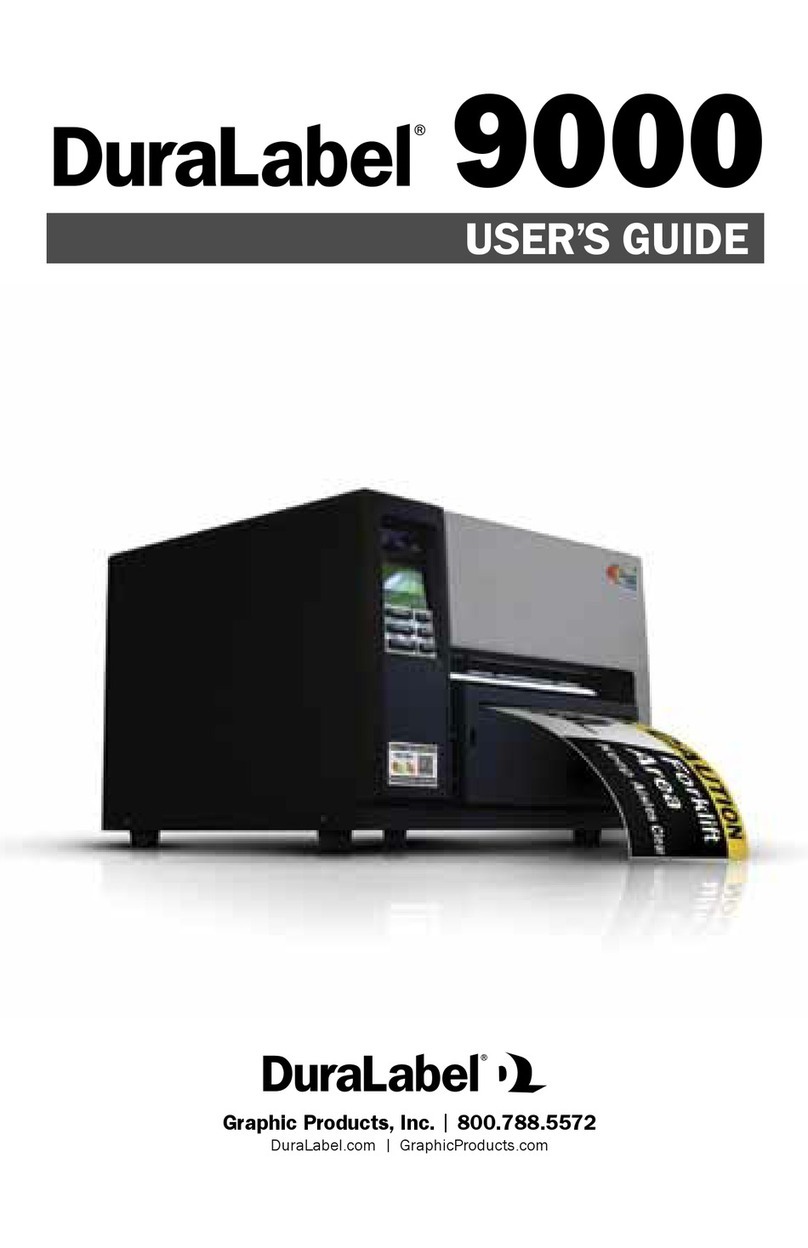
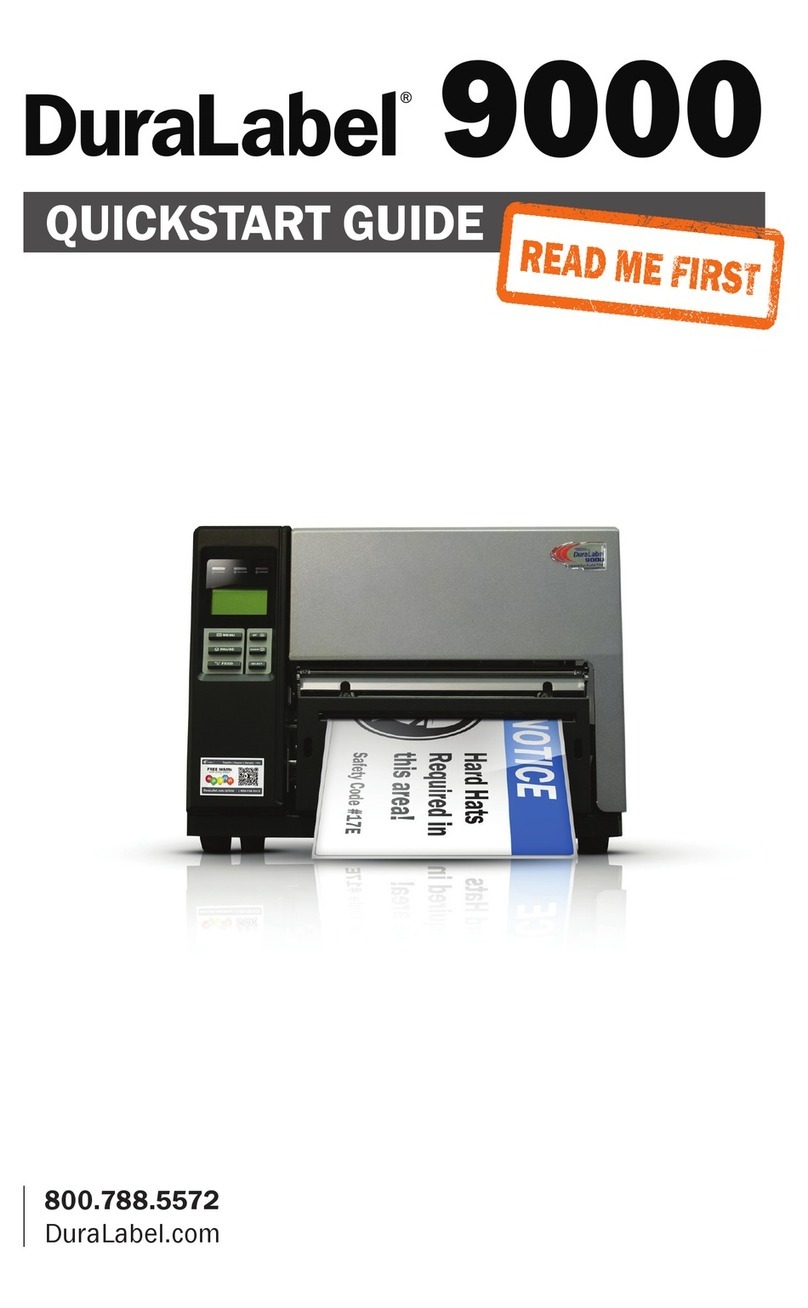
DuraLabel 9000 User manual

USER GUIDE
800.788.5572
DuraLabel.com

Copyright Information
No part of this manual, including the products and software described in it, may be
reproduced, transmitted, transcribed, stored in a retrieval system, or translated into any
language in any form or by any means, except documentation kept by the purchaser for
backup purposes, without the express written permission of Graphic Products, Inc.
Products and corporate names appearing in this manual may or may not be registered
trademarks or copyrights of their respective companies, and are used only for
identification or explanation and to the owners’ benefit, without intent to infringe.
Specifications and information contained in this manual are furnished for informational
use only, and are subject to change at any time without notice, and should not be
construed as a commitment by Graphic Products. Graphic Products assumes no
responsibility or liability for any errors or inaccuracies that may appear in this manual.
Graphic Products®
, DuraLabel®
, PathFinder®
, Toro®
, Bronco®
and Lobo®
are Registered Trademarks of Graphic Products, Inc.
© 2011, 2016 Graphic Products, Inc.

DuraLabel.com | 800.788.5572 Contents | 1
Contents
1. Introduction
3
1.1 Computer System Specifications 3
1.2 Operating Environment and Safety Precautions 4
2. Getting Started 5
2.1 QuickStart Procedure 5
2.2 Unpack and Inspect 5
2.2.1 Equipment Checklist 5
2.2.2 DL9000 PS Parts 6
2.3 Starting the DL9000 7
2.3.1 Connecting the Power Adapter 7
2.3.2 Connecting to a Label Printer 8
2.4 Using the DL9000 PS 8
2.4.1 The DL9000 PS Toolbar 9
2.4.2 Shutting OFF the DL9000 PS 10
3. Creating Labels 11
3.1 Label Creation Using Templates 11
3.1.1 Selecting a Template 11
3.1.2 Modifying a Template 11
3.1.3 Printing From a Template 11
3.1.4 Creating a Custom Template 12
3.2 Label Creation Using Label Writer 12
3.2.1 Opening a New Document From Template 12
3.2.2 Formatting a New Document 13
3.2.3 Frames
14
3.2.4 Inverting Text Color 15
3.2.5 Inserting and Manipulating Graphics 16
3.2.6 Printing a Label 16
3.2.7 Special Applications 16
3.3 DuraSuite 17
3.4 LabelForge 17
4. Advanced Functions 18
4.1 Copying Files To and From the DL9000 PS 18
4.1.1 Using the USB Drive 18
4.1.2 Installing Programs 18
4.1.3 Changing the Desktop Wallpaper 18
4.1.4 Password Protection 19
4.2 Installing an External Pointing Device 19
4.3 Recovering Templates 20
4.4 Changing Date and Time Settings 20
2| Contents DuraLabel.com | 800.788.5572
5. Troubleshooting
21
5.1 Technical Support 21
6. Appendix
22
6.1 Declarations and Safety Statements 22
6.2 1-Year DuraLabel Print Station Warranty 24
6.2.1 Repairs
24
6.2.2 Batteries
24
6.2.3 Warranty Details 24
6.3 Other Software 25

DuraLabel.com | 800.788.5572 1.1 PS Tablet Specications | 3
1. Introduction
Thank you for purchasing the DuraLabel 9000 Print Station (DL9000 PS) label creation
platform. The DL9000 PS is a dedicated label design and creation engine that will put
you on the road to IT independence, while making labeling easier and more convenient
than ever.
The DL9000 PS is engineered for maximum durability and ease of use in an industrial
environment. All electronic components use solid-state technology, so there are no
moving parts that can be easily damaged. The user interface is simple, intuitive, and
able to be used with a minimum of training. This manual provides instructions on setting
up and using the DL9000 PS.
1.1 PS Tablet Specications
• Processor: Intel®Celeron 1.8GHz
• Processor: Intel® Atom N2600 1.6GHz
• Memory: 2GB DDR3 RAM
• Storage: 160GB
• Connectivity: 3 USB 2.0 ports
• Operating system: Ubuntu Linux
• No network or wireless capability
• Battery life: Approx. 4 hours
• Dimensions: 10.25" x 6.5" x 1.06" (260.35 mm x 165.1 mm x 26.86 mm)
• Weight (w/battery): 2.20 lb (996 g)
• Screen size: 10.1"
• Screen type: LED-backlit capacitive touchscreen
• Screen Resolution: 1024 x 600 (16:9)
• FCC & CE certified
• Warranty: 1 year
• User programs cannot be installed

4| 1.2 Safety Precautions DuraLabel.com | 800.788.5572
INTRODUCTION
1.2 Safety Precautions
As with any electronic equipment, misuse or exposure to extreme environments may
impact the equipment life and pose a health hazard.
• Do not use the DL9000 PS near water. Doing so may result in electrical shock,
causing severe injury or death and damaging the unit.
• The DL9000 PS should not be used in environments with temperatures above
35°C (95°F) or below 5°C (41°F).
• To clean the system, disconnect the AC power. Wipe the DL9000 PS with a clean,
lightly-dampened cloth. Remove any excess moisture with a dry cloth.
• Do not expose the DL9000 PS to excessive dirt, dust, or moisture. Do not expose to
strong magnetic or electrical fields.
• Do not place objects on top of the DL9000 PS. Do not store the DL9000 PS with
small objects that may enter or scratch the DL9000 PS.
• The DL9000 PS may become warm during use. Do not carry or cover the DL9000 PS
with any material that will reduce air circulation while the computer is powered ON.
• Use only the supplied AC power adapter with the DL9000 PS.
• Do not attempt disassembly or servicing of the DL9000 PS.

DuraLabel.com | 800.788.5572 2.2 Unpack and Inspect | 5
2. Getting Started
2.1 QuickStart Procedure
To start designing and printing labels, follow these quick steps:
1. Unpack the DL9000 PS and inspect all items for damage.
2. Install the DL9000 PS Tablet into the tablet tray.
3. Attach the tablet tray to the tray bracket.
4. Plug the PS Tablet to a power outlet.
5. Using the gray USB cord, connect the DL9000 PS Tablet to the DL9000 Printer.
6. Use the power cord to plug the DL9000 Printer to a power outlet. The DL9000
Printer’s power cord does not have an external power supply (brick).
7. Load supplies into the DL9000 Printer.
8. Power ON the printer and tablet.
2.2 Unpack and Inspect
Unpack all components and inspect them carefully for damage. In case of evident
damage, contact the carrier directly to specify the nature and extent of the damage.
Please retain the packaging materials in case you need to reship the DL9000 PS.
2.2.1 EQUIPMENT CHECKLIST
The DL9000 PS package should contain the following parts:
• DL9000 PS Tablet
• DL9000 PS Tray
• Keyboard and Mouse
• Power Cord
• AC Adapter and Cord
• USB Cable
• USB Flash Drive for file transfer and backup (4GB)
• DuraLabel 9000 Print Station QuickStart Guide
If any of these components are missing, please contact customer service at
800.788.5572.

6| 2.2 Unpack and Inspect DuraLabel.com | 800.788.5572
GETTING STARTED
2.2.2 DL9000 PS PARTS
FRONT VIEW
Display Panel: A 10.1" LED-backlit display provides clear, flicker-free viewing to minimize
eye strain. The display has a viewable resolution of 1280 x 800 and features convenient
multi-touch capabilities.
TOP EDGE VIEW
Power Button: To turn on the DL9000 PS tablet, slide the power switch to the left and
hold it until the two left most LEDs light up.
RIGHT SIDE VIEW
AC Adapter Connector: Connect the AC Adapter to the AC Adapter Connector and an
electrical outlet for power supply. This will also charge the DL9000 PS tablet’s battery
pack.
LEFT SIDE VIEW
On/Off Power Switch
DC-In Power Plug Printer USB Connector LAN Port (Disabled) Headphone
Mic
VGA output
Memory Card Slot (Disabled) Additional USB Connectors
LED Lights

DuraLabel.com | 800.788.5572 2.3 Starting the DL9000 PS | 7
GETTING STARTED
KEYBOARD WITH MOUSE
Keyboard and Mouse: The keyboard’s USB cable should be connected to a USB port on
the right side of the PS tablet. The wireless mouse has a small receiver that plugs into
the back of the keyboard.
2.3 Starting the DL9000 PS
To start the DL9000 PS, press the power button on the upper-right edge of the system.
You may connect USB devices any time, whether the DL9000 PS is powered ON or OFF.
You may also connect or disconnect the power adapter at any time.
2.3.1 CONNECTING THE POWER ADAPTER
To connect the DL9000 PS Tablet’s power adapter, do the following:
1. Connect the power cord to the AC adapter cord.
2. Plug the power cord into an appropriate outlet.
3. Insert the power cord extension into the power port located on the left side of the
tablet.
NOTE: The power adapter converts AC power from a wall outlet to the DC power
required by the DL9000 PS. The power adapter is designed to work with any 100–120V
or 220–240V outlet. Voltages outside this range can damage the DL9000 PS and lead
to loss of data. Do not use a different power adapter to power the DL9000 PS.
NOTE: The power adapter may become warm or hot while in use. Do not cover the
adapter while it is in use, and keep it away from heat-sensitive objects.

8| 2.4 Using the DL9000 PS DuraLabel.com | 800.788.5572
GETTING STARTED
2.3.2 CONNECTING TO A LABEL PRINTER
To connect the PS tablet to the DL9000 Printer, do the following:
1. Using the gray USB cable, insert the
flat end into the USB port, located
on the left side of the tablet.
2. Insert the other end of the USB
cable into the USB port located
on the printer.
2.4 Using the DL9000 PS
The DL9000 PS uses a specialized version of the Linux operating system. Many features
and procedures are identical to those used on a desktop computer. The toolbar at the
top of the screen contains all of the major functions of the DL9000 PS. This DL9000 PS
Toolbar is the primary method for navigating the system. Most features can be accessed
directly from the DL9000 PS Toolbar.
It is important to note the following:
• Only the My Documents folder and its subfolders are accessible for saving user
files. Changes to other folders will be lost when the DL9000 PS is restarted.
• Only programs supplied by Graphic Products can be installed on the DL9000 PS.
• There is a list of preferred fonts to use in the software included with your DL9000
PS. This list can be found by pressing the help icon on the tool bar and then by
pressing the View button next to Preferred Fonts.

DuraLabel.com | 800.788.5572 2.4 Using the DL9000 PS | 9
GETTING STARTED
2.4.1 DL9000 PS TOOLBAR
From left to right on the display, the DL9000 PS Toolbar contains the following items:
1. DuraSuite: DuraSuite allows printing arc flash and RTK labels on die-cut,
preformatted label stock. For more information on DuraSuite, see the manual
contained on the DL9000 PS Toolbar.
2. LabelForge: Gives you an extensive symbol and template library, barcode creation
tools and the ability to create sequences and connect to external databases. (See
the LabelForge User Guide for more information.)
3. Templates: Clicking Templates reveals a drop-down menu containing major
categories of label templates. Selecting a category displays a pop-up window
containing the labels in that category. Also available from the Templates menu is a
list of available symbols.
4. Programs: The Programs menu contains the tools used for label creation and
system management. The following choices are available on the DL9000 PS:
• DuraSuite: Provides the tools for printing arc flash, RTK, pipe marking, and GHS
labels and signs.
• Label Draw: Operates as a basic drawing and illustrator program.
• Label Writer: Operates as a word processor to format, design, and print custom
labels, or to modify existing templates.
• LabelForge: Provides the tools for creating new custom labels, including barcoding
and sequenced labels.
• Calculator: A simple mathematics calculator.
• Label Spreadsheet: Create, view, and modify spreadsheet files for use in detailed
labeling.
• Password Control: Allows you to add passwords for one or more users.
• Printer Panel: Displays controls for troubleshooting printers and printer connections.
• Printer Queue: Shows all print jobs currently in process.
• Training: Provides how-to videos, instructions, and complete User Guides.
• Keyboard: Presents a convenient keyboard on the DL9000 PS touchscreen.
1 2 3 4 5 6 7 8 9 10 11

10 | 2.4 Using the DL9000 PS DuraLabel.com | 800.788.5572
GETTING STARTED
5. My Documents: This button provides a shortcut to the user area for storing and
managing files.
6. Select Printer: Simple printer selection form with preferences button.
7. Battery Status: The battery icon changes to show the remaining battery charge. An
"X" through the battery signifies a 10% charge is left.
8. Training: Shortcut to training videos, manuals and how-to’s.
9. Graphic Products Contact Information: This button reveals a screen with customer
support and reordering information.
10. Shutdown Button: Clicking this button powers OFF the DL9000 PS.
11. Date/Time Indicator: The icon shows the time. Moving the cursor over the icon
shows the date. Click on the icon to adjust the clock and calendar settings.
2.4.2 SHUTTING OFF THE DL9000 PS TABLET
To power down the PS Tablet, do the following:
1. To power OFF the DL9000 PS, close any open programs.
2. Click on the DL9000 PS Toolbar.

DuraLabel.com | 800.788.5572 3.1 Label Creation Using Templates | 11
3. Creating Labels
3.1 Label Creation Using Templates
3.1.1 SELECTING A TEMPLATE
Click on Templates from the DL9000 PS Toolbar. Click to select a category from the
drop-down menu that appears. A window listing available templates for that category
appears. Double-click to select a template. The template will open in Label Writer.
HINT: Most templates appear in more than one category. For instance, a 2 x 4 blank
template can be found in both the 2.0-Inch and Blank with No Text categories.
Templates can also be accessed from inside Label Writer. Select File >> Open from
the toolbar. A list of template folders appears in a new window. Select the desired
template from these folders. The template opens in a Label Writer window.
3.1.2 MODIFYING A TEMPLATE
Templates can be modified like any other label using Label Writer (see section 3.2.)
Many templates contain frames for entering custom text. Click inside the frame and use
the keyboard to enter or modify text.
NOTE: If a manufacturer-supplied template is modied and then saved, it is possible
to recover the original template (see section 4.5). User-created templates cannot be
recovered if the original is overwritten.
3.1.3 PRINTING FROM A TEMPLATE
Select File >> Print from the Label Writer toolbar. In the window that appears, verify that
the correct printer and port number is selected, select the desired number of copies,
and then click OK to print.

12 | 3.2 Label Creation Using Label Writer DuraLabel.com | 800.788.5572
CREATING LABELS
3.1.4 CREATING A CUSTOM TEMPLATE
Design the label as desired using Label Writer (see section 3.2). Select File >> Save
As from the Label Writer toolbar. Select the folder My Templates from the menu that
appears. Enter the desired template name and click Save.
To add a template to the Label Writer Templates menu, design the label as desired.
Select File >> Save Templates from the Label Writer toolbar. In the window that
appears, enter a name for the template, select My Templates from the Categories
menu, and click OK to save.
NOTE: Templates should always be saved in My Templates or one of its subfolders.
3.2 Label Creation Using Label Writer
The DL9000 PS Label Writer is based on OpenOffice.org Writer word processing
software. The basic principles of label creation in Label Writer are the same as in
Microsoft Word or other programs (see the DuraLabel 9000 User Manual for more
information). However, there are some differences in the software, which will be detailed
in this section.
3.2.1 OPENING A NEW DOCUMENT FROM TEMPLATE
To create a new document, select File >> New Document from Template in the Label
Writer toolbar.
• To open a blank, unformatted document, select the New Document icon in the
menu at the right of the New Document window, then select Text Document from
the menu in the center of the window and click Open. The new document must
then be formatted as described in section 3.2.2 in order to print properly.
• To open a preformatted template, select the Templates icon in the menu at the
right of the New Document window. Select My Templates in the center menu, and
browse to find a template that matches the desired size of the label. (Additional
templates can be added to this list; see section 3.1.4). A preview of the template
appears at the right of the window. Select the desired template and click Open.

DuraLabel.com | 800.788.5572 3.2 Label Creation Using Label Writer | 13
CREATING LABELS
3.2.2 FORMATTING A NEW DOCUMENT
To select the size and orientation of your label, select Format >> Page from the Label
Writer toolbar. Select the Page tab in the window that appears.
• Set Format to “User” in the drop-down menu at the top left of the window.
• If the width of the label is the width of the supply in the printer, set Orientation to
“Portrait,” the width to the width of the supply, and the height to the desired height
of the label.
• If the height of the label is the width of the supply in the printer, set Orientation
to “Landscape,” the width to the desired width of the label, and the height to the
width of the supply.
• Set label margins as desired using the menus at the bottom left of the window.
HINT: Set all the margins to zero to allow use of the entire label area. A preview of the
page format is shown in the upper right of the window.
Verify that the page is formatted correctly, then click OK to make the changes.
HINT: If the label size is signicantly smaller than a standard 8½" x 11" page, it may
appear excessively small on the display. To change the magnication, select View >>
Zoom in the Label Writer toolbar. Select Entire Page in the window that appears. Click
OK to make the change.

14 | 3.2 Label Creation Using Label Writer DuraLabel.com | 800.788.5572
CREATING LABELS
3.2.3 FRAMES
For ease of formatting, all label text should be contained in a frame. This allows
separate portions of text to be easily positioned on the label.
• Select Insert >> Frame from the Label Writer toolbar. Select the Type tab in the
window that appears.
• Set the height and width of your frame using the forms at the upper left of the
window. The width should be equal to or smaller than the width of your label. The
height selected is a minimum value. The actual height of the frame will vary based
on the frame’s contents.
• Under Anchor, select To page. Then select the horizontal and vertical position of
the frame on the page using the menus at the bottom of the window.
• To add or remove a border from the frame, select the Borders tab at the top of the
window. Select a line arrangement and a line style for the frame, or select None to
remove the border.
Verify that the frame is formatted as desired, then click OK to create the frame. All
frame characteristics can be modified after the frame is created.
ADDING CONTENT TO A FRAME
To insert text or pictures into a frame, insert the text cursor inside the frame by clicking
anywhere inside of it. If the frame itself is currently selected (green dots are visible at
sides and corners), it may be necessary to click outside the frame first.

DuraLabel.com | 800.788.5572 3.2 Label Creation Using Label Writer | 15
CREATING LABELS
To change the size or position of a frame after
it has been created, click on the edge of the
frame to select it. Click and drag the green
boxes to the desired size, or click and drag in
the interior of the frame to reposition it. Note
that the height of the frame cannot be made
shorter than the frame contents will allow.
HINT: The frame may also be resized by right-clicking on the edge of
the frame, and selecting Frame from the pop-up menu. Select the Type
tab, and enter the desired width and height in the appropriate boxes.
Click OK to make the changes.
To modify other characteristics of a frame, such as borders and background colors,
right-click on the edge of the frame, and select Frame from the pop-up menu. Modify the
frame properties using the same procedures used in creating the frame.
3.2.4 INVERTING TEXT COLOR
To create color text on a black background, begin by loading the printer with a vinyl ribbon
of the desired text color. Create a label in Label Writer as described above. Right-click on
the edge of the frame for which a black background is desired. Select Frame from the
drop-down menu. Select the Background tab. Select Black in the palette and click OK to
make the change. The text will automatically be set in white, which will allow the color of
the vinyl ribbon to show through.
NOTE: The DuraLabel 9000 Printer does not support color printing. If a label contains
a color other than black or white, it will print as a shade of gray.
HINT: An entire label can be set with a black background, rather than a single frame.
Select Format >> Page from the toolbar, and select the background color using the
same procedures as for a single frame. Click OK to make the change.
HINT: If a border is to be visible around a frame with a black background, the border
color must be manually changed to white. Right-click on the edge of the frame and select
Frame from the pop-up menu. Select the Borders tab. Change the border color to White
using the drop-down menu. Click OK to make the change.

16 | 3.2 Label Creation Using Label Writer DuraLabel.com | 800.788.5572
CREATING LABELS
3.2.5 INSERTING AND MANIPULATING GRAPHICS
To insert a graphic, logo, or other image into a label, select Tools >> Gallery from the Label
Writer toolbar. A gallery of available folders and symbols appears beneath the toolbar.
Select the desired image by clicking on it, then drag it onto the page to insert. Once
inserted, the graphic can be resized, moved, and flipped vertically or horizontally. To close
the gallery, select Tools >> Gallery from the toolbar a second time.
HINT: Graphics can also be inserted by selecting Insert >> Picture >> From File from
the Label Writer toolbar. A list of available folders appears in a new window. Select the
desired folder and select an image. Click Open to insert the image.
To resize a graphic, click on the edge of the image to select it. Click and drag a green
box to the desired size of the graphic. Selecting a size proportioned differently from the
original may distort the image.
To reposition a graphic, click on the image to select it, then click and drag to the desired
location.
HINT: For more precise control of graphic size and placement, right-click on the graphic
and select Picture from the pop-up menu. Select the Type tab in the window that
appears. Enter the desired height, width, and placement as for a frame (see section
3.2.3.) Selecting the Keep Ratio box will avoid distortion. Click OK to make the change.
To flip a graphic horizontally or vertically, right-click on the graphic and select Picture
from the pop-up menu. Select the Picture tab in the window that appears. Check the
boxes for the desired changes. A preview of the flipped picture appears at right. Click OK
to make the change.
3.2.6 PRINTING A LABEL
To print a label, select File >> Print from the Label Writer toolbar. Click the Up and
Down buttons to select the desired number of copies. Click OK to print.
3.2.7 SPECIAL APPLICATIONS
Label Writer can be for a variety of special applications, including automatic number
sequencing, mail merge functionality, printing multiple wire wraps, and creating table
tents. Tutorials and templates for a variety of special applications can be found by
selecting Training >> How To from the DL9000 PS Toolbar.

DuraLabel.com | 800.788.5572 3.4 LabelForge | 17
CREATING LABELS
NOTE: Some of the tutorials refer to programs not included with the DL9000 PS, such as
Microsoft®Word and Excel. The general principles and procedures in these tutorials
are valid for use with Label Writer and Label SpreadSheet, respectively. However, some
of the specic steps may vary.
3.3 DuraSuite
DuraSuite™allows arc flash labels and NFPA Right-To-Know labels to be printed on pre-
formatted, die-cut labels. Open DuraSuite by clicking the DuraSuite logo on the DL9000
PS Toolbar.
To learn how to create arc flash labels or RTK labels using DuraSuite, please refer to
the DuraSuite manual included on the DL9000 PS (select Training >> Manuals >>
DuraSuite from the DL9000 PS Toolbar).
3.4 LabelForge
LabelForge is a complete label creation program with an extensive symbol and label
template library, barcode creation tools and the ability to create label sequences and
connect to external databases. You can access LabelForge by clicking the icon in the
upper left of the Toro toolbar. For more information about how to use LabelForge, see
the LabelForge User Guide.

18 | 4.1 Copying Files To and From the DL9000 PS DuraLabel.com | 800.788.5572
4. Advanced Functions
4.1 Copying Files To and From the DL9000 PS
The DL9000 PS has no network or wireless capabilities. The only way to move files
created on another computer to the DL9000 PS, or to move DL9000 PS files to another
computer, is to use a USB drive.
NOTE: No Recycle Bin exists on the DL9000 PS to recover deleted les. Deleted les
cannot be restored. Use caution when deleting.
4.1.1 USING THE USB DRIVE
To copy files such as images, templates, or spreadsheets onto the DL9000 PS, first
load the files onto the included USB drive. Temporarily disconnect any printer from the
lower USB port on the right side of the DL9000 PS, and connect the flash drive there.
After a moment, an icon for “Disk Drive” will appear on the DL9000 PS desktop. Double-
click on this icon to view the contents of the USB drive. You can drag and drop files to a
storage location on your DL9000 PS using the folder tree at the left of the window. We
recommend that you place images such as logos or photos in the “My Symbols” folder.
4.1.2 INSTALLING PROGRAMS
The DL9000 PS cannot install or run user programs. Only manufacturer-supplied
upgrades can be installed on the machine.
4.1.3 CHANGING THE DESKTOP WALLPAPER
To change the desktop image, right click on the existing desktop and select Change
Desktop Background. Click the Add button in the lower right, navigate to the appropriate
file location (usually “My Symbols”), and select your image. Then, click the Close button.
Other manuals for 9000
5
Table of contents
Other DuraLabel Printer manuals

DuraLabel
DuraLabel Catalyst User manual

DuraLabel
DuraLabel 900 User manual

DuraLabel
DuraLabel Toro User manual

DuraLabel
DuraLabel 9000 User manual

DuraLabel
DuraLabel 9000 User manual

DuraLabel
DuraLabel PRO 300 User manual

DuraLabel
DuraLabel 9000 User manual

DuraLabel
DuraLabel 9000 User manual

DuraLabel
DuraLabel PRO User manual

DuraLabel
DuraLabel Toro User manual