19
You can nd the dierent programs in the MAIN MENU under PROGRAM. To change
programs, scroll using or , and select with . The thermostat is set to man-
ual program when it leaves the factory, i.e. you set the required temperature (set
point) and the thermostat then maintains this temperature.
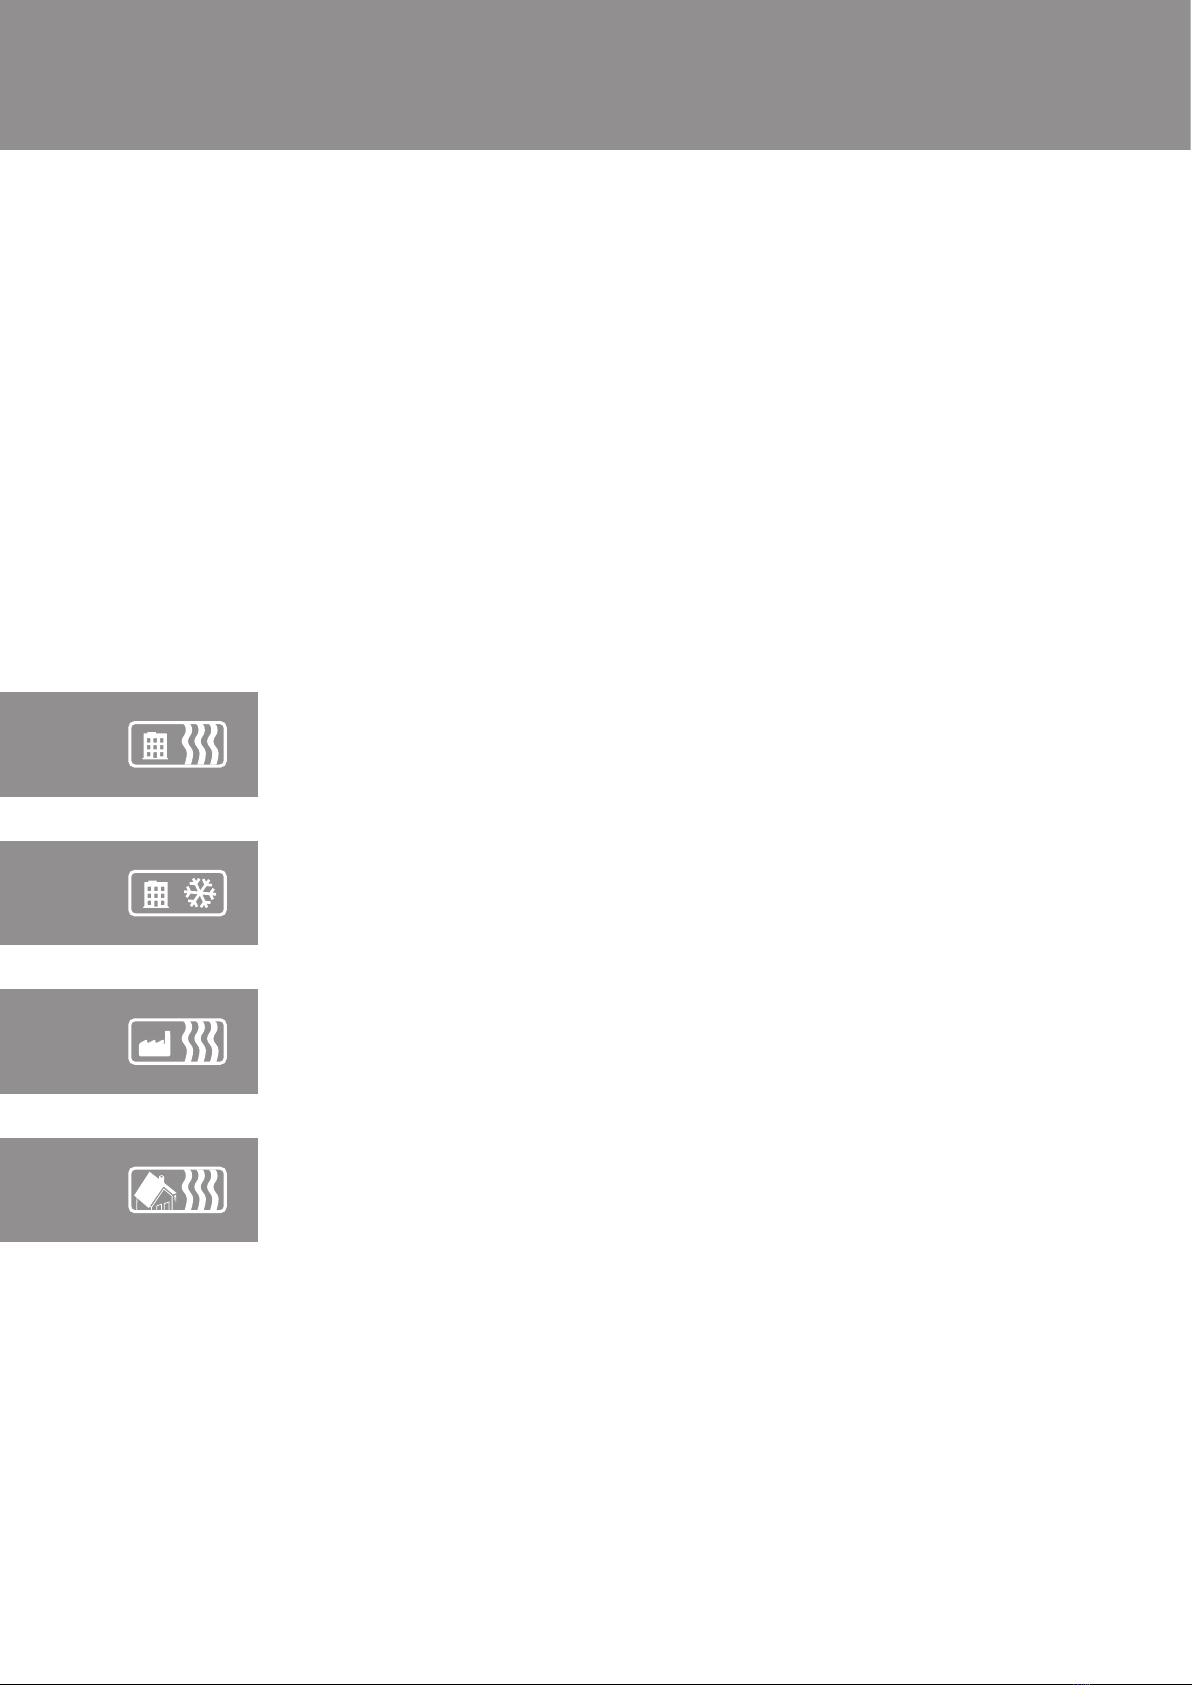
Program for home environment HOME
The temperature is automatically increased by 5 °C during the following periods:
Monday-Friday 8.30 am to 3 pm and all days between the hours of 11 pm and 5 am.
The home environment program can be found under PROGRAM in the MAIN MENU.
Select HOME with and the thermostat displays a message for two seconds con-
rming that the program is activated. You can already see in the display mode that
the program is active as HOME is displayed on the second line.
The temperature can be set between +5 °C and +45 °C. The thermostat operates
based on the temperature selected in the manual program, where the factory set-
ting is +22 °C. If you change the temperature in the manual program, or the set
point in the TEMP menu, the thermostat operates according to the new tempera-
ture and increases or reduces it by 5 °C based on the new temperature.
Program for office environment OFFICE
The temperature is automatically increased by 5 °C except during the following
periods: Monday–Friday, 6 am–6 pm.
The oce environment program can be found under PROGRAM in the MAIN MENU.
Select OFFICE with and the thermostat displays a message for two seconds con-
rming that the program is activated. You will then see in the display mode that
the program is active as OFFICE is displayed on the second line.
The temperature can be set between +5 °C and +45 °C. The thermostat operates
based on the temperature selected in the manual program, where the factory set-
ting is +22 °C. If you change the temperature in the manual program, or the set
point in the TEMP menu, the thermostat operates according to the new tempera-
ture and increases or reduces it by 5 °C based on the new temperature.
Holiday program HOLIDAY
This program is ideal for when you want to protect against overheating damage
in for instance electronic equipment or to simply save energy in premises which
are standing empty or unused for long periods, such as holiday homes and ware-
houses, or when you will be away from your main home for longer than usual. The
holiday program can be controlled with a remote control device if required. There
are three menu options to select from under HOLIDAY: ACTIVATE, CHANGE and RESET.
HOLIDAY can be found under PROGRAM in the MAIN MENU.Temperatures can be set
to between +20 °C and +40 °C, and the factory setting is +27 °C.