manuals.online logo
Brands
  1. Home
  2. •
  3. Brands
  4. •
  5. Elo TouchSystems
  6. •
  7. Touchscreen
  8. •
  9. Elo TouchSystems E796783 User manual

Elo TouchSystems E796783 User manual

Other Elo TouchSystems Touchscreen manuals
Elo TouchSystems Entuitive ET1229L Series User manual

Elo TouchSystems

Elo TouchSystems Entuitive ET1229L Series User manual

Elo TouchSystems 1939L User manual

Elo TouchSystems

Elo TouchSystems 1939L User manual

Elo TouchSystems 2420L Parts list manual

Elo TouchSystems

Elo TouchSystems 2420L Parts list manual

Elo TouchSystems 1002L User manual

Elo TouchSystems

Elo TouchSystems 1002L User manual

Elo TouchSystems 1739L User manual

Elo TouchSystems

Elo TouchSystems 1739L User manual

Elo TouchSystems E514693 User manual

Elo TouchSystems

Elo TouchSystems E514693 User manual

Elo TouchSystems 1529L User manual

Elo TouchSystems

Elo TouchSystems 1529L User manual
Elo TouchSystems 1915L Parts list manual

Elo TouchSystems

Elo TouchSystems 1915L Parts list manual

Elo TouchSystems I-Series User manual

Elo TouchSystems

Elo TouchSystems I-Series User manual

Elo TouchSystems 3243L User manual

Elo TouchSystems

Elo TouchSystems 3243L User manual

Elo TouchSystems ETL121K/P-6PWA-1 User manual

Elo TouchSystems

Elo TouchSystems ETL121K/P-6PWA-1 User manual

Elo TouchSystems 3000 Series User manual

Elo TouchSystems

Elo TouchSystems 3000 Series User manual

Elo TouchSystems ESY15i1 User manual

Elo TouchSystems

Elo TouchSystems ESY15i1 User manual

Elo TouchSystems 1517L User manual

Elo TouchSystems

Elo TouchSystems 1517L User manual
Elo TouchSystems 2639L Parts list manual

Elo TouchSystems

Elo TouchSystems 2639L Parts list manual

Elo TouchSystems 1928L User manual

Elo TouchSystems

Elo TouchSystems 1928L User manual

Elo TouchSystems ET1509L User manual

Elo TouchSystems

Elo TouchSystems ET1509L User manual

Elo TouchSystems Entuitive 1925L Series User manual

Elo TouchSystems

Elo TouchSystems Entuitive 1925L Series User manual

Elo TouchSystems 2401LM Touchmonitor User manual

Elo TouchSystems

Elo TouchSystems 2401LM Touchmonitor User manual

Elo TouchSystems 2240L User manual

Elo TouchSystems

Elo TouchSystems 2240L User manual

Elo TouchSystems ET1515L Series User manual

Elo TouchSystems

Elo TouchSystems ET1515L Series User manual

Elo TouchSystems 1930L User manual

Elo TouchSystems

Elo TouchSystems 1930L User manual

Elo TouchSystems VuPoint M-Series User manual

Elo TouchSystems

Elo TouchSystems VuPoint M-Series User manual

Elo TouchSystems Touch Solutions ET1902L User manual

Elo TouchSystems

Elo TouchSystems Touch Solutions ET1902L User manual

Popular Touchscreen manuals by other brands

HAI OmniTouch 10p user manual

HAI

HAI OmniTouch 10p user manual

NEXIO HID Touch-screen user guide

NEXIO

NEXIO HID Touch-screen user guide

Dell C8618QT user guide

Dell

Dell C8618QT user guide

InTouch INDT156 user manual

InTouch

InTouch INDT156 user manual

Tipro FREE+ 12.1" Getting started

Tipro

Tipro FREE+ 12.1" Getting started

Advantech IDP31-215W Series user manual

Advantech

Advantech IDP31-215W Series user manual

Element VK Series user manual

Element

Element VK Series user manual

Johnson Controls Advanced Graphic Touchscreen Display Installation and operation manual

Johnson Controls

Johnson Controls Advanced Graphic Touchscreen Display Installation and operation manual

Wiggly-Amps Engage installation instructions
Wiggly-Amps

Wiggly-Amps Engage installation instructions

gefran G-Vision 67-070 Operating instructions manual
gefran

gefran G-Vision 67-070 Operating instructions manual

Sinocan T06-15 user manual

Sinocan

Sinocan T06-15 user manual
COMFILE CUTOUCH CT1820 user manual

COMFILE

COMFILE CUTOUCH CT1820 user manual
Future Design ELI101-IPHW user manual

Future Design

Future Design ELI101-IPHW user manual
InTouch KIO-LITE-215L-WM user manual

InTouch

InTouch KIO-LITE-215L-WM user manual
Encelium KX3 Touchscreen installation instructions
Encelium

Encelium KX3 Touchscreen installation instructions

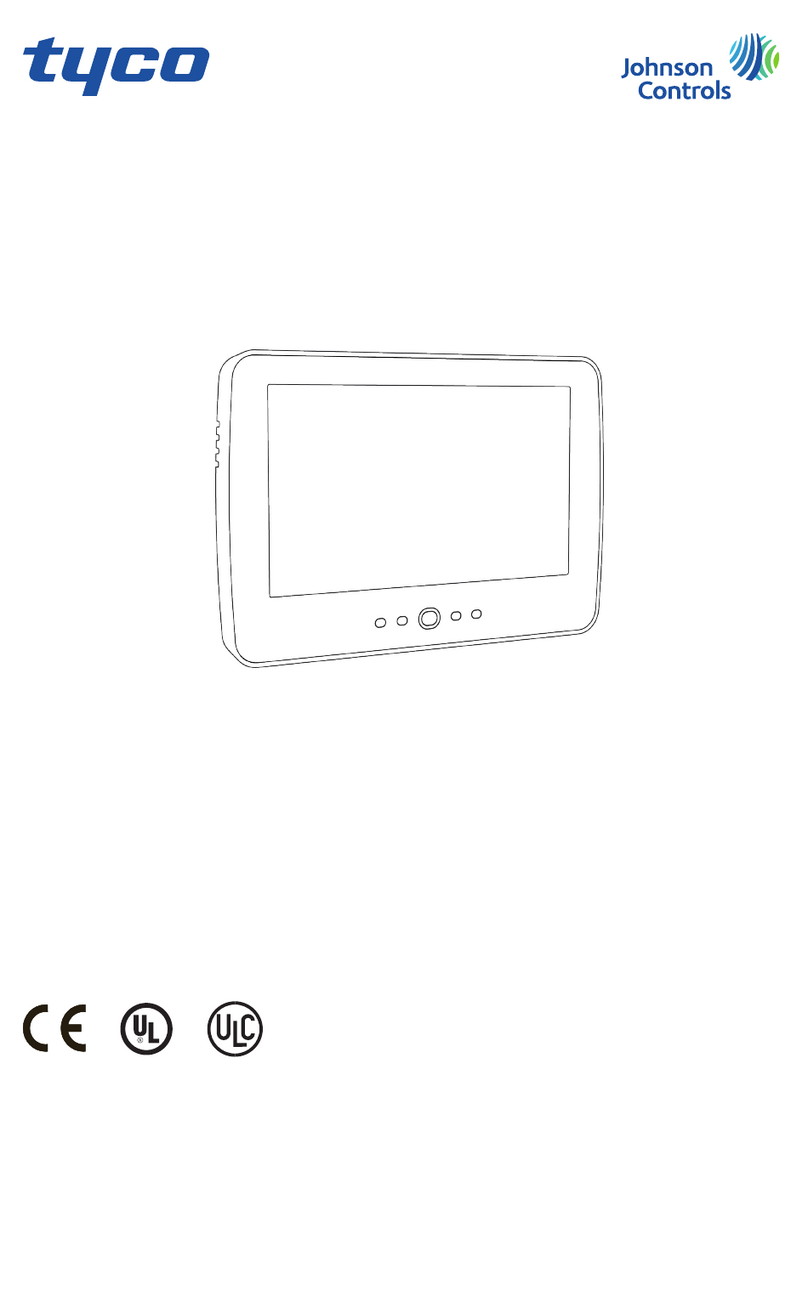
Elo Touch Solutions B-Series Quick installation guide
Elo Touch Solutions

Elo Touch Solutions B-Series Quick installation guide

Johnson Controls Tyco HC2TCHPRO user manual
Johnson Controls

Johnson Controls Tyco HC2TCHPRO user manual

Crestron TSW-550 Configuration guide

Crestron

Crestron TSW-550 Configuration guide
manuals.online logo
manuals.online logoBrands
  • About & Mission
  • Contact us
  • Privacy Policy
  • Terms and Conditions

Copyright 2025 Manuals.Online. All Rights Reserved.

© Copyright 2021 Elo Touch Solutions, Inc. 1
E796783 ELO-STA N D -SELF-SERVICE-15-22-COUNTERTOP
ASSEMBLY INSTRUCTIONS, ELO SELF SERVICE STAND
© Copyright 2021 Elo Touch Solutions, Inc. 2
Contents for Kit: E796783, ELO-STAND-SELF-SERVICE-15-22-COUNTERTOP
Hardware
Bag AQty.10 SCREW, M4X8, PAN-HEAD,
CROSS-RECESS
Bag BQty.4 SCREW, M4X8, FLAT-HEAD, CROSS-
RECESS
Bag CQty.3 SCREW, M3X8, PAN-HEAD,
CROSS-RECESS,
Bag DQty.4 SCREW, 3mm X8L,
THREAD-FORMING, PAN-HEAD
Bag LQty.4 SCREW, M4X6, PAN-HEAD,
CROSS-RECESS
Bag MQty.4 SCREW, M4X18, PAN-HEAD, CROSS-
RECESS
Bag NQty.4 SCREW, M4X12, PAN-HEAD, CROSS-
RECESS
Bag SQty.3 SCREW, M4X5, PAN-HEAD,
CROSS-RECESS
Bag UQty.1 DOUBLE-SIDED FOAM TAPE
Panel Hardware
Qty.2 SCREW, M6X14, PAN-HEAD, CROSS-
RECESS
Qty.2 BACKER BOARD SPACER
Qty.2 THUMB SCREW
Tie-wrap
Qty. 3
Head Assembly
Qty. 1
Countertop Base
Qty. 1
USB Hub
Qty. 1
Display Bracket,
Windows
Qty. 1
Display Bracket,
Android
Qty. 1
© Copyright 2021 Elo Touch Solutions, Inc. 3
Remove and save (2) screws on rear of Head, pull out
printer tray.
Add (2) screws from bag “A”; leave
~3mm (1/8”) gap for Head.
Gap
•Align slots on bottom rear of Head with (2) screws on base and slide
on stand.
•Add (4) screws from bag “B”.
•Tighten (2) previous screws at rear.
12
3
© Copyright 2021 Elo Touch Solutions, Inc. 4
Remove and save (2) screws, open cover of Display Bracket;
pivot out and fix prop.
Gap
45
Add (2) screws from bag “A”; leave ~3mm (1/8”) gap (for Display
Bracket).
Choose Android or Windows Display Bracket
For 15” or 22” monitor, use Android Display Bracket
Android Display Bracket shown above
© Copyright 2021 Elo Touch Solutions, Inc. 5
•Assemble Display Bracket onto Head.
•Position “A” for 15”, 22” in landscape.
•Position “B” for 15” in portrait
•Position “C” for 22” in portrait
•Add (2) screws from bag “A” at bottom holes.
6
A
B
C
•Assemble USB Hub.
•Add (2) screws from bag “S”; leave ~3mm (1/8”)
gap for USB bracket to slide on; tighten screws.
7
For Android, skip to step 13
For Windows, skip to step 18
For Android Slate, skip to step 8
© Copyright 2021 Elo Touch Solutions, Inc. 6
Add tie-wrap
8
Top Landscape
Add (2) screws from bag “L” to top 75mm VESA positions.
Leave ~3mm (1/8”) gap for mounting to display bracket.
Connect Slate Hub to Slate and attach cable cover before
proceeding.
•Route Slate Hub through display bracket and head.
•Mount Slate, add (2) screws from bag “L” to bottom 75mm VESA positions.
Add tie-wrap as shown.
•Tighten VESA screws to 12 in-lb (1.4 N-m).
Android Slate: Landscape
(For Portrait, skip to step 10)
9
Skip to step 12
Note: EMV Cradles are not compatible with
Android Slate in landscape orientation.
© Copyright 2021 Elo Touch Solutions, Inc. 7
10
Top Portrait
Add tie-wrap
Add (2) screws from bag “L” to top 75mm VESA positions.
Leave ~3mm (1/8”) gap for mounting to display bracket.
Attach Slate Hub and cable cover before mounting
displays on stand.
•Route Slate Hub through display bracket and head.
•Mount Slate, add (2) screws from bag “L” to bottom 75mm VESA positions.
Add tie-wrap as shown.
•Tighten VESA screws to 12 in-lb (1.4 N-m).
Android Slate: Portrait
11
If using an EMV Cradle, follow those instructions
before proceeding.
© Copyright 2021 Elo Touch Solutions, Inc. 8
Apply double-sided foam tape from bag “U” to back of Slate Hub and attach to back of head approximately
where shown. Route LAN cable through base. Connect LAN and power supply to Slate Hub.
12
Skip to step 25
© Copyright 2021 Elo Touch Solutions, Inc. 9
Add tie-wrap
13
Top Landscape
Cable
direction
Add (2) screws from bag “L” to top 100mm VESA positions.
Leave ~3mm (1/8”) gap for mounting to display bracket.
Remove cable cover(s) before mounting displays on stand.
•Mount I-Series, add (2) screws from bag “L” to bottom 100mm VESA
positions.
•Route power, LAN cables through bottom of stand head. Route USB Hub
cable or other USB if used.
•Tighten VESA screws to 12 in-lb (1.4 N-m).
Android: Landscape
(For Portrait, skip to step 15)
14
Skip to step 28
If using an EMV Cradle, follow those instructions
before proceeding.
© Copyright 2021 Elo Touch Solutions, Inc. 10
15
Top Portrait
Cable
direction
Add tie-wrap
Add (2) screws from bag “L” to top VESA positions. Leave
~3mm (1/8”) gap for mounting to display bracket.
Remove cable cover(s) before mounting displays on stand.
•Mount i-Series, add (2) screws from bag “L” to bottom VESA positions.
•Route power, LAN cables through bottom of stand head. Route USB Hub
cable or other USB if used.
Android: Portrait
16
Skip to step 25
If using an EMV Cradle, follow those instructions
before proceeding.